Give your friends €10 off their first order!
Refer a FRIEND








Prices change straight away. Every language is our own translation, not Google.
A project from our live show SBM APP - THE OFFICIAL LAUNCH - Broadcast Monday 17th Feb 2025 · 17/02/2025 · watch it from 20:30
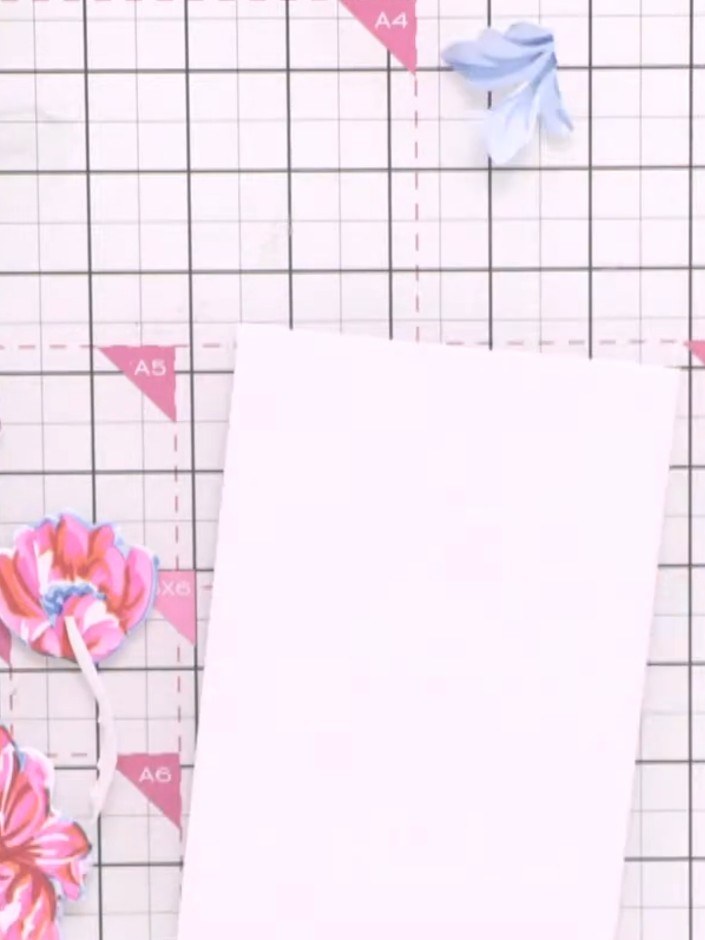
Create a stunning dimensional card featuring layered peony and carnation flowers in vibrant pinks, purples and coral tones. Using stencils and dies, you'll build up beautiful dimensional blooms that frame a 'So Grateful' sentiment on a white card base. The layering technique creates depth and visual interest, with raised elements adding a professional finish to this elegant floral design.
 Stencil & Die Set - Carnations - 090724KSEE IT
 Stencil & Die Set - Peony Bunch - 090724LSEE IT
 Stamps By Me - Marbled Elegance Paper Pad - 310724ASEE IT
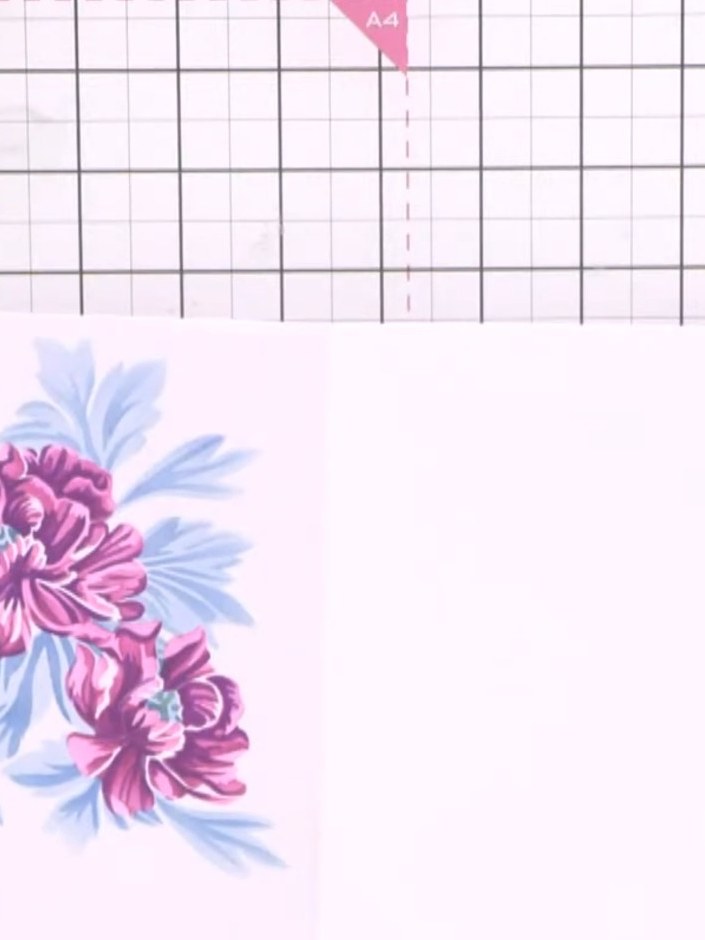
Cut your card stock in half to create your base card.
▶ watch this step (20:45)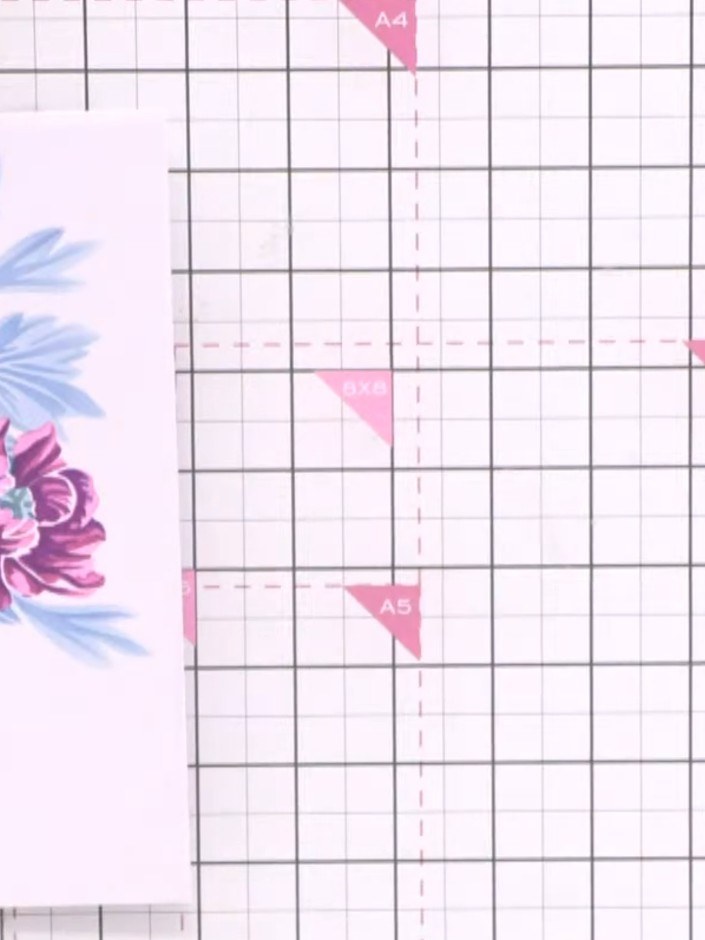
Position stencil number one in the corner of your card base. Using a blending brush, blend pink ink through the stencil onto the card.
▶ watch this step (22:00)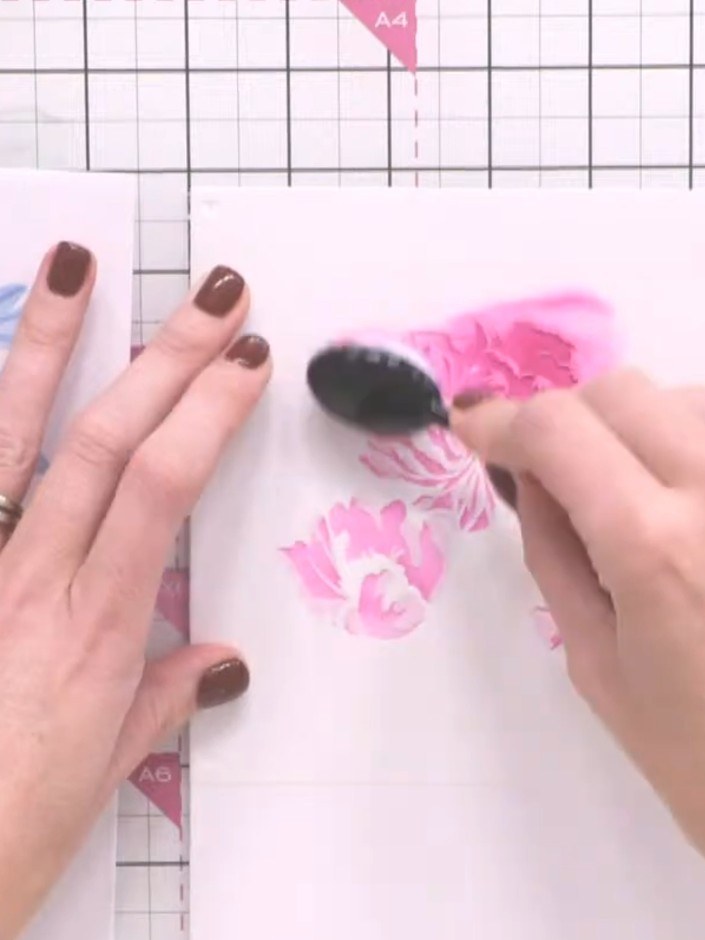
Position stencil number two over the first layer. Apply the same pink ink using the blending brush, pressing slightly harder to achieve a deeper shade of pink.
▶ watch this step (23:15)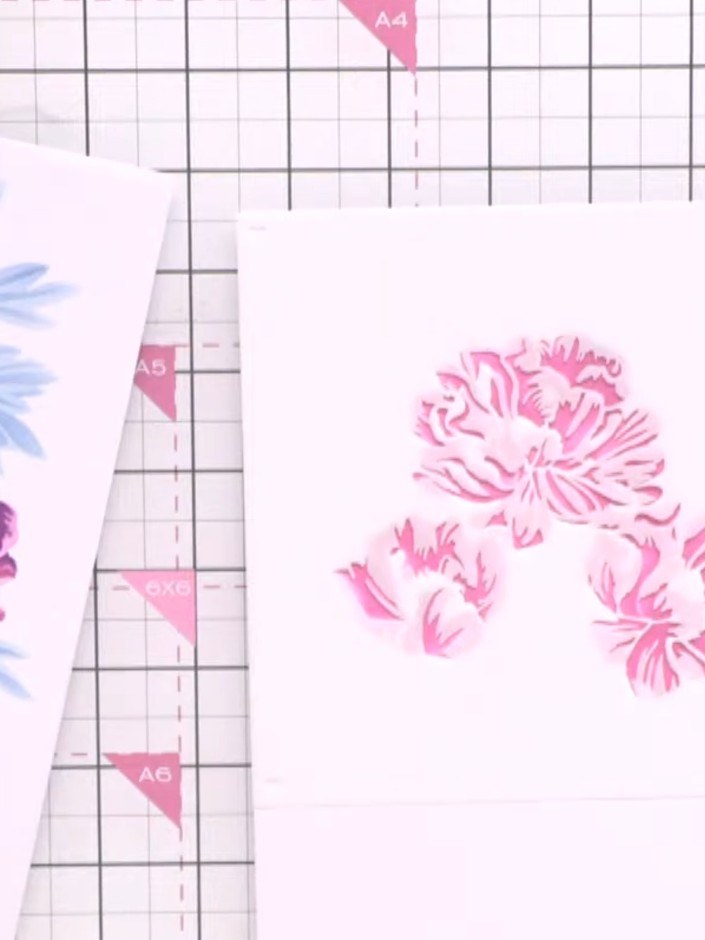
Position stencil number three over your card. Using orange ink, apply colour through the stencil to add variation to the flower design.
▶ watch this step (24:00)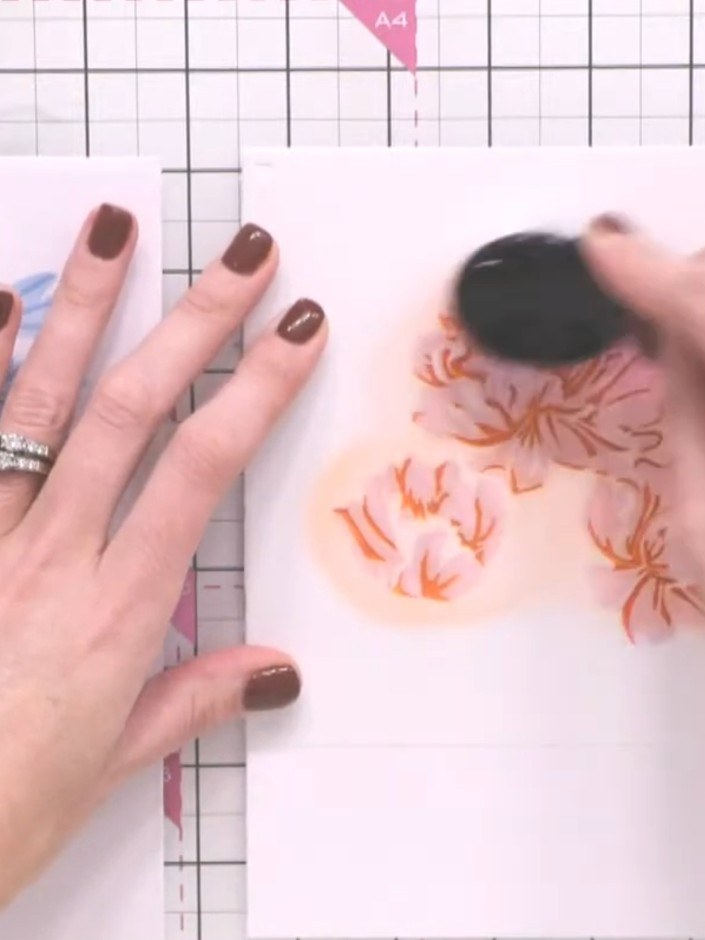
Position stencil number five with the leaf elements over your card. Using the blending brush, apply the teal ink colour over the leaf areas of the stencil. Hold the stencil in place briefly to allow the ink to set.
▶ watch this step (26:45)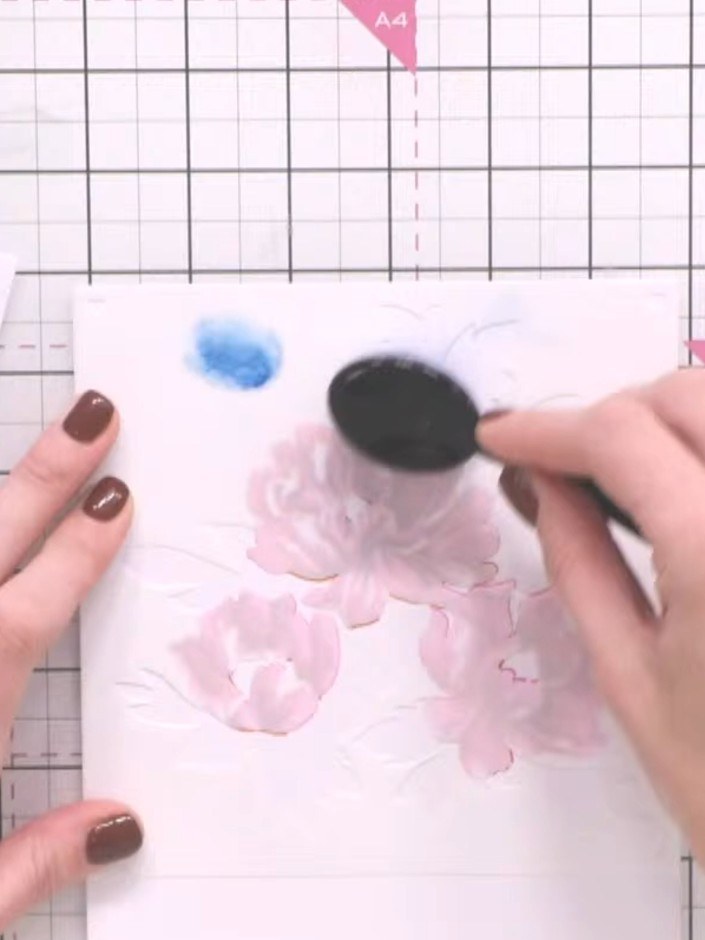
Apply stencil number six over the design. Blend ink through the stencil using the blending tool to complete the layering sequence with pink and blue tones.
▶ watch this step (28:00)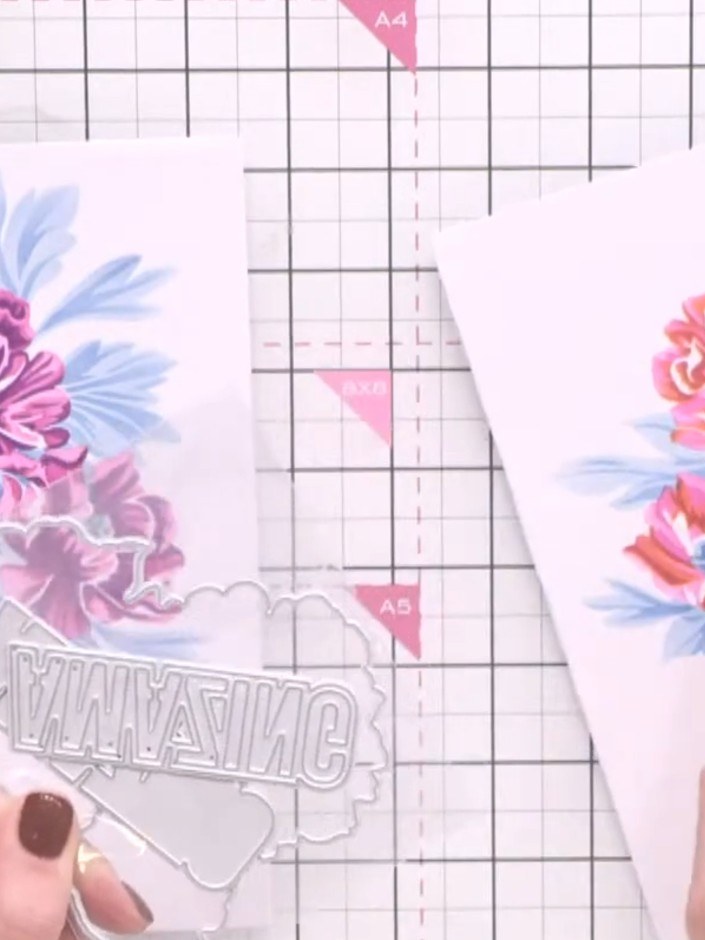
Die-cut the flower heads using the outline die from the carnation and peony die sets. Position the outline die over the stamped and coloured flowers and run through your die-cutting machine.
▶ watch this step (31:30)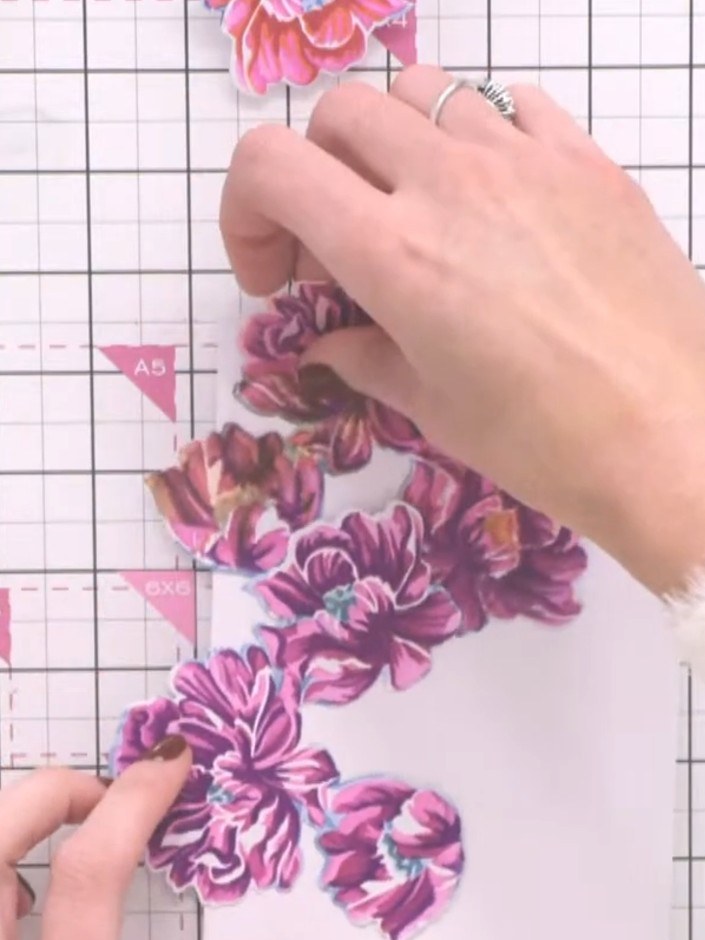
Using scissors, carefully cut around the individual flower elements to separate them from the card base. Cut out each pink and purple peony and carnation piece that you've layered and stencilled.
▶ watch this step (40:00)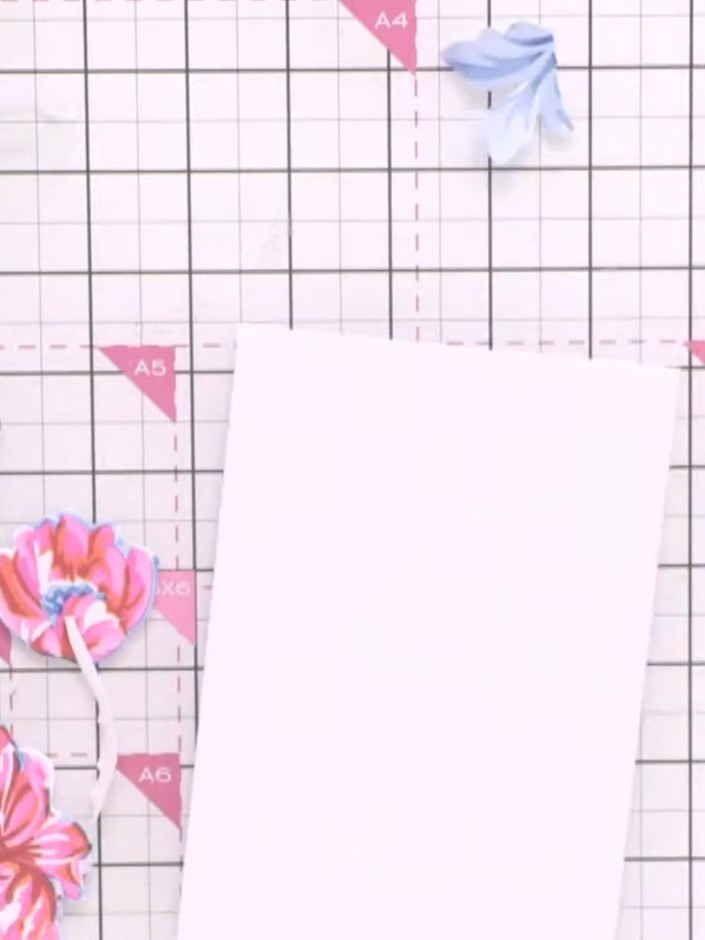
Arrange the cut-out flower pieces around the edges of a white card base to create a decorative frame. Use low-tack tape to temporarily position the flowers before adhering them permanently.
▶ watch this step (45:00)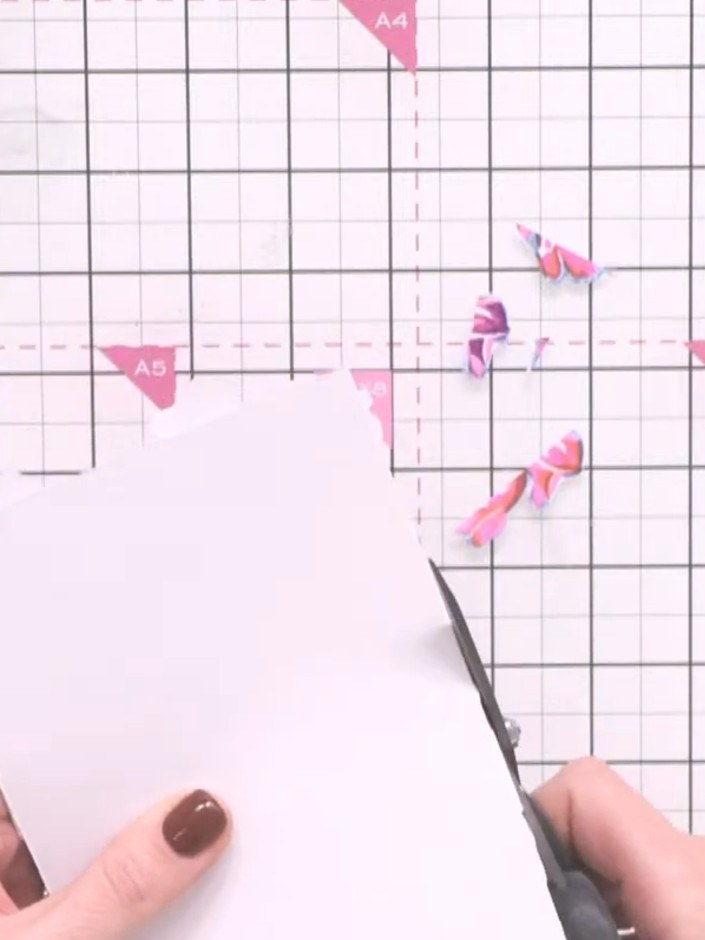
Trim away the excess paper from around the arranged flowers using scissors, carefully cutting close to the edges of the petals and leaves.
▶ watch this step (48:30)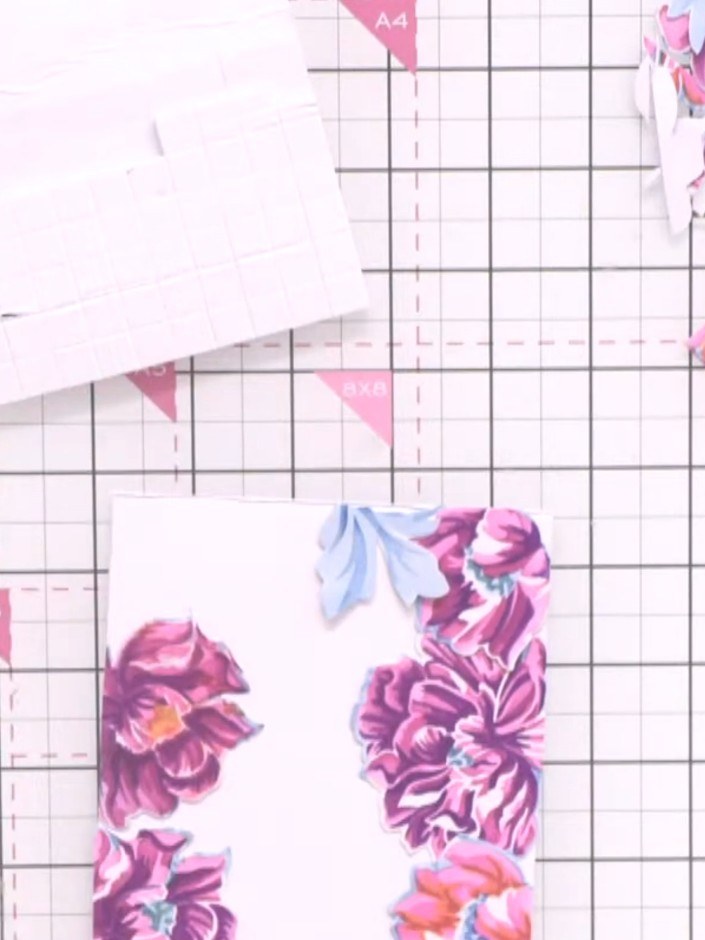
Apply foam pads to the back of each die-cut flower piece. This will create dimension and raise the flowers from the card base for a layered effect.
▶ watch this step (49:00)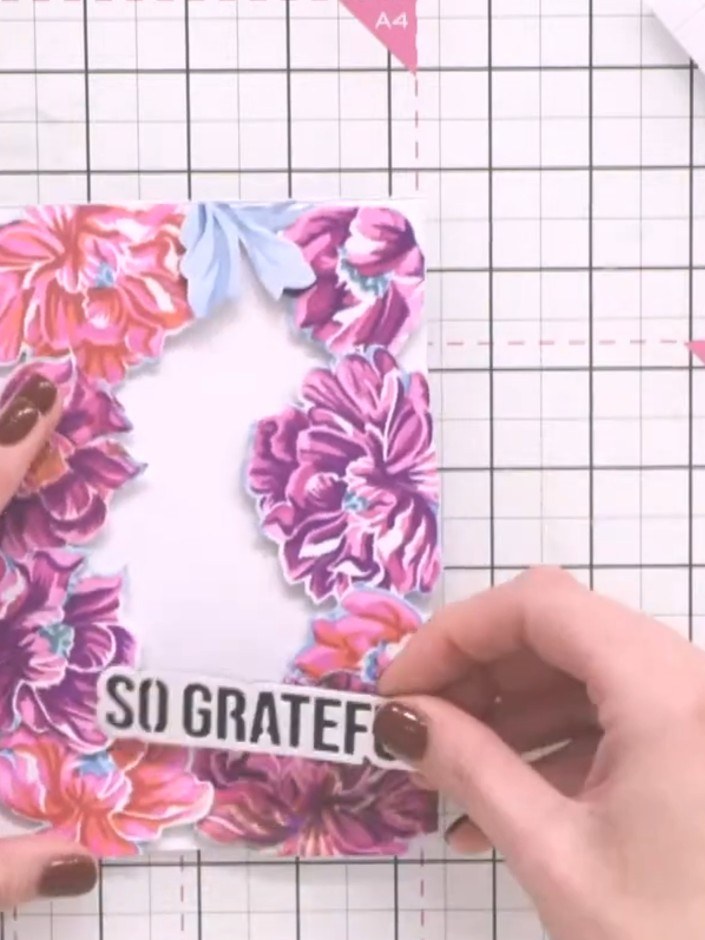
Adhere the raised flowers permanently to the card using glue. Add the 'SO GRATEFUL' sentiment die-cut to the centre of the card to complete the design.
▶ watch this step (53:45)Written up from the show itself. See every guide from our shows · free how-to guides · watch live on My Telly


