Give your friends €10 off their first order!
Refer a FRIEND








A project from our live show ONE DAY SPECIAL - Join Toni for her brand new launch - Broadcast 6th Feb 2025 · 06/02/2025 · watch it from 44:30
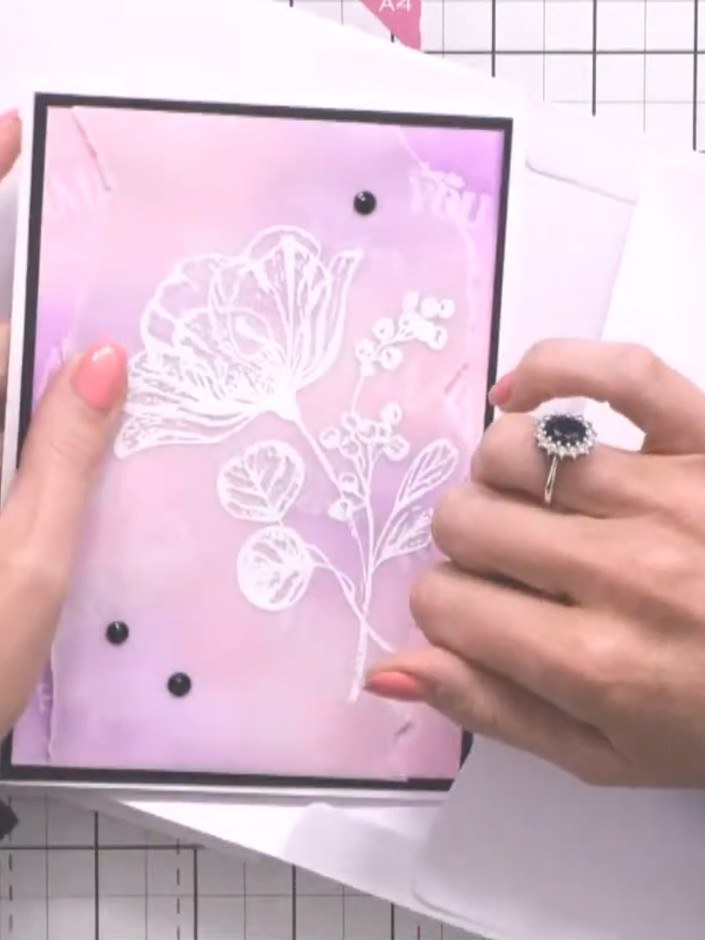
Create a stunning mini album with pockets using decorative envelopes and beautiful patterned papers. This elegant project features a galaxy-themed design with gold foil accents in purple, blue and grey tones, complete with multiple opening pages and a coordinating belly band closure. Using simple folding and layering techniques, you'll transform envelope flaps into functional pockets perfect for storing photos, cards or keepsakes.
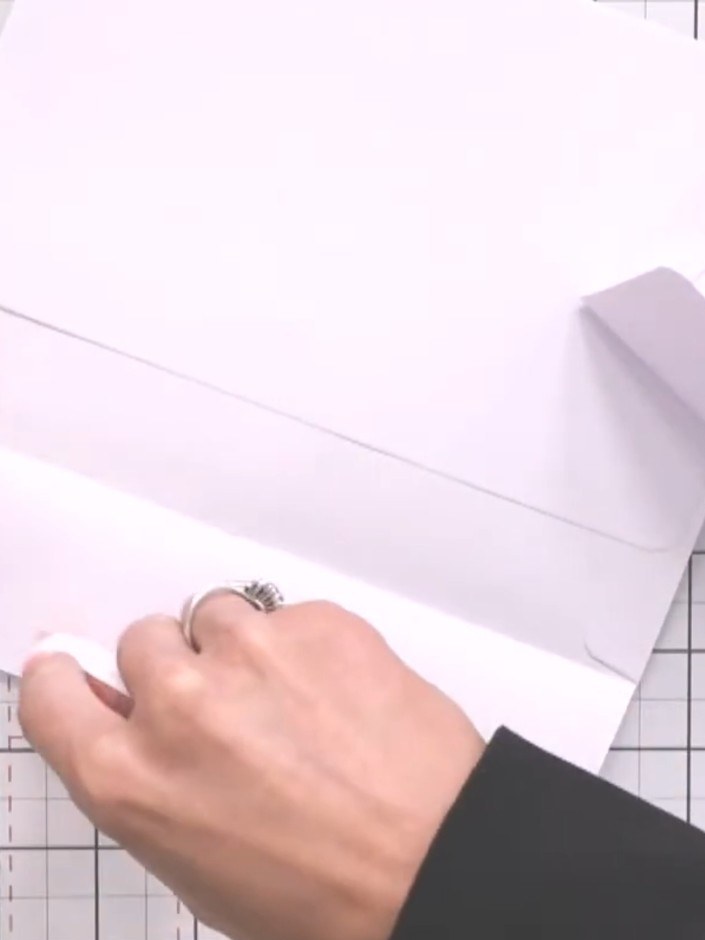
Take two envelopes and seal the short flap of the first envelope closed using tape.
▶ watch this step (45:00)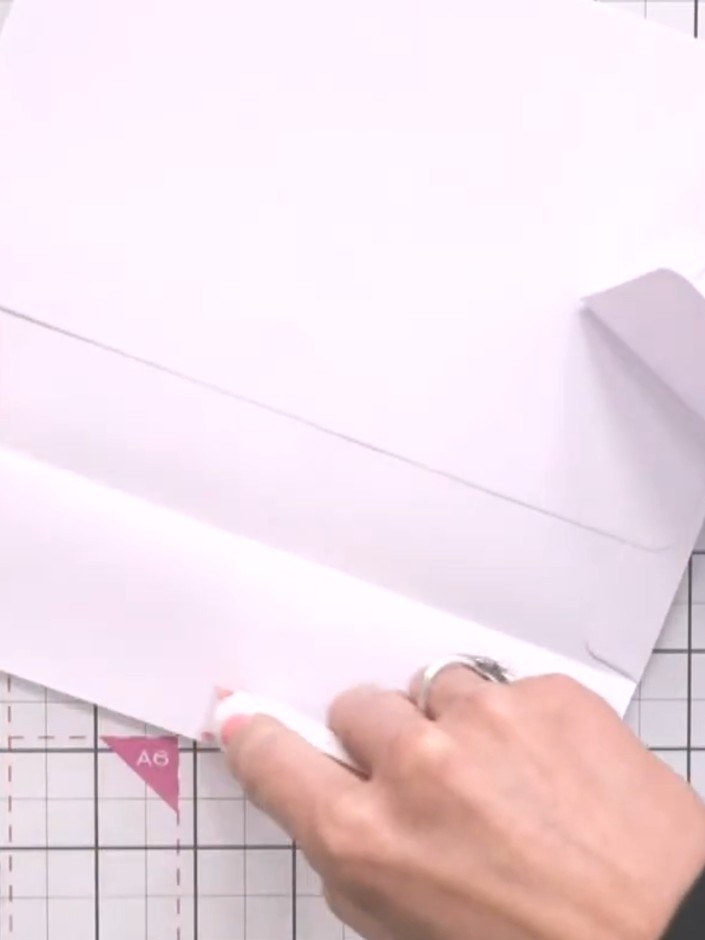
Apply adhesive tape to the flap of the second envelope and adhere it to the edge of the first envelope to create a hinge between them.
▶ watch this step (45:15)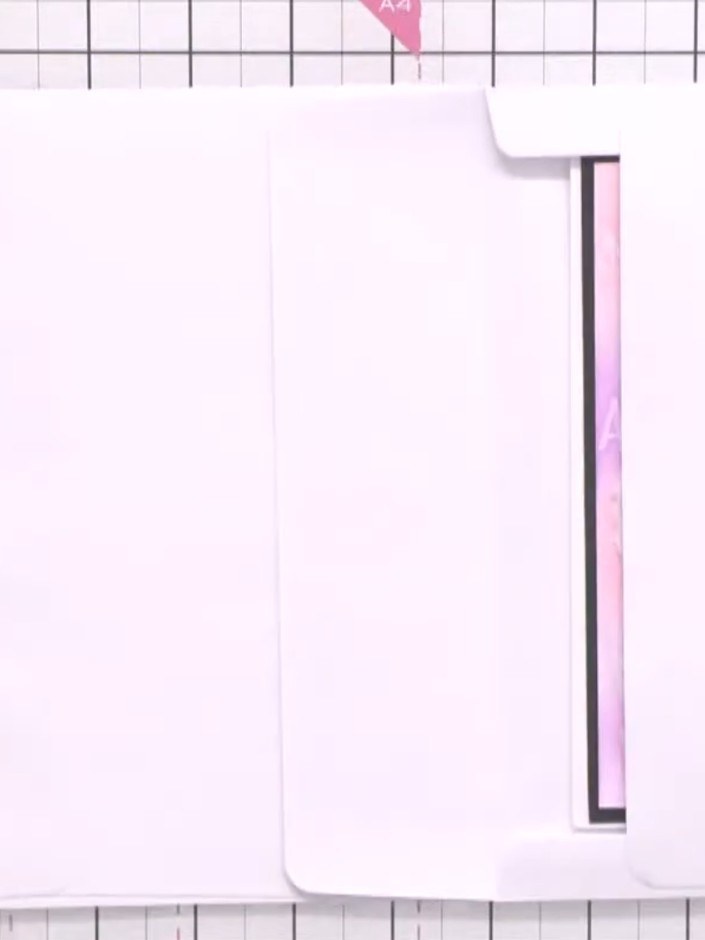
Take another white card blank and fold it to create an additional pocket page. The folded card creates an instant pocket with the envelope flap providing space for inserting cards or photos.
▶ watch this step (45:30)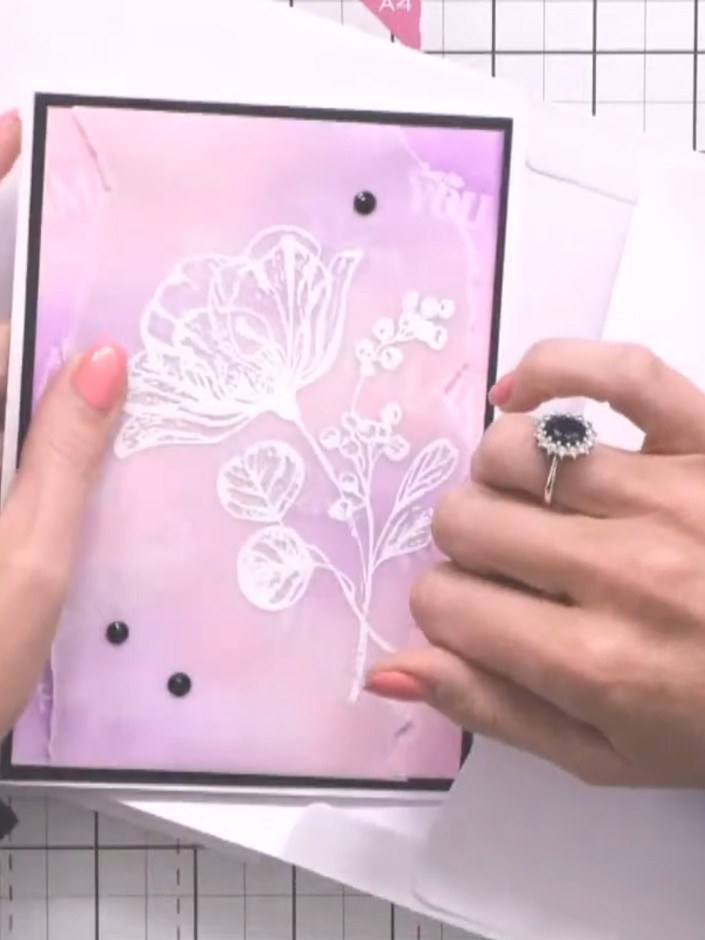
Take a third envelope and tape the flap down to create an instant pocket. This page will hinge in the opposite direction to accommodate a card or family photo.
▶ watch this step (46:00)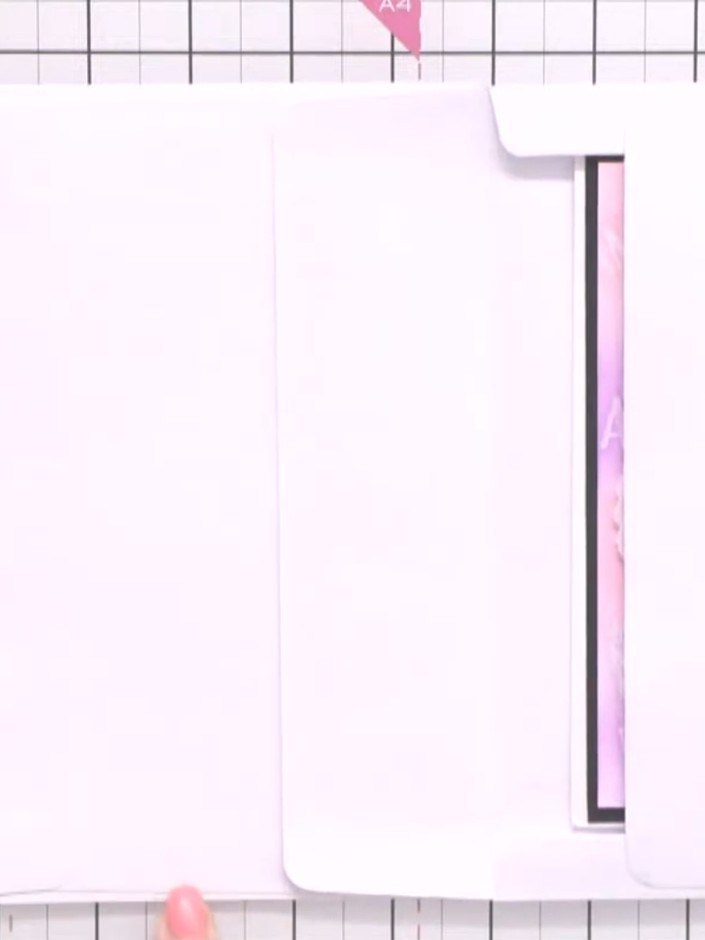
Add another envelope to create a second page. Alternate the direction so this envelope opens from the opposite side to the first one.
▶ watch this step (46:30)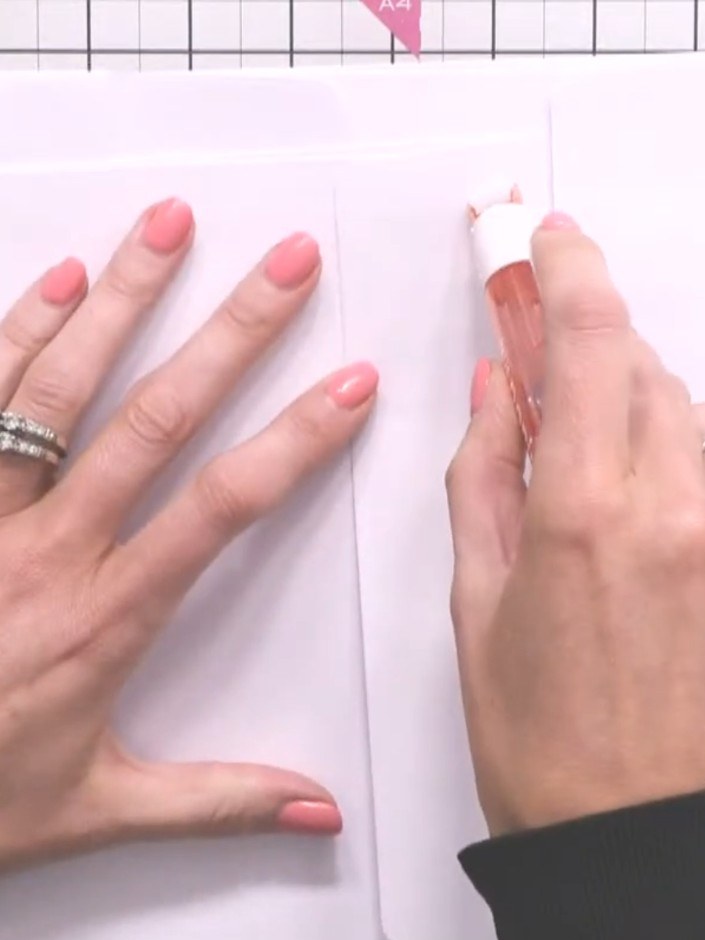
Cut decorative paper to cover the spine and centre of your album to hide the tape joins. Use the decorative paper from your bundle to create a neat finish over the taped areas.
▶ watch this step (47:00)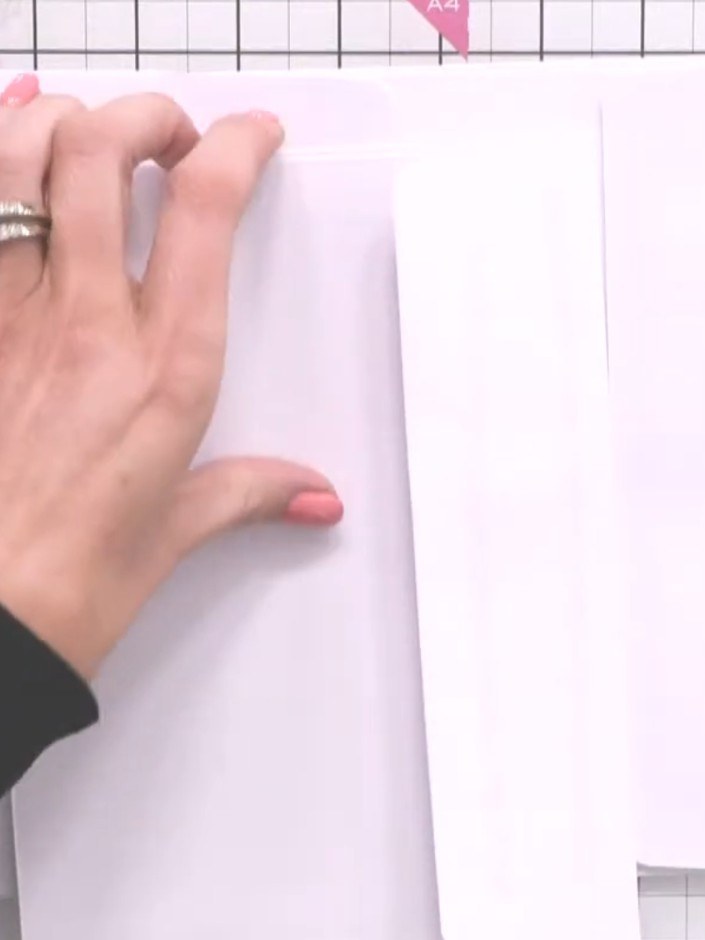
Smooth the decorative paper down the centre of the card to ensure it is firmly adhered and creates a neat, finished look.
▶ watch this step (47:30)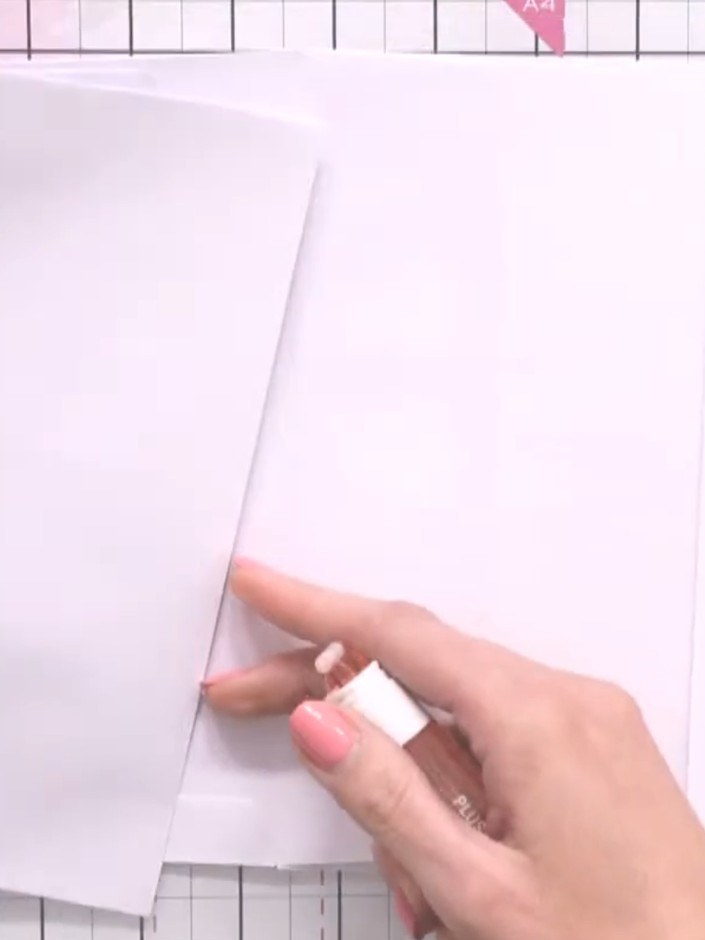
Cut corner triangles from contrasting paper and glue them to the inside pages to create additional pockets. Position the triangles at the corners and secure with adhesive.
▶ watch this step (48:00)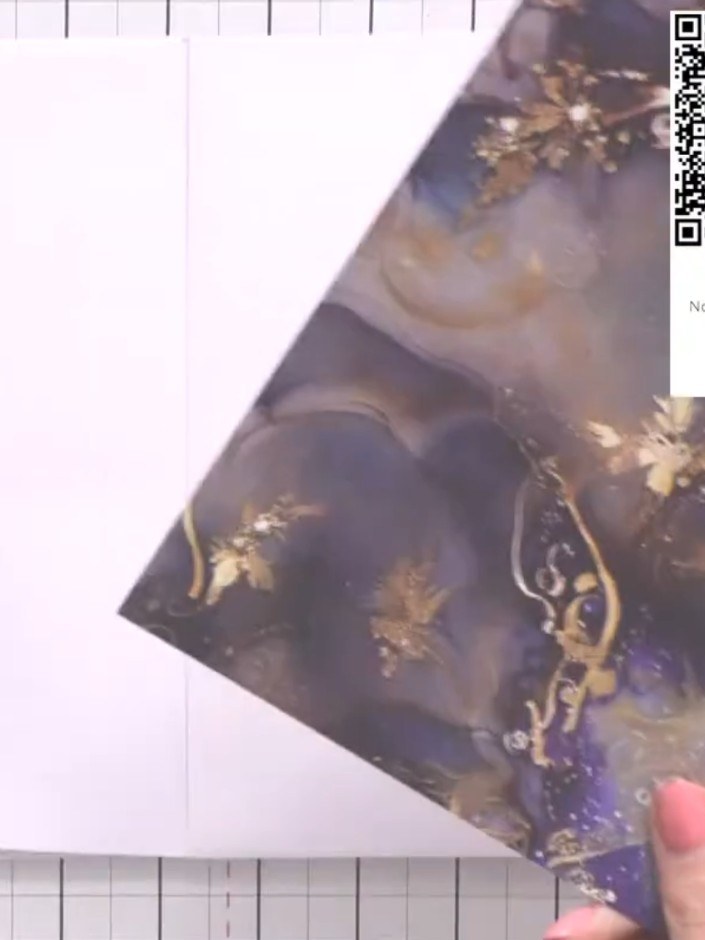
Secure your decorative topper or embellishment to the front cover of the album using tape pens or adhesive.
▶ watch this step (48:30)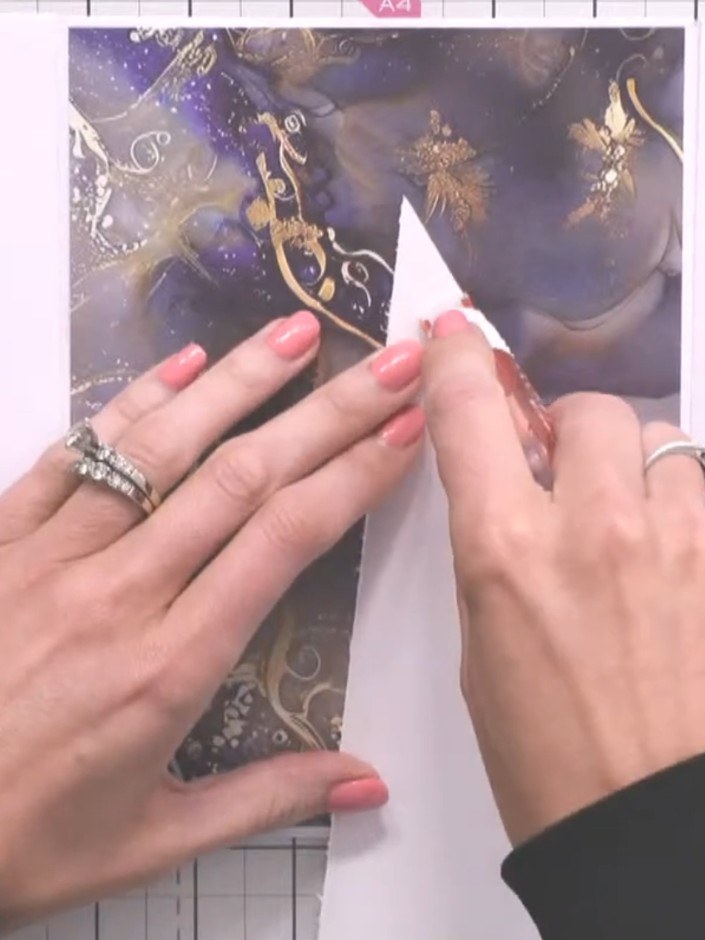
Create a belly band by placing two strips of off-cut decorative paper end to end and joining them together with tape on the reverse to form one long strip.
▶ watch this step (49:00)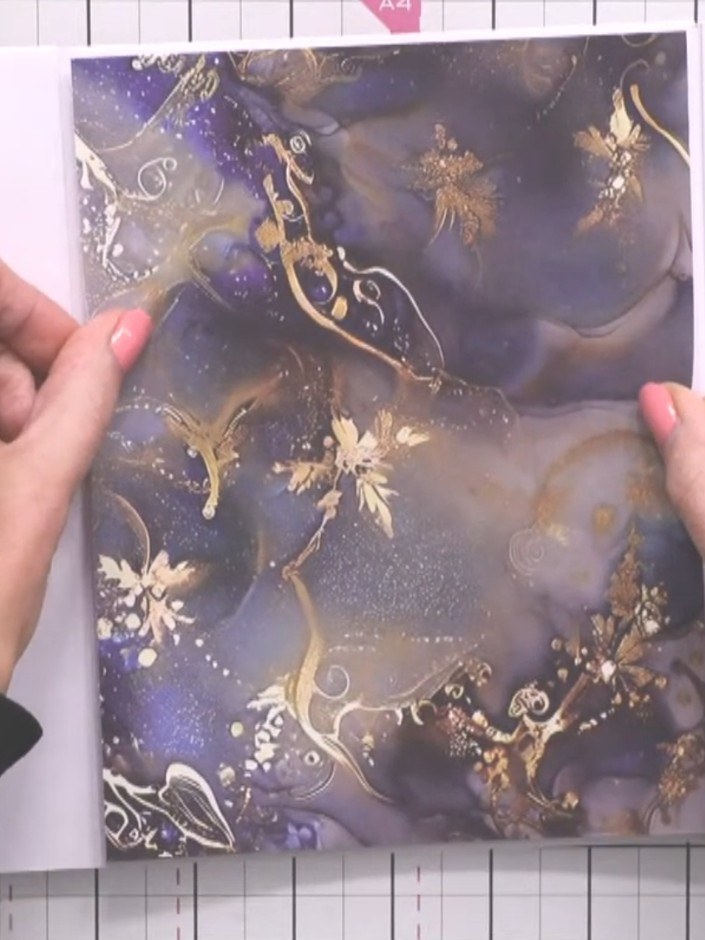
Wrap the belly band around the closed album to hold it together.
▶ watch this step (49:30)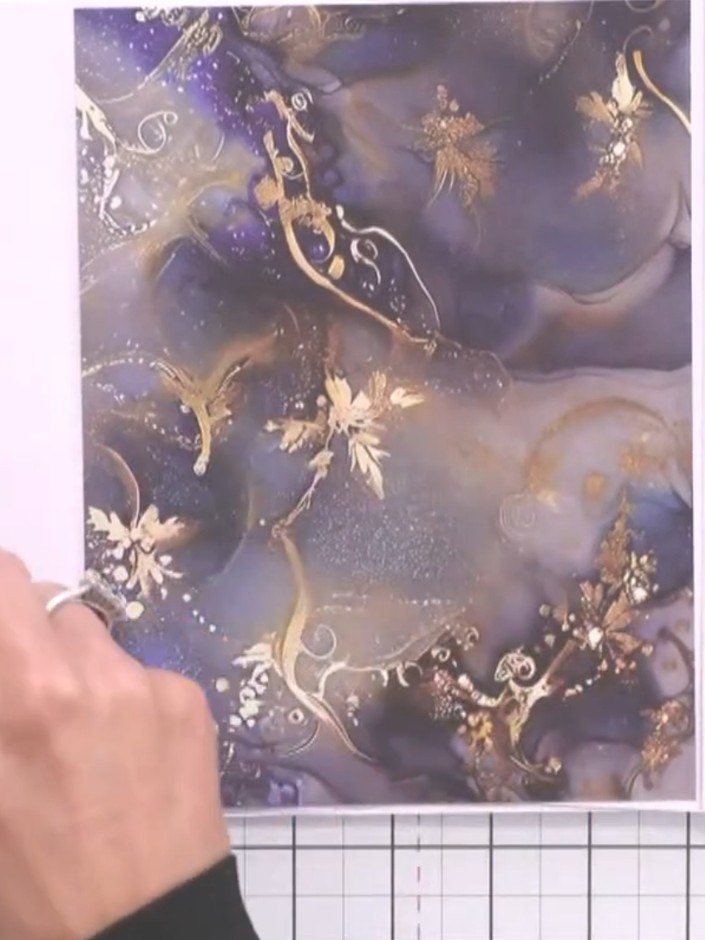
Glue a decorative topper onto the belly band to finish the album. Position the topper centrally to cover the gap where the belly band meets.
▶ watch this step (50:00)Written up from the show itself. See every guide from our shows · free how-to guides · watch live on My Telly
