Give your friends €10 off their first order!
Refer a FRIEND








A project from our live show MY PODCAST - Catch my latest updates broadcast 20th January 2025 · 20/01/2025 · watch it from 19:30
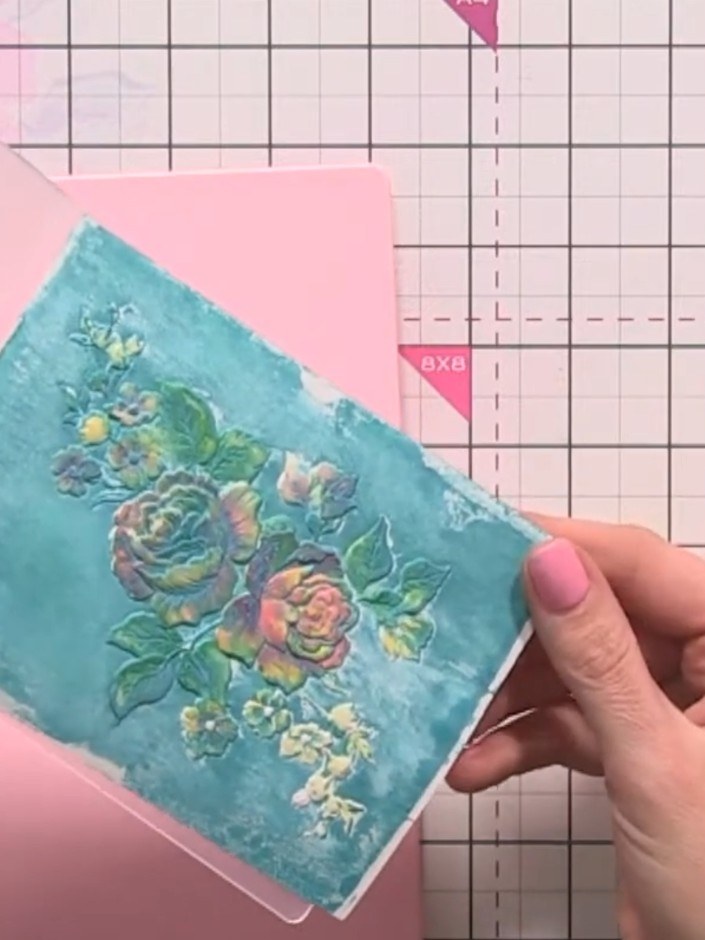
Create a beautiful vintage-style card featuring watercoloured embossed florals with a distressed wood panel effect. This project combines embossing, watercolouring, and layering techniques to build depth and dimension. The finished card showcases soft blue and purple tones with white highlights for an elegant, aged appearance.
 Stamps By Me - Embossing Folder - White Rose - 310822BSEE IT
 Stamps By Me 8.5 Inch Die Cutting & Embossing Machine - 170724ASEE IT
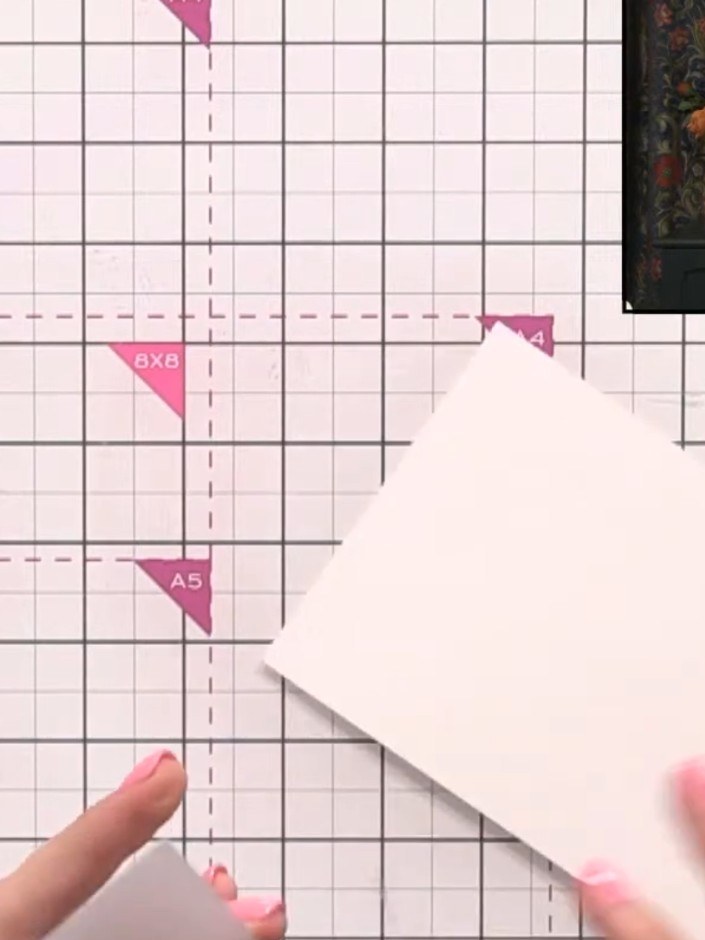
Cut a piece of watercolour card to size and place it inside the White Rose embossing folder, ensuring the card is positioned correctly within the folder.
▶ watch this step (19:30)
Place your embossed white rose folder with the watercolour paper inside into your die-cutting machine. Run it through the machine to emboss the floral design onto the card.
▶ watch this step (19:45)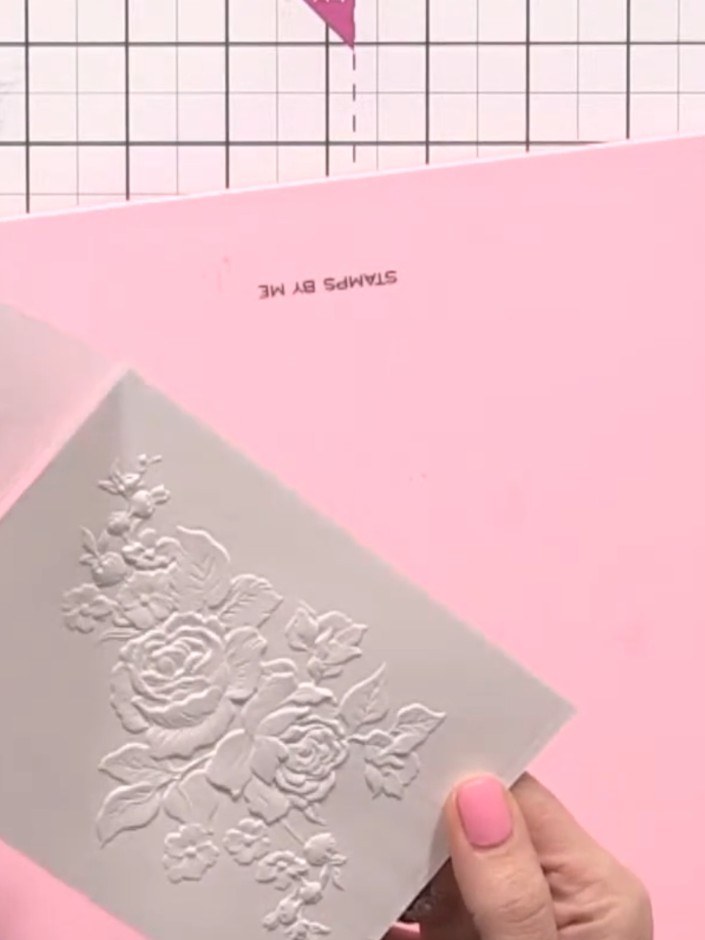
Using a water brush, wet individual petals one at a time on the embossed rose design. Work carefully petal by petal to prepare the surface for watercolouring.
▶ watch this step (21:00)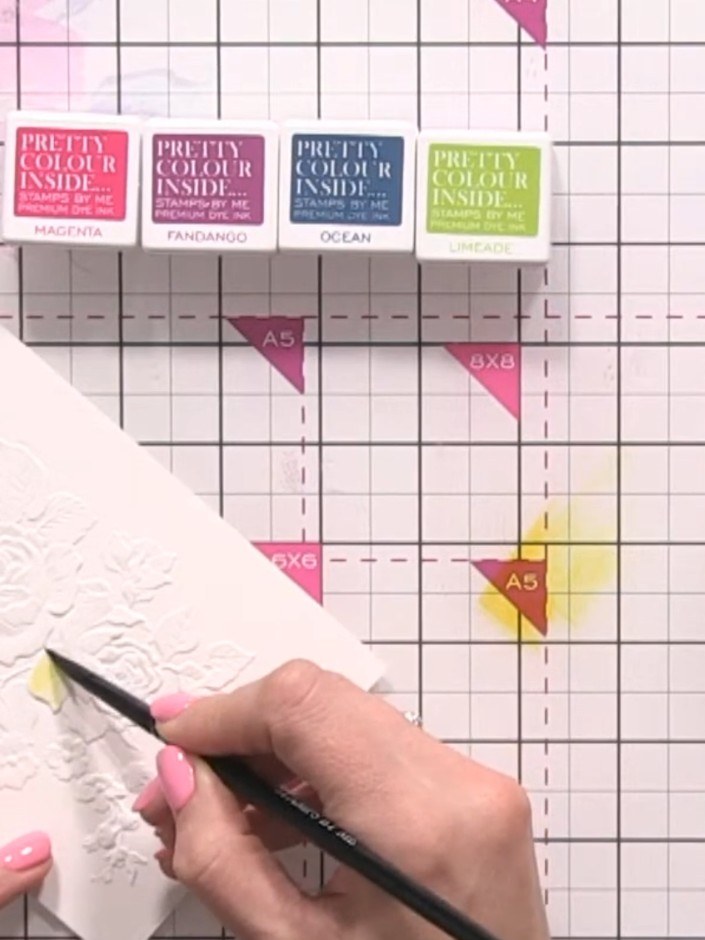
Drop yellow watercolour onto the wet petals using a brush or pen, allowing the water to carry the colour naturally across each petal. Work petal by petal to create a soft, blended effect.
▶ watch this step (25:30)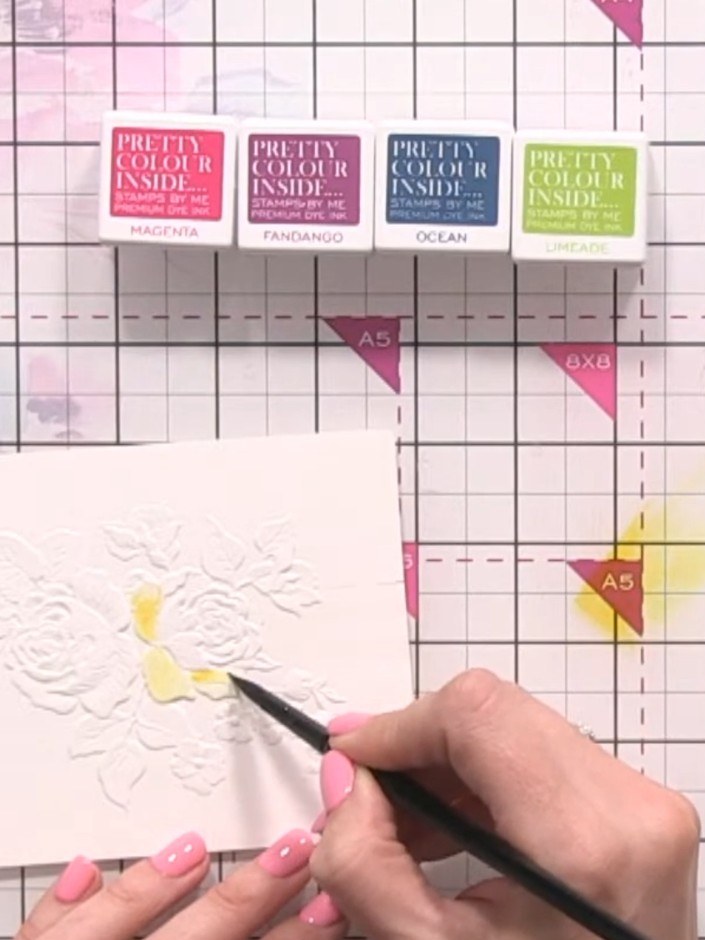
Add pink watercolour on top of the yellow areas. Pounce the colour into the embossed lines to create depth and dimension in the floral design.
▶ watch this step (26:15)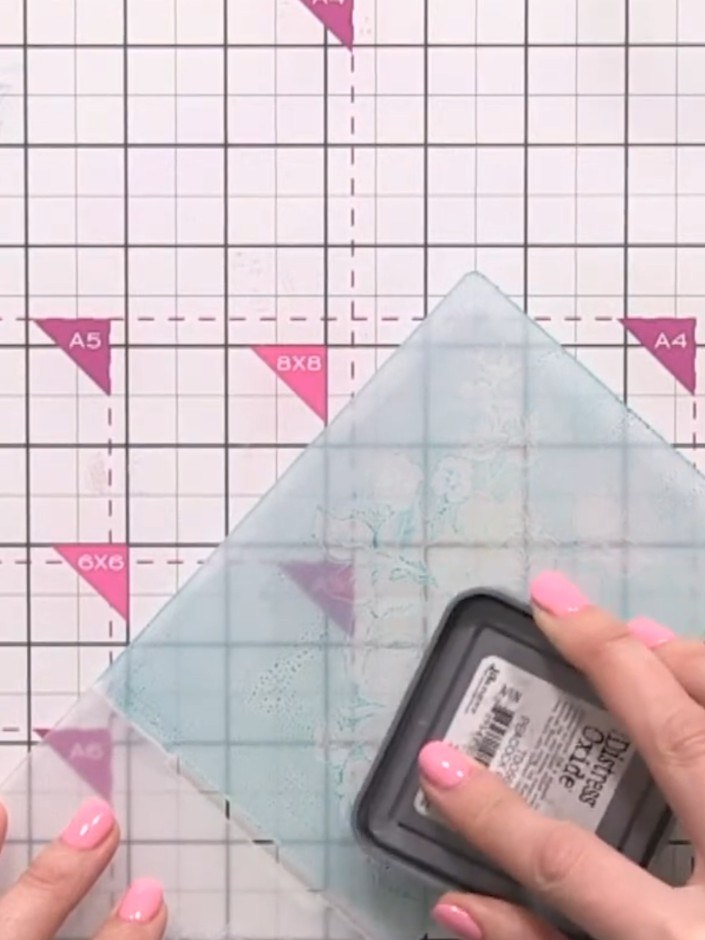
Lightly spray the inked embossing folder with water to help transfer the ink to the paper. The layers can be up to seven deep, so ensure even coverage.
▶ watch this step (49:45)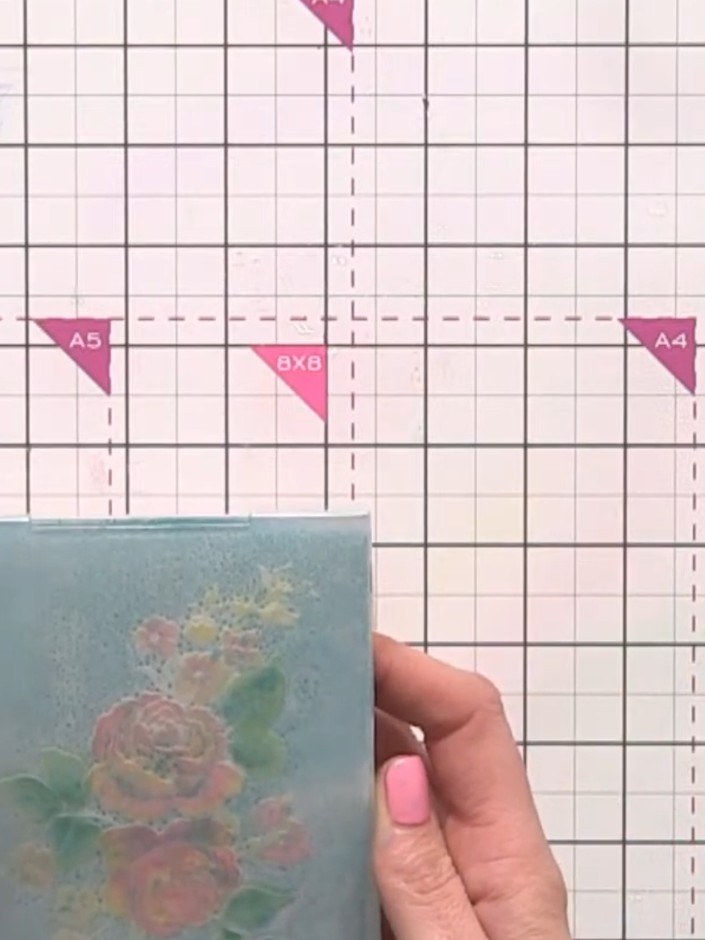
Place the painted card back into the inked embossing folder with the white rose design and run it through the die cutting machine to emboss the design over the watercoloured flowers.
▶ watch this step (51:30)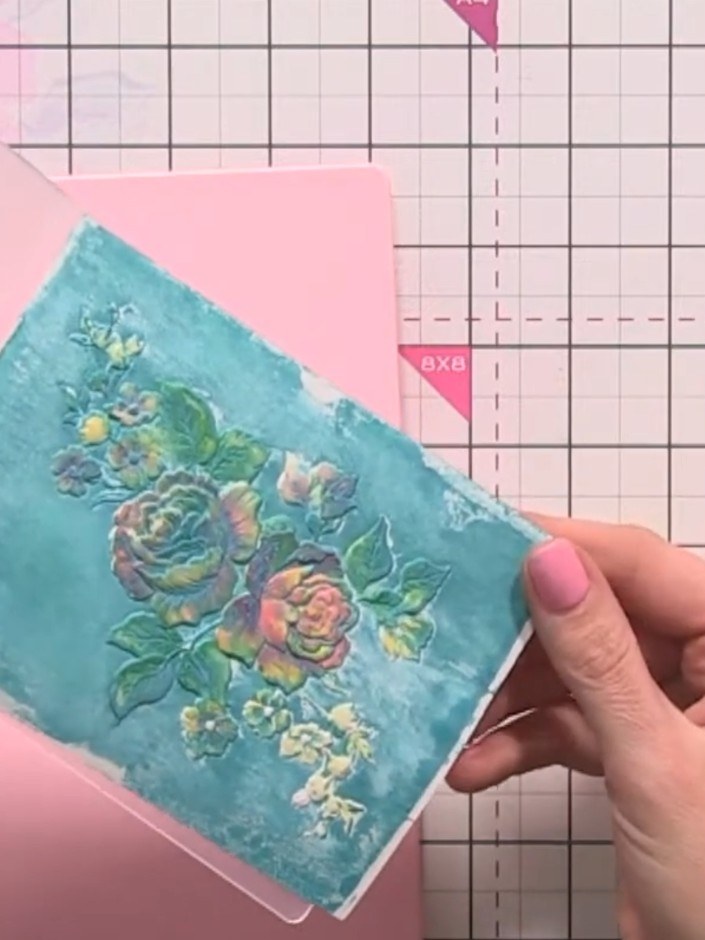
Use a white ink pad to pounce over the darker areas of the embossed floral design to bring back highlights and add detail to the watercoloured surface.
▶ watch this step (53:00)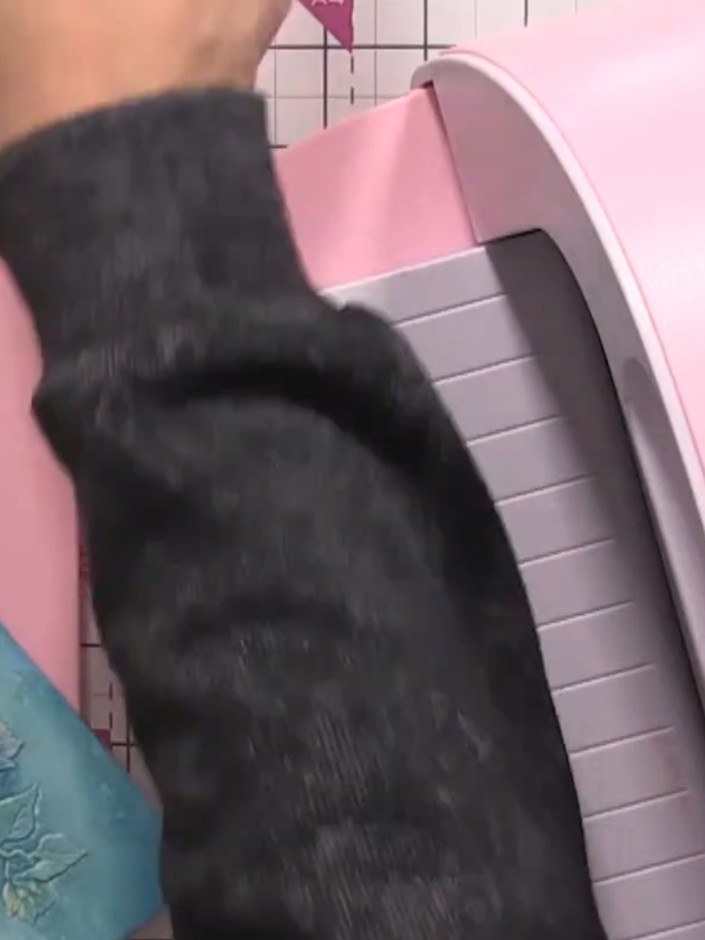
Apply black ink to the embossed design on the turquoise panel using an ink pad. Run the panel through the die-cutting machine with the embossing folder again to deepen the shadows and add dimension to the floral design.
▶ watch this step (1:01:00)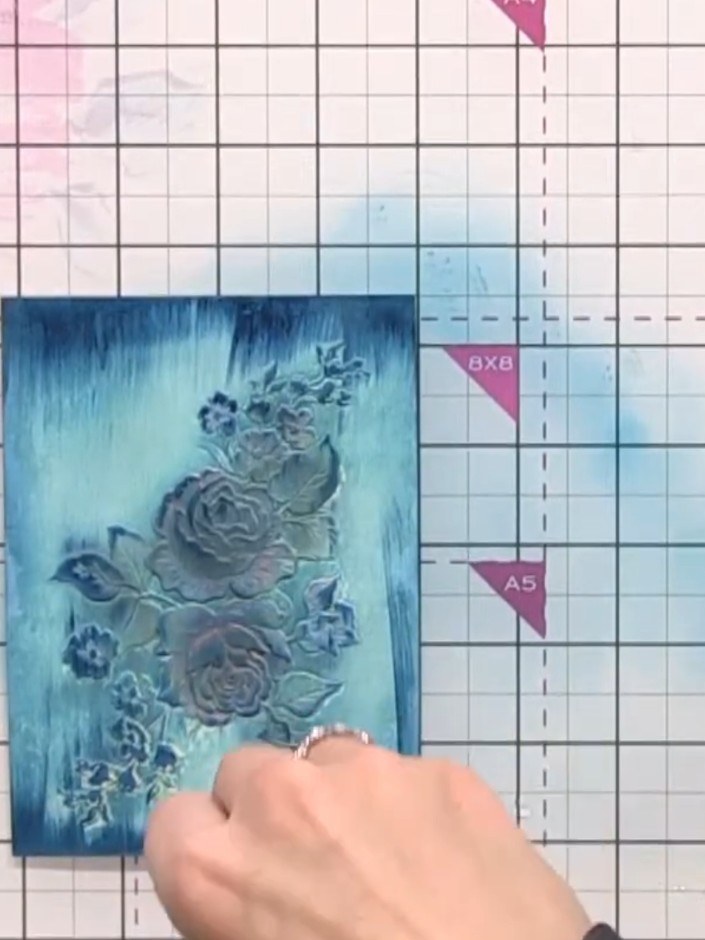
Flick water onto the card surface to create a crackle effect. Use a piece of tissue to gently mop up the excess ink, creating a distressed, vintage finish on the blue watercoloured background.
▶ watch this step (1:04:30)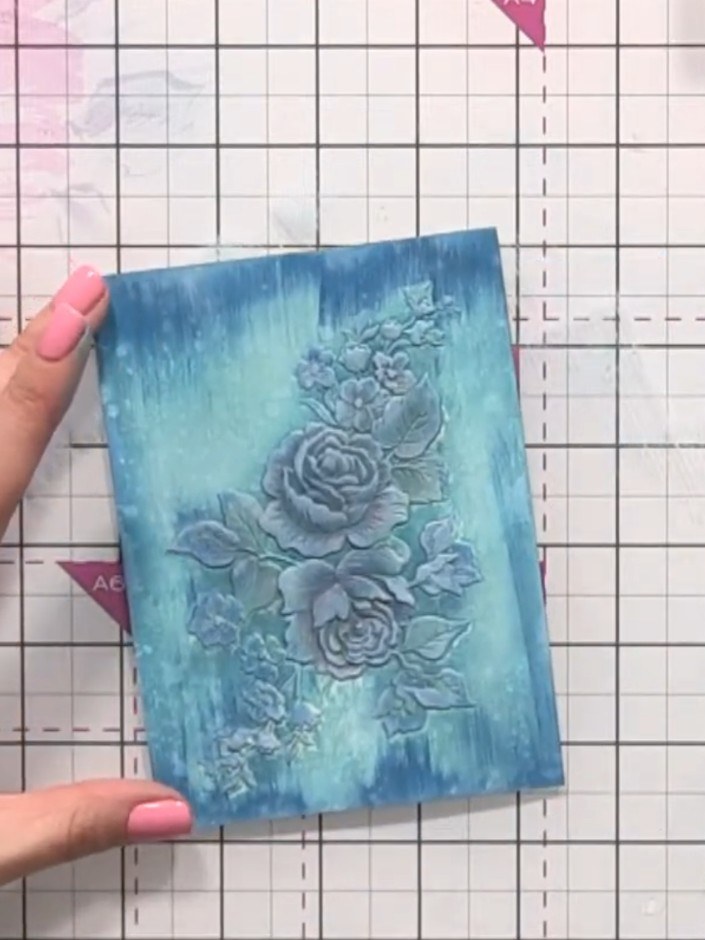
Use a white gel pen to draw faux wood panel lines across the blue watercoloured background to create a vintage wood effect. Draw the lines vertically down the card to mimic wooden planks.
▶ watch this step (1:06:30)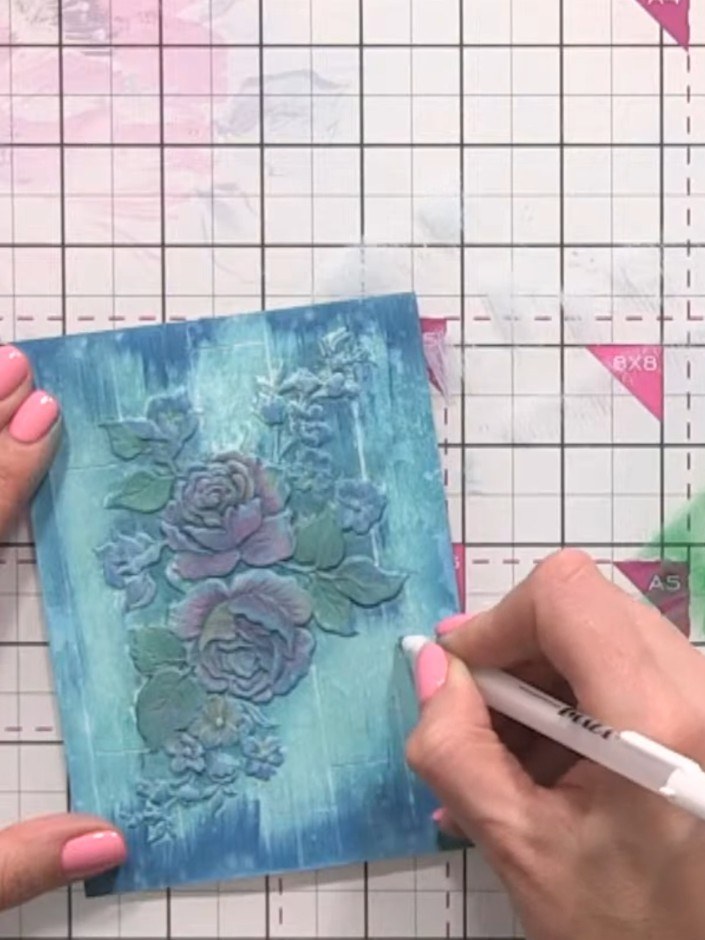
Using a white pen or marker, add fine highlights to the embossed roses to make them stand out against the aged blue background. Focus on the raised petals and edges of the flowers for maximum contrast.
▶ watch this step (1:13:00)Written up from the show itself. See every guide from our shows · free how-to guides · watch live on My Telly