Give your friends €10 off their first order!
Refer a FRIEND








A project from our live show MY PODCAST - Catch my latest updates broadcast 13th January 2025 · 13/01/2025 · watch it from 36:00
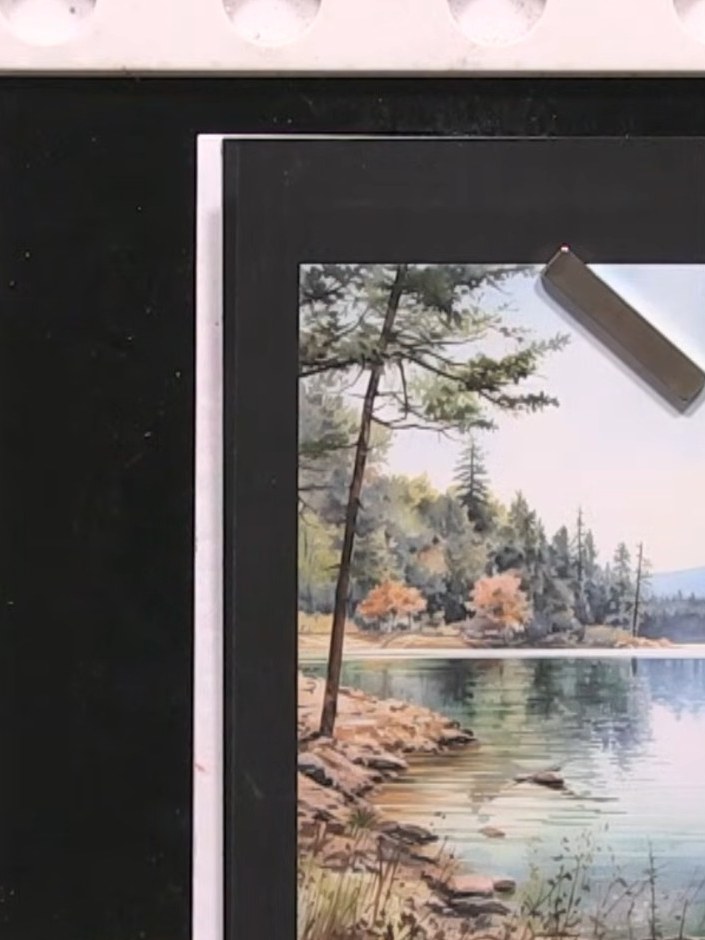
Create a stunning lakeside scene card using a reflection stamp on scenic patterned paper. The stamp features a full image at the top with its mirror reflection below, creating a beautiful depth effect with trees, water and mountains. Layer the stamped scene onto black and white card to create an elegant framed effect perfect for any occasion.
Select a piece of patterned paper from your collection. Place it on your craft mat ready to use.
▶ watch this step (36:30)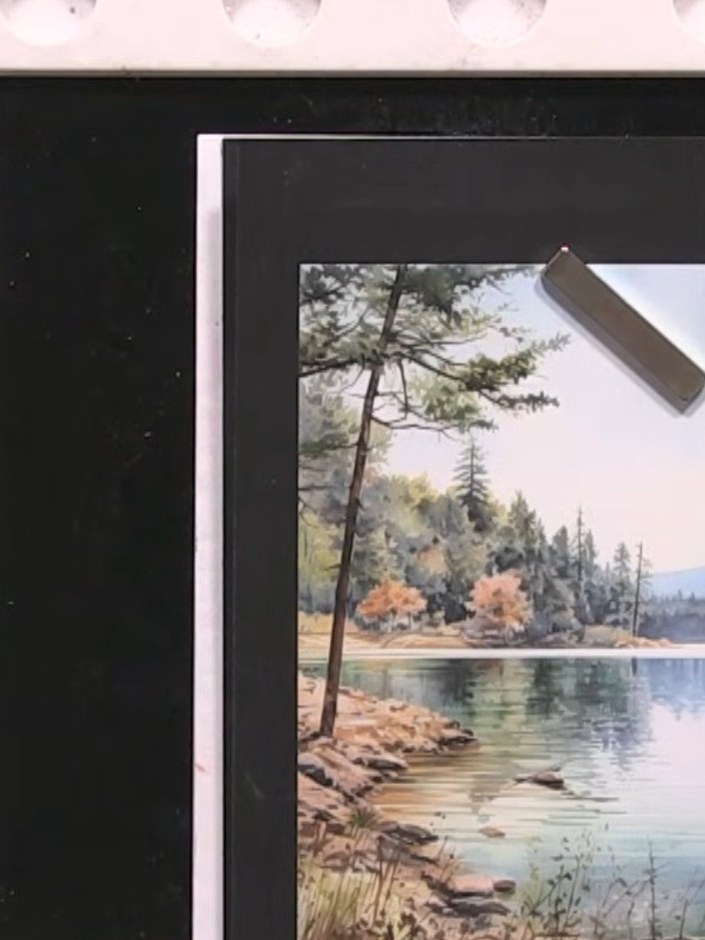
Ink up the reflection stamp lightly with pale ink on the first application. Use a light touch to create a subtle reflection effect.
▶ watch this step (37:00)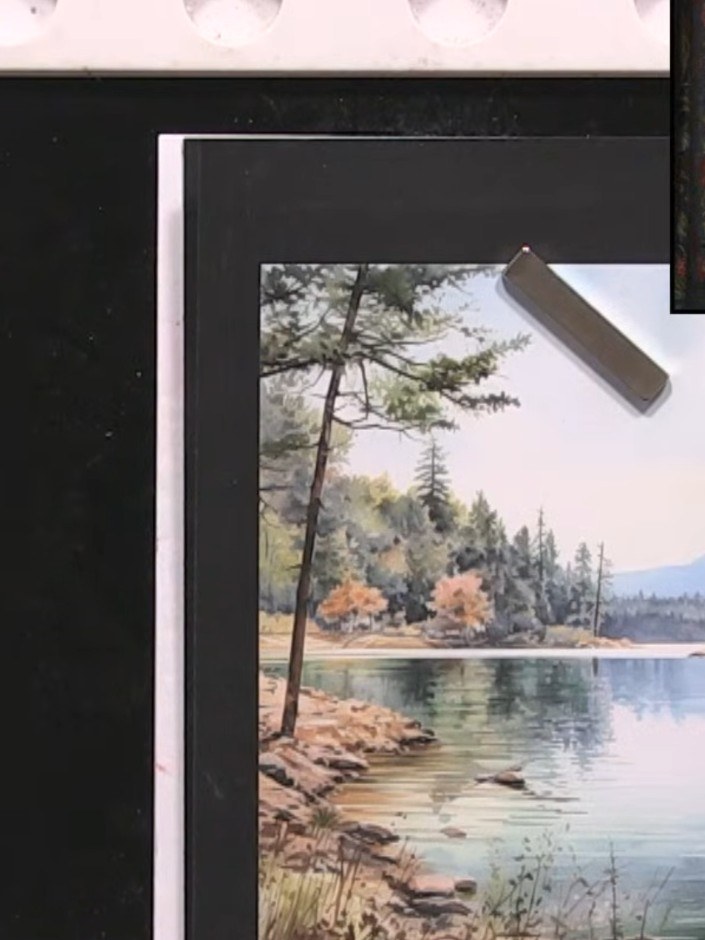
Stamp the design onto the patterned paper at the bottom of the image to create a light shadow effect below the main scene.
▶ watch this step (37:30)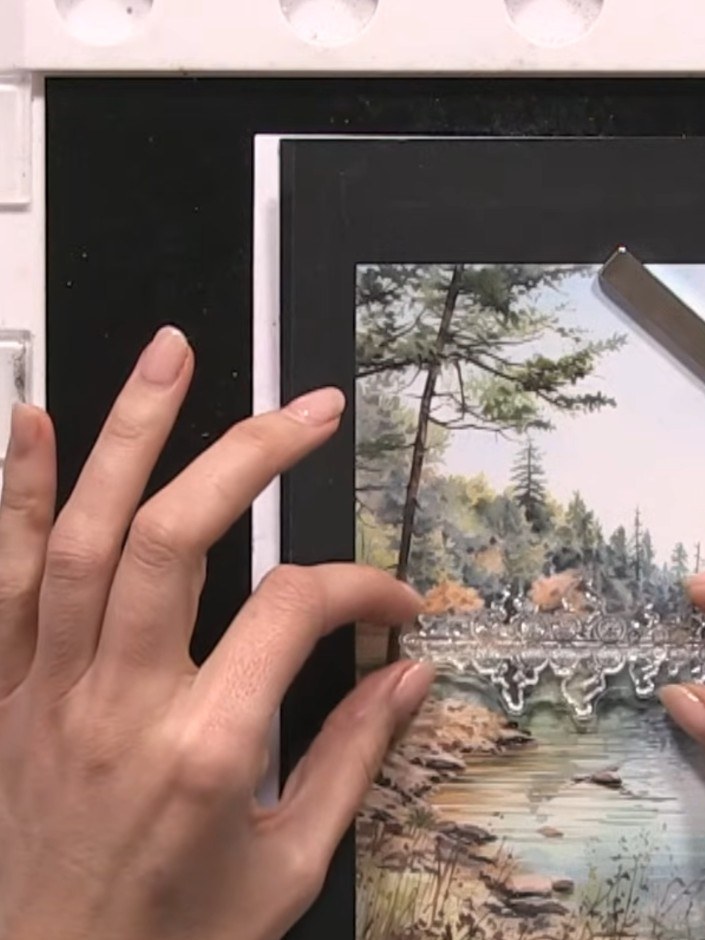
Re-ink the top portion of the landscape stamp with darker black ink, focusing on the sky and tree areas to create more depth and contrast.
▶ watch this step (38:00)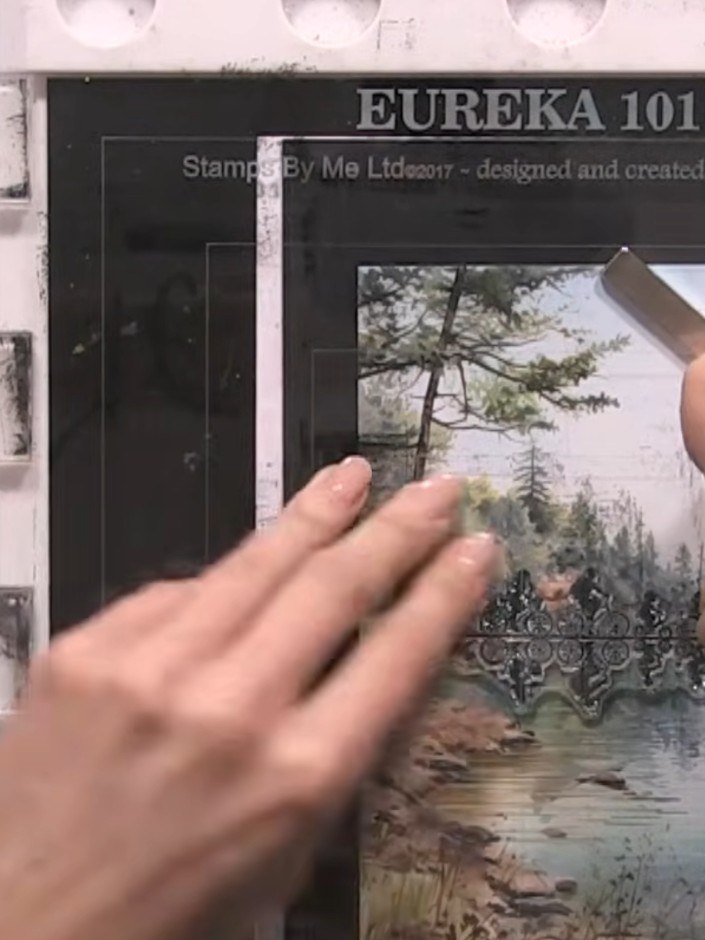
Stamp the design again in exactly the same position to darken the top portion and create the reflection effect in the water.
▶ watch this step (40:00)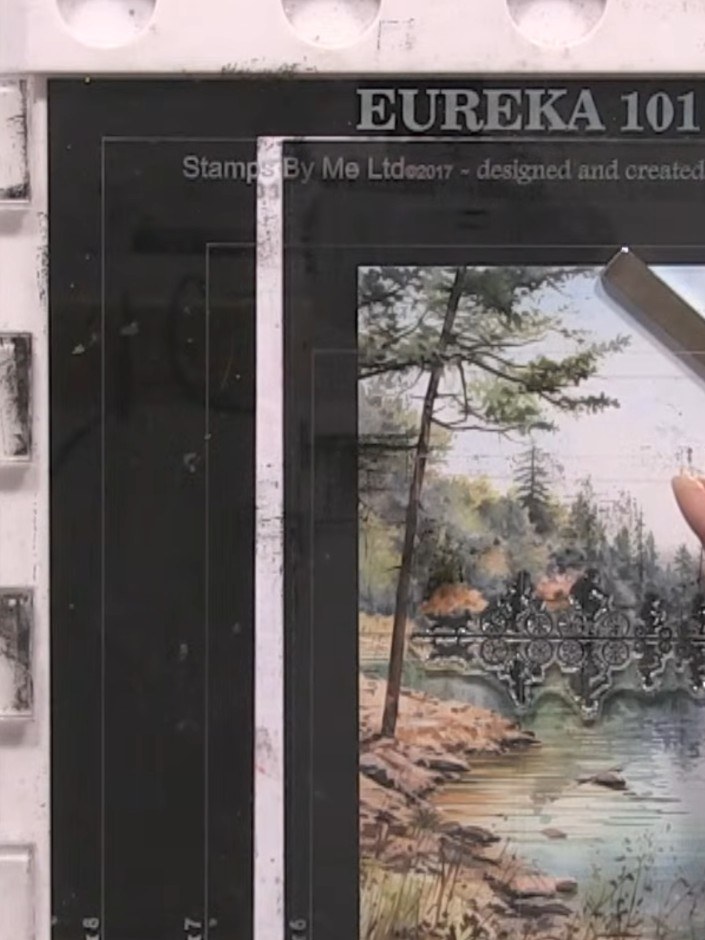
Carefully lift the stamp straight up to reveal the finished design. The reflection and shadow will create a natural-looking mirrored effect on the water. Allow the ink to dry completely.
▶ watch this step (40:30)Written up from the show itself. See every guide from our shows · free how-to guides · watch live on My Telly
