Give your friends €10 off their first order!
Refer a FRIEND








A project from our live show ONE DAY SPECIAL - Join Toni for her brand new launch - Broadcast 21st December 24 · 21/12/2024 · watch it from 15:00
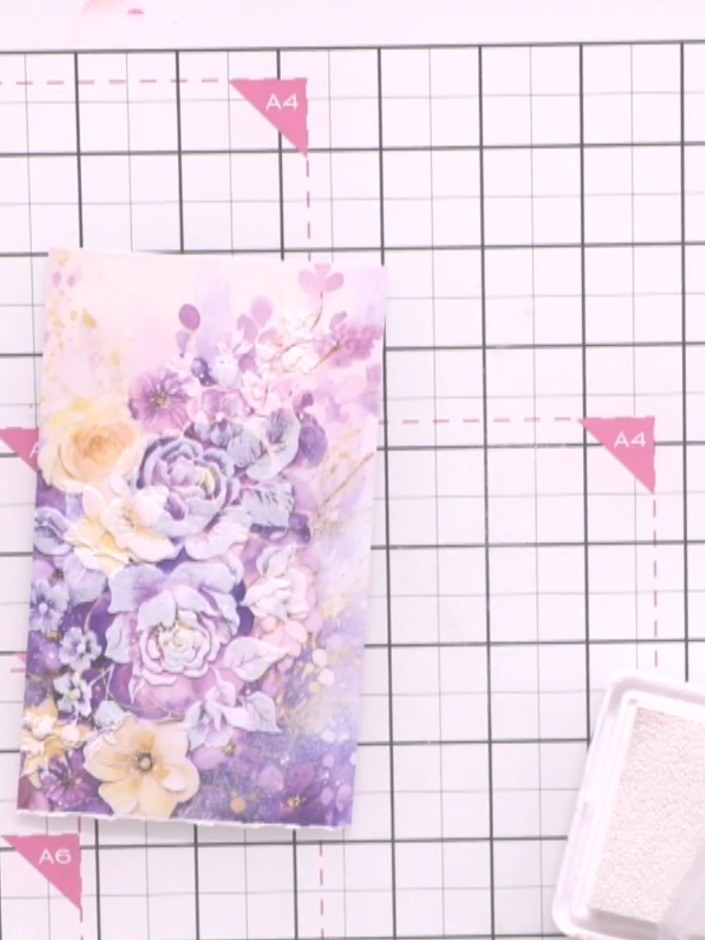
Create an elegant embossed flower card featuring soft purple and cream florals on a dreamy watercolour background. Using an embossing folder, you'll add beautiful texture to your design, then enhance the raised areas with white ink to make the floral details pop. This technique creates a sophisticated, dimensional card perfect for any special occasion.
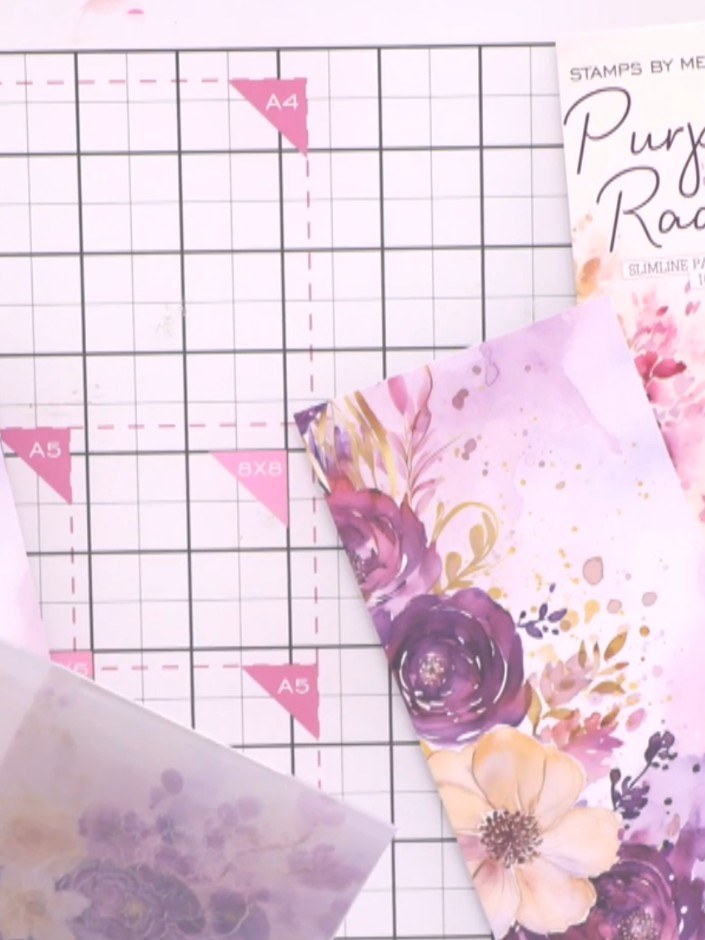
Select a piece of decorative paper from the Purple Radiance pad. Position the paper inside your embossing folder, ensuring it is centred within the folder.
▶ watch this step (15:30)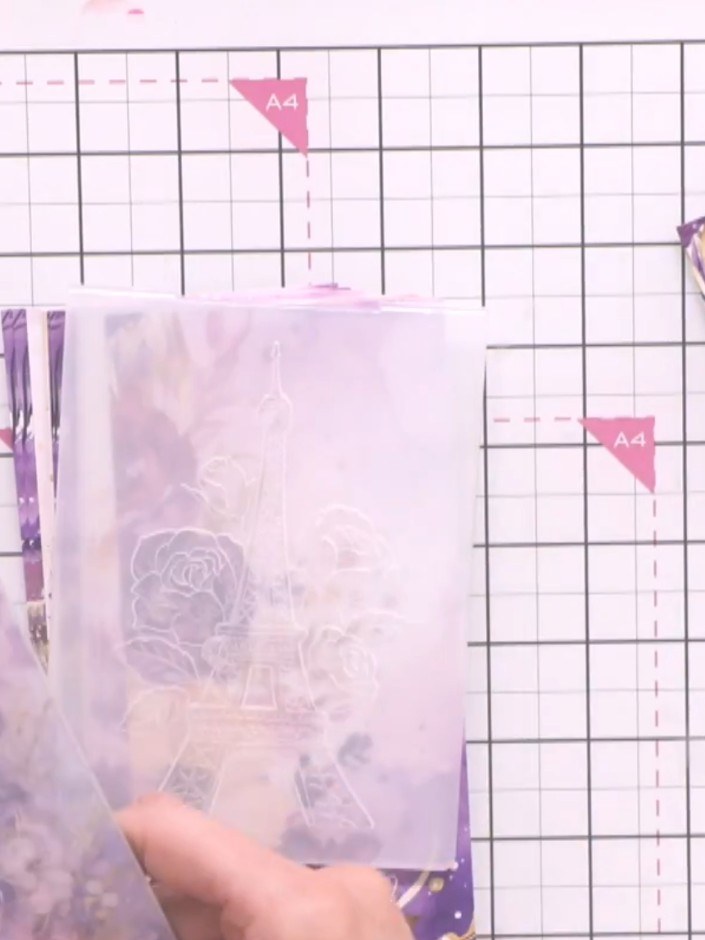
Run the embossed paper through your die-cutting machine to create the flower design. Use your A4 die-cutting and embossing machine for this step.
▶ watch this step (15:45)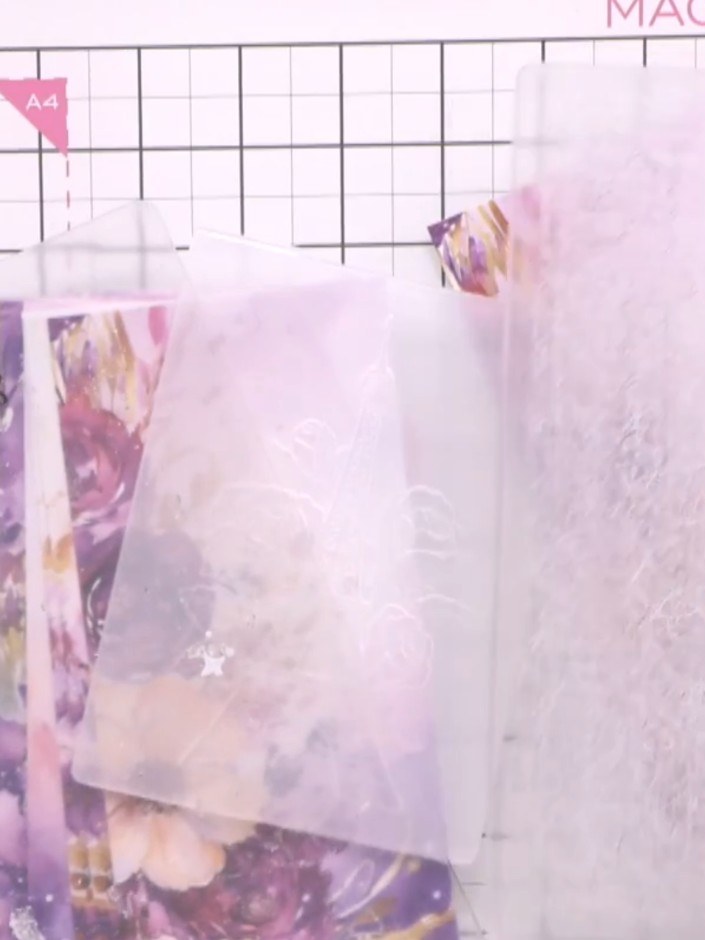
Remove the embossed paper from the folder and examine the raised floral texture created by the embossing process.
▶ watch this step (16:00)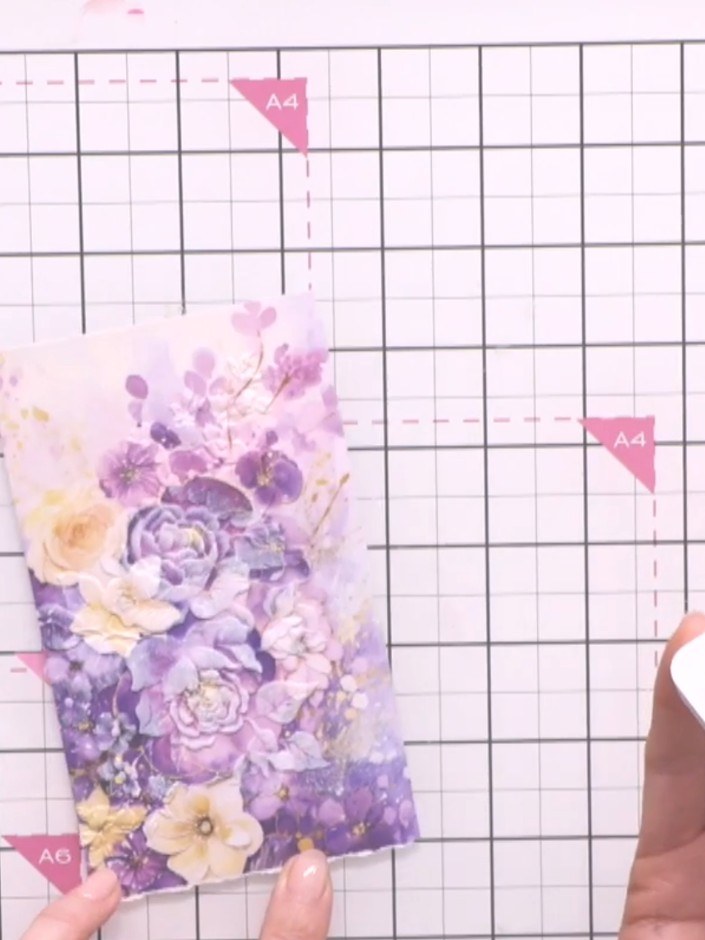
Using a white ink pad, gently dab the raised floral elements on your embossed card to highlight the texture. Apply the ink lightly to create subtle white detail on the purple flowers.
▶ watch this step (16:15)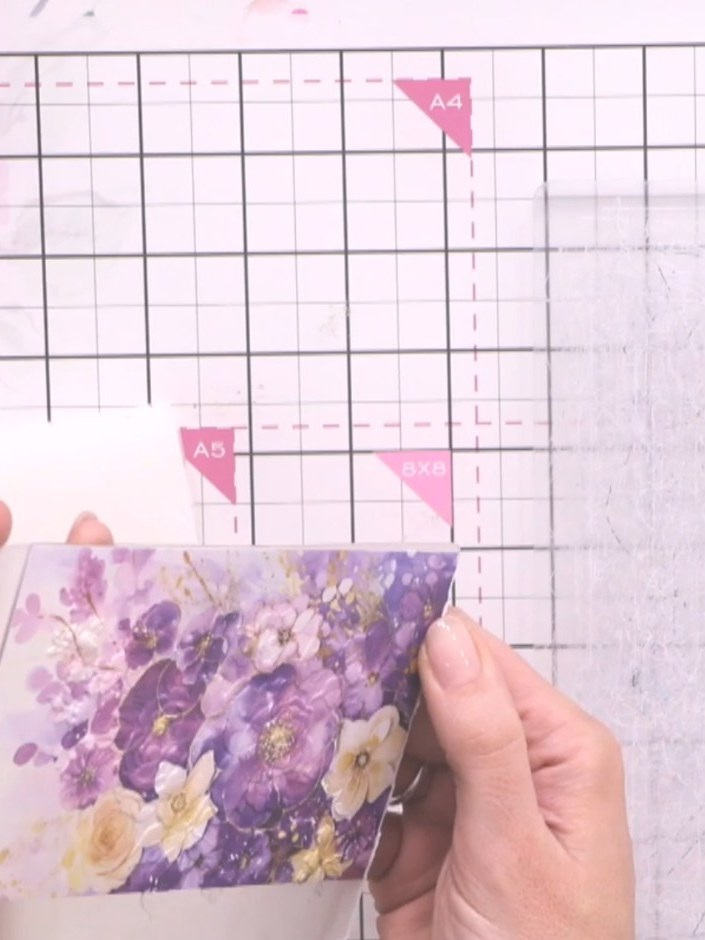
Rattle the embossing folder's raised element with the white ink pad to highlight the embossed details on your card.
▶ watch this step (16:30)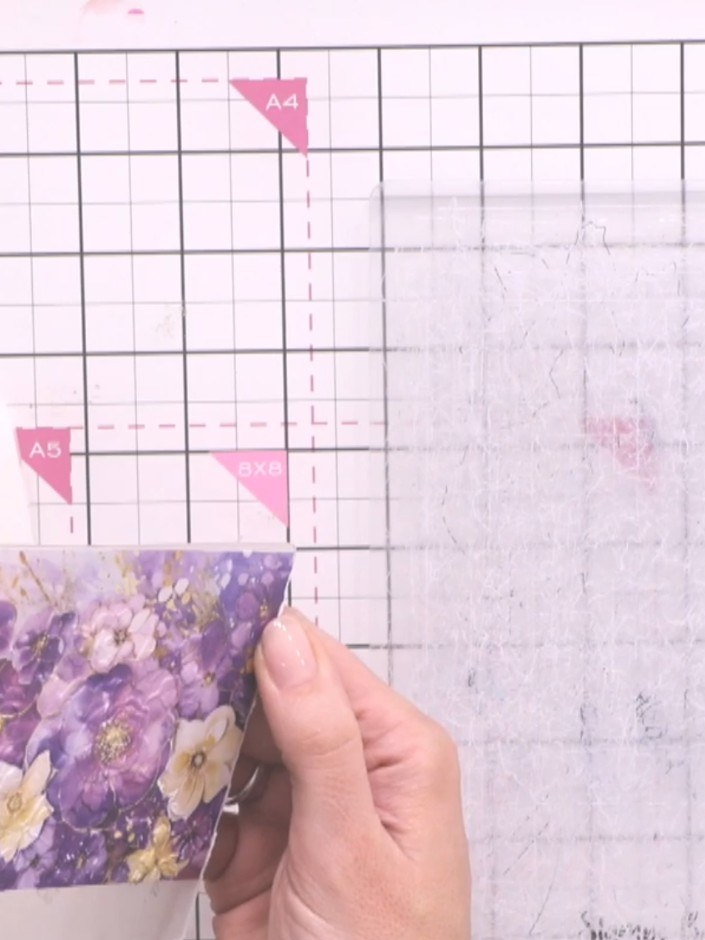
Allow the embossed and inked card to dry completely before continuing. Move the piece aside whilst it dries.
▶ watch this step (16:45)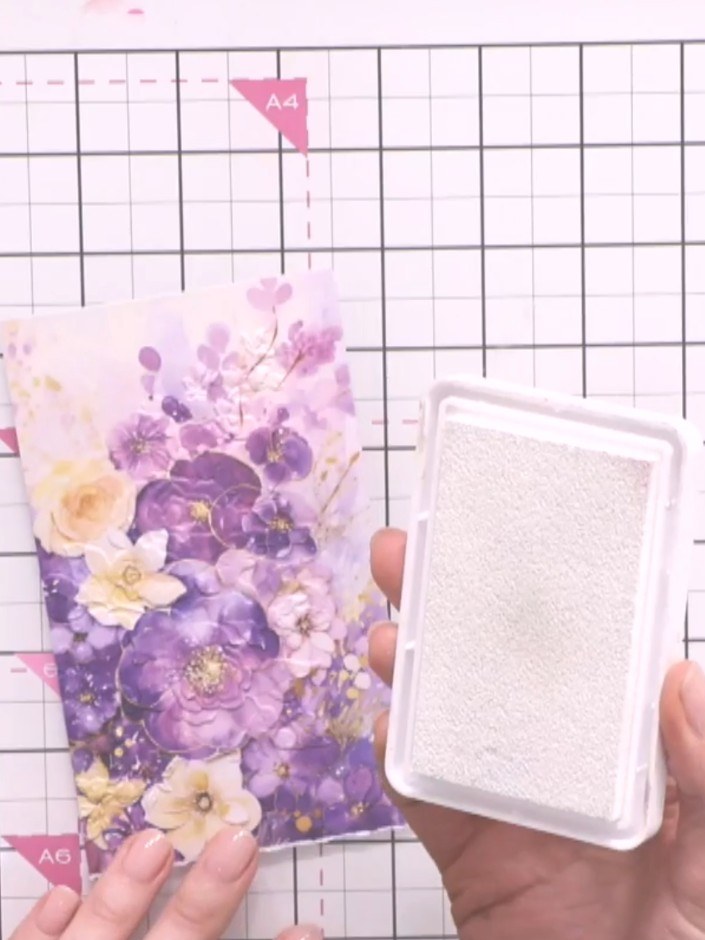
Step back and admire the dimensional effect created by the embossing and white ink combination on your finished floral card.
▶ watch this step (17:00)Written up from the show itself. See every guide from our shows · free how-to guides · watch live on My Telly
