Give your friends €10 off their first order!
Refer a FRIEND








Prices change straight away. Every language is our own translation, not Google.
A project from our live show MY PODCAST - Catch my latest updates broadcast 16th December 2024 · 16/12/2024 · watch it from 37:30
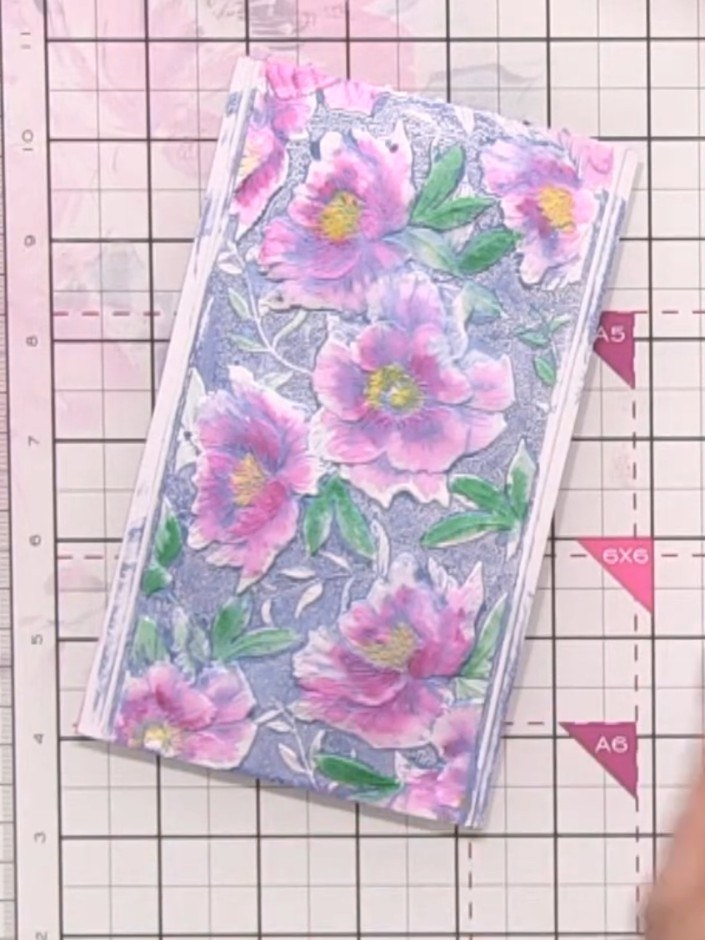
Create a stunning floral card featuring embossed peonies brought to life with watercolour painting. The design showcases elegant pink and purple flowers on a blue background, paired with a dramatic black and white embossed panel. You'll learn embossing techniques, watercolour layering, and how to add dimensional detail to create a sophisticated handmade card.
 Stamps By Me Signature Embossing Folder - Slimline Peonies - 300524LSEE IT
 Stamps By Me - Premium Pigment Ink Pure White - Cotton - 121022MSEE IT
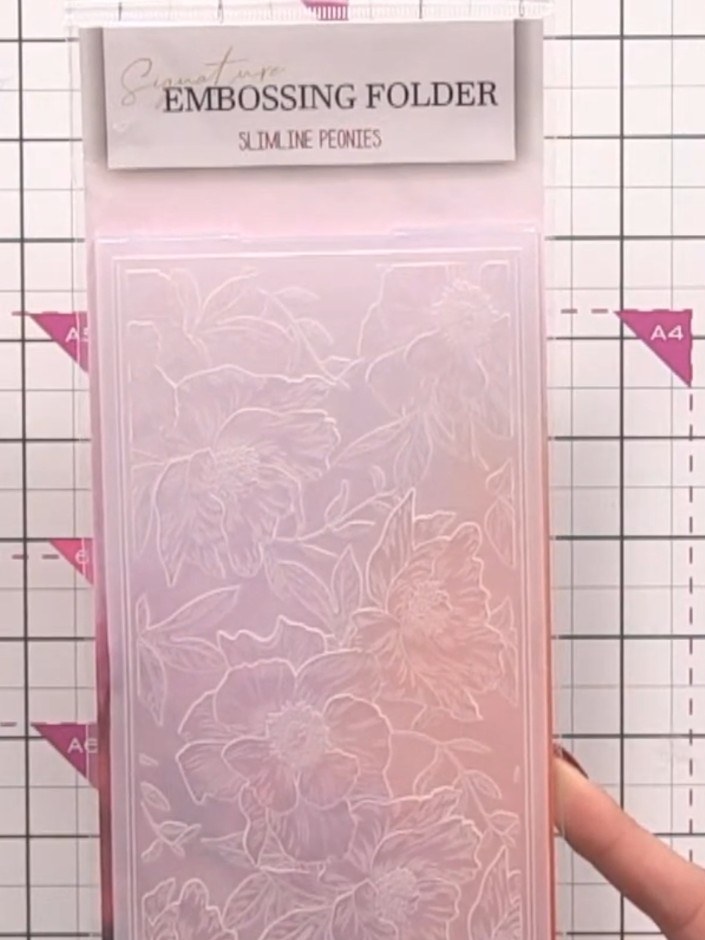
Position your patterned paper from the Wildflower Sunset collection into the slimline peonies embossing folder, aligning it near the top of the folder.
▶ watch this step (37:45)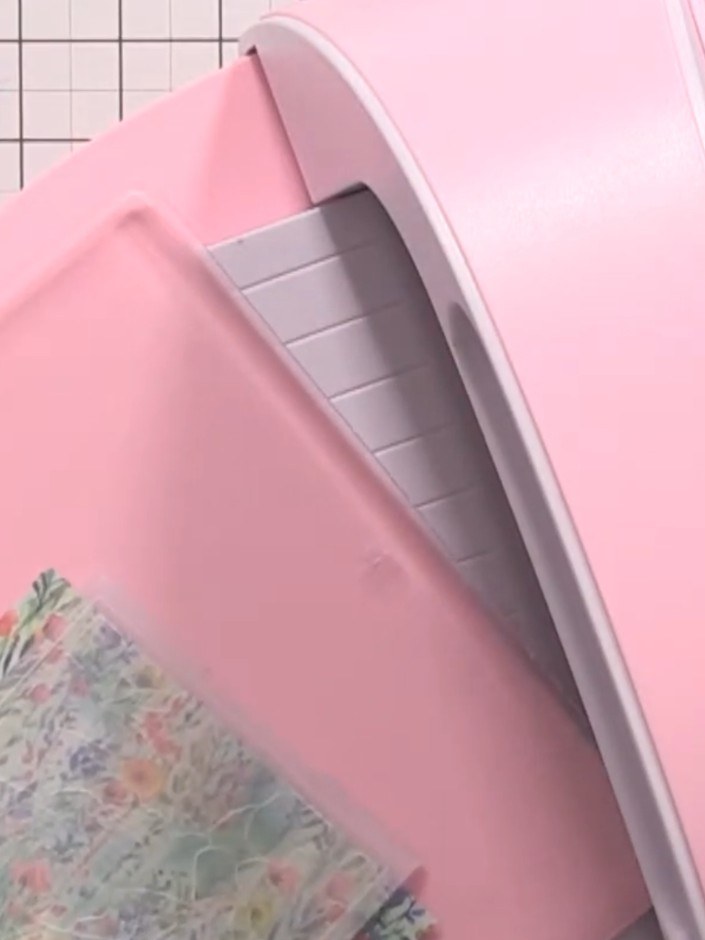
Place your embossed paper onto the base of your die-cutting machine with one clear plate on top and one pink plate, then run it through the machine to emboss the peony design.
▶ watch this step (40:45)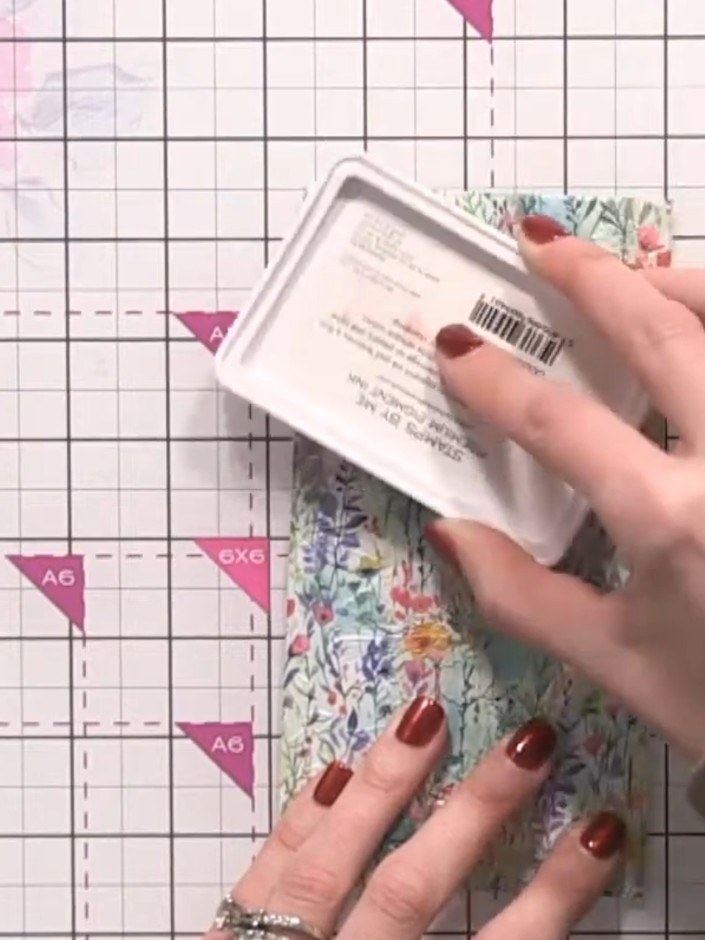
Ink up both sides of the embossing folder using a distress oxide ink pad in your chosen colour, such as faded jeans. Tap the ink pad over the entire surface of both the top and bottom of the folder to ensure even coverage.
▶ watch this step (42:45)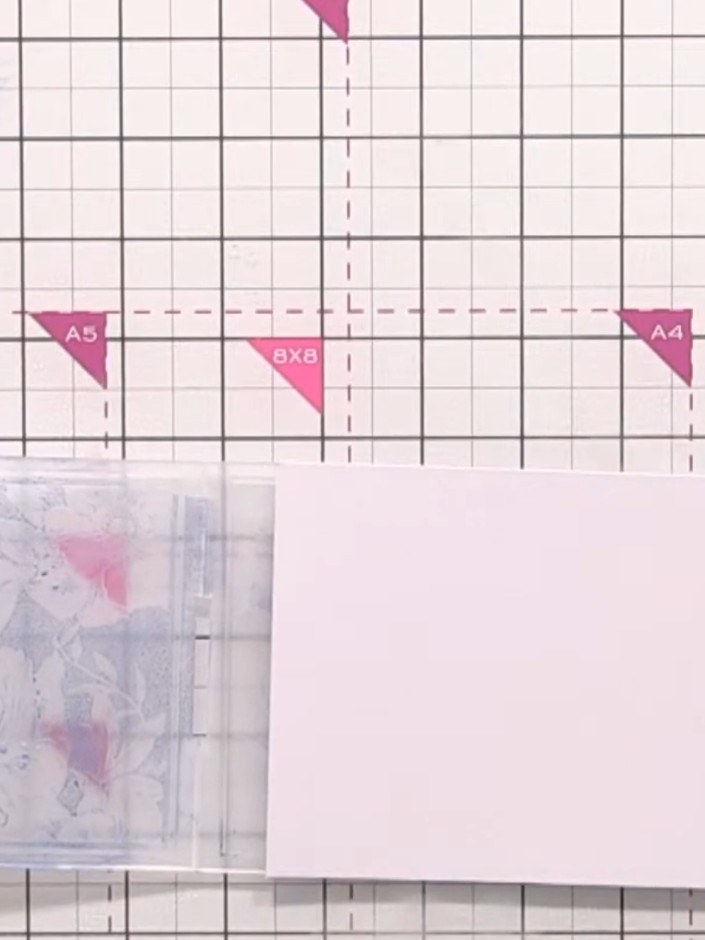
Lightly spray your white card stock with water to prepare it for the watercolour technique.
▶ watch this step (47:15)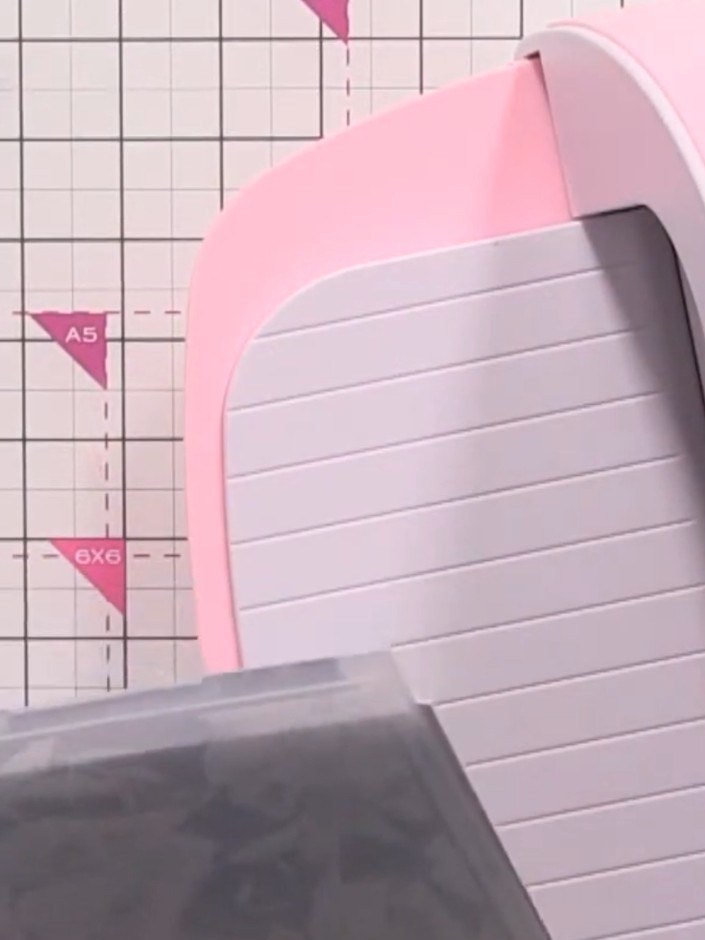
Place the inked embossing folder onto the wet watercoloured card. Position it carefully, then run the card and folder through your die-cutting machine to transfer the ink design onto the card.
▶ watch this step (48:00)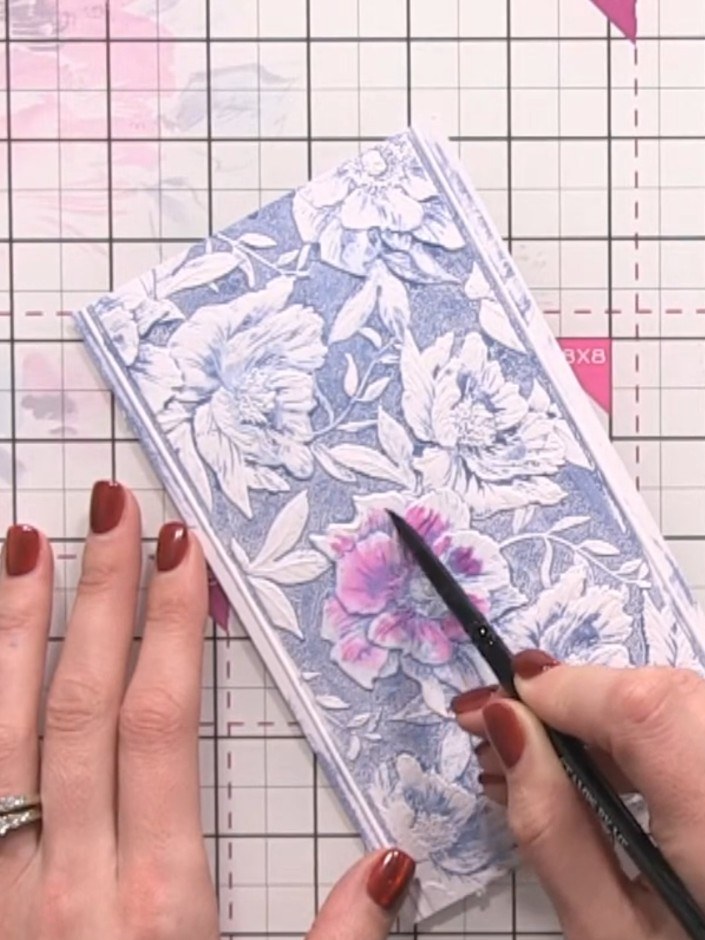
Wet each flower individually with clean water using a brush. Drop pink, yellow and green ink onto the wet areas to create a watercoloured effect. The ink will only go where the paper is wet.
▶ watch this step (50:00)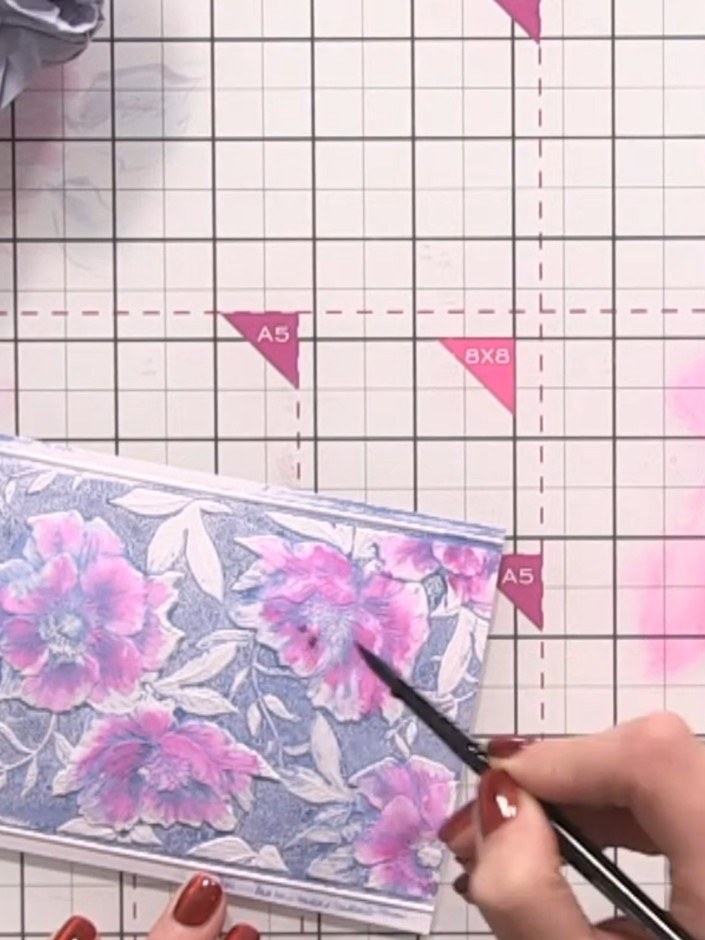
Continue adding pink ink to the wet areas to build up depth and colour variation. The ink will naturally flow and blend whilst still wet, creating darker tones where more colour is applied.
▶ watch this step (53:00)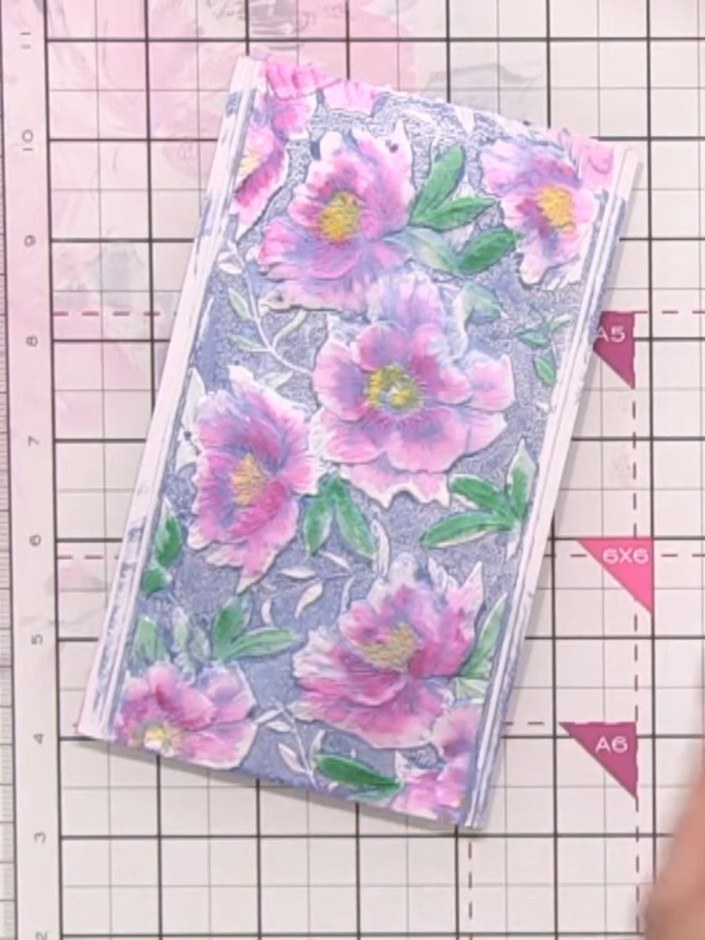
Once the watercoloured card is dry, re-ink the embossing folder with white pigment ink and run the card through the die-cutting machine again to bring back the embossed detail over the watercoloured design.
▶ watch this step (58:00)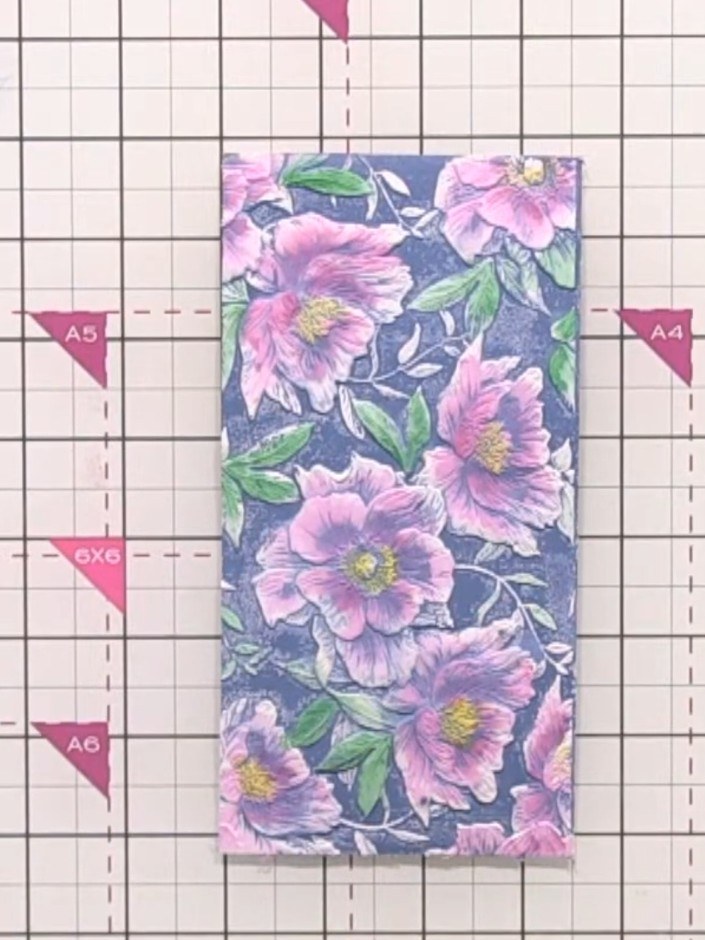
Trim the edges of the embossed card panel neatly, taking care to preserve the chamfered edge created by the embossing folder.
▶ watch this step (1:02:30)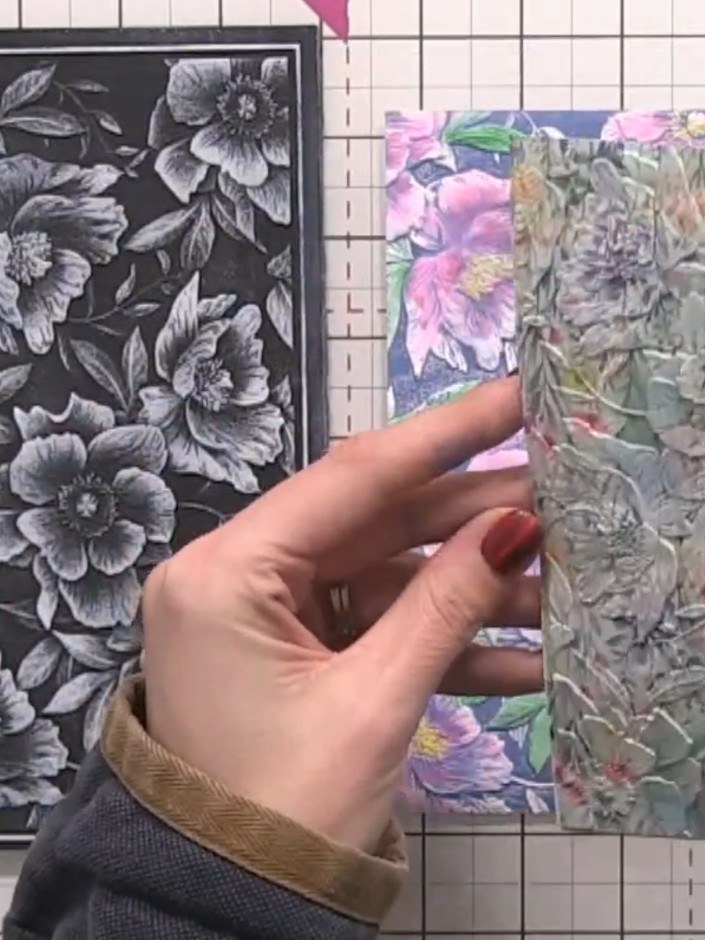
Add a sentiment or embellishment to complete your card. The example shows a clear acetate panel with embossed floral detail placed over the coloured background to add dimension and texture to the finished design.
▶ watch this step (1:05:00)Written up from the show itself. See every guide from our shows · free how-to guides · watch live on My Telly


