Give your friends €10 off their first order!
Refer a FRIEND








A project from our live show MY PODCAST - Catch my latest updates broadcast 18th November 2024 · 18/11/2024 · watch it from 8:00
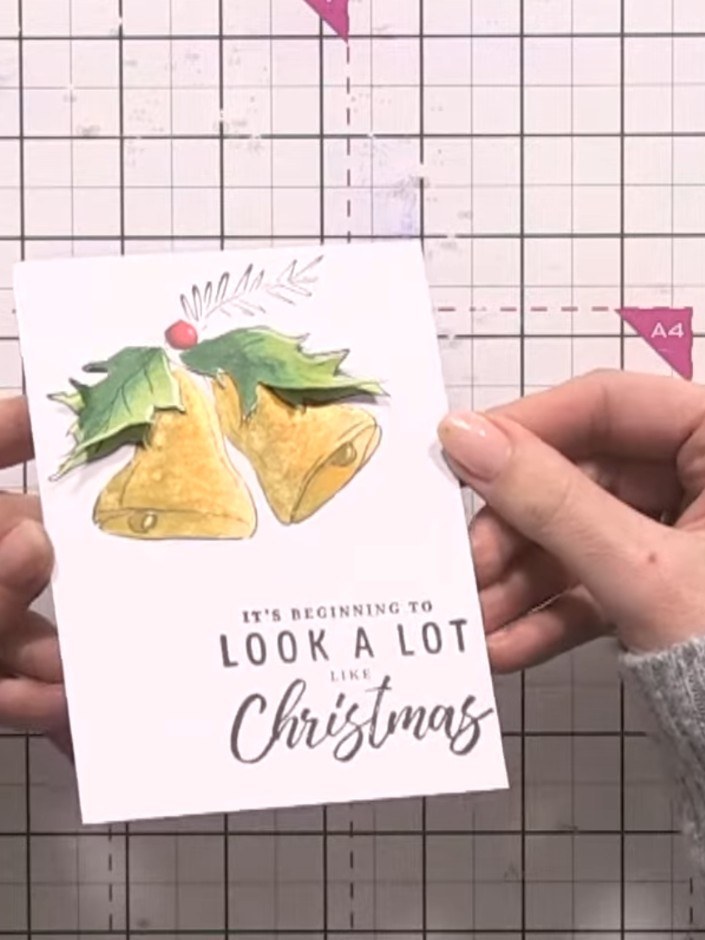
Create a festive Christmas card featuring beautifully illustrated golden bells adorned with green holly leaves and red berries. This project uses alcohol markers to add realistic shading and dimension to the bells, creating depth and a professional finish. The sentiment 'It's beginning to look a lot like Christmas' completes this charming seasonal greeting card.
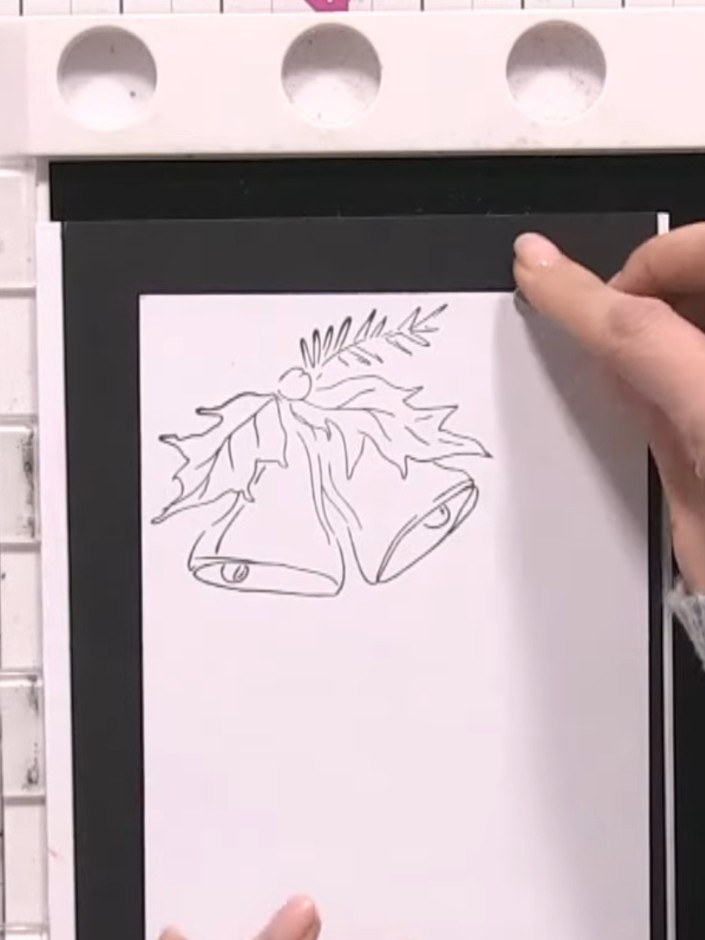
Select three shades of yellow alcohol marker: light, medium, and dark. These will be used to shade the bells on your stamped image.
▶ watch this step (12:45)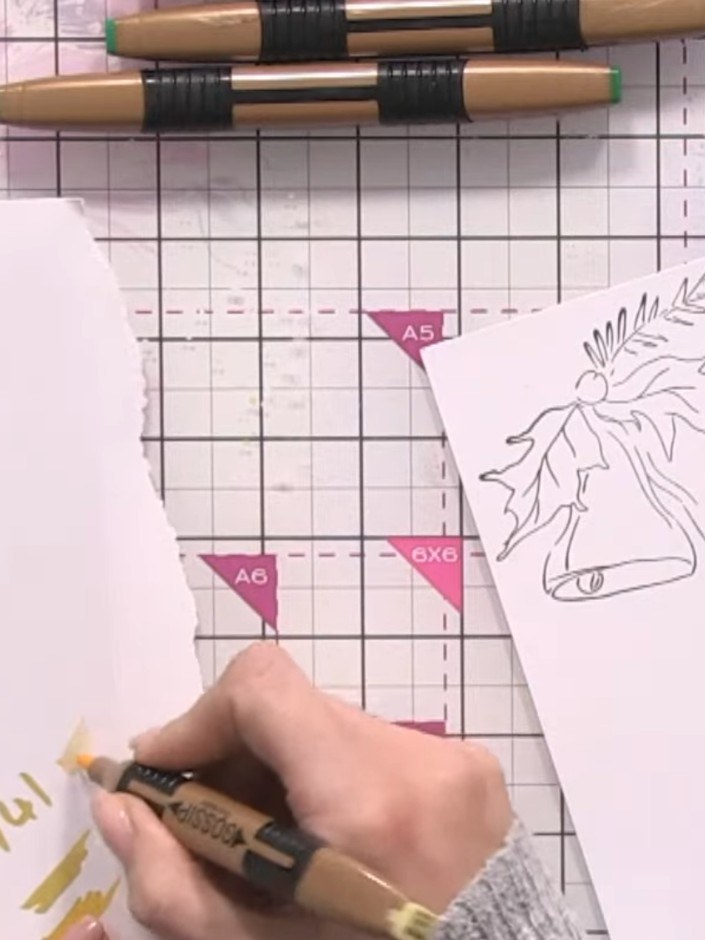
Colour the first bell entirely with the lightest yellow shade from your alcohol markers.
▶ watch this step (17:00)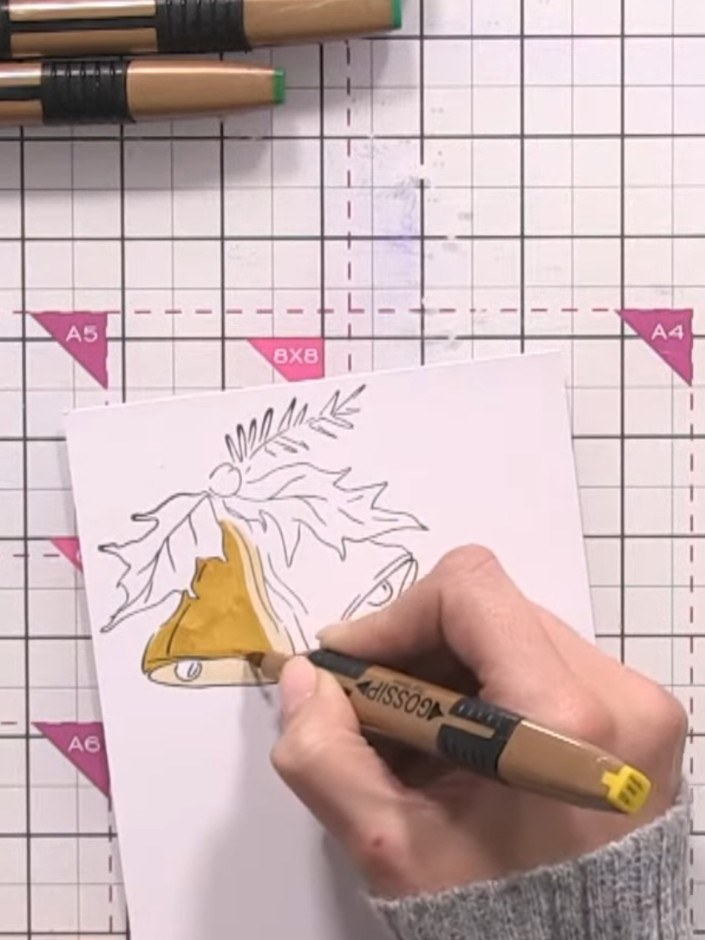
Using the medium yellow marker, colour approximately three-quarters of the bell. Leave one side lighter to show where the light is coming from.
▶ watch this step (19:30)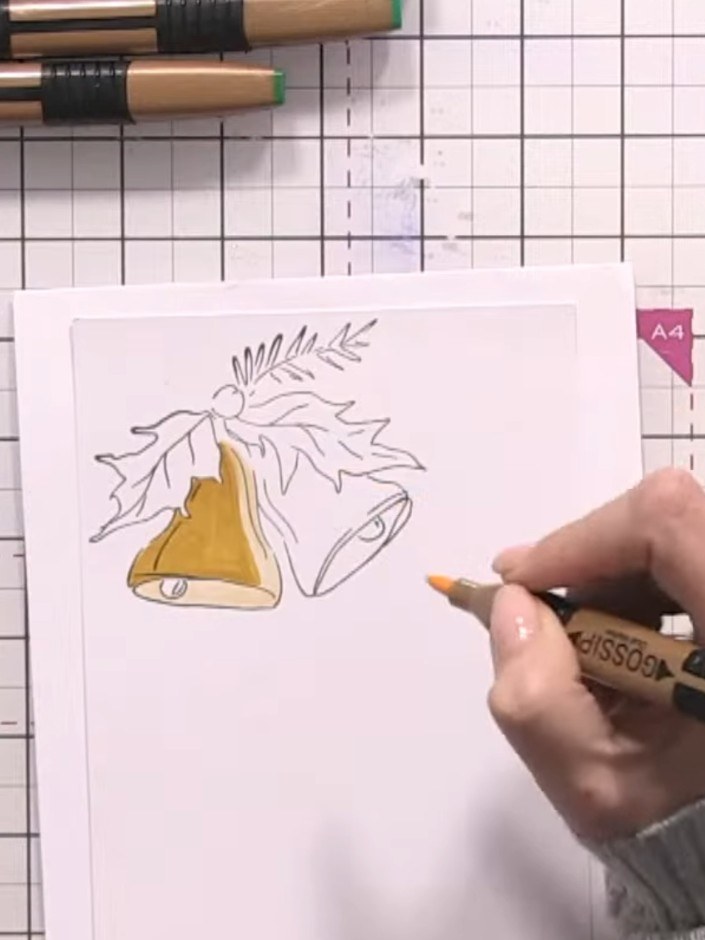
Blend the medium and light colours together using circular motions with the light marker to soften the transition between the shades on the bell.
▶ watch this step (21:00)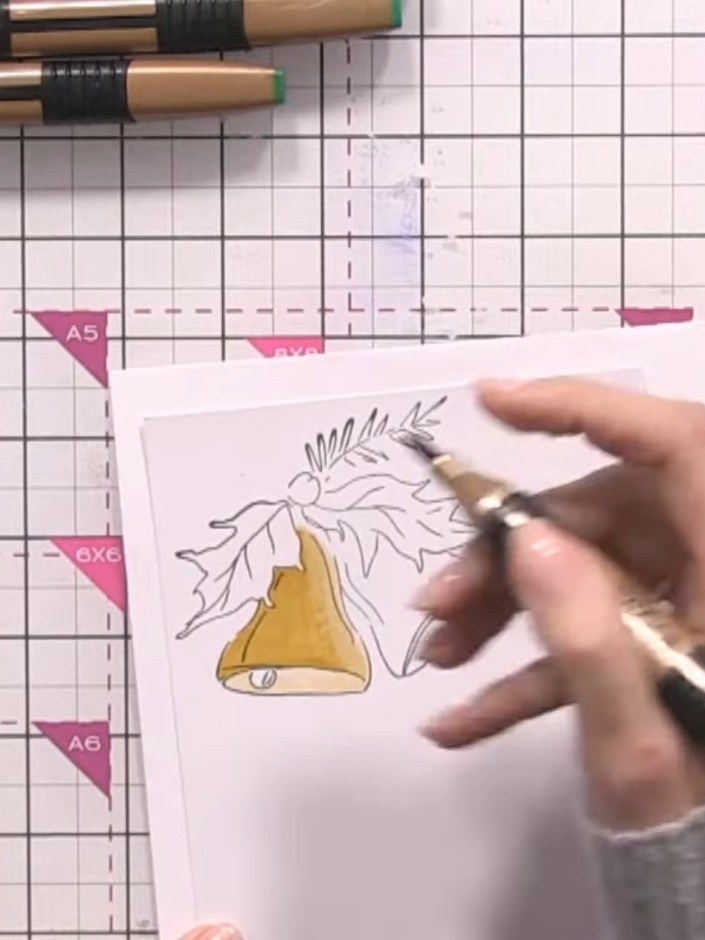
Apply the darkest yellow marker to the remaining uncoloured area of the bell. Blend the colour smoothly with the medium yellow shade where they meet.
▶ watch this step (22:15)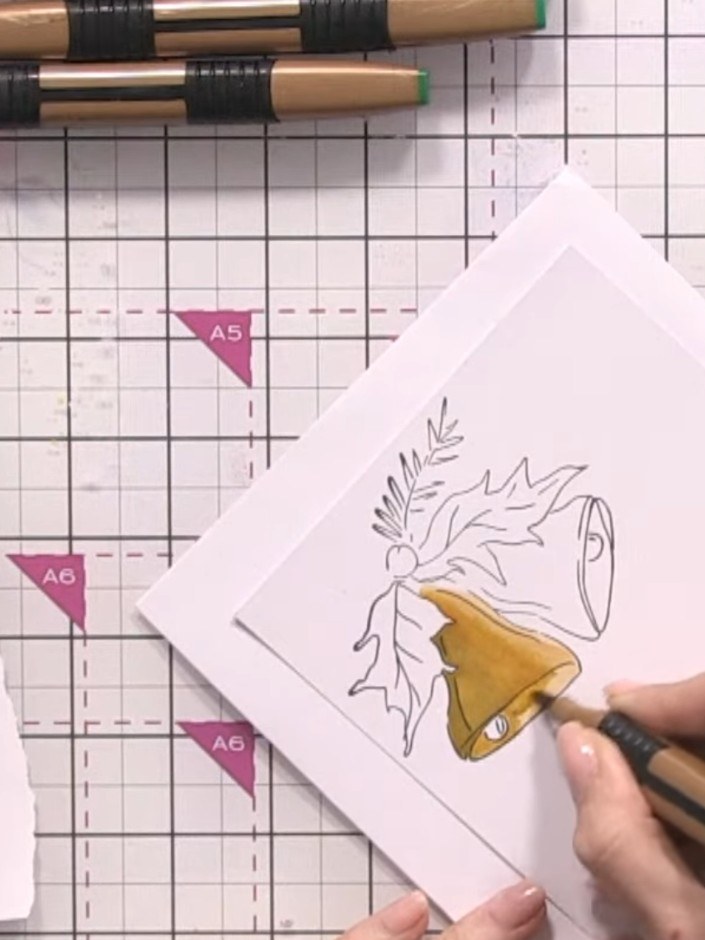
Using the same three-shade technique, colour the second bell. Keep the light source consistent, placing the highlights on the same side as the first bell to maintain a cohesive look.
▶ watch this step (24:45)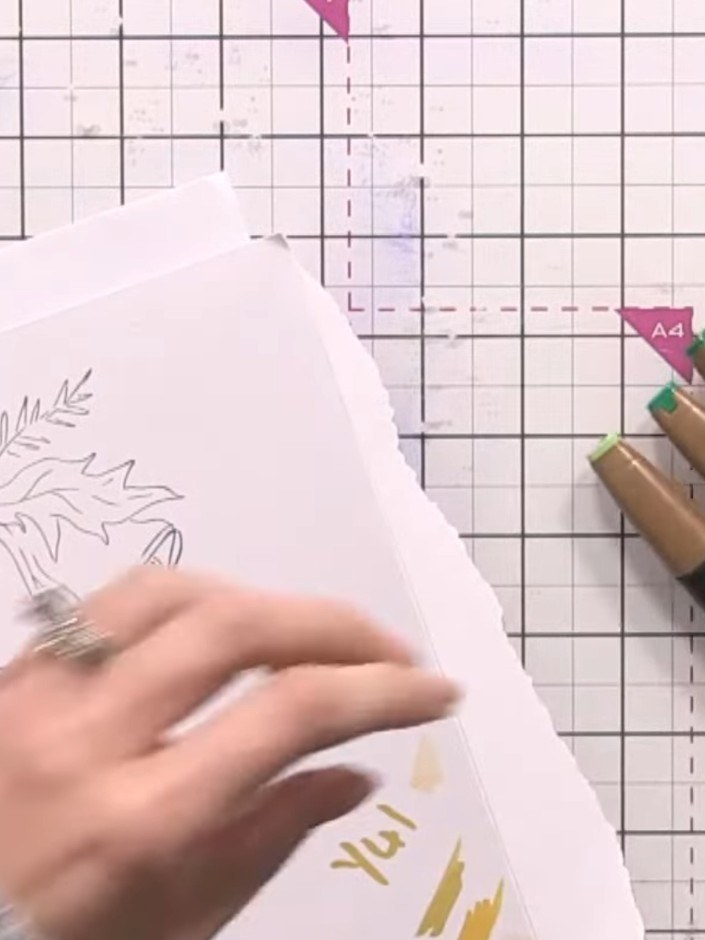
Select three shades of green marker. Begin colouring the leaves on your stamped image, applying the lightest green shade all over each leaf, keeping your light source in mind.
▶ watch this step (27:15)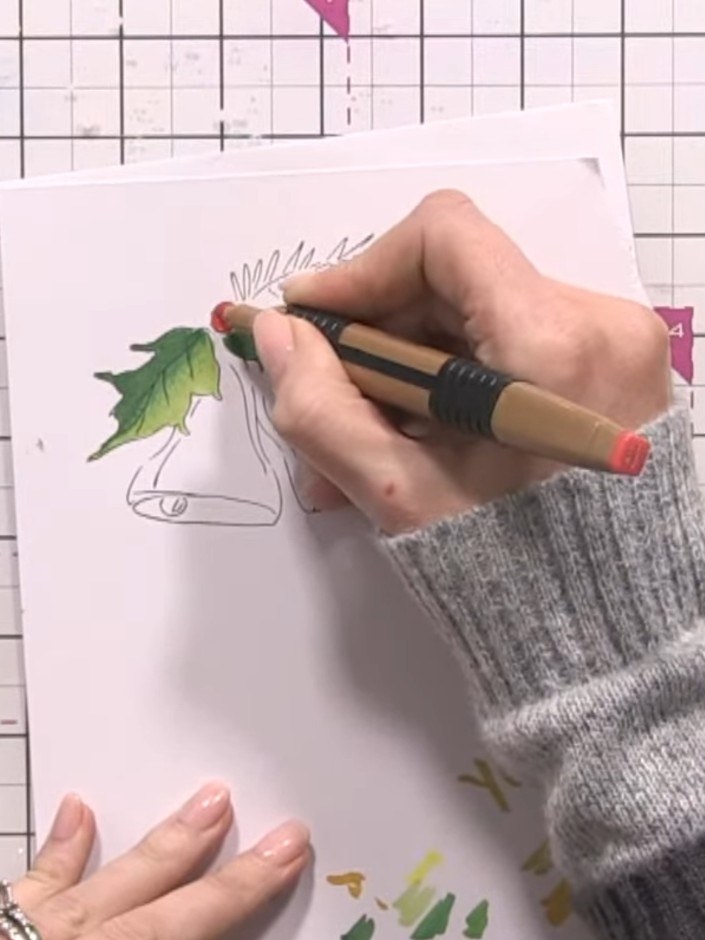
Colour a small red berry with light red marker. Add dark red shading to create depth, then blend the colours together smoothly.
▶ watch this step (34:30)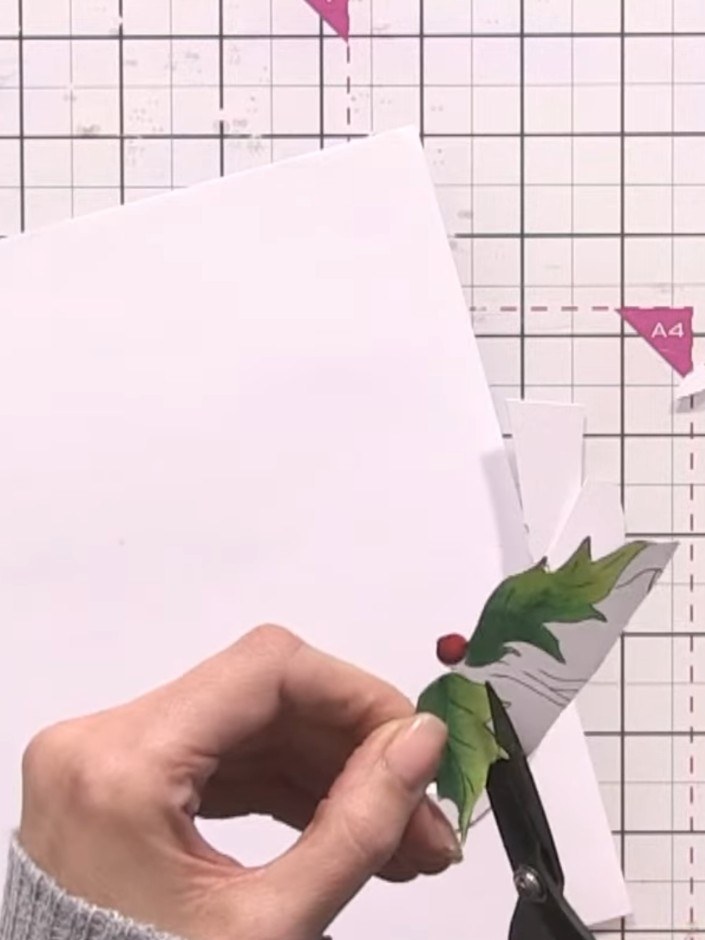
Add white gel pen highlights to the berries to enhance dimension. Focus on the light areas of each berry to create shine and depth.
▶ watch this step (36:30)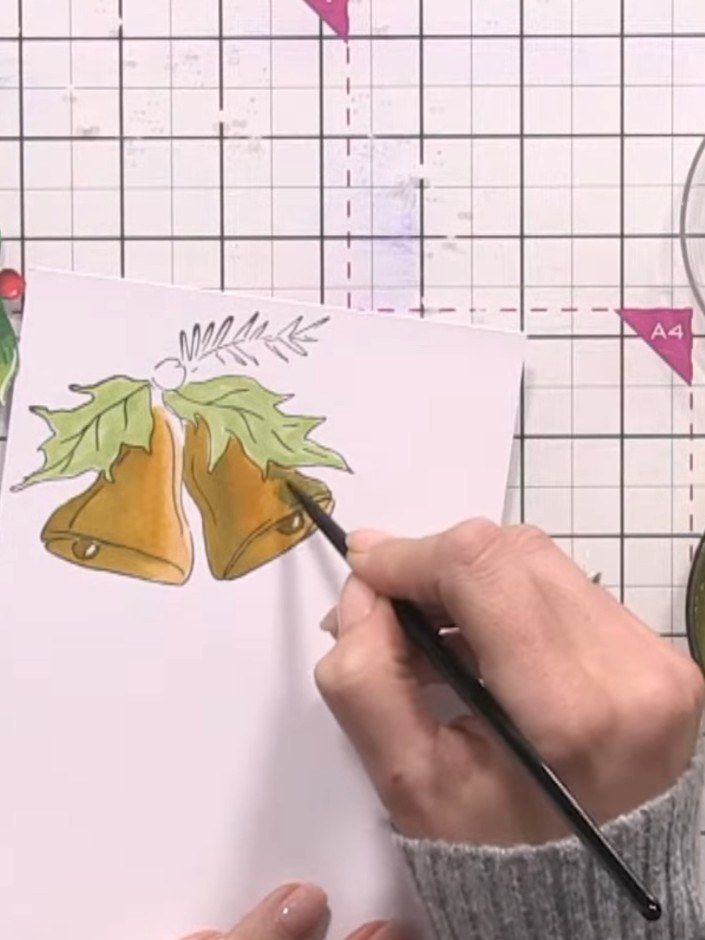
Using a fine brush, paint a thin layer of gold shimmer paint along one side of each bell where the light would naturally catch. This adds dimension and a metallic sheen to the bells.
▶ watch this step (43:45)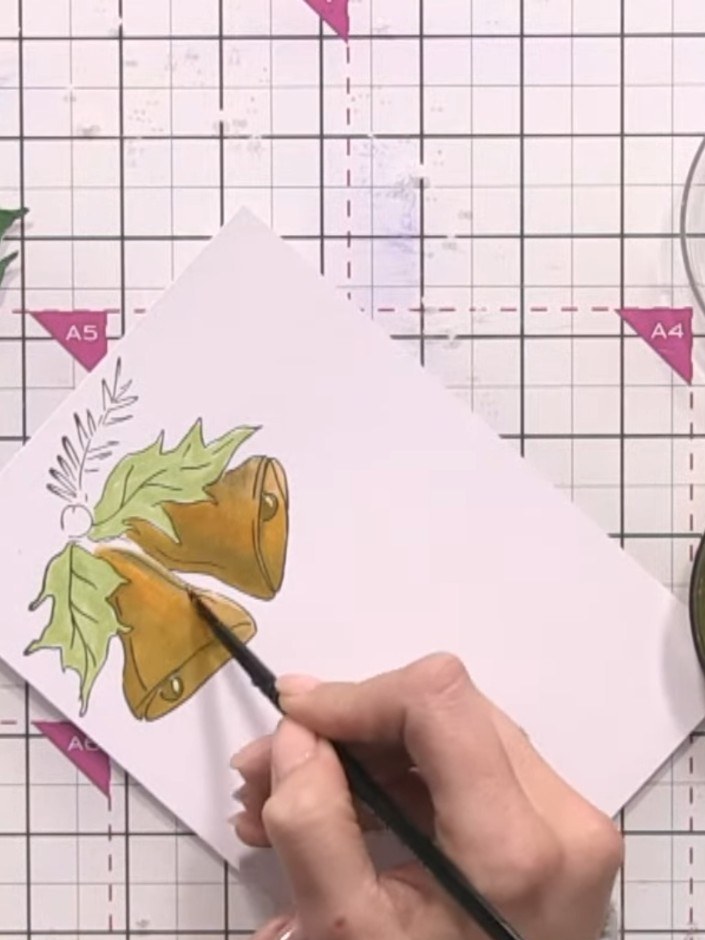
Using a wet brush, drag the gold ink across the coloured bells to blend it smoothly over the surface. Allow the gold to dry completely.
▶ watch this step (44:45)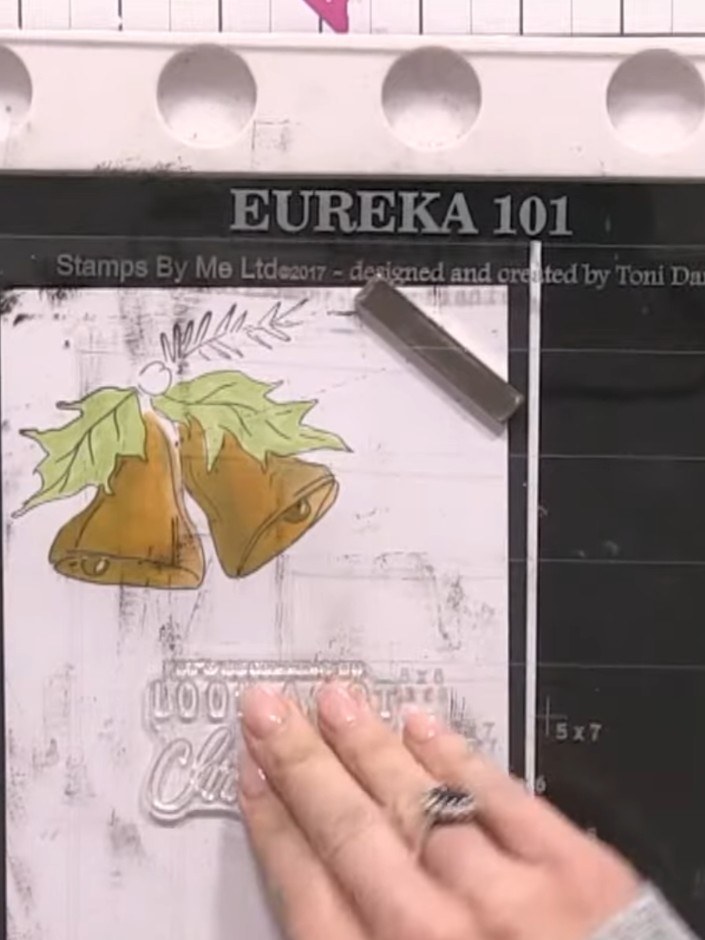
Cut out the coloured bells and leaves using scissors or a craft knife. Mount the cut-out image onto your card base using 3D foam pads or foam tape to create dimension.
▶ watch this step (46:00)Written up from the show itself. See every guide from our shows · free how-to guides · watch live on My Telly