Give your friends €10 off their first order!
Refer a FRIEND








A project from our live show MY PODCAST - Catch my latest updates broadcast 11th November 2024 · 11/11/2024 · watch it from 34:00
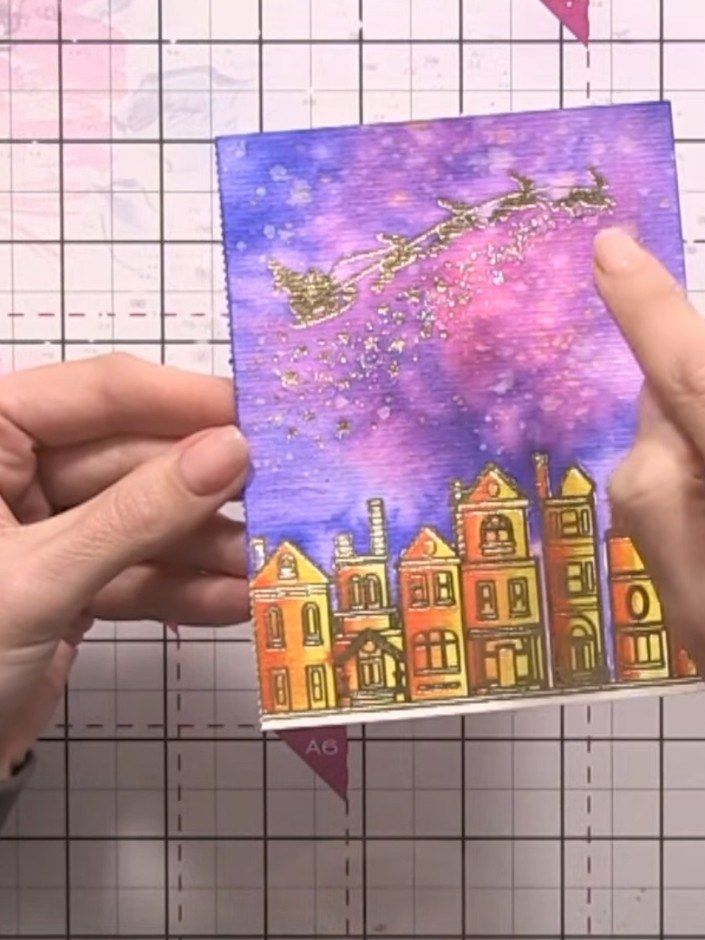
Create a stunning Christmas card featuring a snowy village scene with an enchanting aurora borealis-inspired sky. Using watercolour techniques on hot-foiled card, you'll build beautiful layers of purple, pink and blue to create depth and a magical winter atmosphere. Complete your festive scene with Santa's sleigh flying overhead and sparkling snow effects for that perfect seasonal touch.
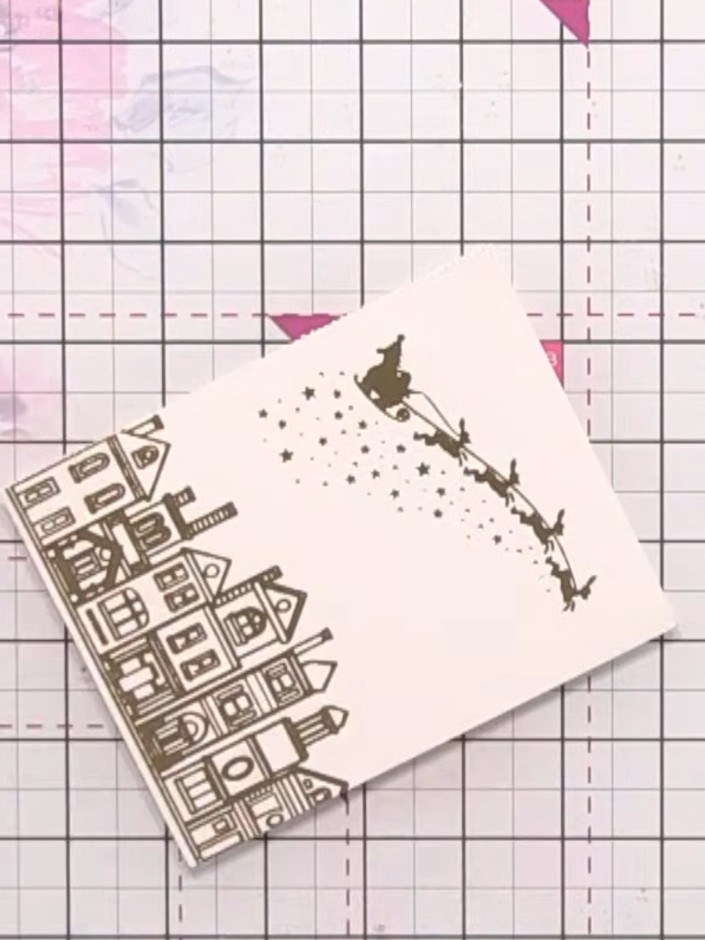
Using a flat brush and clean water, wet the top portion of the card above the house line. Work on a slightly tilted surface to allow the water to settle evenly.
▶ watch this step (34:15)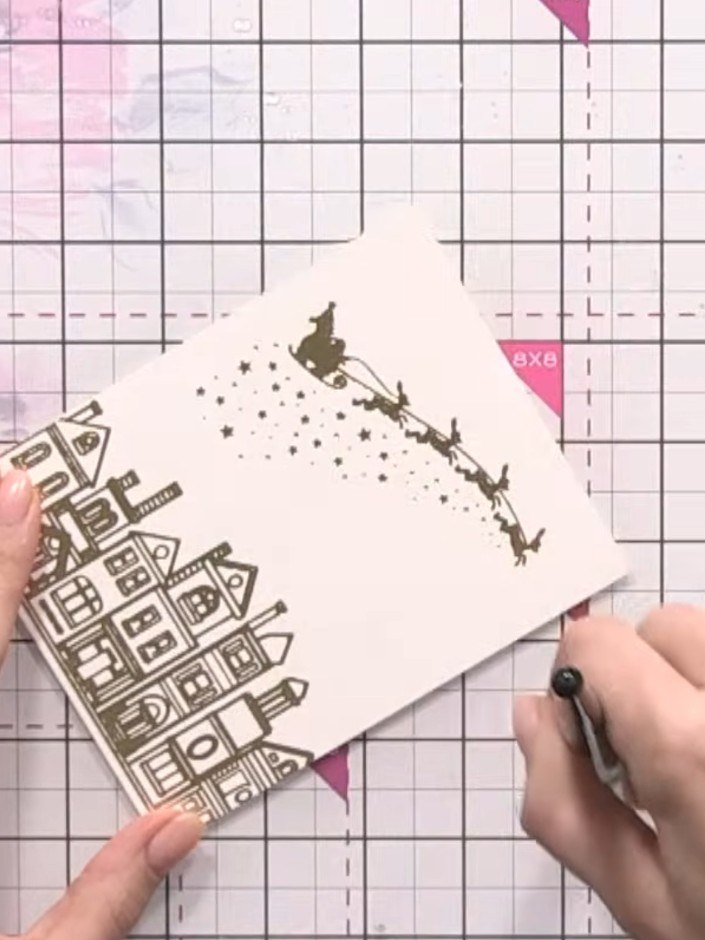
Using a clean water brush, carefully paint water around the outlines of the stamped houses to protect them from the sky colour that will be added later.
▶ watch this step (34:30)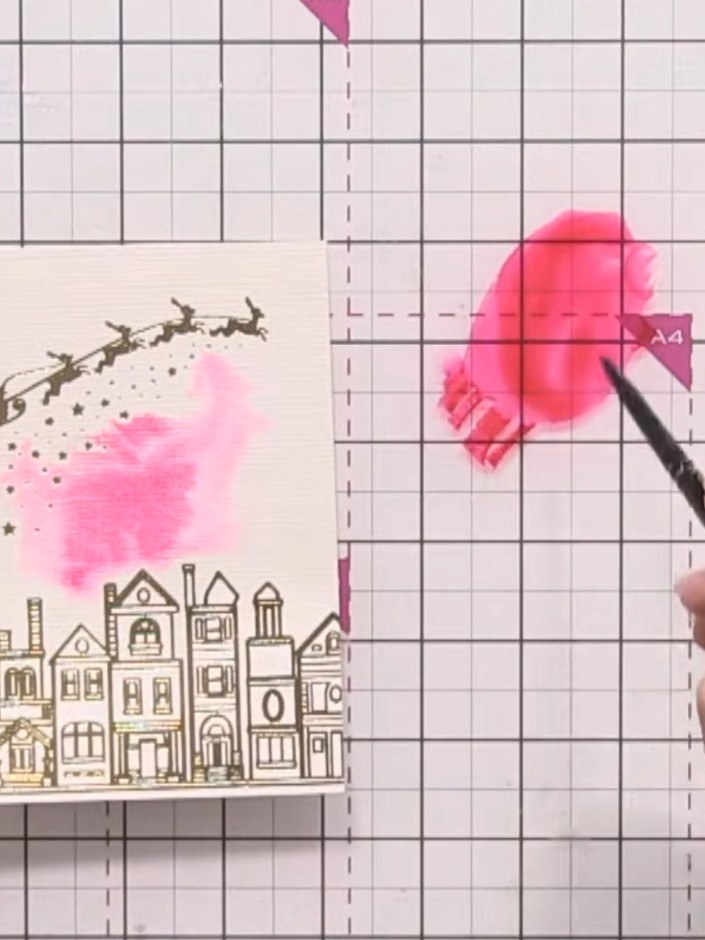
Apply pink watercolour to the wet sky area by pouncing your brush. Hold the card at an angle so the colour disperses downward across the sky.
▶ watch this step (36:45)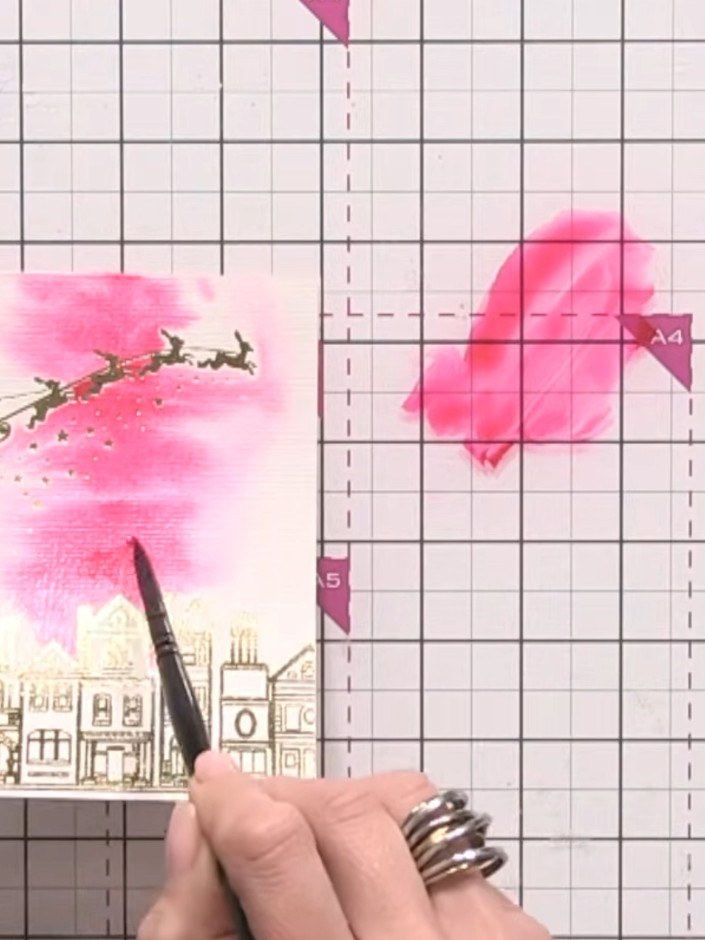
Add pink watercolour to the sky area above the buildings, pouncing the colour onto the foiled areas. The foil will resist the watercolour, creating natural separation and texture in the sky.
▶ watch this step (37:30)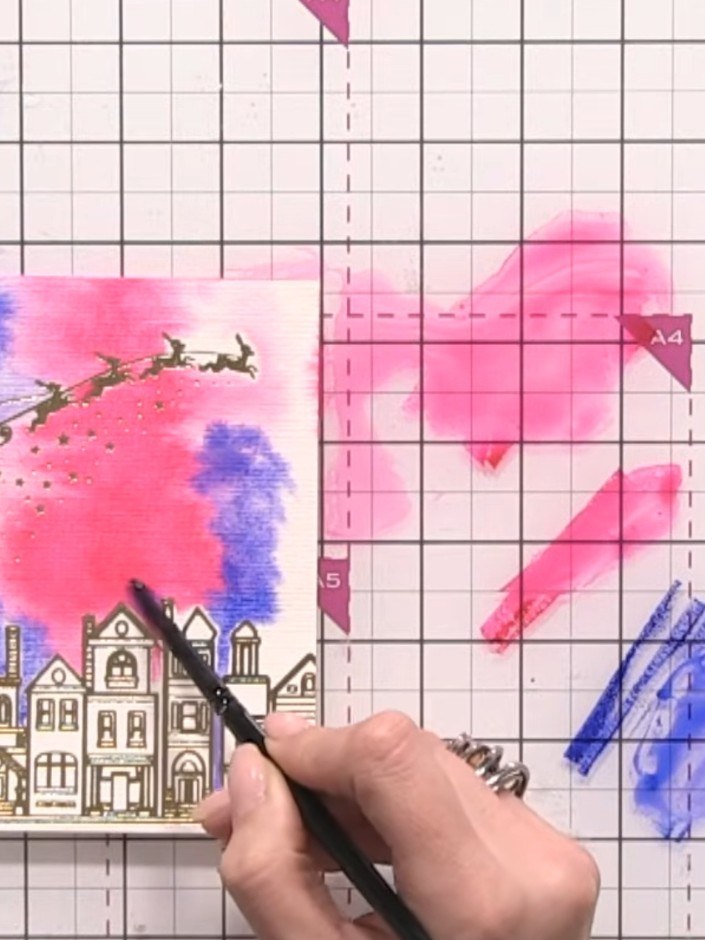
Add purple watercolour to the sky area, blending it with the blue. Continue to pounce the brush for even distribution of colour across the background.
▶ watch this step (38:15)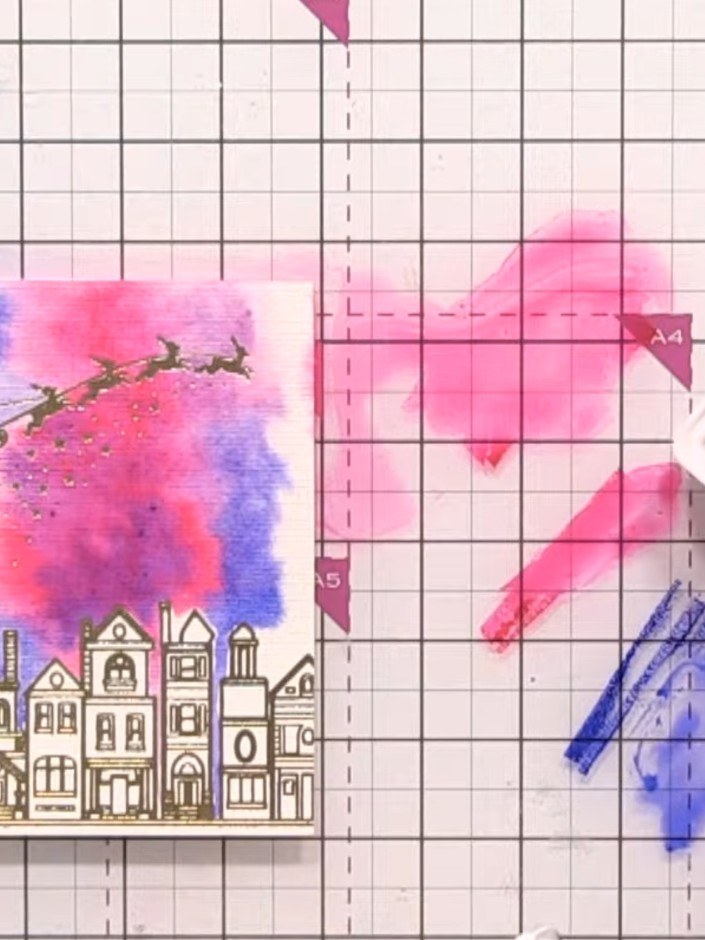
Soften any harsh colour edges on the watercolour background by gently blending with a damp brush or your finger. Work the colours together where they meet to create smooth transitions between the pink, purple and blue areas.
▶ watch this step (40:00)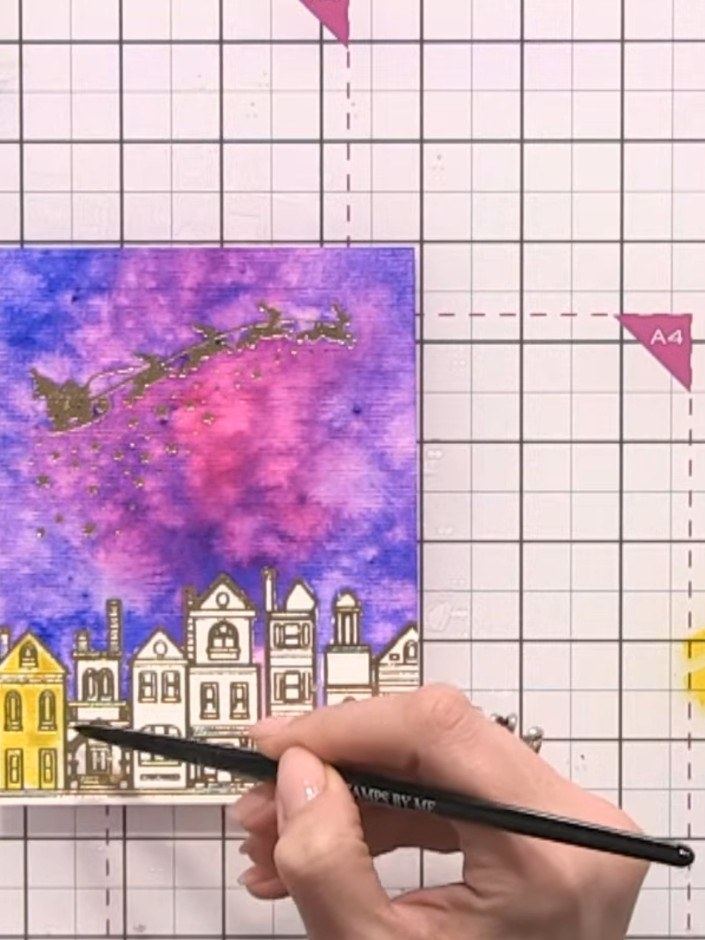
Using yellow watercolour, paint all the house buildings. Work from top to bottom, ensuring the blue sky is completely dry before you begin.
▶ watch this step (46:00)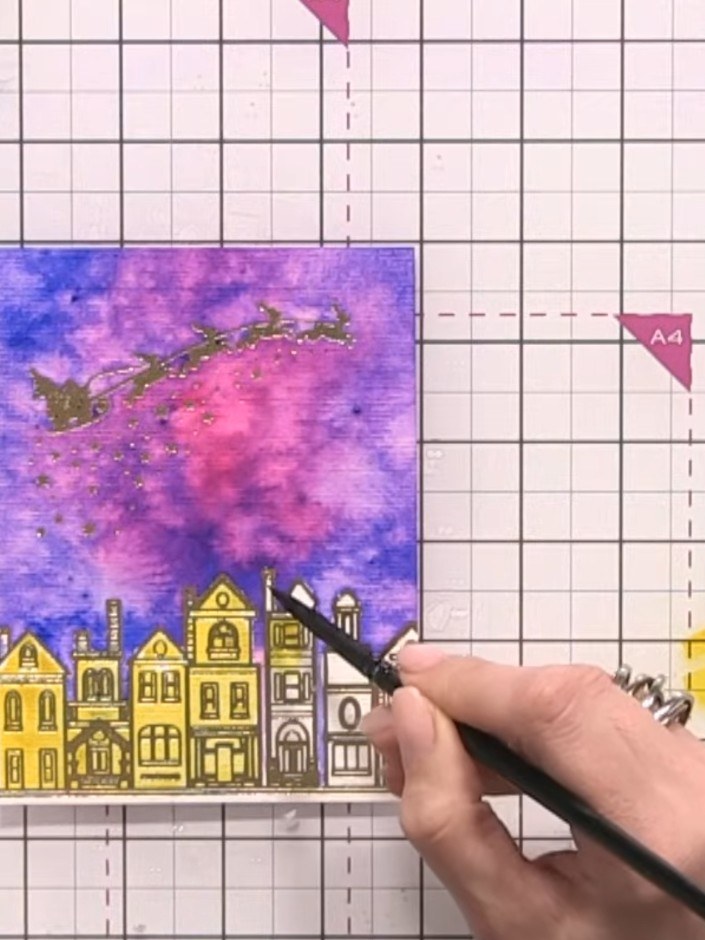
Add orange watercolour to half of each building to create a lit effect, then apply a darker orange line down the side for dimension.
▶ watch this step (46:30)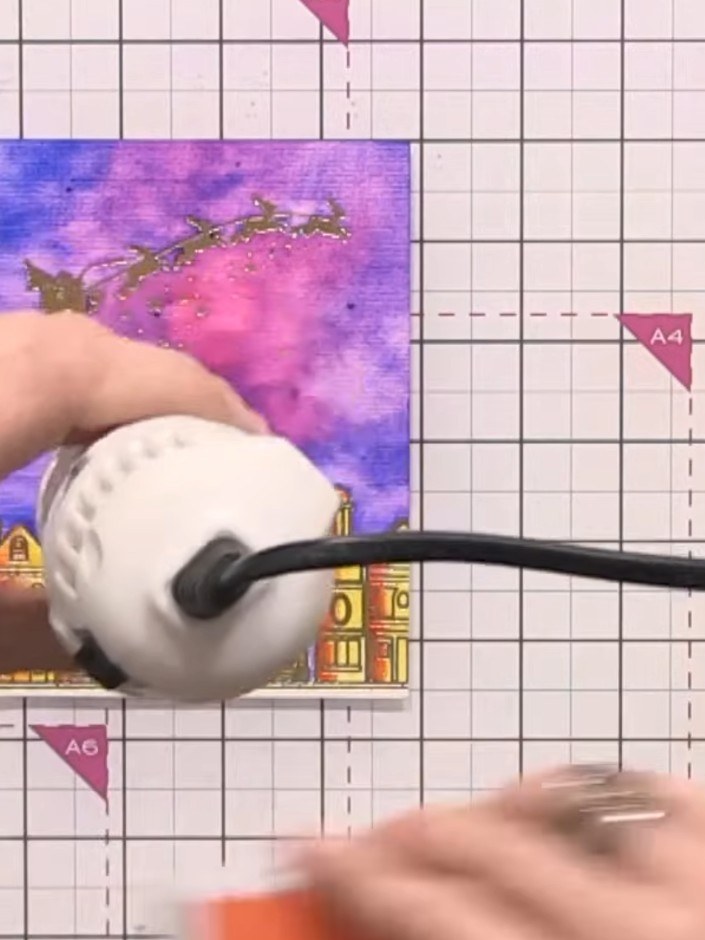
Dry the card completely using a heat gun, moving it steadily over the watercoloured sky and buildings until fully dry. Alternatively, leave the card to air dry naturally.
▶ watch this step (50:15)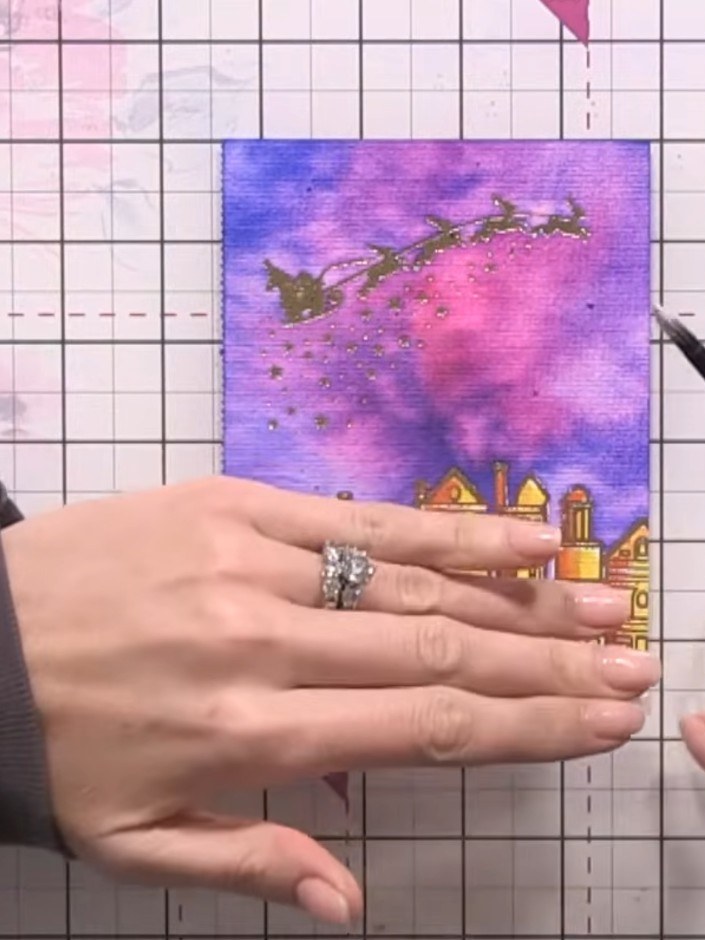
Add white paint flicks across the sky and buildings to create snowflakes. Use the end of your paintbrush to add gold sparkle details to the houses.
▶ watch this step (51:00)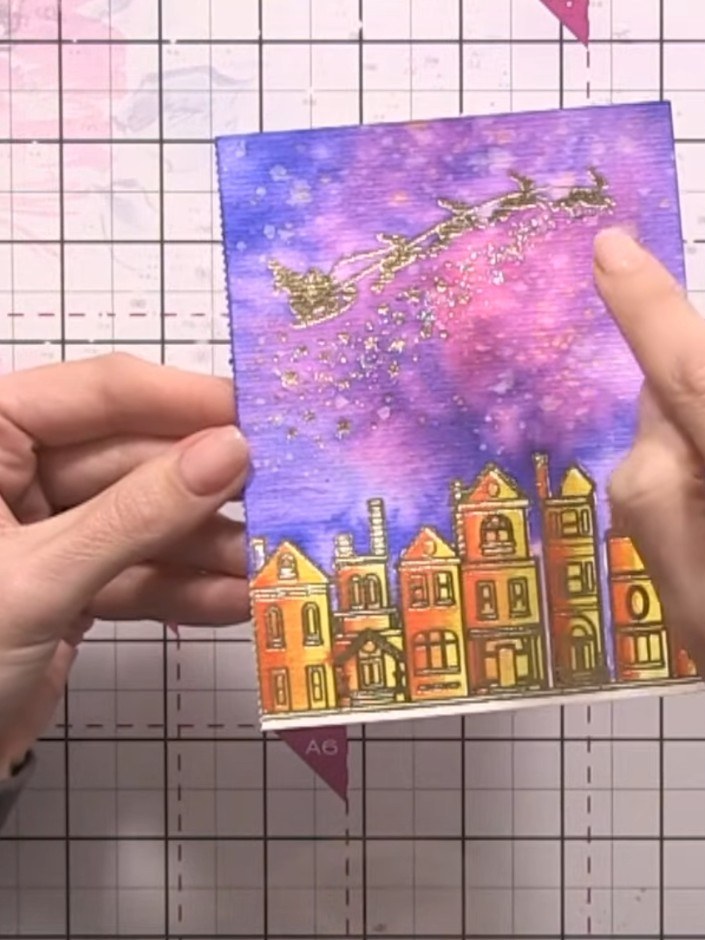
Mount the finished painted winter scene onto a card base. The card features the coloured houses at the bottom with the purple and pink gradient sky above, complete with the gold foiled Santa sleigh and sparkle details.
▶ watch this step (56:00)Written up from the show itself. See every guide from our shows · free how-to guides · watch live on My Telly
