Give your friends €10 off their first order!
Refer a FRIEND








A project from our live show HSN OCTOBER PRODUCT PREVIEW - Join me for my Sneak Peek - Broadcast 24th October 24 · 24/10/2024 · watch it from 48:00
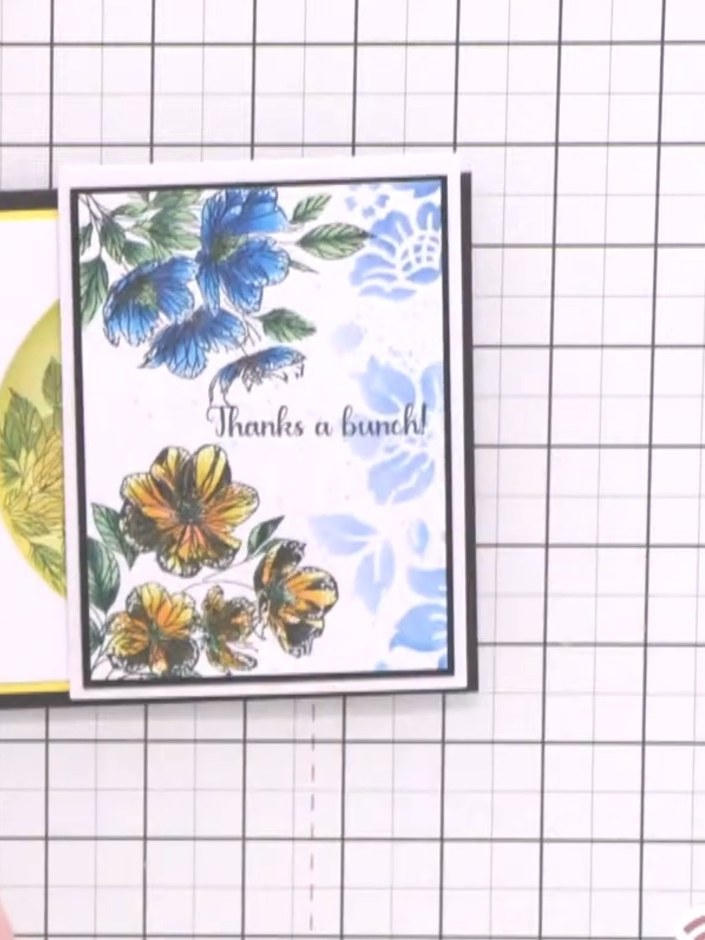
Create a beautiful floral card with a realistic watercolour effect using a two-part lamination stamp system. This elegant design features blue and yellow flowers with green foliage on a white background, framed with black matting and the sentiment 'Thanks a bunch!'. The technique involves colouring solid stamp portions, spraying with water, stamping, then layering detailed stamps on top to achieve a painted look without actually painting.
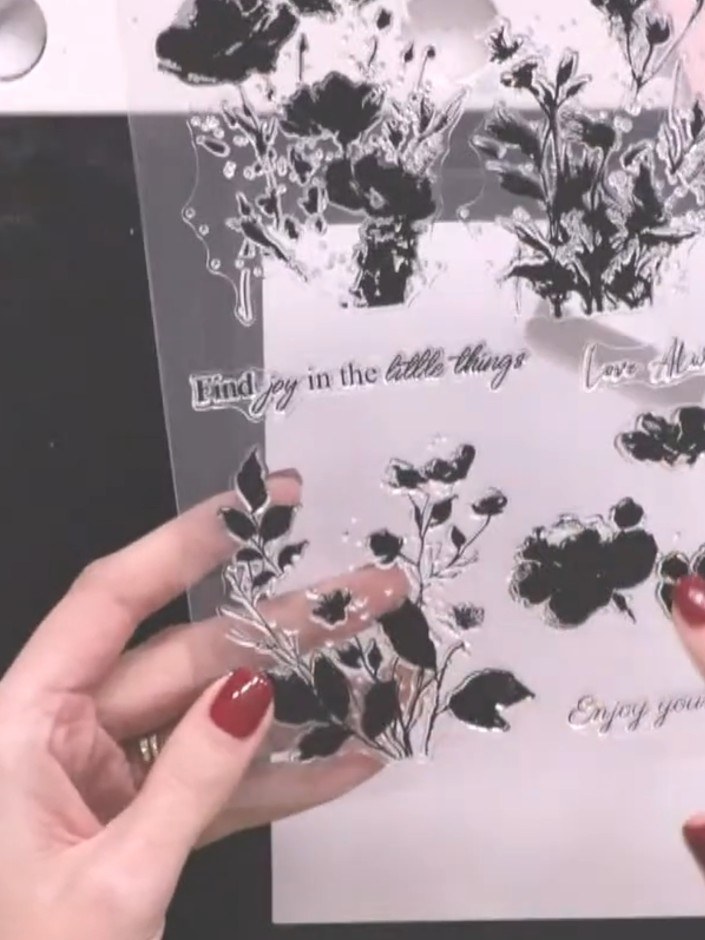
Select a card blank and choose your lamination stamp set from the Delicate Blooms collection. The set includes both solid flower images and matching detail stamps with leaves and sentiments.
▶ watch this step (49:30)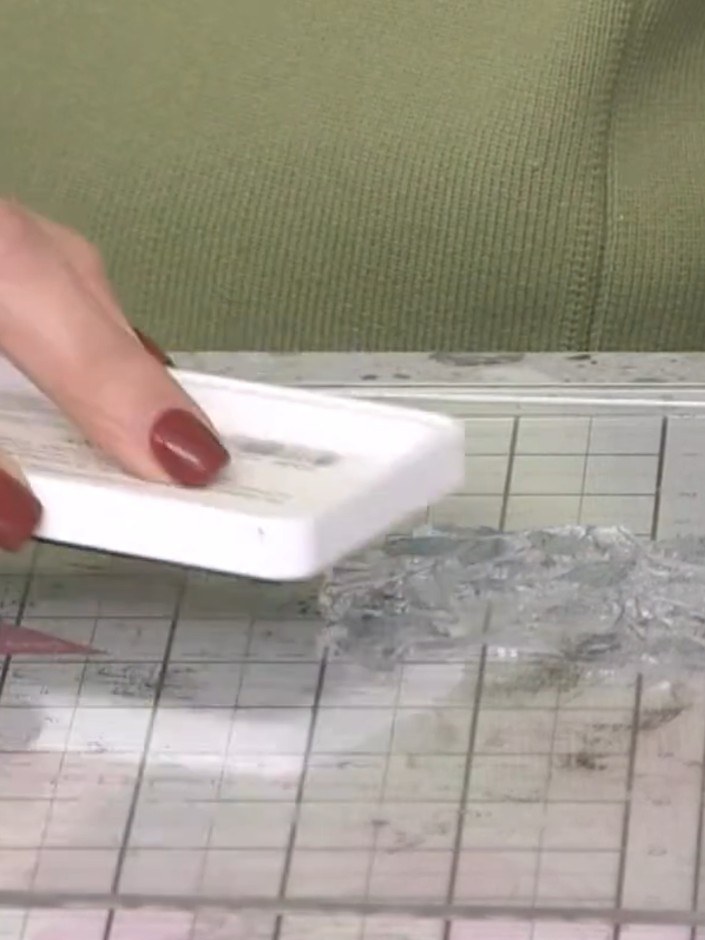
Ink up the solid green portion of the stamp using a water-based ink pad, ensuring the entire stamp surface is evenly covered with ink.
▶ watch this step (50:00)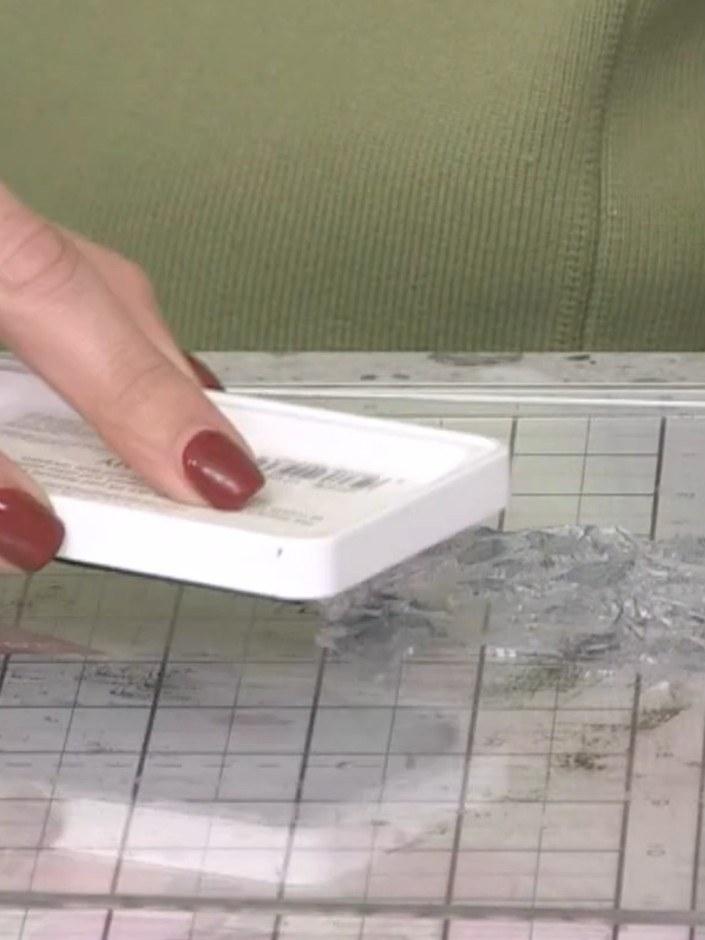
Spray the inked stamp three times with water to create a watercolour effect. This will help the ink blend and give a softer, more artistic appearance.
▶ watch this step (50:15)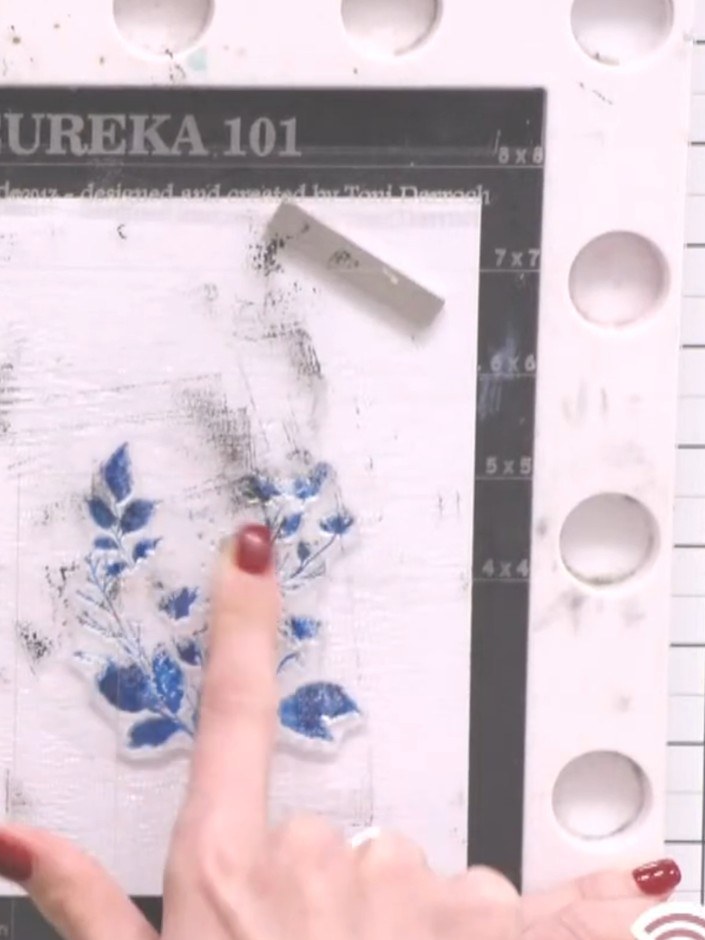
Press the stamp firmly onto your card with blue floral design. Hold it steady for a moment to allow the card to absorb the ink before lifting the stamp away.
▶ watch this step (50:45)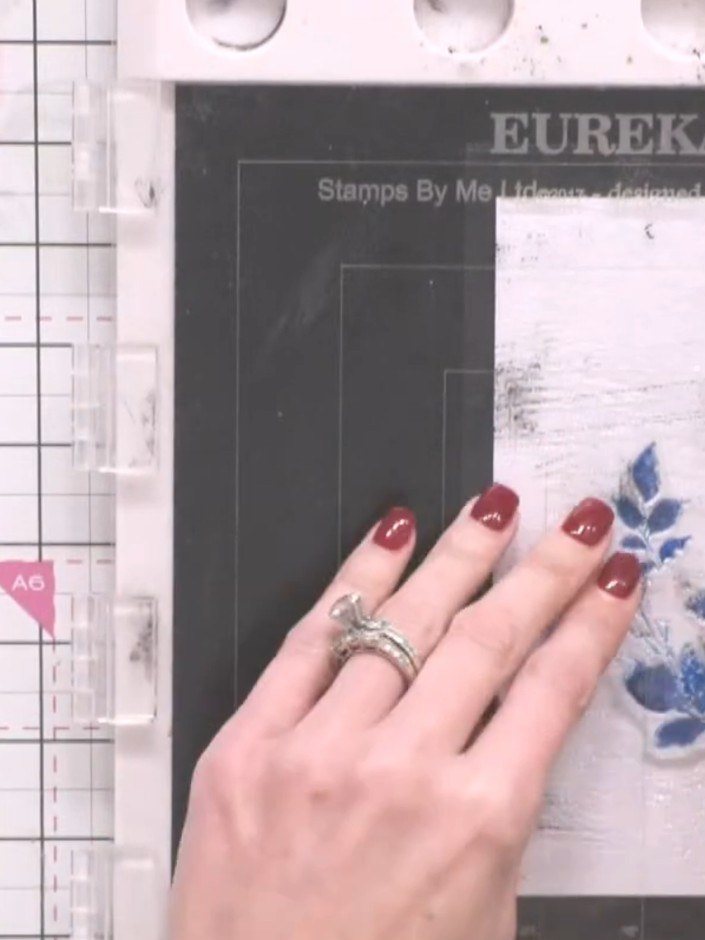
Select the detail stamp that matches your chosen floral design from the Eureka 101 stamp set. This will be used to add definition to your laminated image.
▶ watch this step (51:00)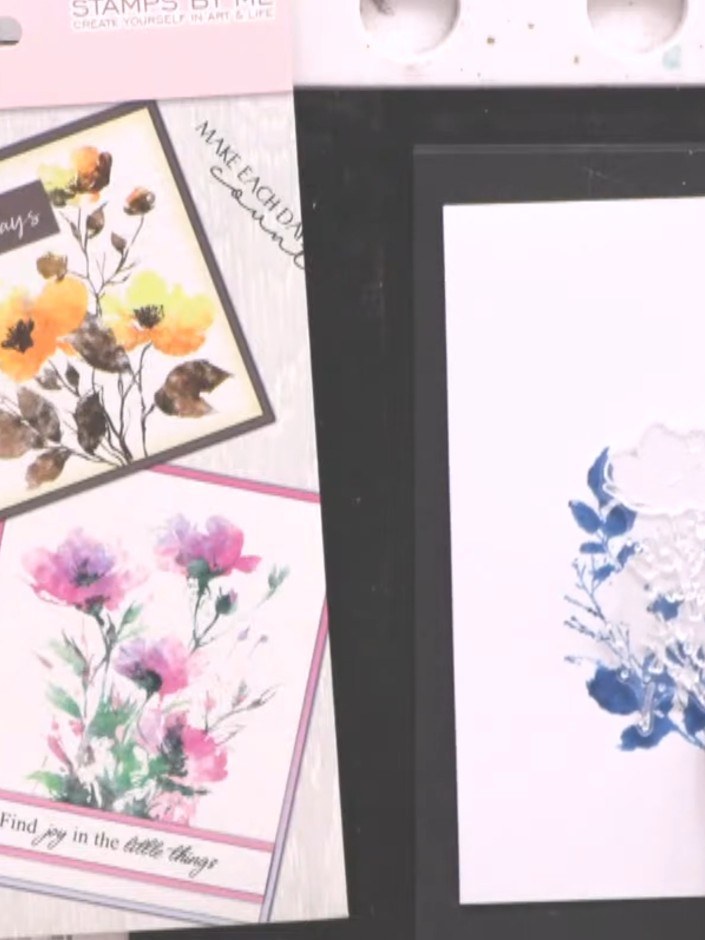
Ink up the detail stamp with a complementary or contrasting ink colour. Use blue ink to add fine details to the floral design on your white card.
▶ watch this step (52:00)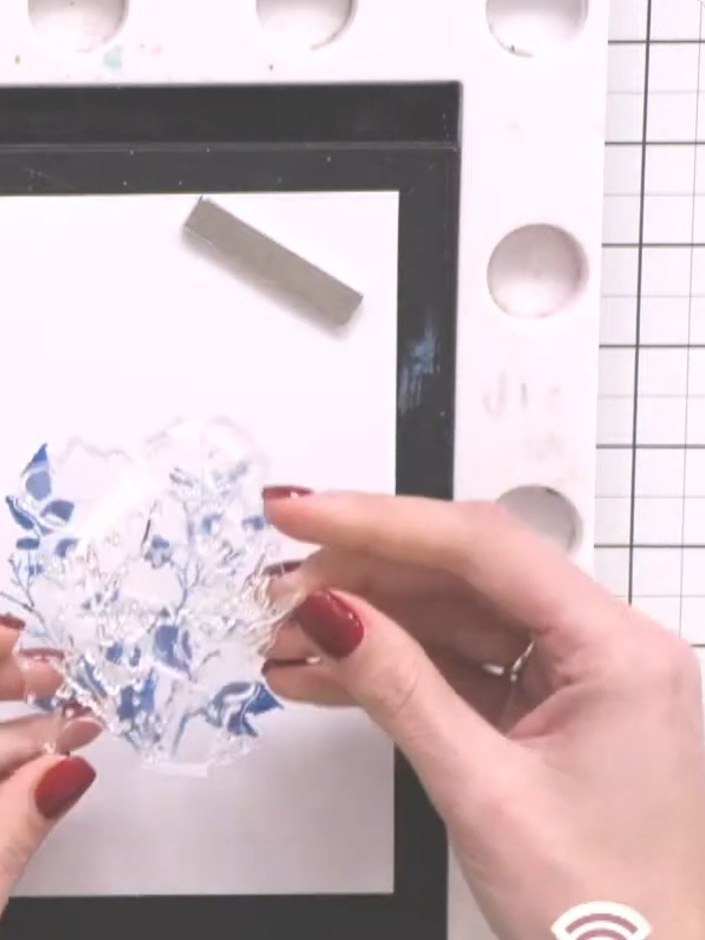
Position the blue floral detail stamp on top of the dried watercolour base and press firmly to stamp the image onto the white card.
▶ watch this step (52:30)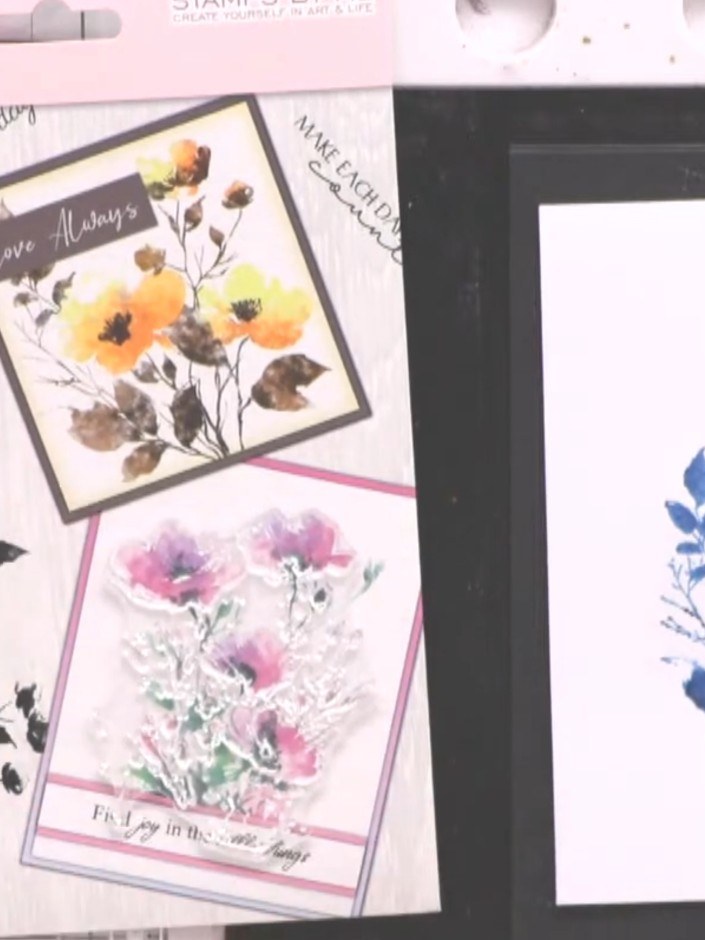
Add a sentiment stamp in black ink at the bottom of the card if desired. Position the stamp centrally below the floral design.
▶ watch this step (53:00)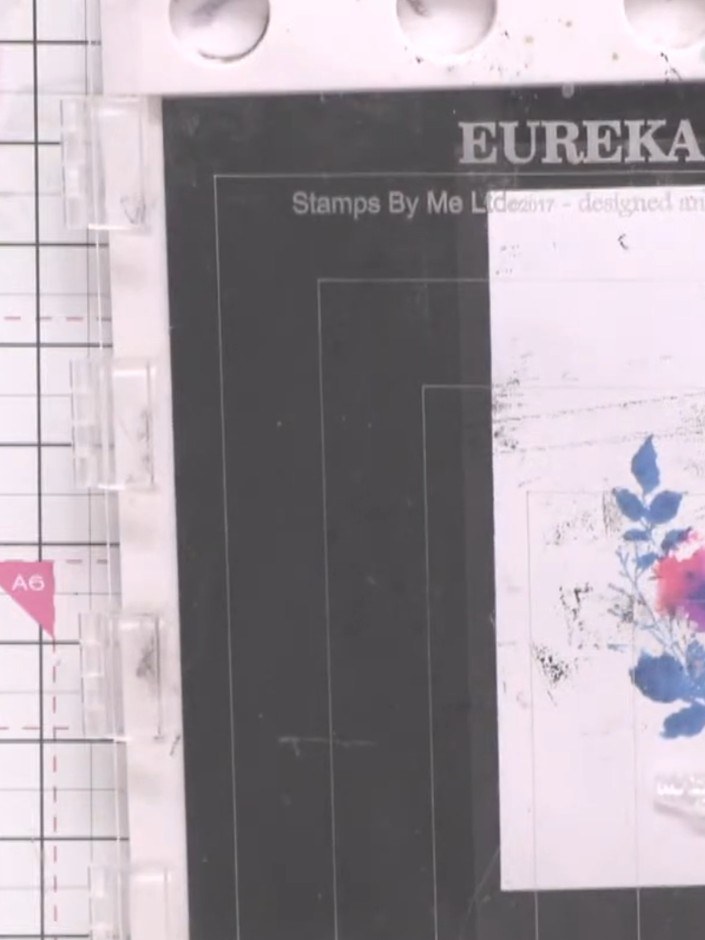
Layer your finished stamped and laminated panel onto a coordinating card base, ensuring it is positioned absolutely straight. This completes your delicate floral card with watercolour effect.
▶ watch this step (56:00)Written up from the show itself. See every guide from our shows · free how-to guides · watch live on My Telly