Give your friends €10 off their first order!
Refer a FRIEND








A project from our live show HOBBYMAKER TV - Join us for the latest show - Broadcast 6 p.m. (UK) 8th August 2026 · 08/08/2026 · watch it from 51:45
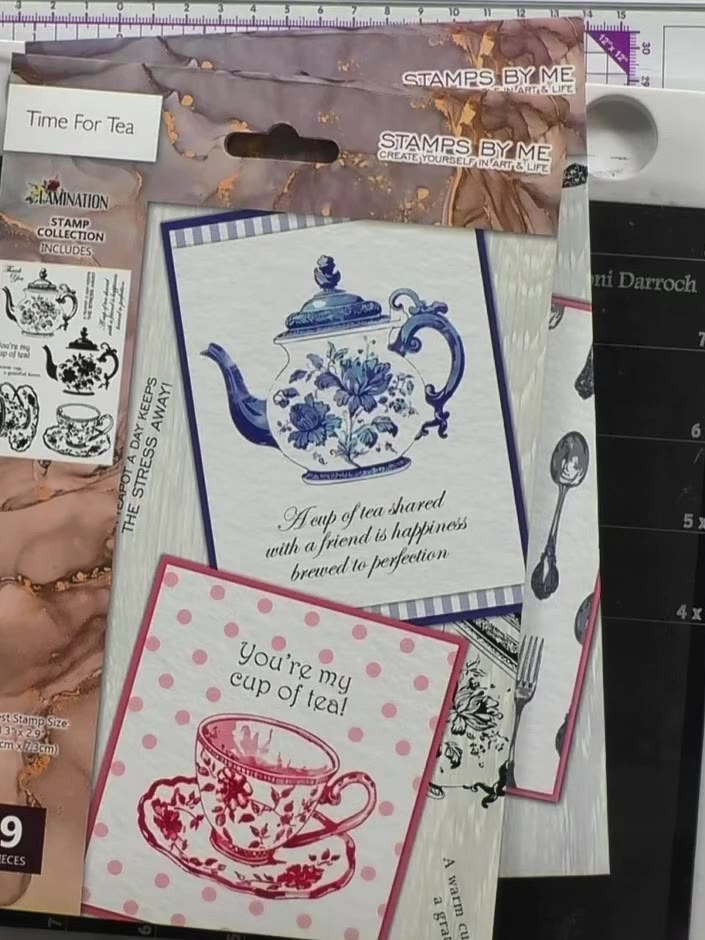
Create a beautiful two-part lamination card featuring an elegant teapot design with a watercolour effect background. The finished card showcases a decorative teapot stamp in rich blue tones, mounted on coordinating patterned papers with dimensional shadow work. This technique combines stamping, watercolouring and lamination to produce a professional card with depth and visual interest.
Ink up the solid stamp portion lightly with a dye-based ink pad in blue. Use gentle pressure to achieve a light coverage on the stamp.
▶ watch this step (52:45)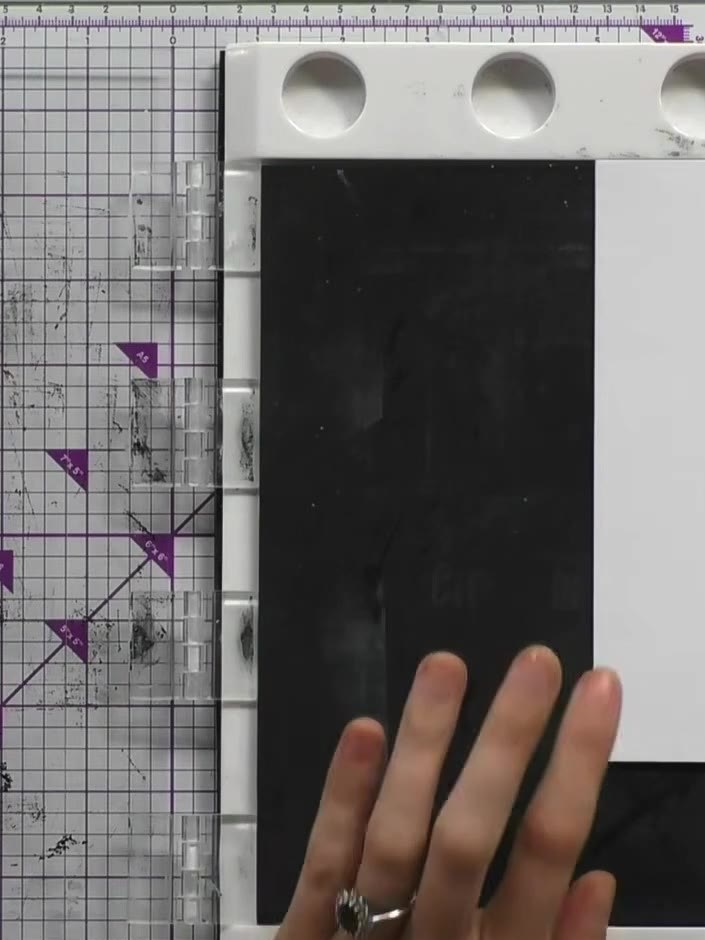
Lightly spray the inked stamp with water from a spray bottle to create a watercolour effect.
▶ watch this step (53:00)
Stamp the wet, inked portion onto your white card stock. Allow the stamped image to dry completely before proceeding to the next step.
▶ watch this step (53:30)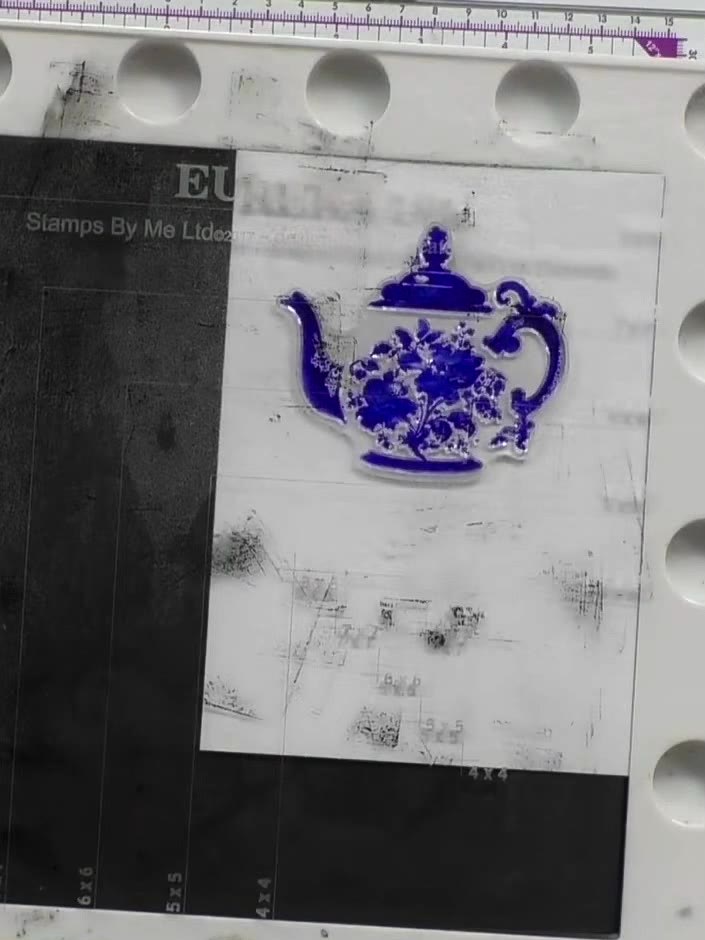
Heat-set the dried watercolour background using a heat gun. Move the heat gun evenly over the surface to ensure the watercolour is completely dry and set before proceeding.
▶ watch this step (54:30)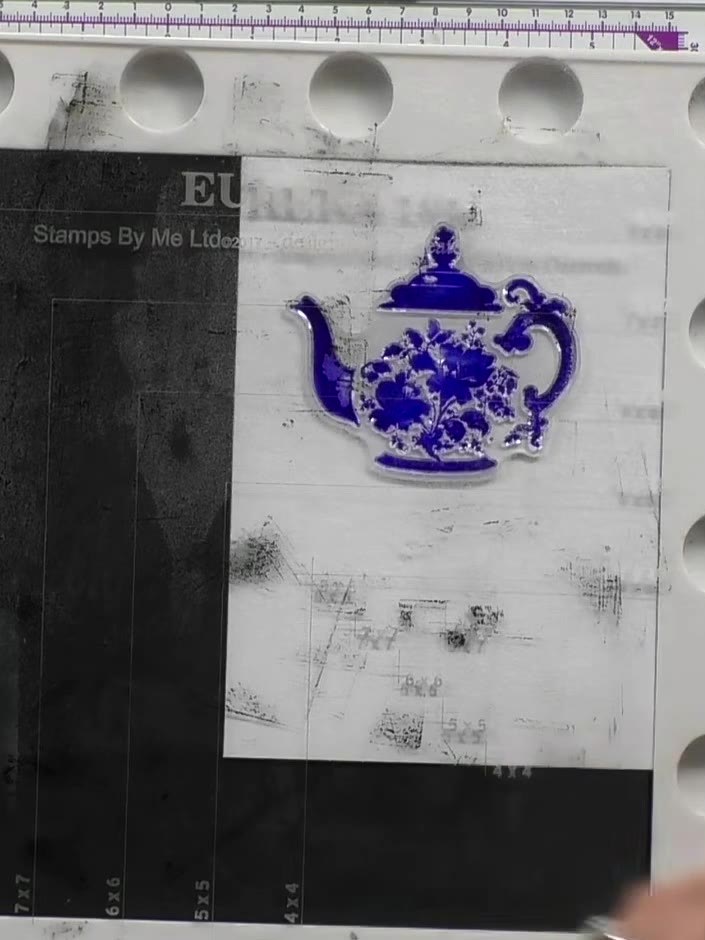
Ink up the detail stamp portion of the teapot design using the same blue ink or a darker shade of blue ink.
▶ watch this step (55:00)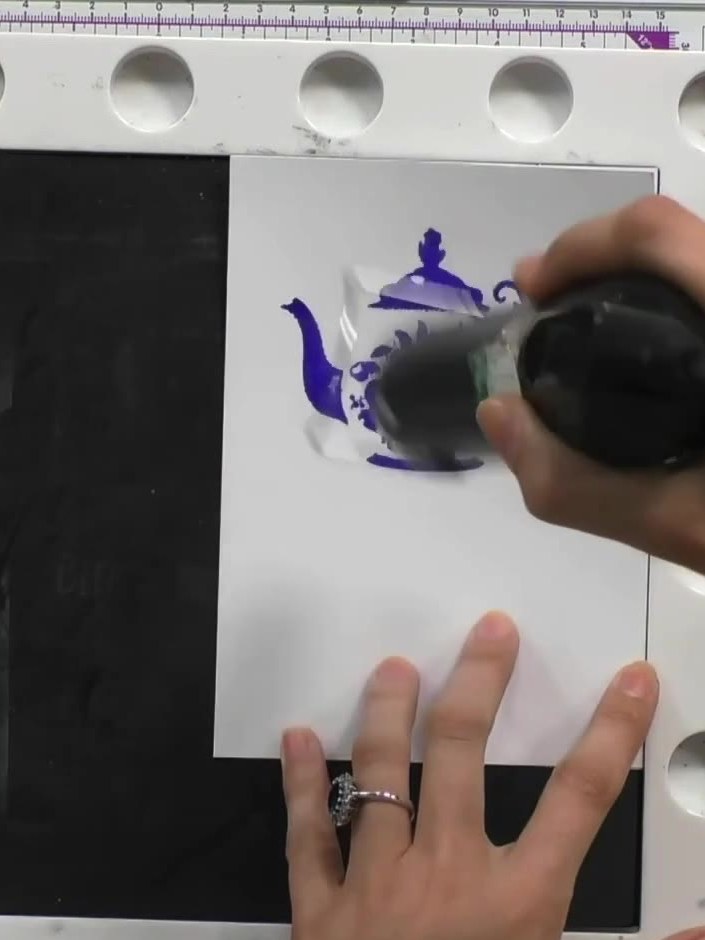
Stamp the detail portion of the teapot design on top of the base image to add shadow and definition to the spout, handle and lid.
▶ watch this step (56:00)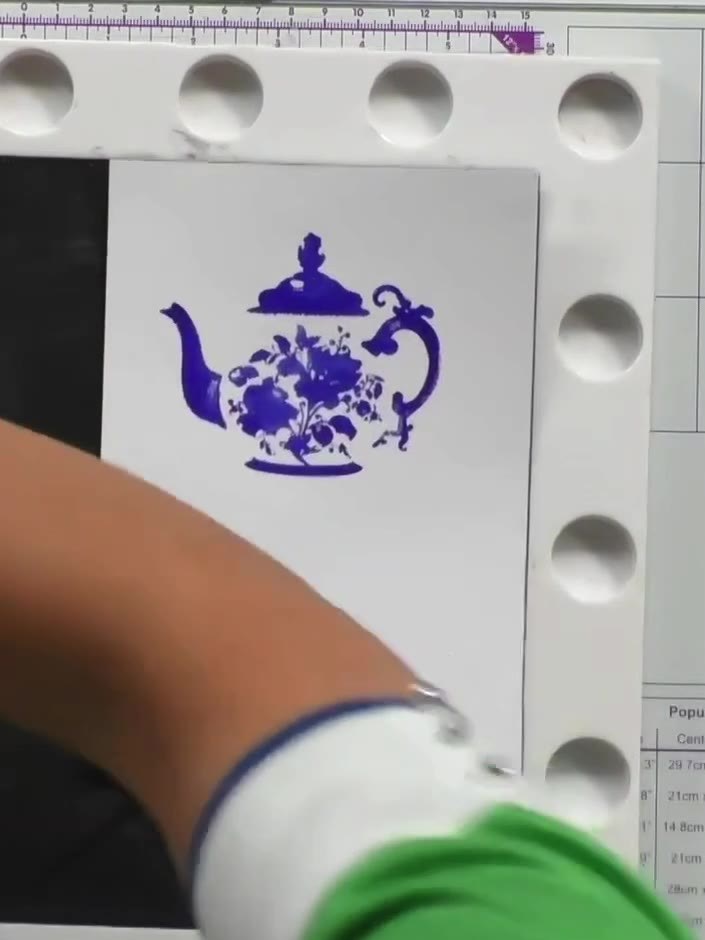
Line up the detail stamp over the teapot image using the visual guide on the packet front as reference. Position it carefully to ensure the decorative pattern aligns correctly with the teapot shape.
▶ watch this step (56:30)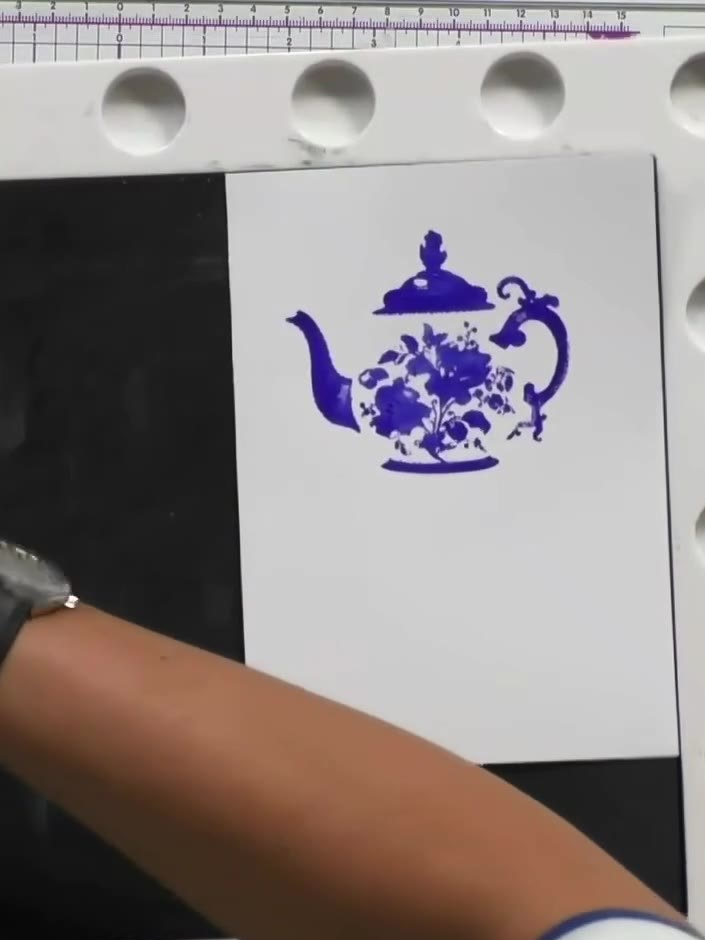
Press the stamped teapot image firmly with your hand to ensure all the fine details have transferred clearly onto the white card. Check that the floral pattern and decorative elements are crisp and well-defined.
▶ watch this step (57:00)Written up from the show itself. See every guide from our shows · free how-to guides · watch live on My Telly