Give your friends €10 off their first order!
Refer a FRIEND








A project from our live show CELEBRATING 14 YEARS OF STAMPS BY ME - Join Toni for her brand new launch - Broadcast 4th October 24 · 04/10/2024 · watch it from 1:10:30
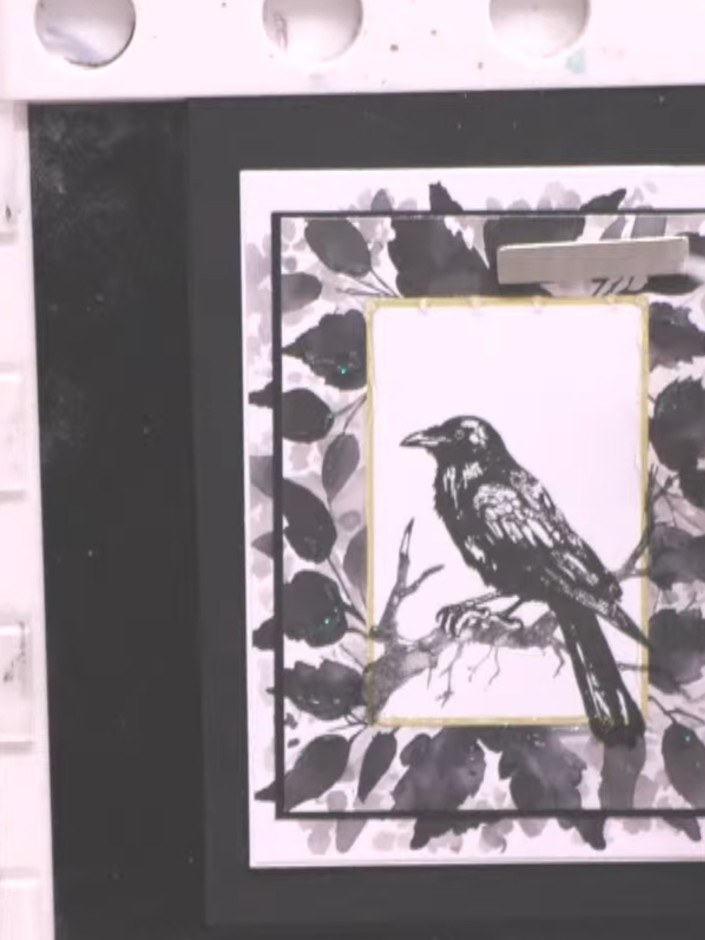
Create a striking monochrome card featuring a detailed crow perched on a branch, set within an elegant layered frame. This project uses stamping and lamination techniques to build dimension, with a black silhouette bird against white, surrounded by decorative foliage and finished with a gold inner frame and sparkle accents. The bold black and white colour scheme creates a dramatic, sophisticated design perfect for any occasion.
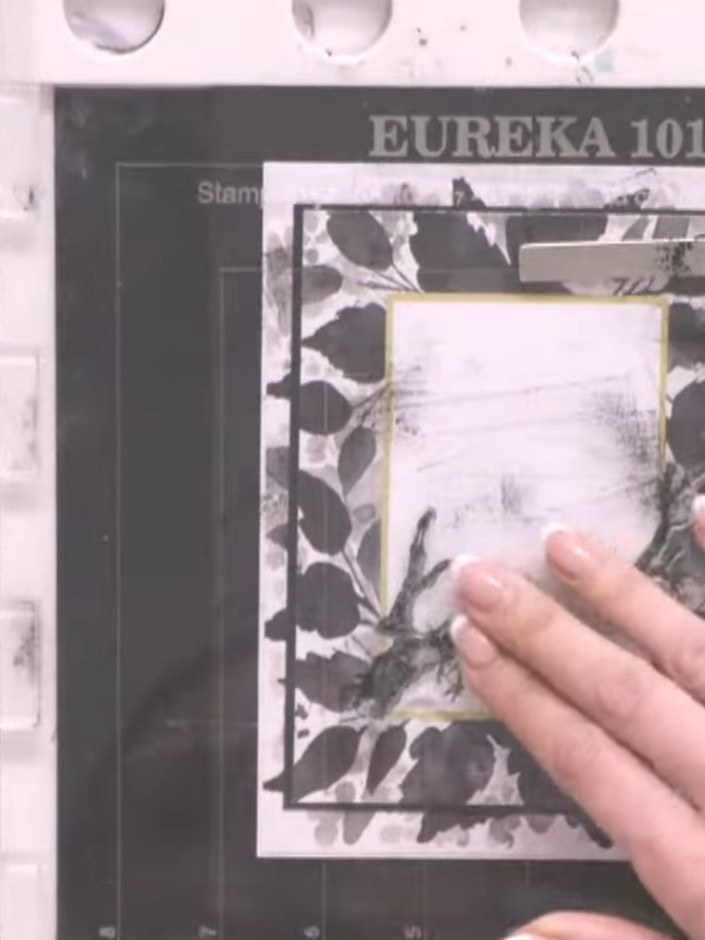
Stamp the branch detail onto white card using grey ink, positioning it as a background element within the frame area.
▶ watch this step (1:11:30)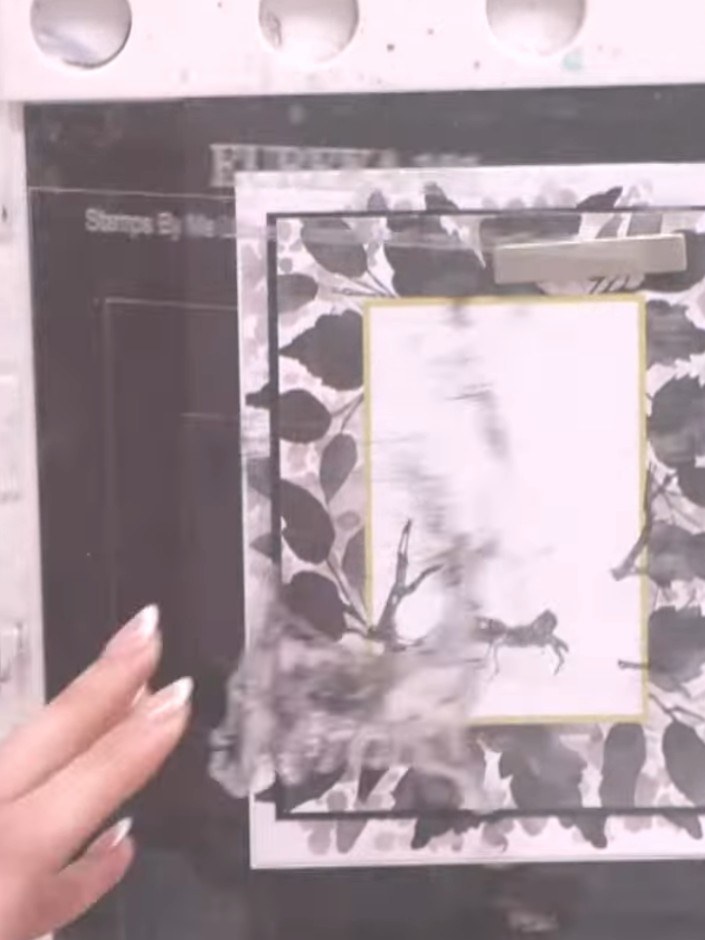
Stamp the bird silhouette onto the same white card using black ink, positioning it so it aligns with the branch image already stamped.
▶ watch this step (1:12:00)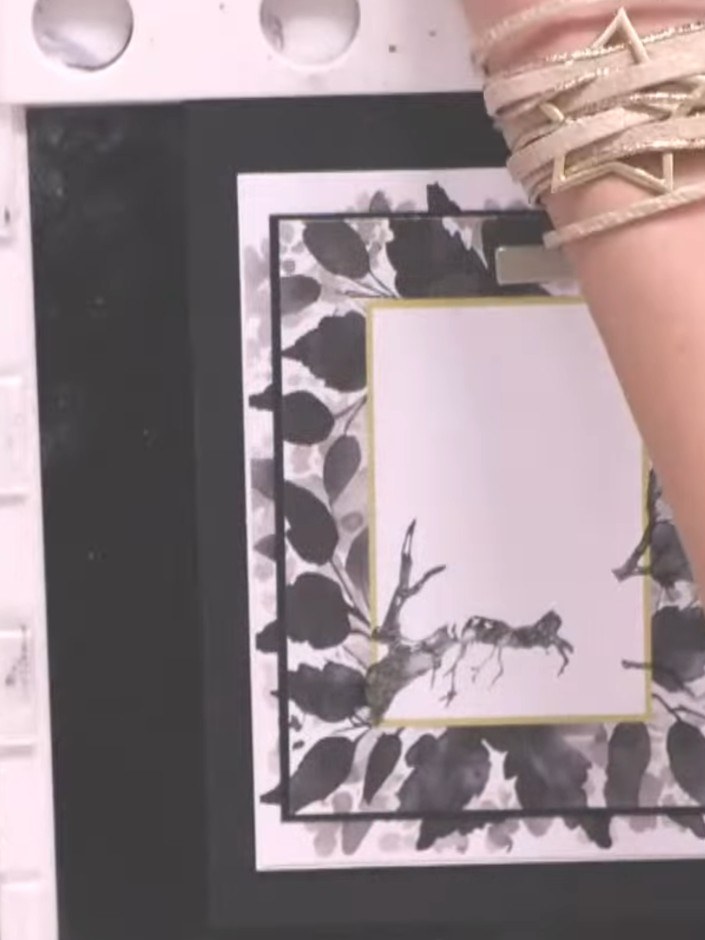
Stamp the bird image again onto white cardstock to create a solid black silhouette. Ensure the stamped image is crisp and clear.
▶ watch this step (1:12:30)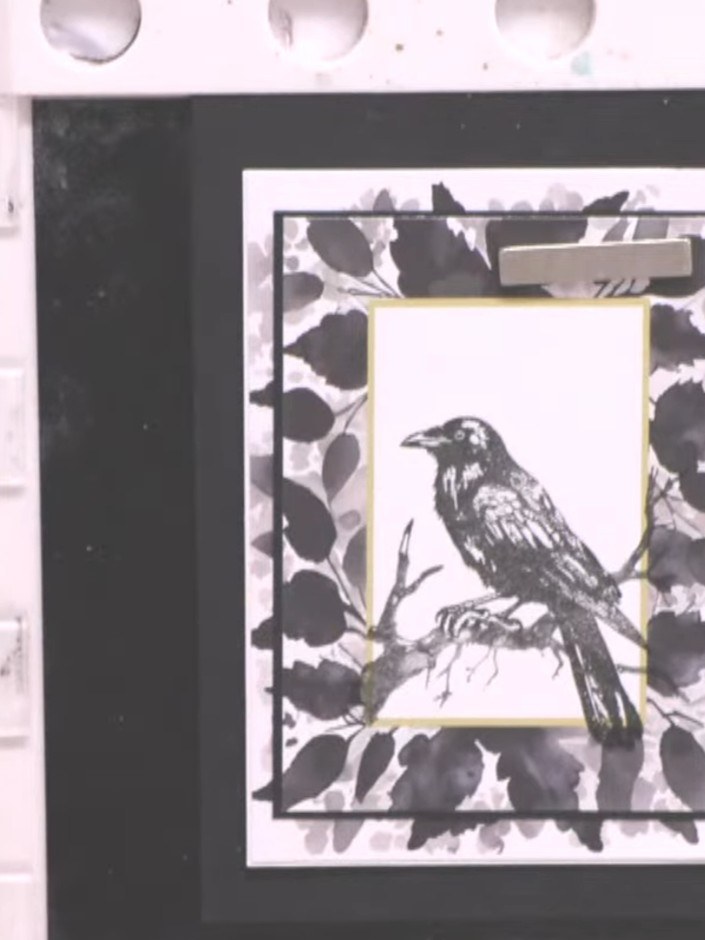
Die-cut or blade out the centre of a coordinating patterned paper to create a frame window. Position this frame over your stamped bird image on the black card base.
▶ watch this step (1:13:00)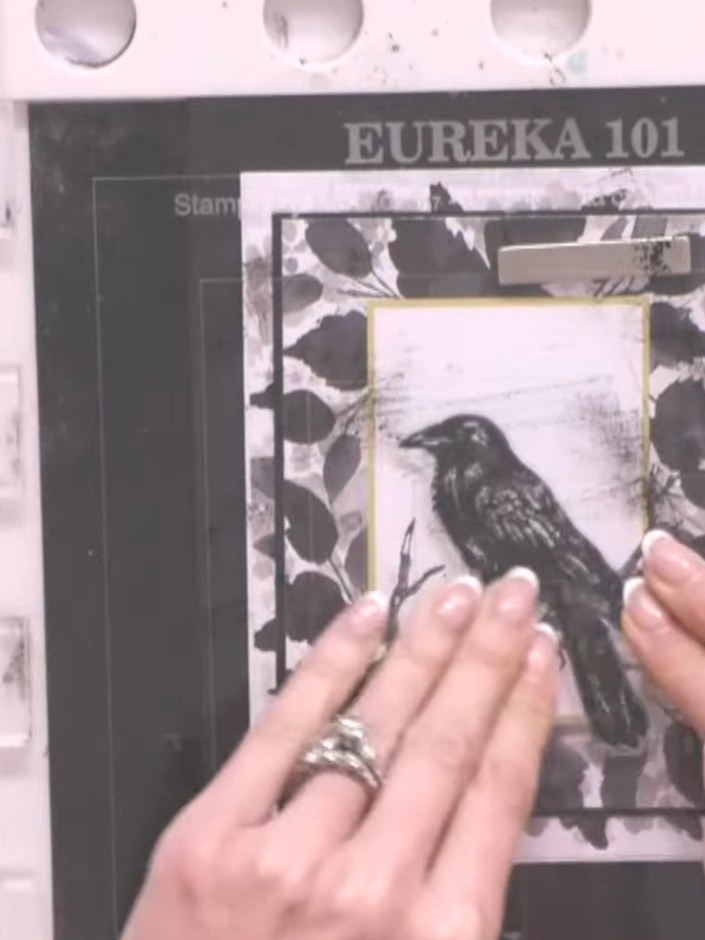
Layer foam pads on the back of the black frame piece. Position and adhere the frame over the stamped bird panel, ensuring the bird is centred within the frame opening.
▶ watch this step (1:13:30)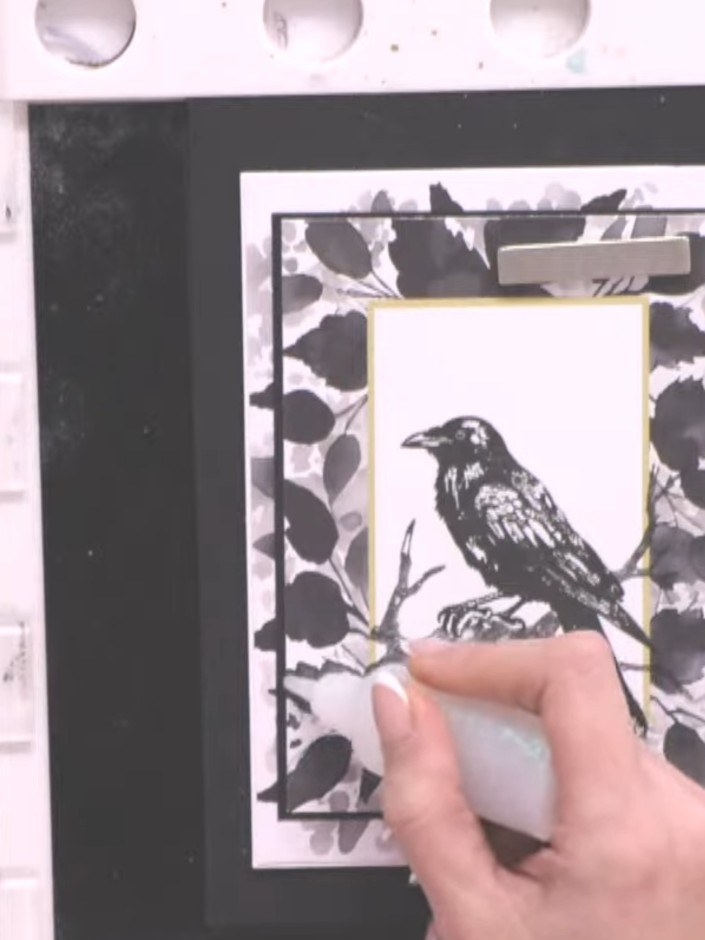
Apply black sparkle glitter glue around the edges of the frame to add shimmer and definition. Work carefully around the border to create an even line of sparkle.
▶ watch this step (1:14:00)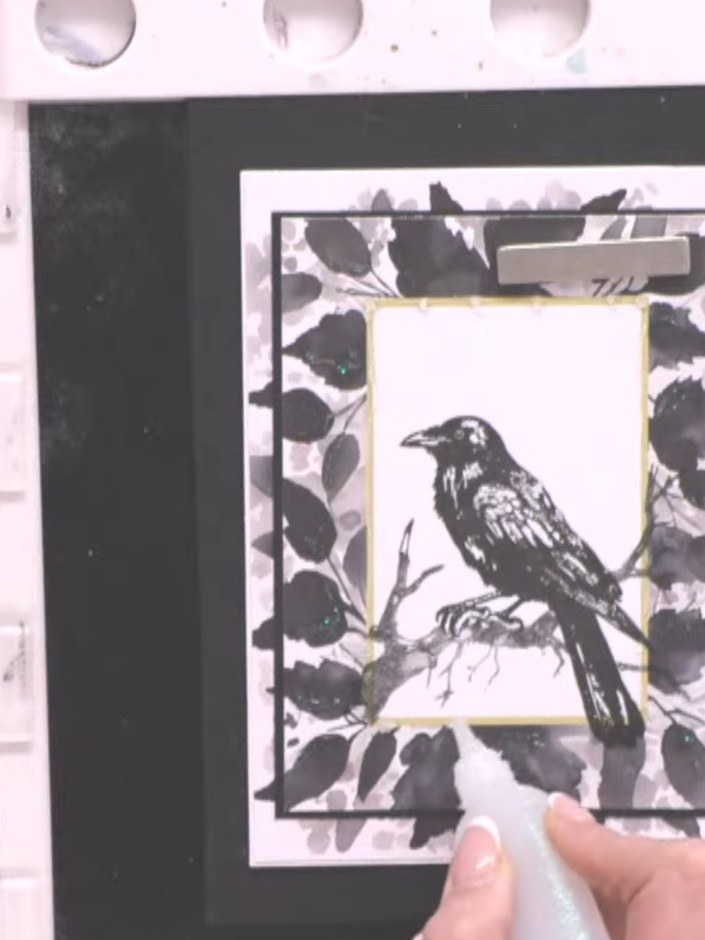
Add a sentiment stamp to complete the card. Position the stamp in the desired location on the white central panel.
▶ watch this step (1:14:30)Written up from the show itself. See every guide from our shows · free how-to guides · watch live on My Telly