Give your friends €10 off their first order!
Refer a FRIEND








A project from our live show MY PODCAST - Catch my latest updates broadcast September 23rd 2024 · 23/09/2024 · watch it from 54:00
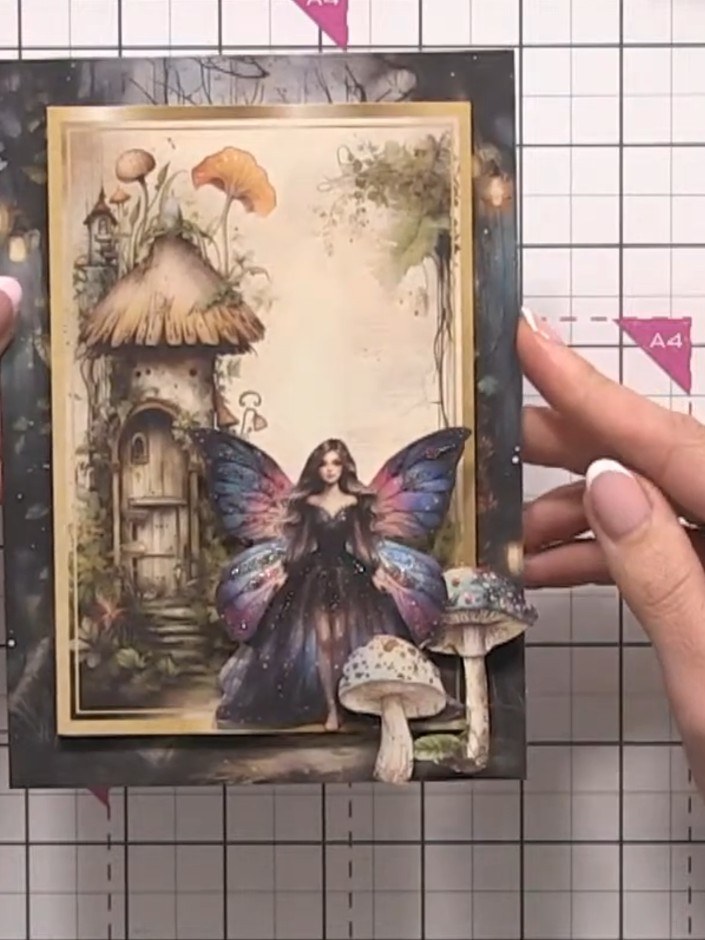
Create a magical fairy card featuring an enchanting scene with a whimsical mushroom house, delicate fairy with butterfly wings, and charming toadstools. This project uses layered decoupage techniques with vintage-style imagery on a dark decorative background, finished with sparkle accents for added shimmer. The result is a beautiful dimensional card perfect for anyone who loves fantasy and fairy tale themes.
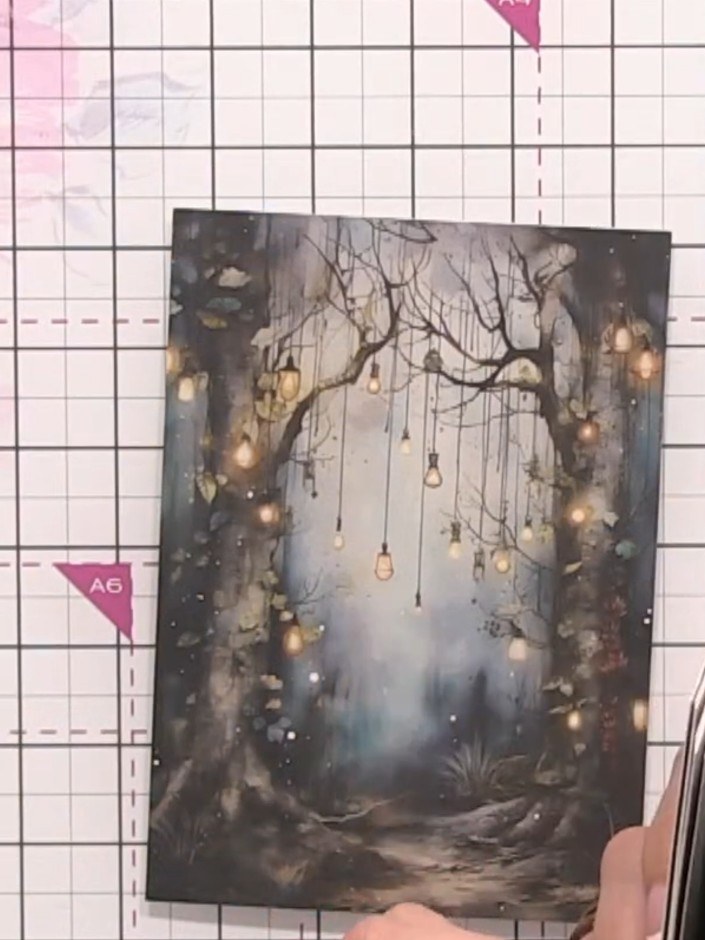
Select a card blank from your kit and place it on your craft mat as your base. Position it with the fold at the top.
▶ watch this step (54:30)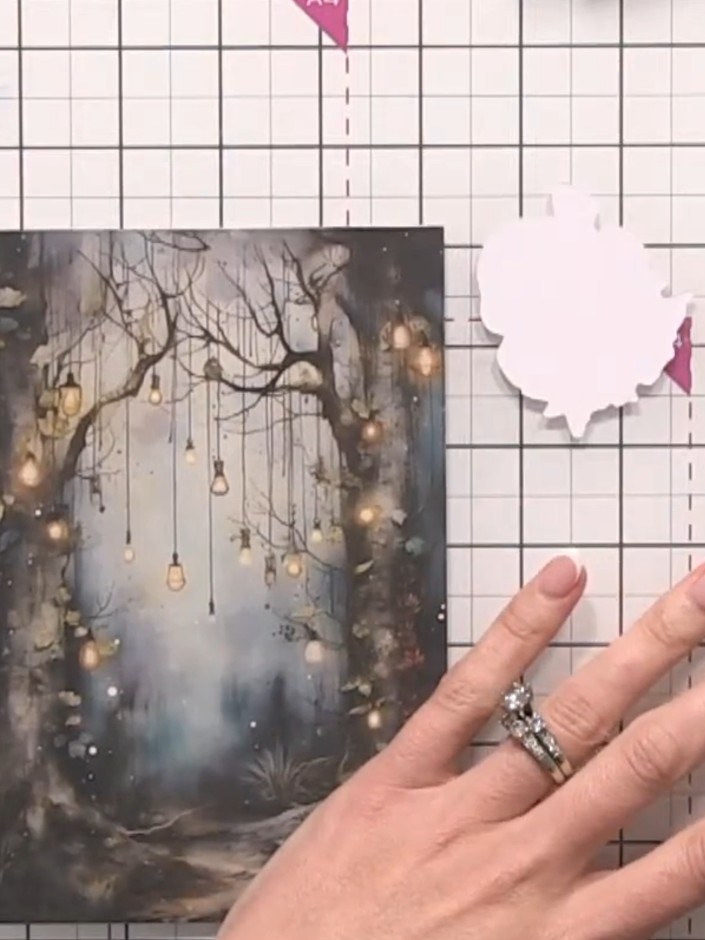
Select a fairy topper from your kit. Position it on the right side of the card base to check placement before adhering.
▶ watch this step (54:45)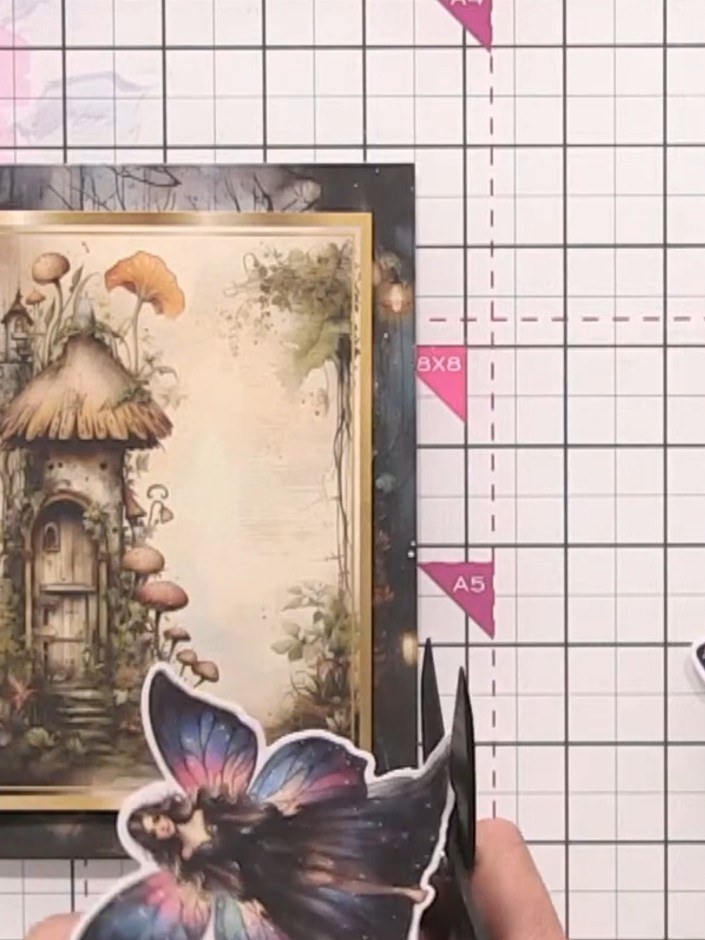
Trim away the white edge from the fairy topper using scissors for a cleaner finish. Hold the fairy carefully and cut close to the printed edge to remove all the white border.
▶ watch this step (56:30)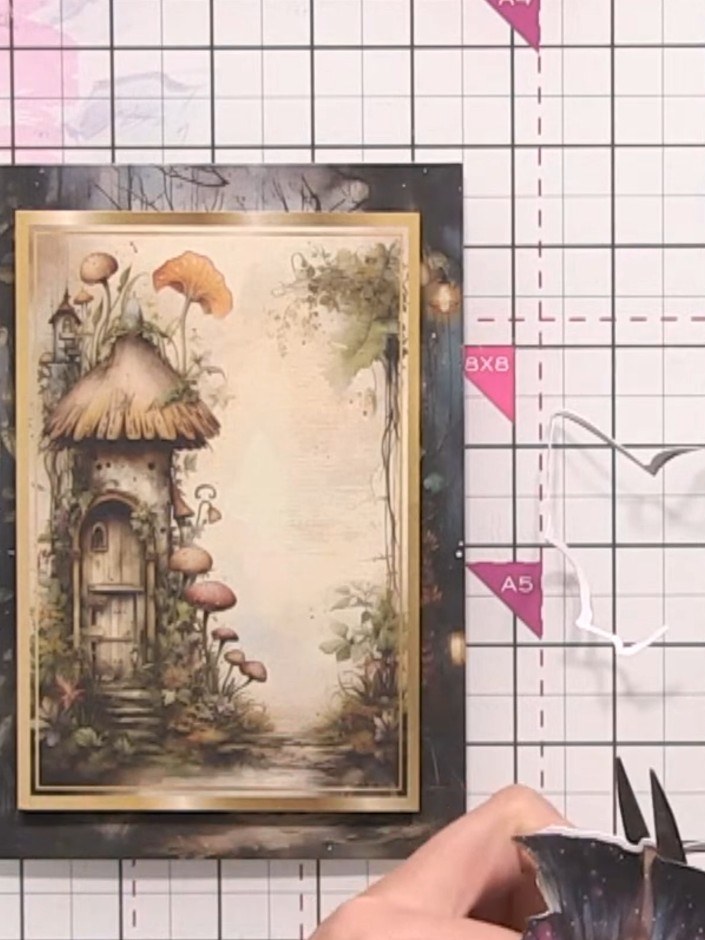
Apply 3D foam pads to the back of the fairy die-cut to add dimension. Position the fairy on the card front, using the foam pads to lift it from the surface.
▶ watch this step (57:00)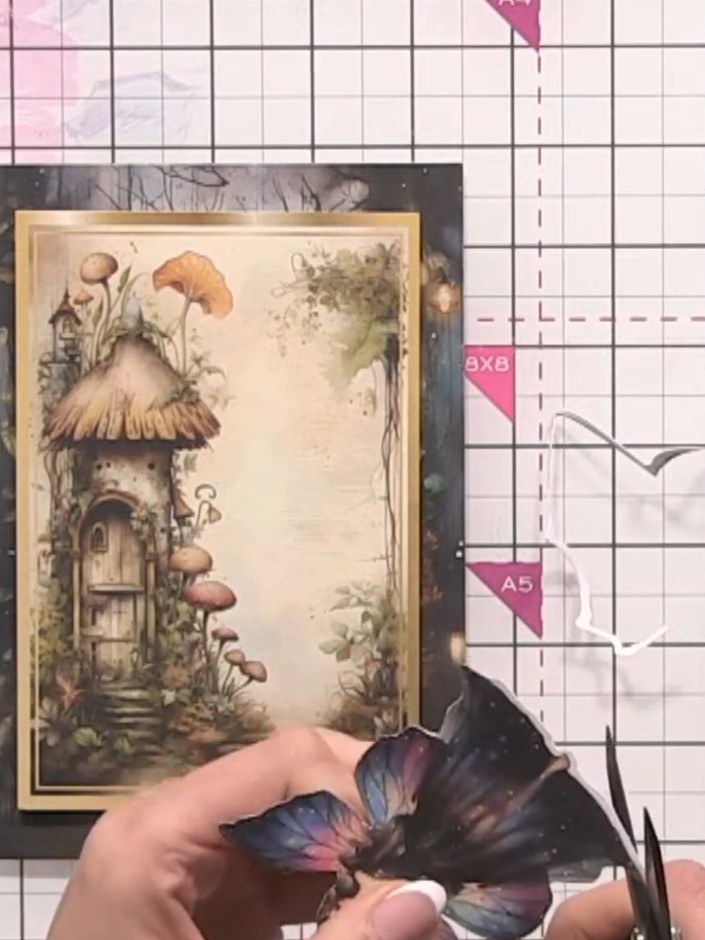
Using scissors, carefully cut away the wings slightly from the back of the butterfly embellishment. Gently pull the wings forward to create dimension and a 3D effect.
▶ watch this step (57:15)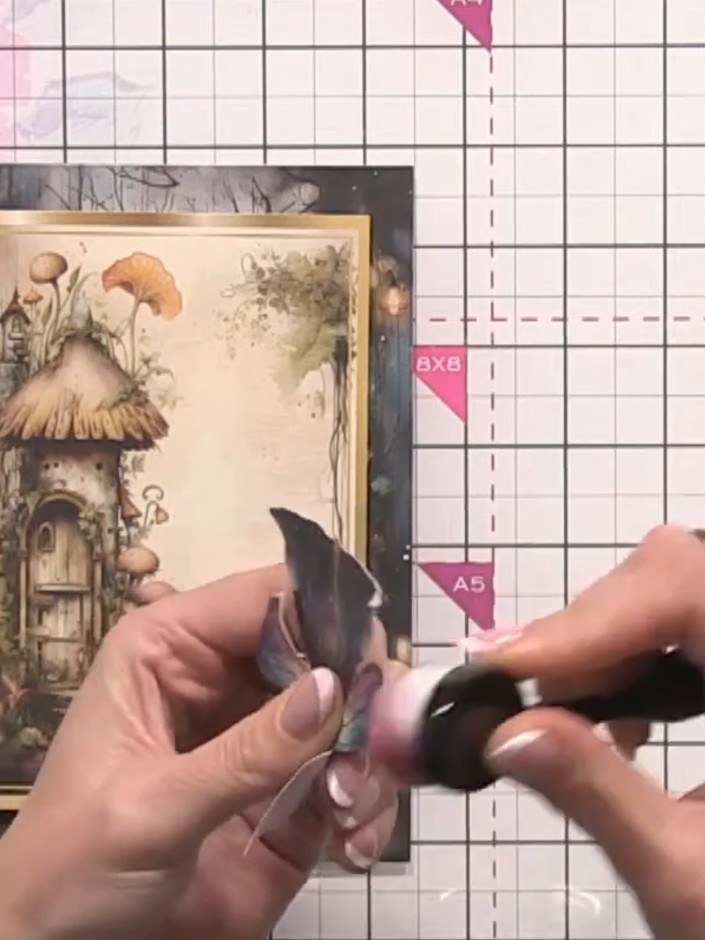
Use a blending brush with dark colour to soften any harsh white edges on the sides of the mushroom topper. Gently brush the edges to blend them and create a more three-dimensional appearance.
▶ watch this step (58:00)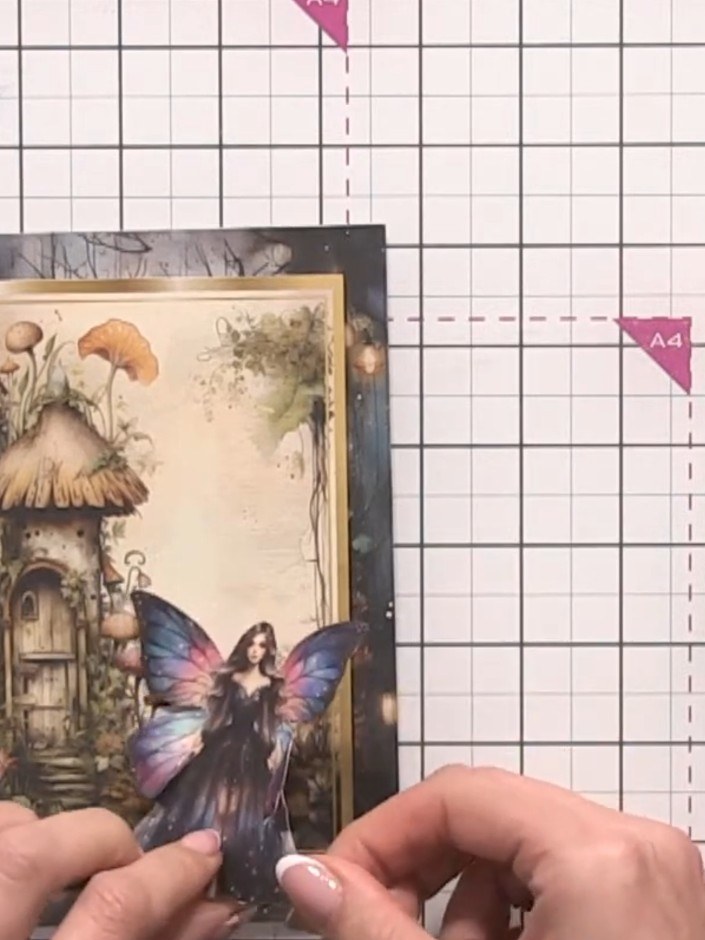
Cut out the mushroom topper elements and position them at the fairy's feet using 3D foam pads to add dimension.
▶ watch this step (59:00)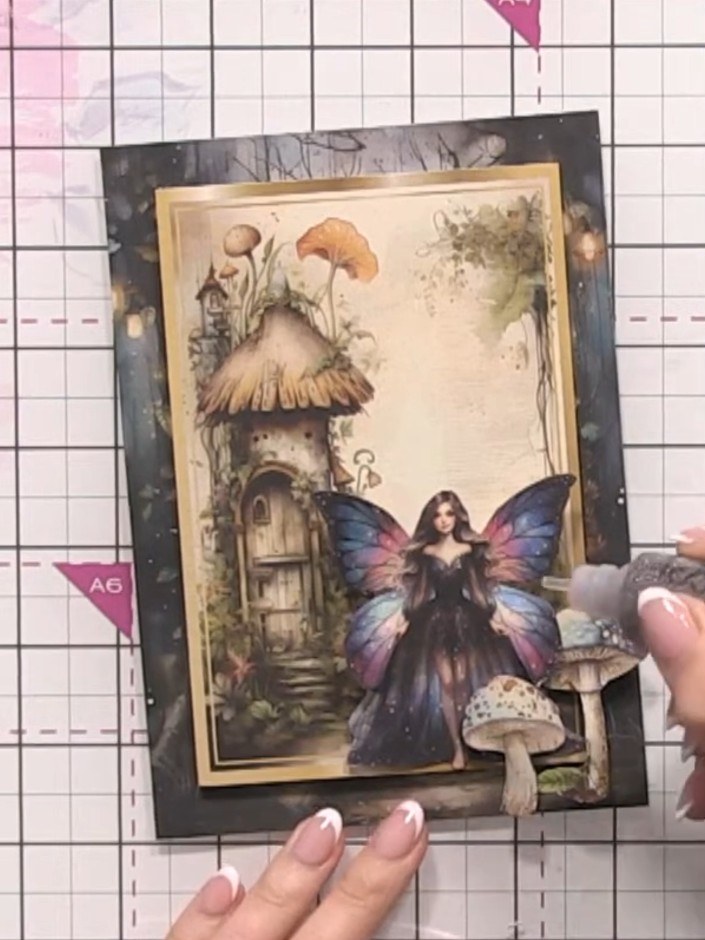
Apply sparkle glitter glue to the mushrooms and fairy wings using the applicator tip. Add dots and highlights to create a magical, shimmering effect on these key elements.
▶ watch this step (1:04:30)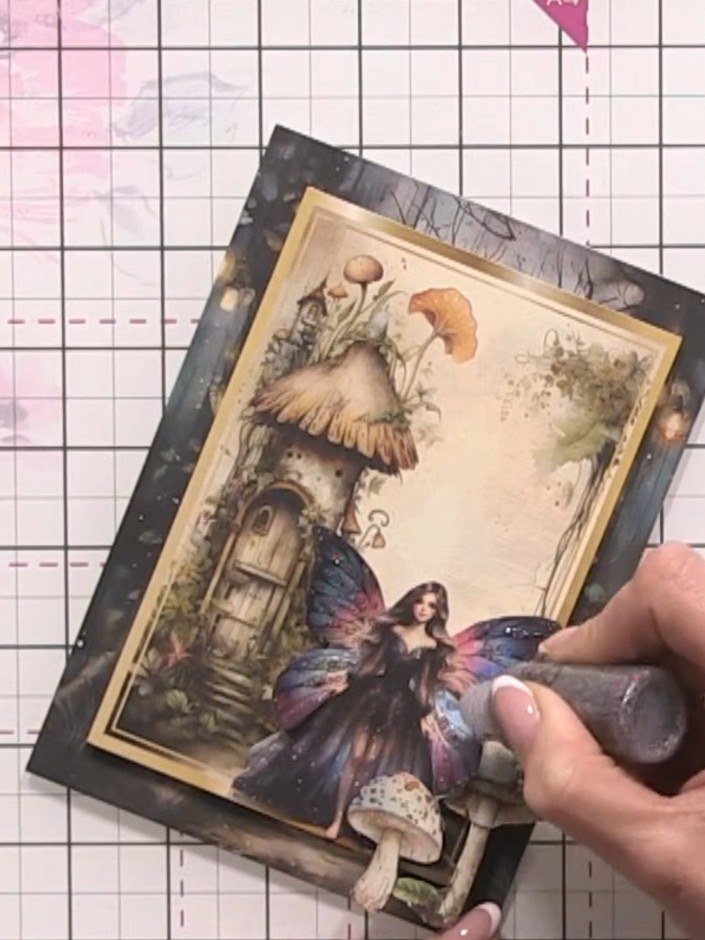
Stamp a sentiment onto the card using the pre-printed words or stamp set from the kit. Position the sentiment at the bottom of the card and press firmly to ensure a clear impression.
▶ watch this step (1:05:30)Written up from the show itself. See every guide from our shows · free how-to guides · watch live on My Telly