Give your friends €10 off their first order!
Refer a FRIEND








A project from our live show ONE DAY SPECIAL - Join Toni for brand new launch - Broadcast 20th September 24 · 20/09/2024 · watch it from 29:45
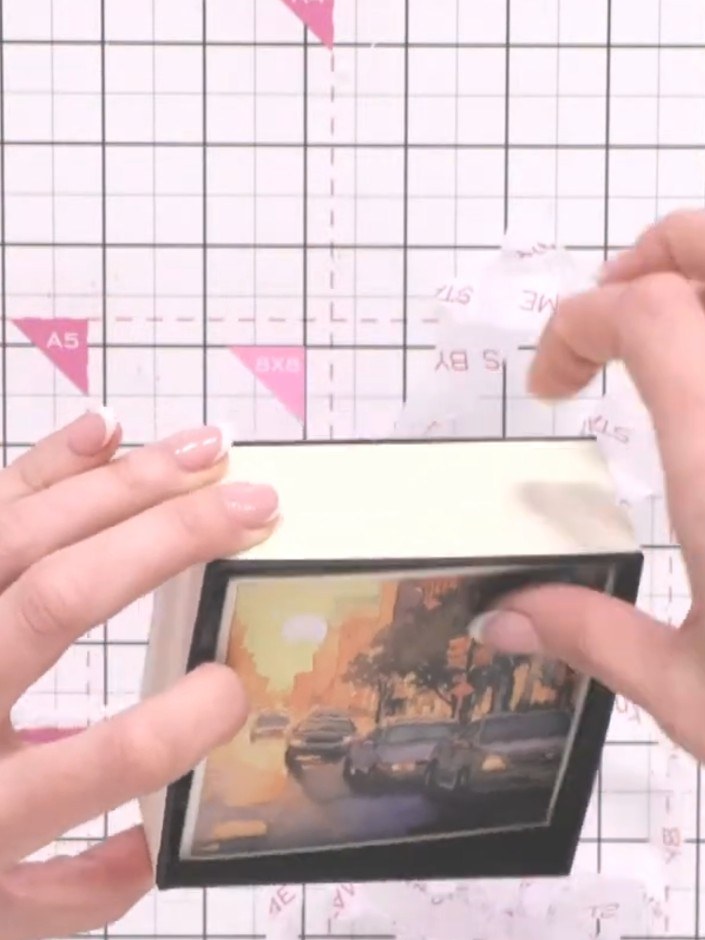
Create a charming 3D gift card insert featuring a stamped bicycle motif with added sparkle details. This quick and elegant card complements your decorated gift box with a personal handmade touch. The design uses stamping techniques and dimensional elements to create a coordinating piece that sits beautifully inside your gift presentation.
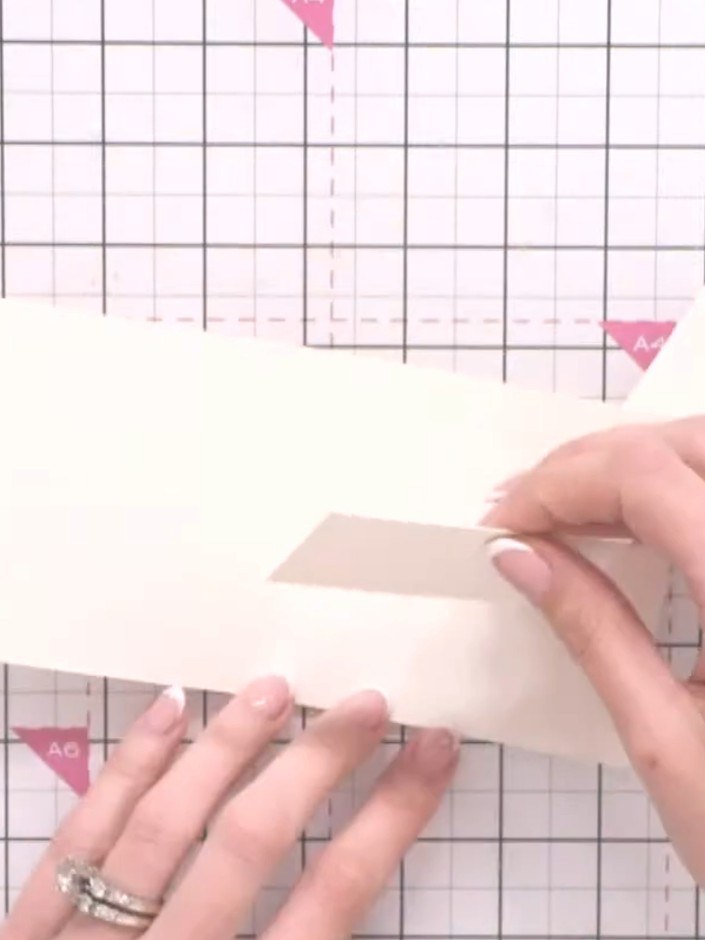
Cut two pieces of cream card to pocket size, smaller than your gift box interior. These will be used to create decorative pockets for the inside of your card.
▶ watch this step (29:45)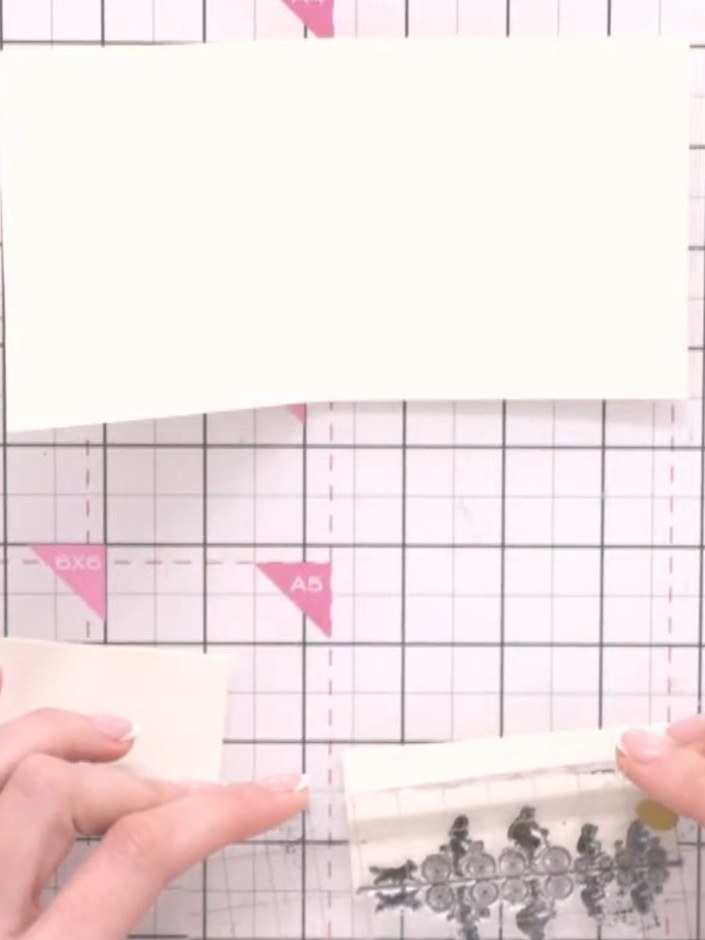
Stamp the same bike design across the second cream card piece to match the first. Position the stamps to create a continuous scene of cyclists.
▶ watch this step (30:45)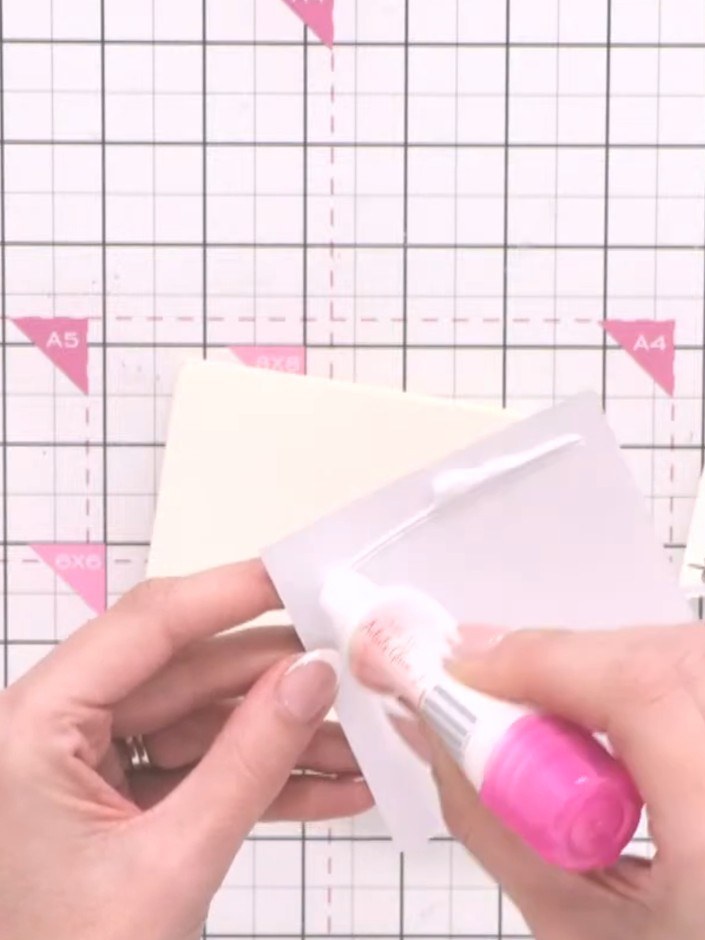
Apply glue to one of the stamped pieces and carefully align it with the other stamped piece. Press them together to create a pocket that will hold your message tag and money.
▶ watch this step (31:15)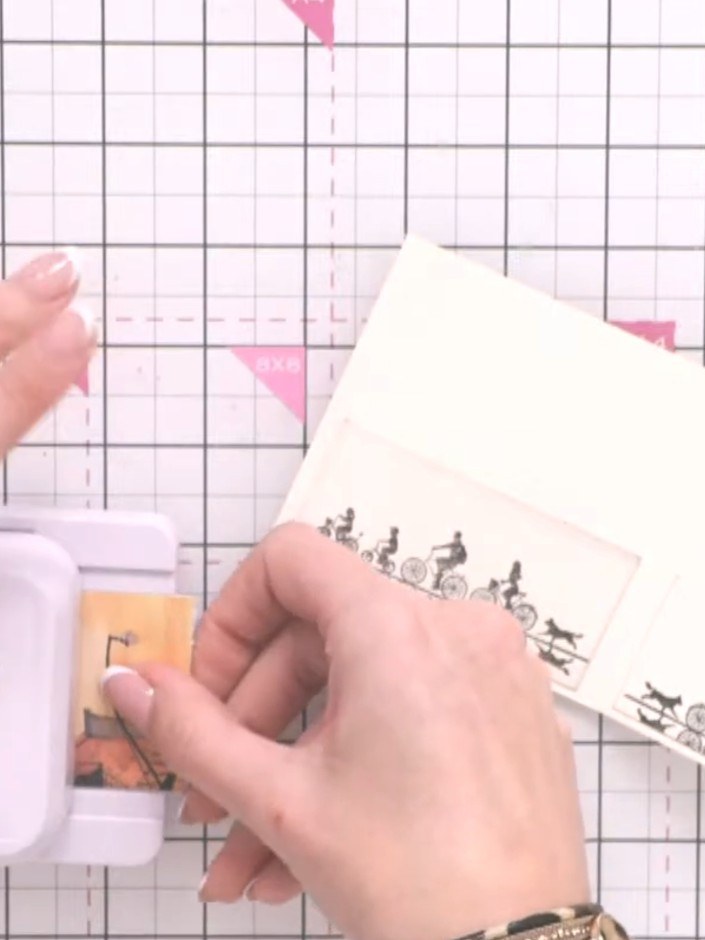
Cut a tag from Great Outdoors paper offcuts using a tag punch or die cut machine.
▶ watch this step (35:00)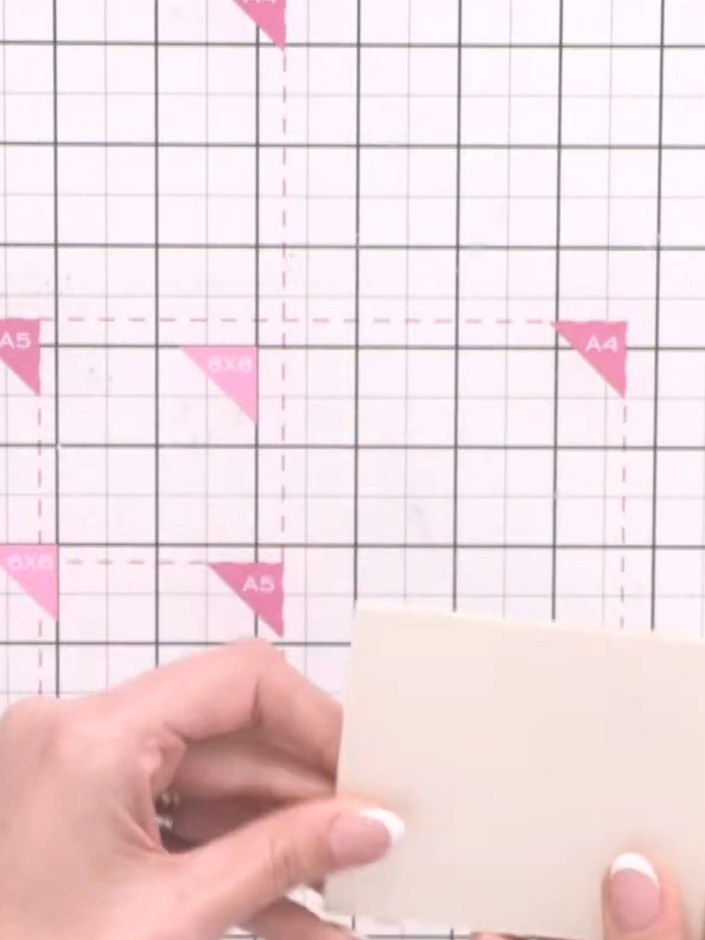
Write your message on the cream tag and place it inside the pocket of your card.
▶ watch this step (35:30)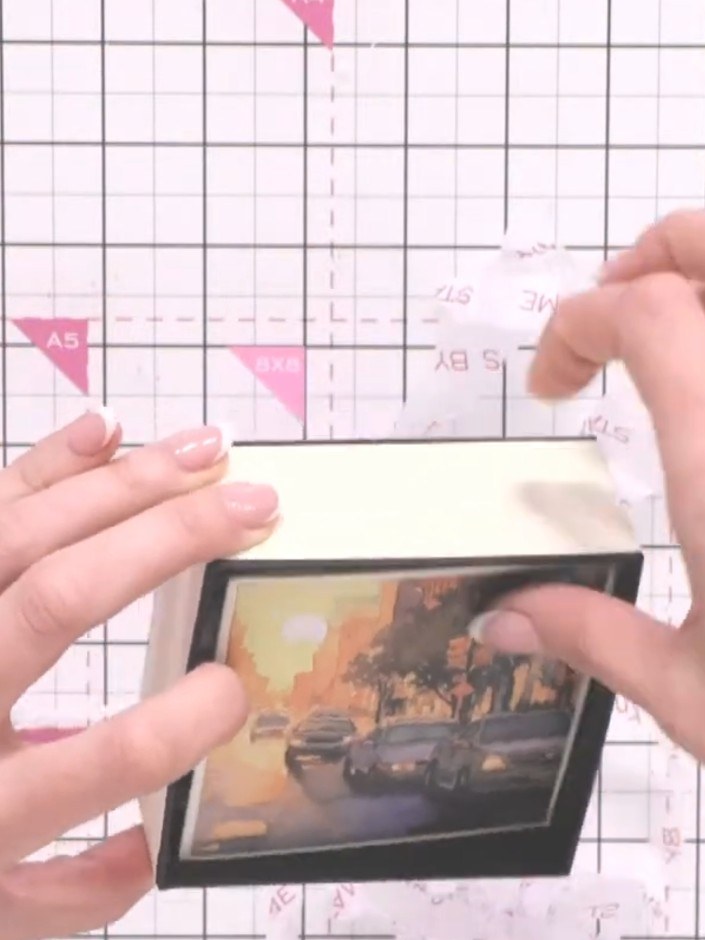
Apply foam dots or 3D adhesive to the back of the stamped bike corner element to raise it from the card surface.
▶ watch this step (39:00)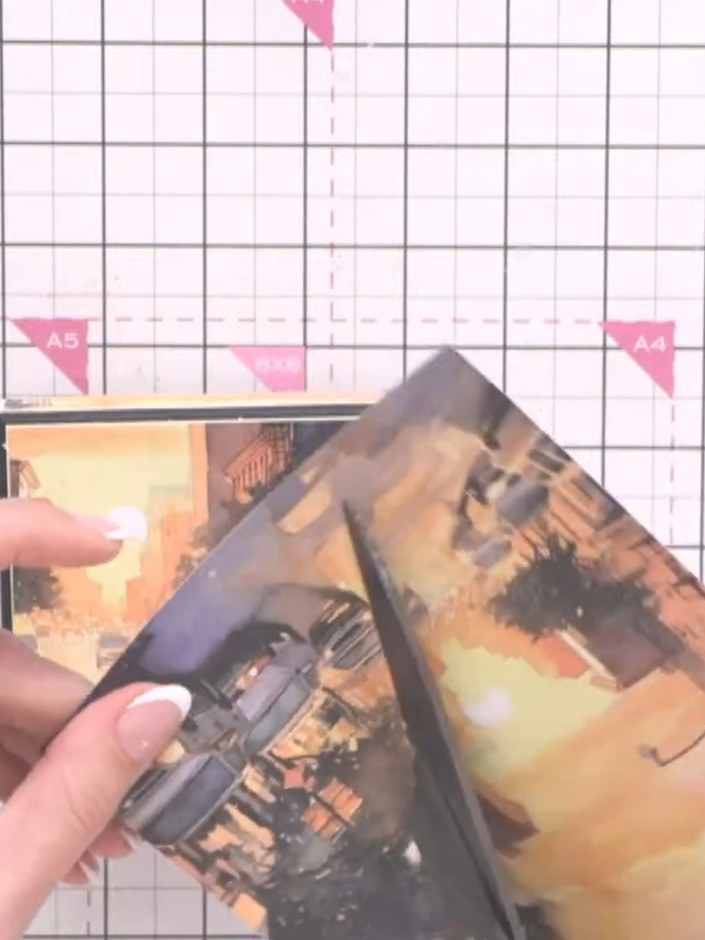
Use a white gel pen to highlight the stamped bikes, adding detail and definition to bring them back to life against the darker background.
▶ watch this step (40:00)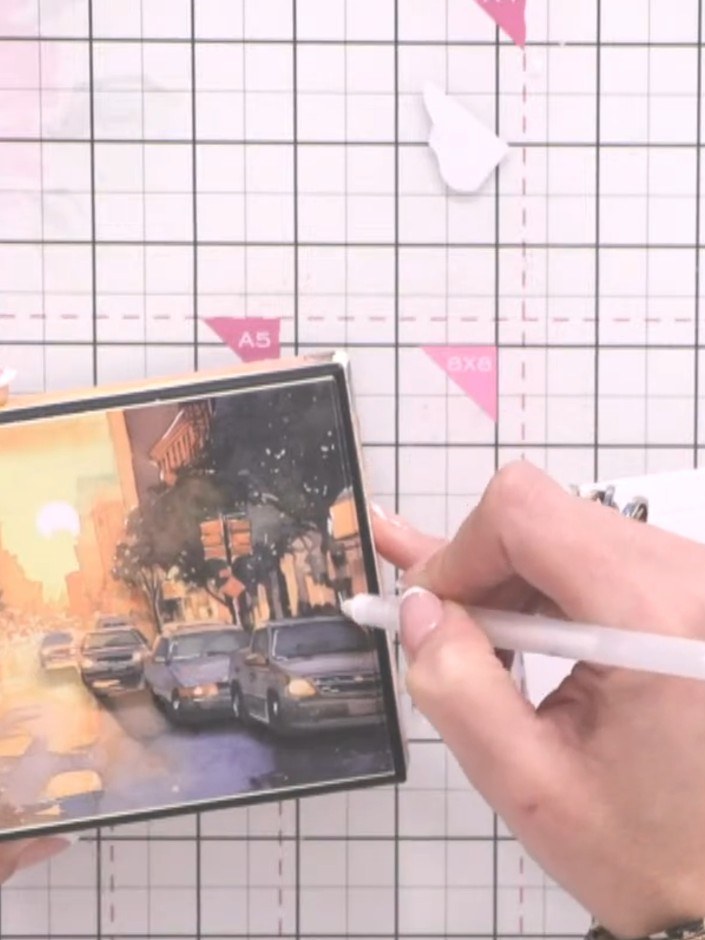
Add iridescent glitter glue to the trees and other design elements on the sunset scene to create sparkle and dimension.
▶ watch this step (43:00)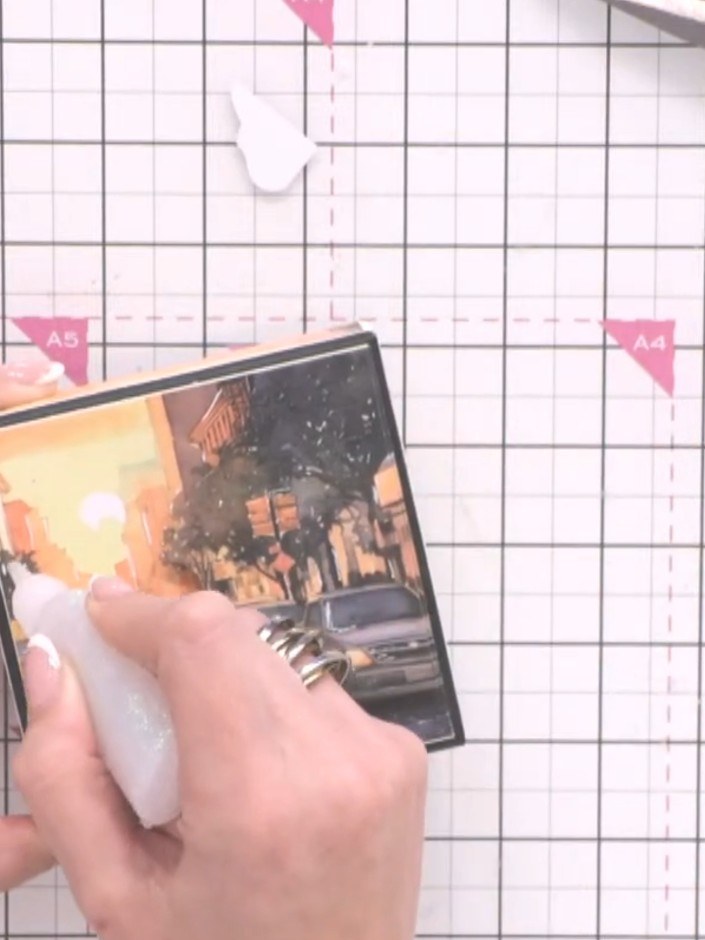
Place the completed 3D card inside the decorated box with tissue paper to present as a gift.
▶ watch this step (44:00)Written up from the show itself. See every guide from our shows · free how-to guides · watch live on My Telly
