QUICK LINKS

Welcome to the How to Craft Network
 
SBM SHOP
GIVE YOUR FRIENDS €10 OFF REFER A FRIEND › DISCOVER MY-TELLY.COM › WE JUST GOT SMARTER GET THE APP › AWARD WINNING CHANNEL ON YOUR TV › JOIN THE CLUB FOR SAVINGS ›
 

Shaped Card with Decorative Elements

A project from our live show CRAFT BATTLE - Join the fun, chaos and intense creativity as Toni and Sarah go HEAD-TO-HEAD - broadcast 19th September 24 · 19/09/2024 · watch it from 40:30
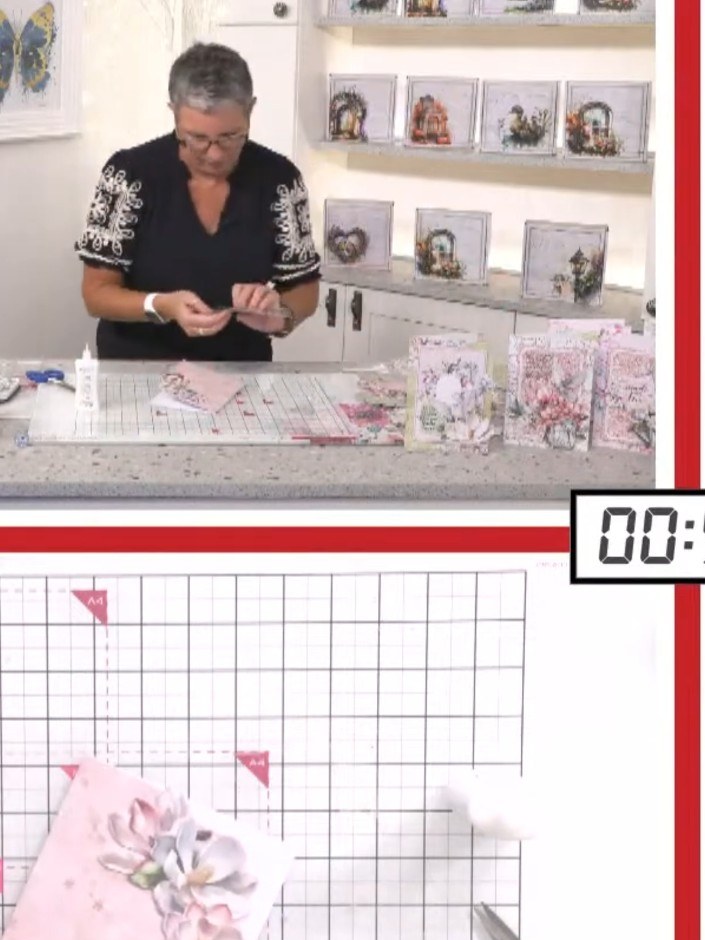
Shaped Card with Decorative Elements - the finished project
The finished project

Create a beautiful shaped greeting card featuring delicate magnolia florals in soft pinks, whites and greens. This elegant design combines layered die-cut elements with dimensional embellishments to create a stunning non-rectangular card. The project uses decoupage techniques and careful placement of toppers to achieve a professional, eye-catching finish.
You will need

Stamps By Me Create a Card Kit - Magnolia - 240424QStamps By Me Create a Card Kit - Magnolia - 240424QSEE IT

DOWNLOAD THIS GUIDE (PDF)

Step by step

  1. Step 1: Select a shaped card blank from your kit or cut your own shape from a card blank. The kit includes pre-cut sha

    Select a shaped card blank from your kit or cut your own shape from a card blank. The kit includes pre-cut shaped cards ready to use.

    ▶ watch this step (40:30)
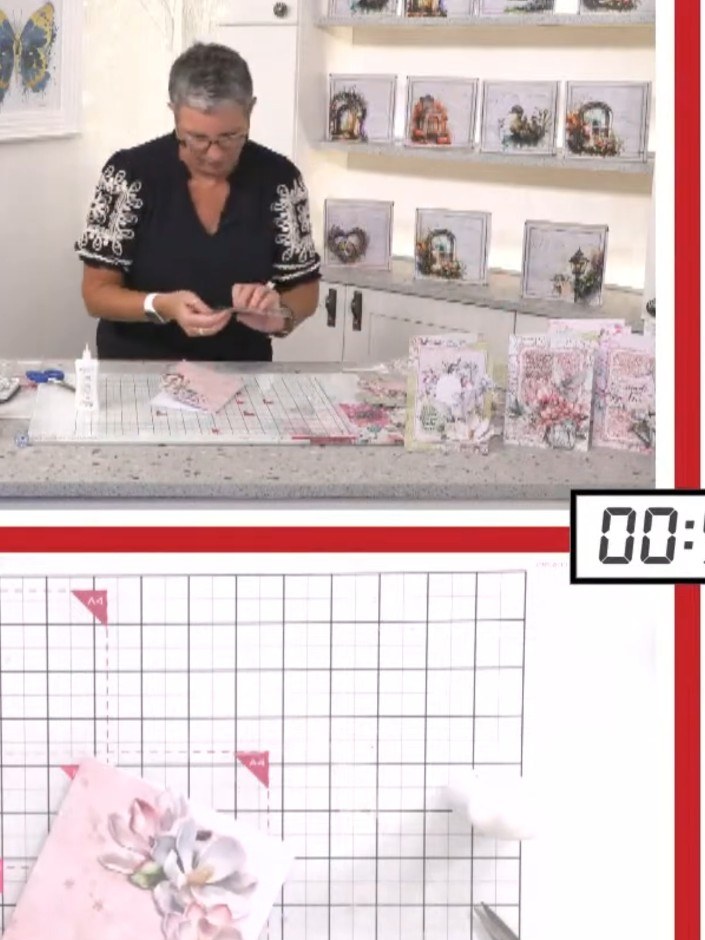
  2. Choose embellishments and toppers that complement your shaped card. Select floral die-cut pieces or decorative elements that match the design of your card base. ▶ watch 41:00
  3. Step 3: Apply 3D foam pads to the back of your chosen floral elements to create dimension. Position and attach the rai

    Apply 3D foam pads to the back of your chosen floral elements to create dimension. Position and attach the raised elements onto your card design.

    ▶ watch this step (41:30)
  4. Layer your chosen floral embellishments onto the shaped card base, building up the design with dimensional elements. Position the flowers and decorative pieces to create an attractive arrangement on the pink background. ▶ watch 42:00
  5. Add a sentiment stamp or tag to personalise your card. Position the sentiment in a suitable location on the card front and secure it in place. ▶ watch 42:45
  6. Arrange your final decorative elements on the shaped card, ensuring the floral toppers and embellishments complement the card's shape. Position sentiment tags and dimensional flowers to create a balanced, cohesive design. ▶ watch 43:30

More from this show

Written up from the show itself. See every guide from our shows · free how-to guides · watch live on My Telly







