Give your friends €10 off their first order!
Refer a FRIEND








A project from our live show MY PODCAST - Catch my latest updates broadcast September 16th 2024 · 16/09/2024 · watch it from 51:00
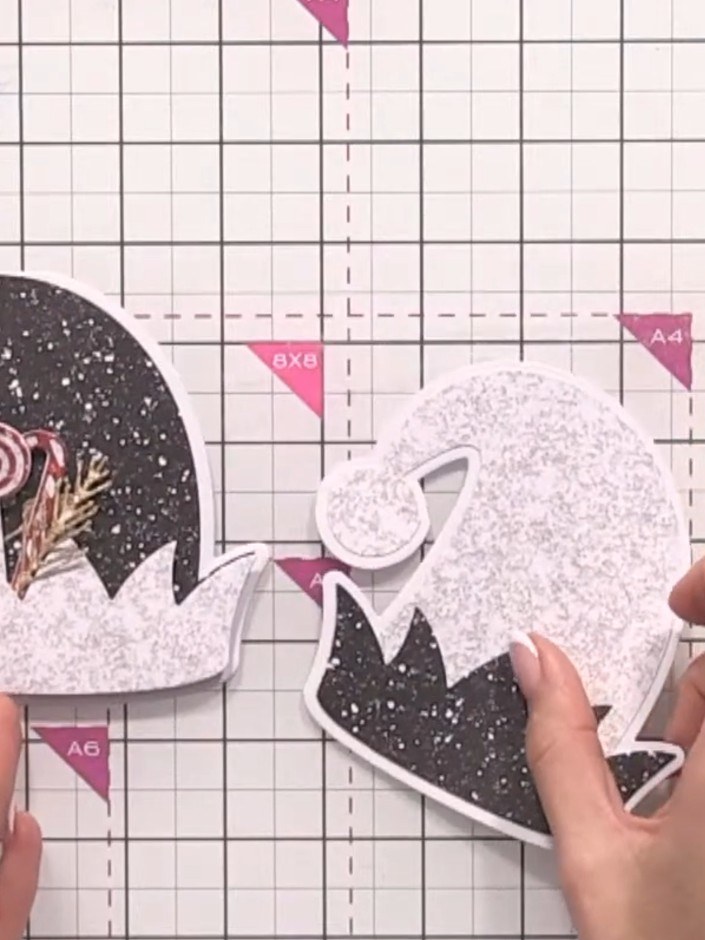
Create a charming Christmas card featuring a stack of two decorative elf hats in elegant black and white glitter patterns. The hats are adorned with festive embellishments including candy canes, foliage, and lollipops for a playful holiday design. This project uses die-cutting and layering techniques to build dimension and create a whimsical seasonal greeting card.
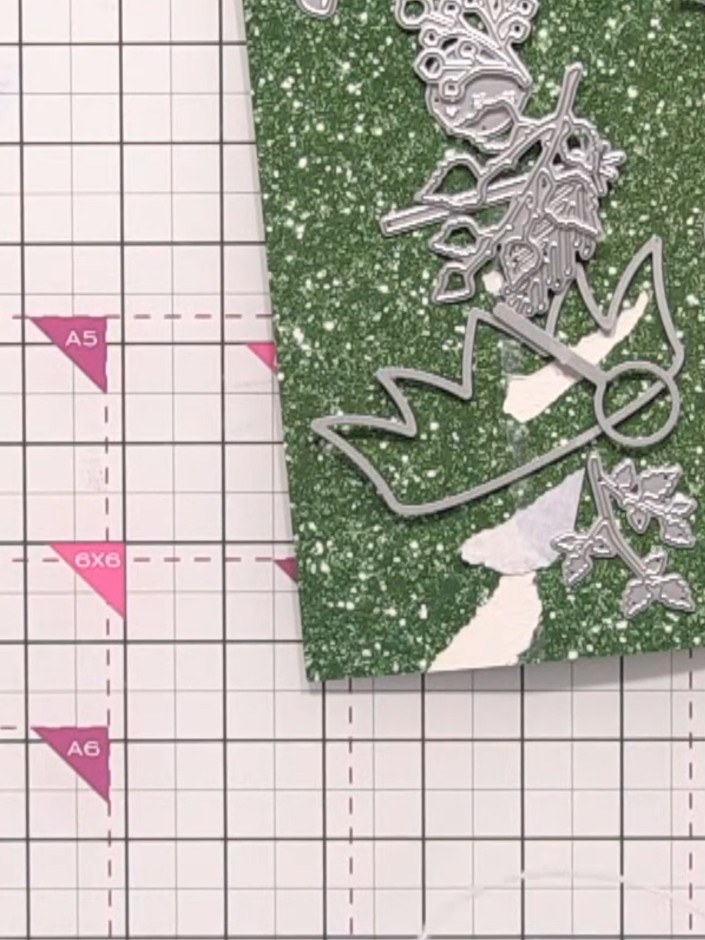
Take a card with a hinge and position the largest elf hat die so it hangs over the top edge of the card to create a shaped card base.
▶ watch this step (51:15)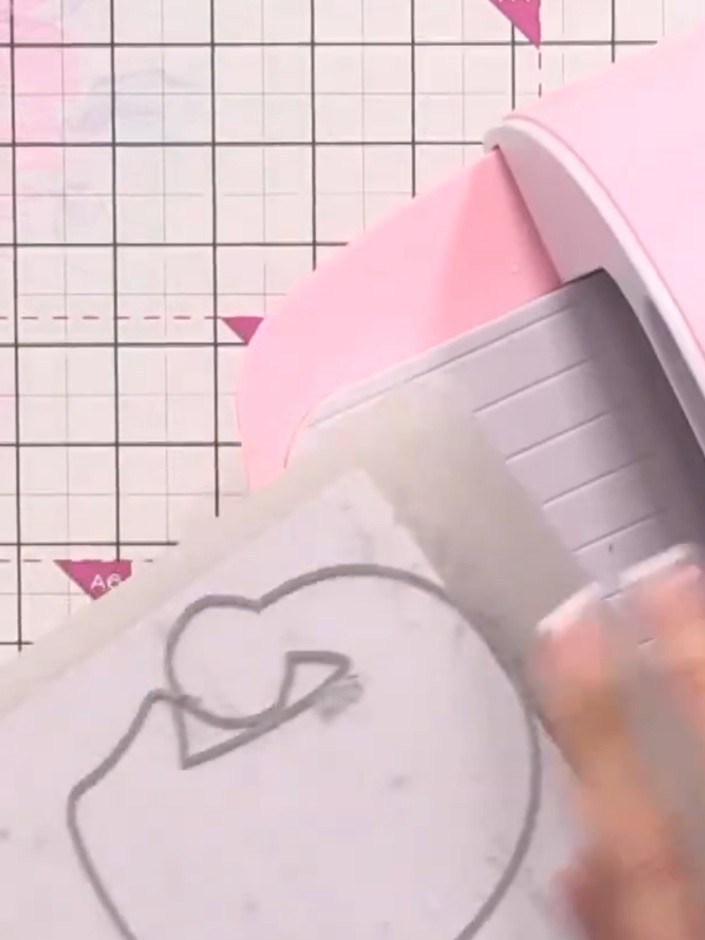
Place your stamped card into the die-cutting machine with the hat die positioned over the top. Run the die through your machine to cut the first shaped hat from the card.
▶ watch this step (52:30)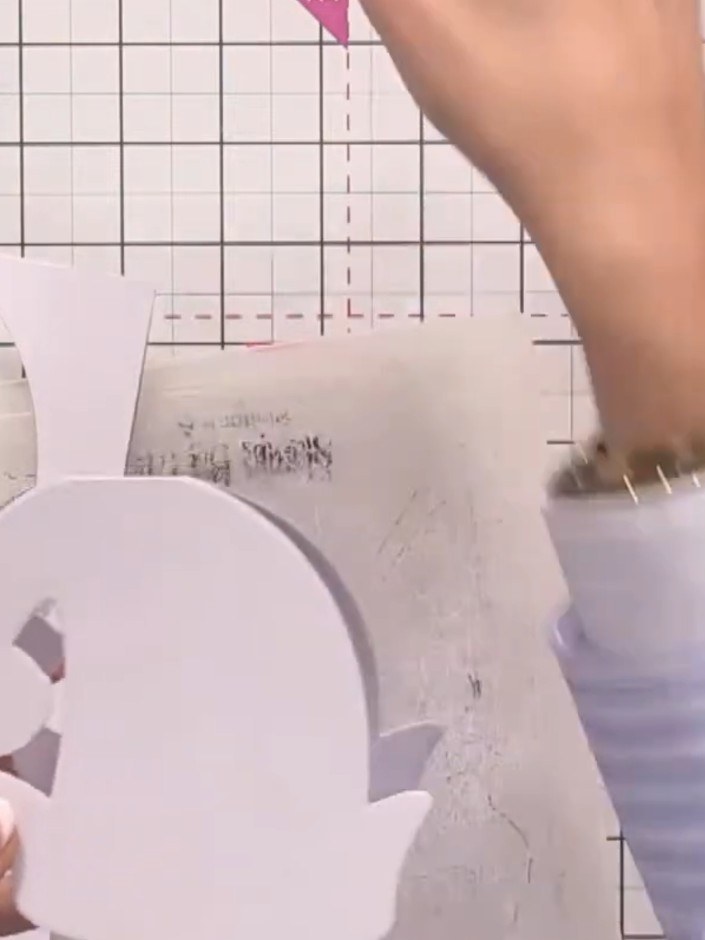
Cut a second elf hat from white sparkle paper using the same die. The cut pieces will be visible on your cutting mat.
▶ watch this step (53:30)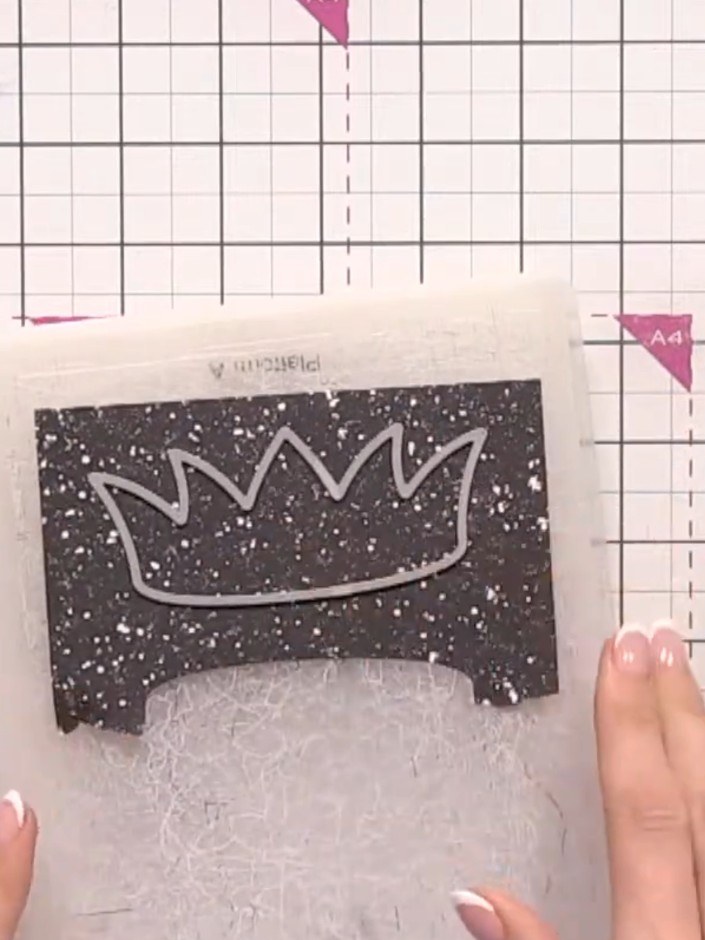
Cut trim pieces from black glitter paper for the hat brims. Position the black glitter paper behind the crown cutout to create the decorative trim effect.
▶ watch this step (55:45)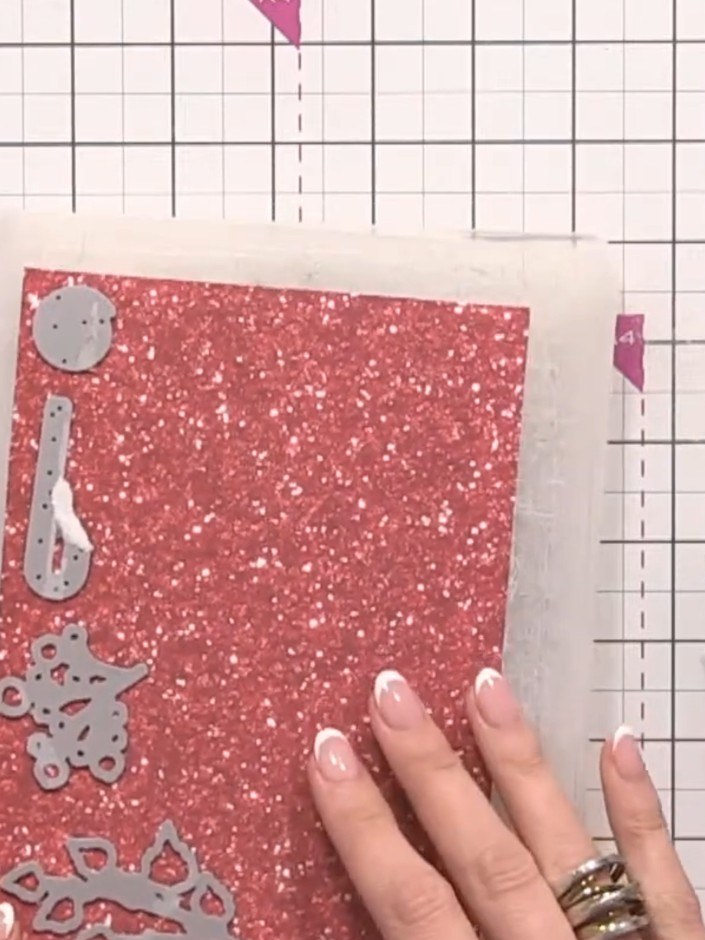
Cut candy cane shapes from red and white glitter paper in various sizes using the die-cut pieces as a guide. Create several candy canes to add festive decoration to your card.
▶ watch this step (57:45)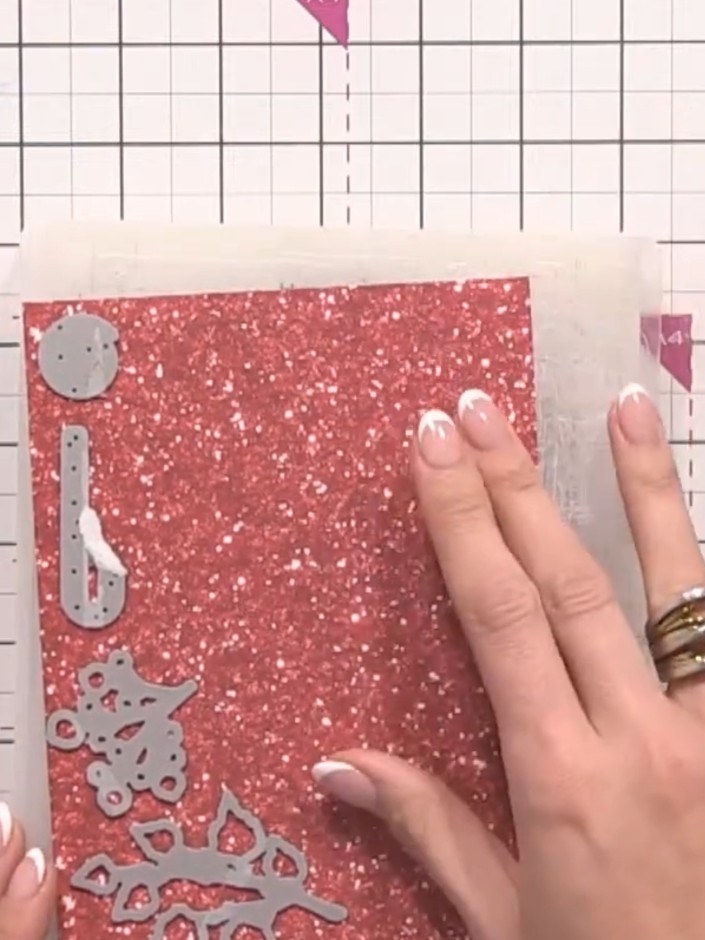
Cut out decorative elements from the paper pack including foliage, lollipop and star die-cut pieces to use as embellishments for your card.
▶ watch this step (58:15)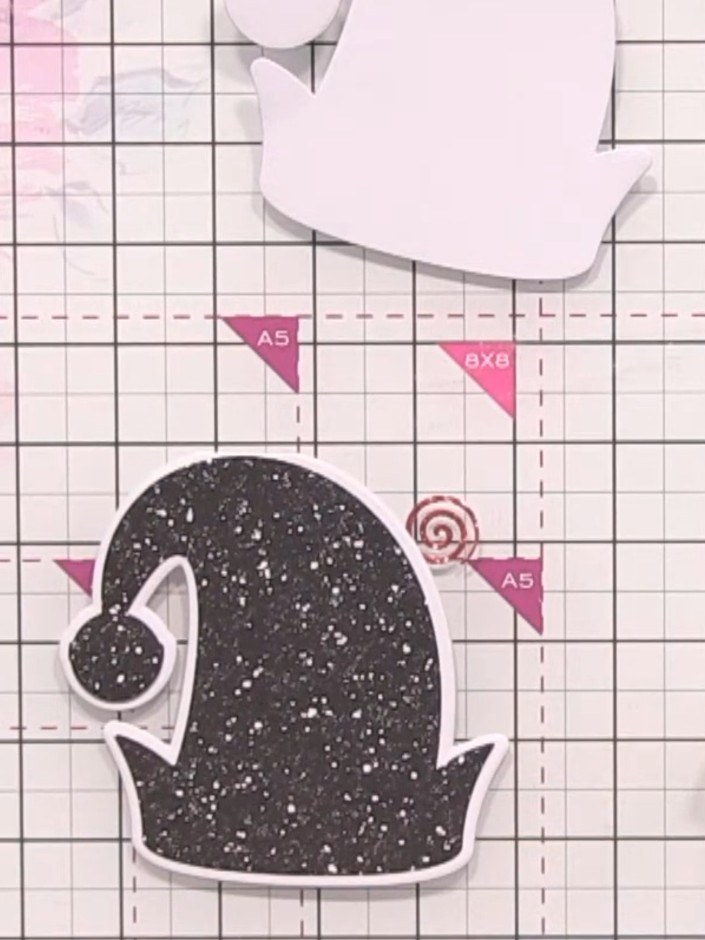
Position the black glittery hat base onto your card base. Apply glue to the back of the hat and secure it to the card as the foundation layer.
▶ watch this step (1:04:45)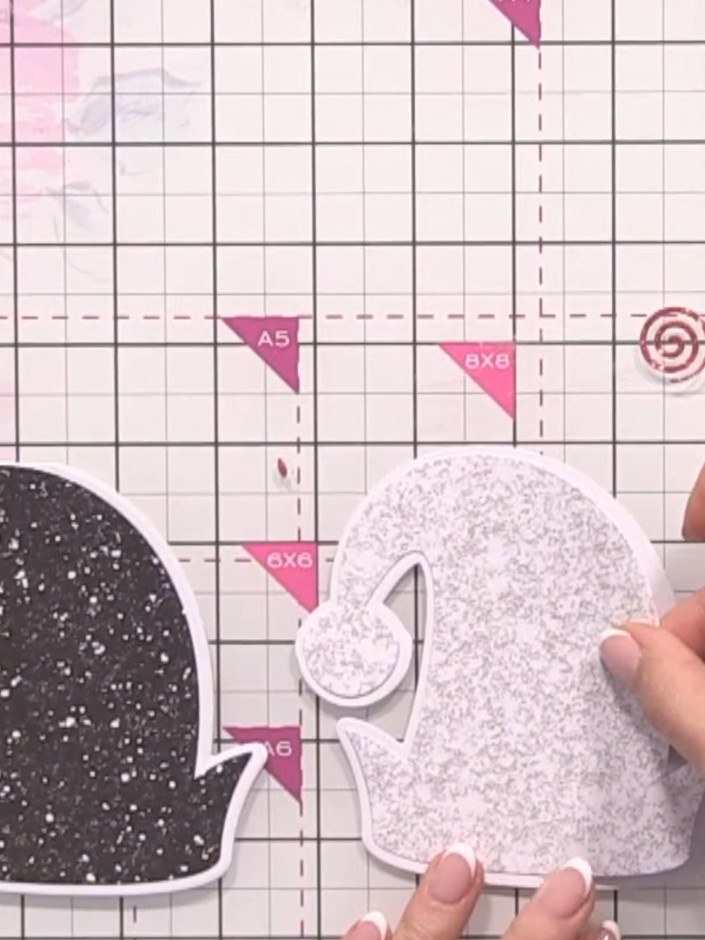
Layer the white glitter hat piece on top of the black glitter hat piece, aligning them carefully. Secure in place with glue or double-sided tape.
▶ watch this step (1:05:30)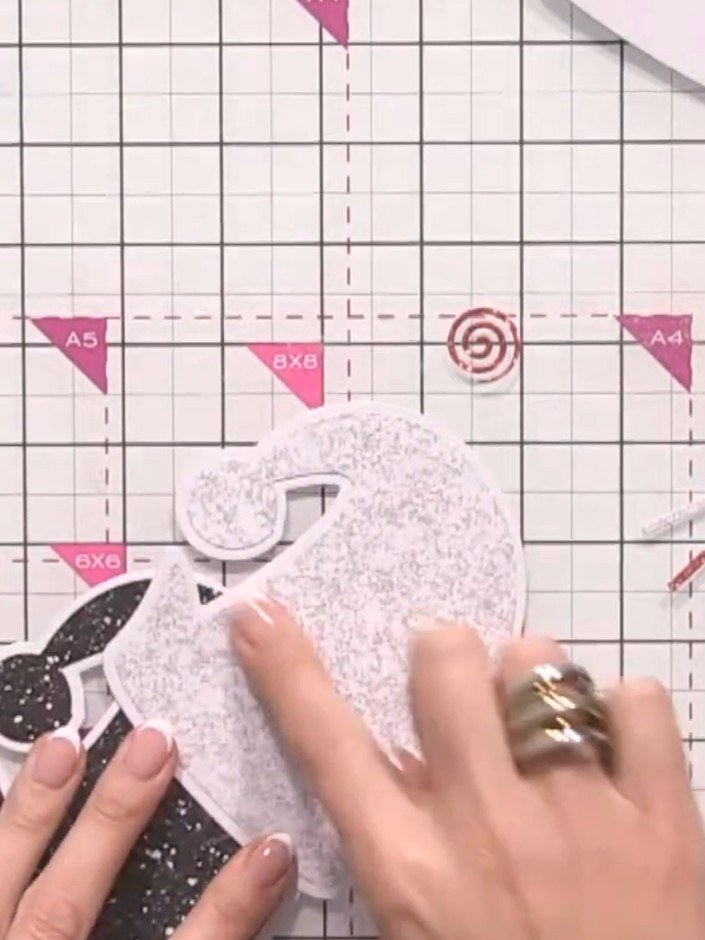
Add foam pads underneath the top hat (the lighter glittery hat) to create dimension. Position the foam pads on the back of the hat piece before adhering it on top of the black glittery hat.
▶ watch this step (1:06:30)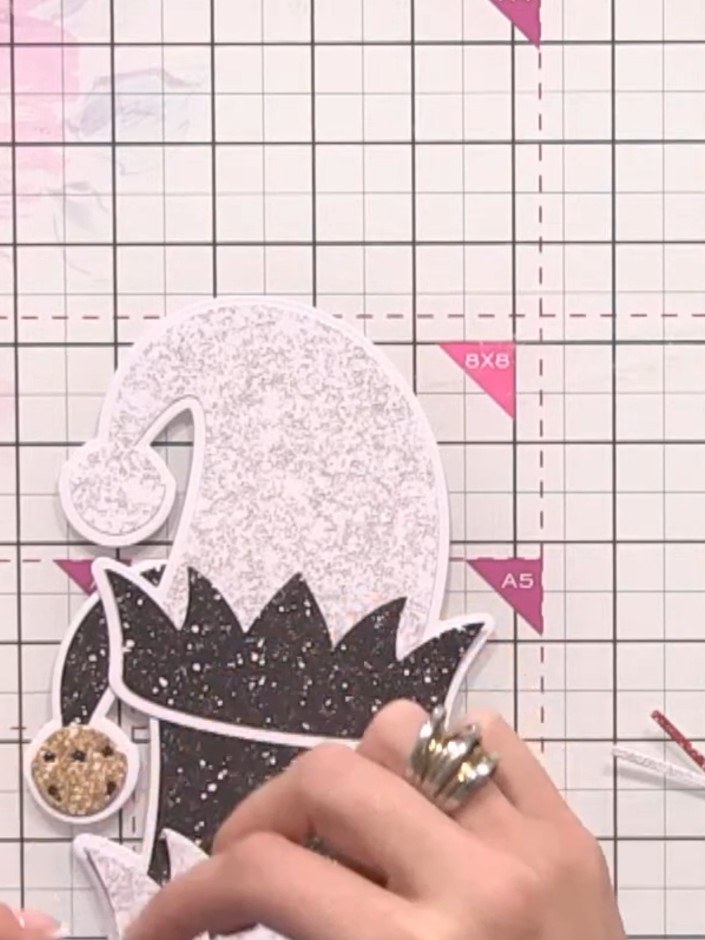
Glue the trim pieces, candy canes, foliage and lollipop embellishments around the hats to create a festive cluster. Position them in the centre to give the design dimension and visual interest.
▶ watch this step (1:08:00)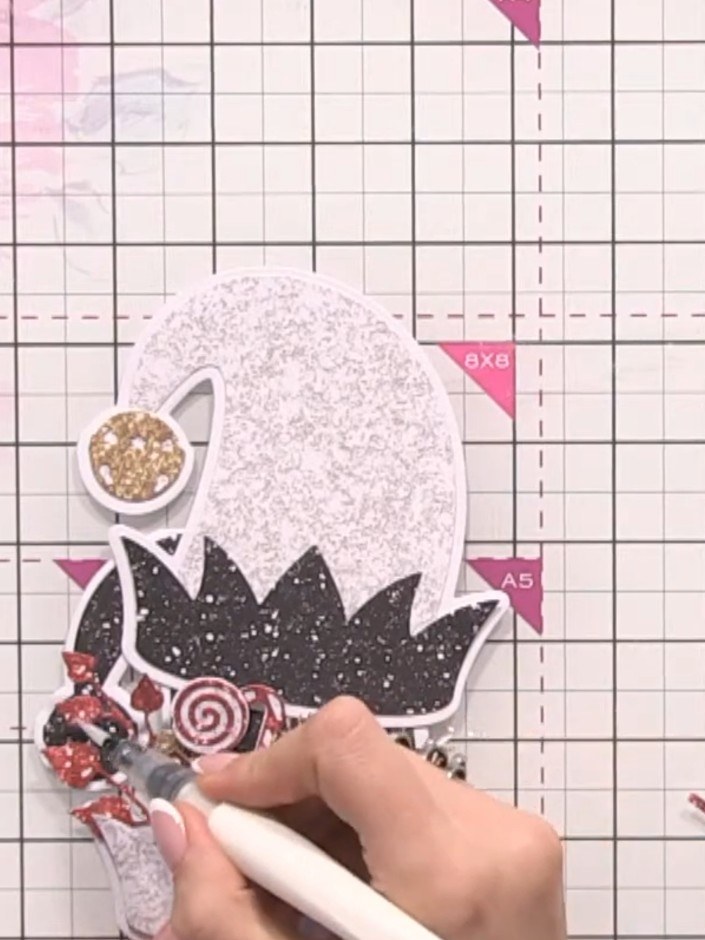
Add a small bell embellishment with its band to one of the glittery hats for extra detail. Position the bell towards the top of the hat and secure in place.
▶ watch this step (1:13:00)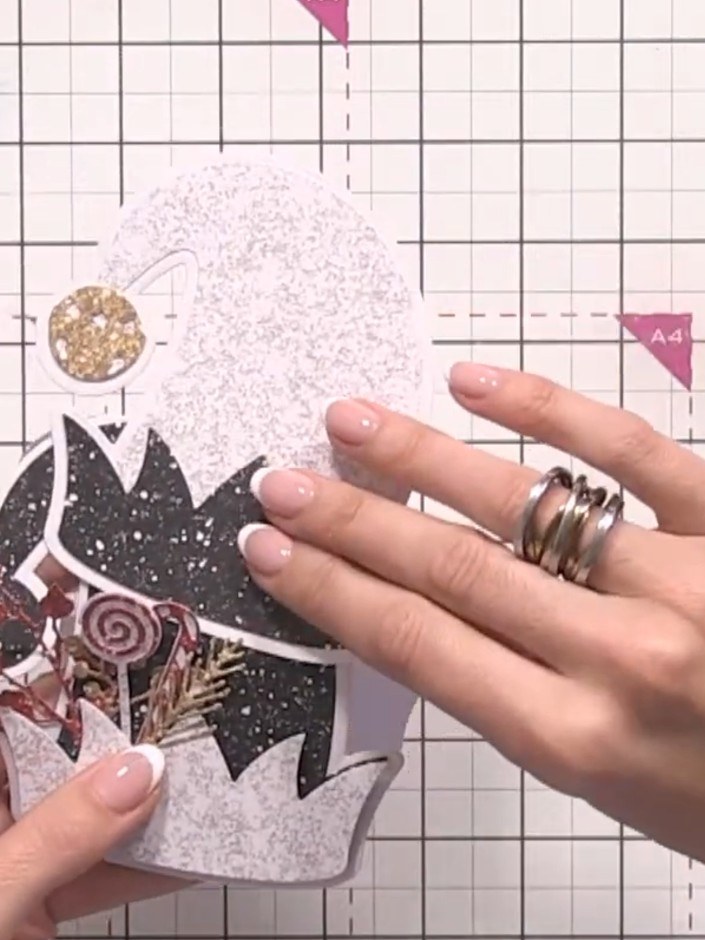
Add a sentiment to the card front if desired, or leave it blank for the recipient to personalise. Position decorative elements like the glittery circle embellishment to complete the stack of hats design.
▶ watch this step (1:13:45)Written up from the show itself. See every guide from our shows · free how-to guides · watch live on My Telly