Give your friends €10 off their first order!
Refer a FRIEND








A project from our live show SBM LATEST PRODUCTS AND INSPRIRATION - Join Toni in the studio broadcast 27th July 24 · 27/07/2024 · watch it from 42:15
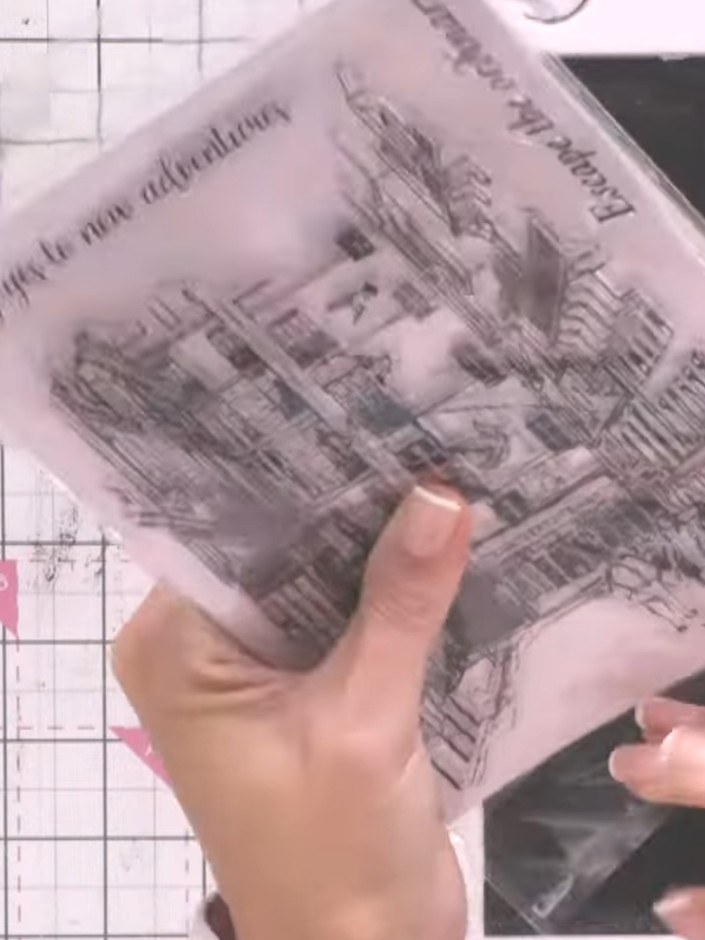
Create a sophisticated artistic card featuring a European street scene with a bleached watercolour effect. Using the Escape the Ordinary stamp, you'll layer coloured and black ink with water spray to achieve a soft, fuzzy haze, then add white gel pen highlights for depth and dimension. The result is an elegant card with a contemporary, artistic feel in muted tones on a dramatic black background.
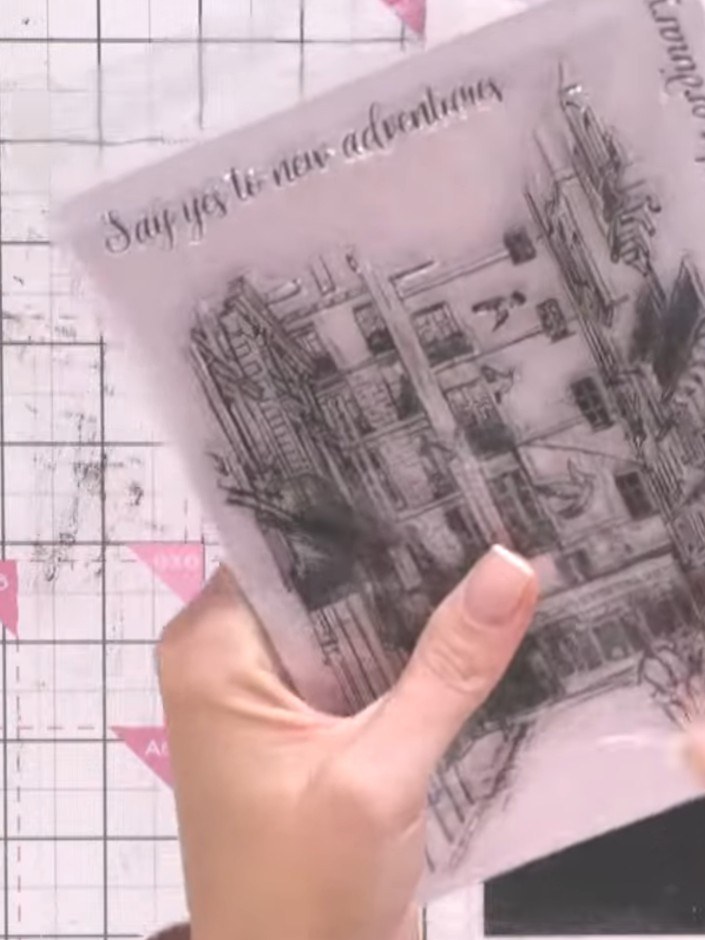
Stamp the Escape the Ordinary image onto a craft card blank using a teal or coloured ink pad. Spray the stamped image lightly and allow the ink to spread slightly on the card surface.
▶ watch this step (42:15)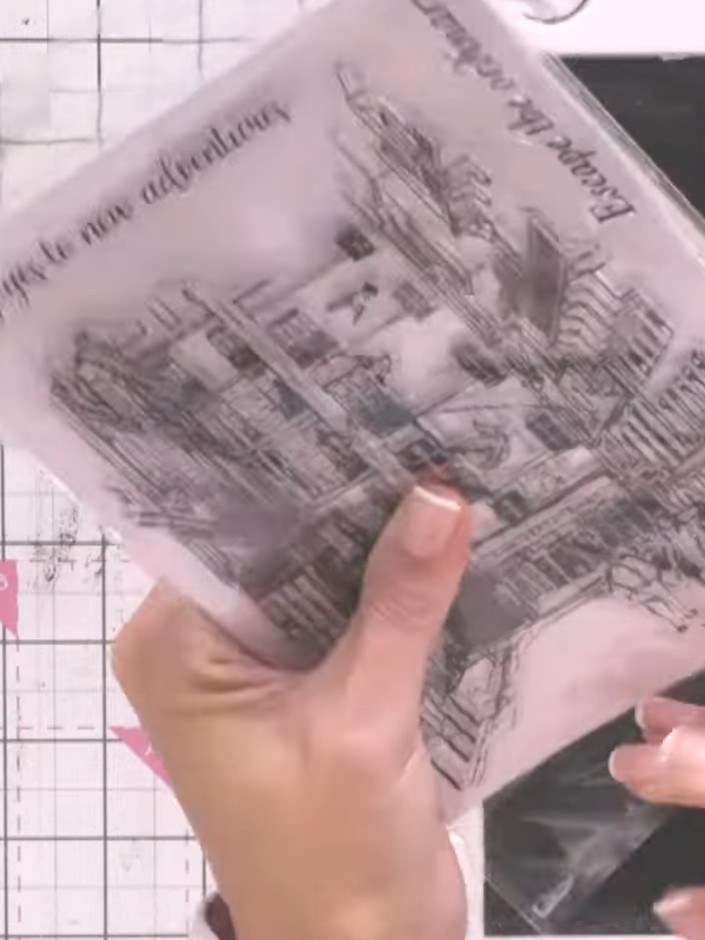
Lightly spray the stamped image with water using a spray bottle. This will create a fuzzy, bleached watercolour effect on the stamped design.
▶ watch this step (43:00)
Allow the card to dry slightly so the paper is damp but not soaking wet. The bleached areas should be visible but the card should not be dripping with water.
▶ watch this step (44:00)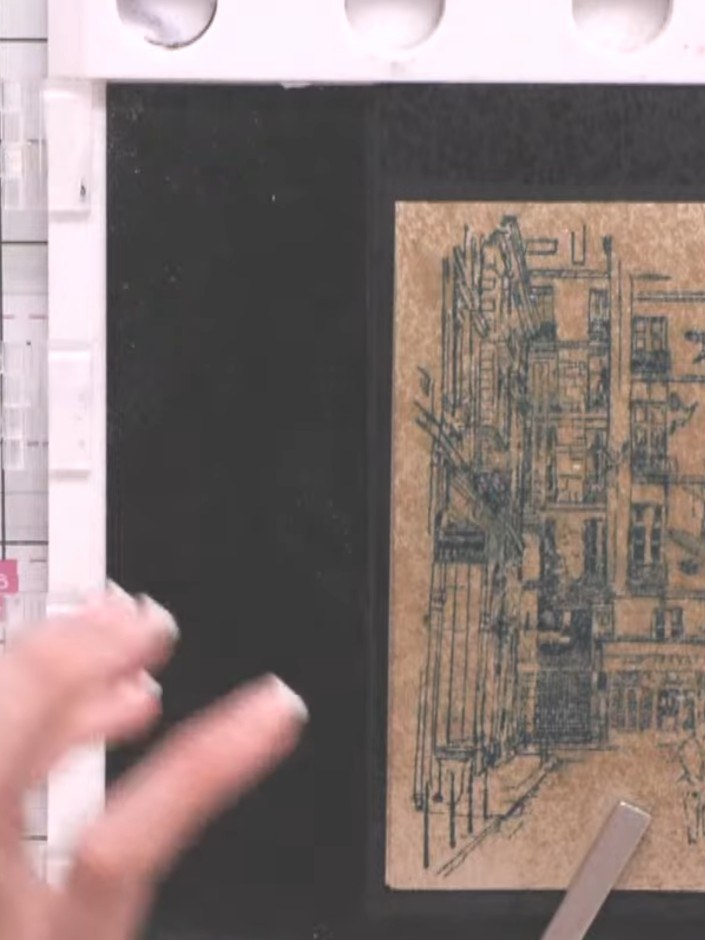
Re-stamp the same image using black ink, carefully aligning it over the bleached original stamp impression on the kraft cardstock.
▶ watch this step (45:00)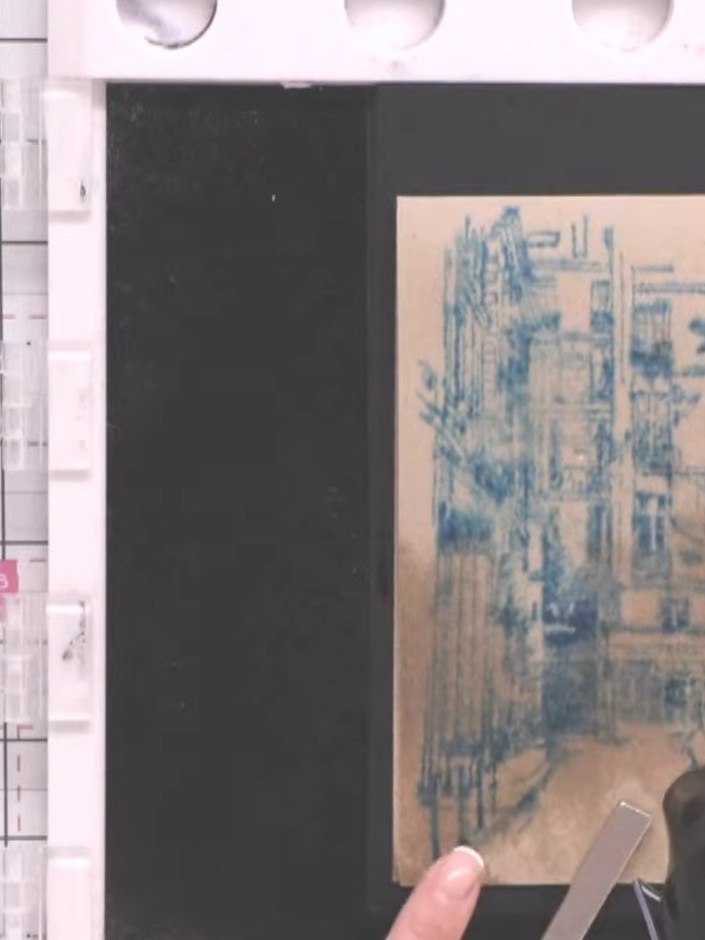
Allow the stamped and bleached card to dry completely before proceeding to the next step.
▶ watch this step (46:00)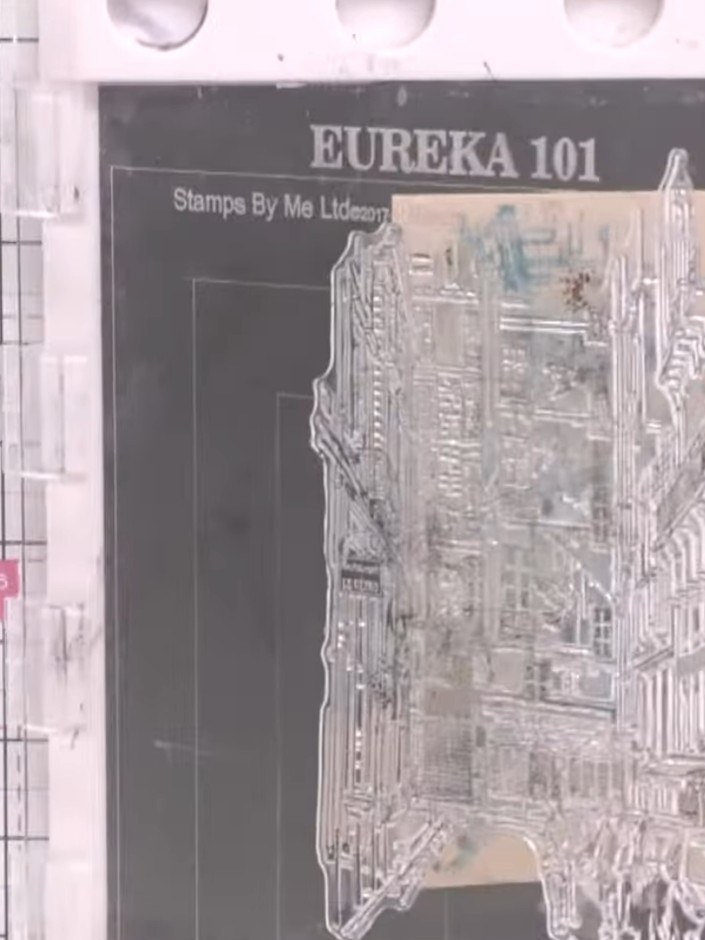
Use a white gel pen to enhance and highlight the lines of the stamped design, adding detail and definition to the architectural features of the image.
▶ watch this step (48:00)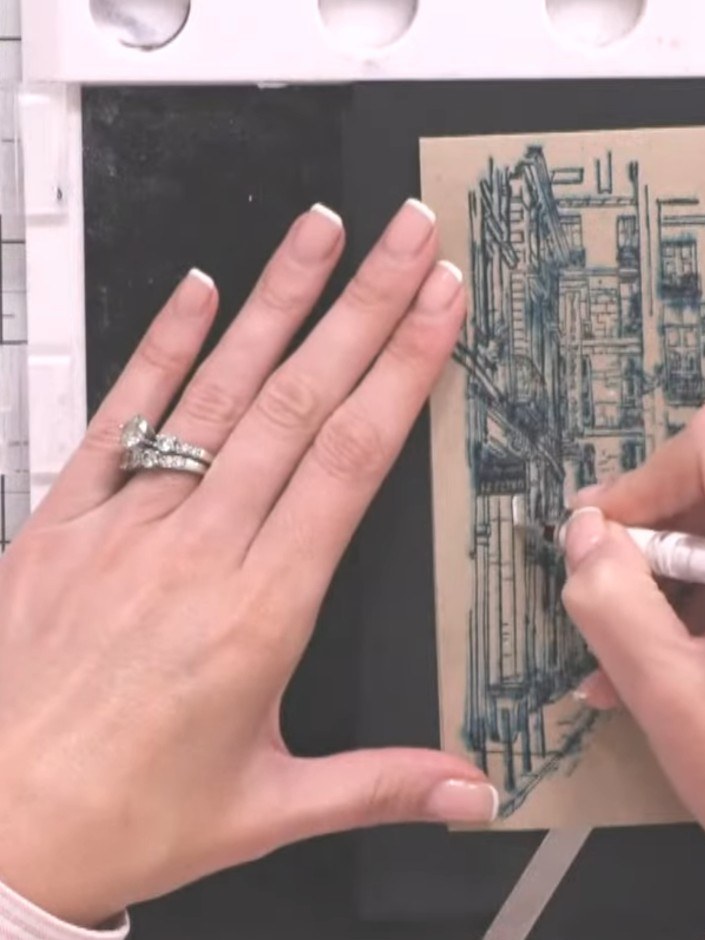
Using a white gel pen, add highlights to the stamped image by following the natural lines of the design. Work along the architectural details and building features to create dimension and depth.
▶ watch this step (50:00)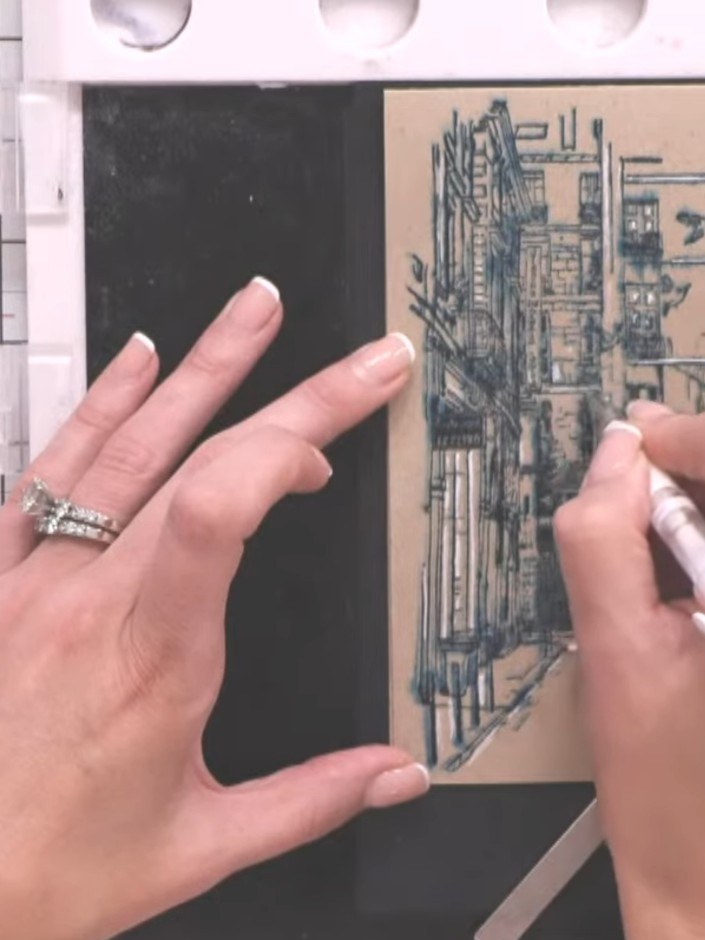
Using a white gel pen or paint pen, add highlights to small windows and architectural details you wish to emphasise on the street scene image.
▶ watch this step (52:00)Written up from the show itself. See every guide from our shows · free how-to guides · watch live on My Telly
