Give your friends €10 off their first order!
Refer a FRIEND








A project from our live show MY PODCAST - Catch my latest updates broadcast 10th June 2024 · 10/06/2024 · watch it from 30:00
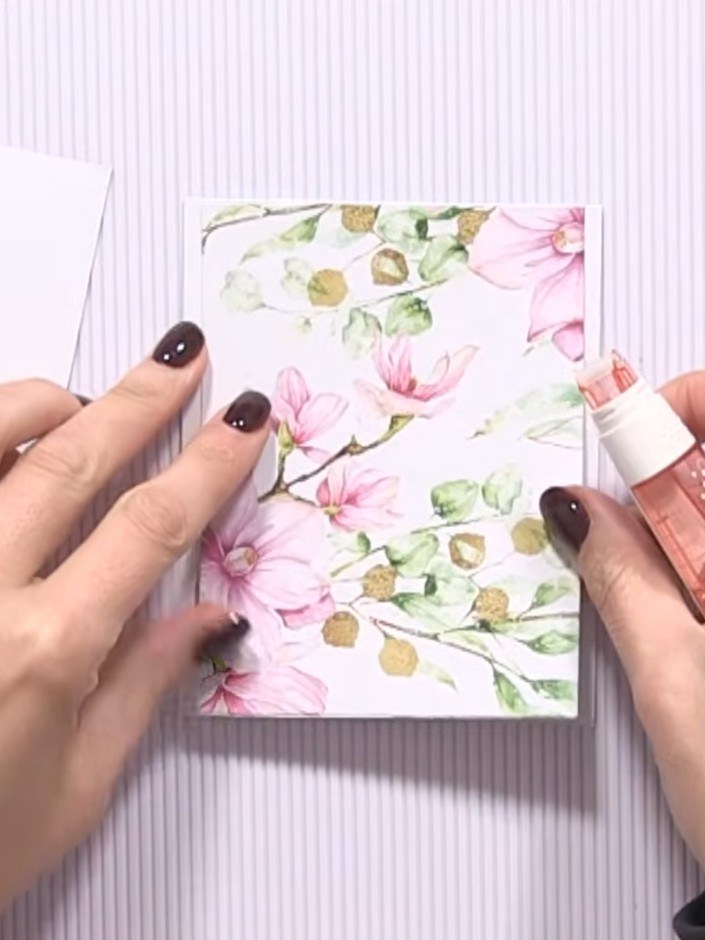
Create an elegant panelled card featuring alternating decorative papers and scored details. This project combines white card stock with gold glitter paper and delicate floral patterned panels to create a sophisticated layered design. The technique involves precise scoring and panel placement to achieve a professional finish that's perfect for special occasions.
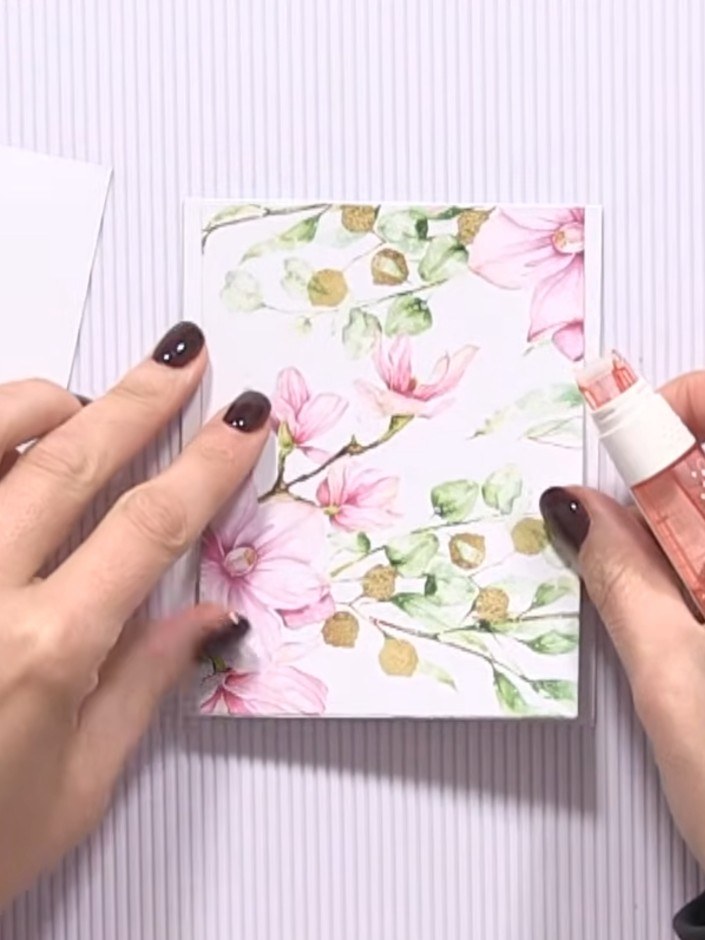
Take a standard white card blank and trim decorative panels from the floral patterned card stock. Use your trimmer to cut the panels to size, ensuring they will fit neatly onto your card base.
▶ watch this step (30:15)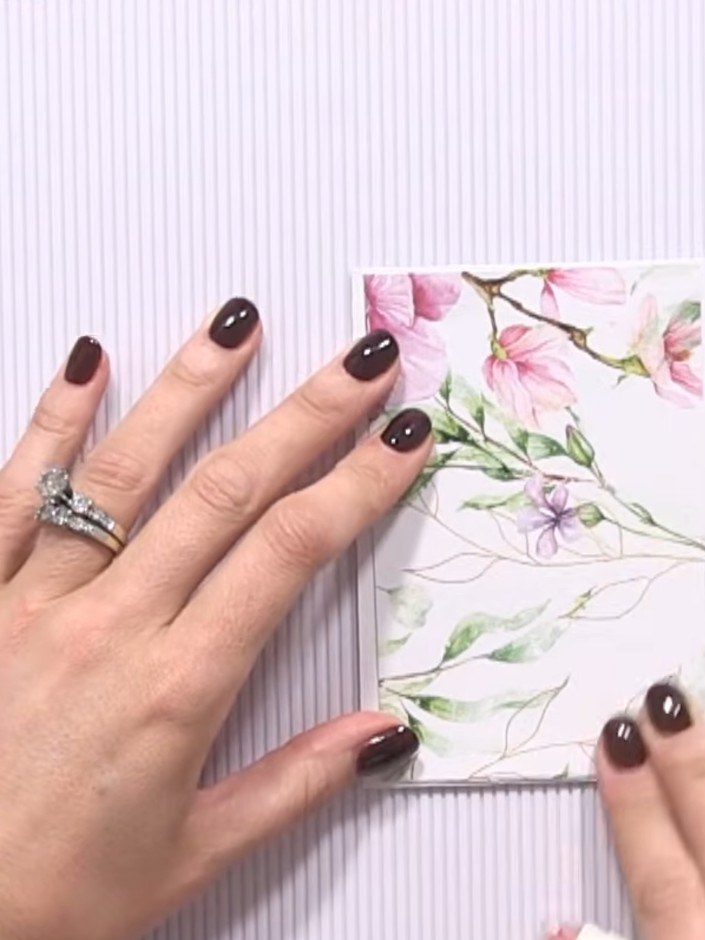
Cut panels from your chosen decorative paper to fit down the sides of your card base. Leave a white border visible at the edges for contrast. Use adhesive to attach the panels in position.
▶ watch this step (30:45)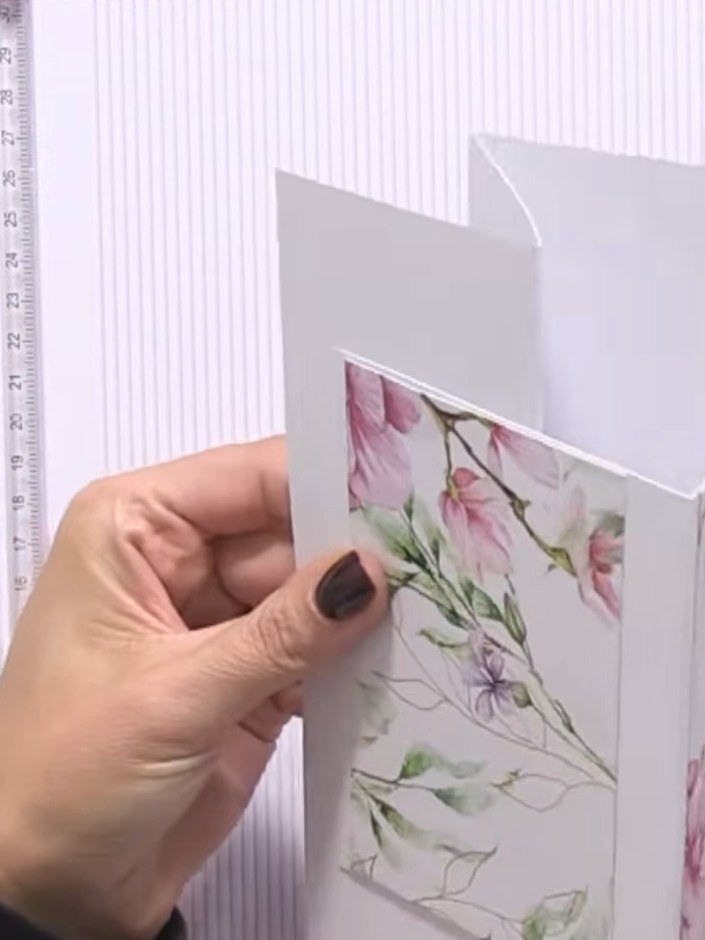
Apply double-sided tape or glue to the back of your first decorative panel. Position and adhere it to one side of the folded card base, ensuring it is aligned neatly.
▶ watch this step (31:00)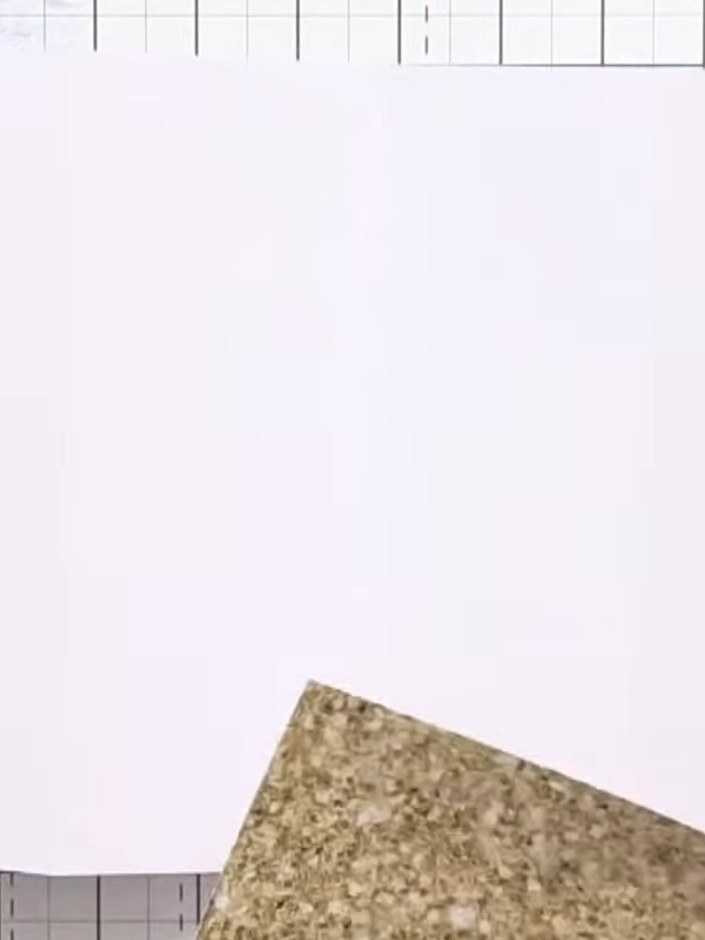
Position and adhere a second decorative panel with a different pattern on the opposite side of the card base to create a balanced design.
▶ watch this step (31:15)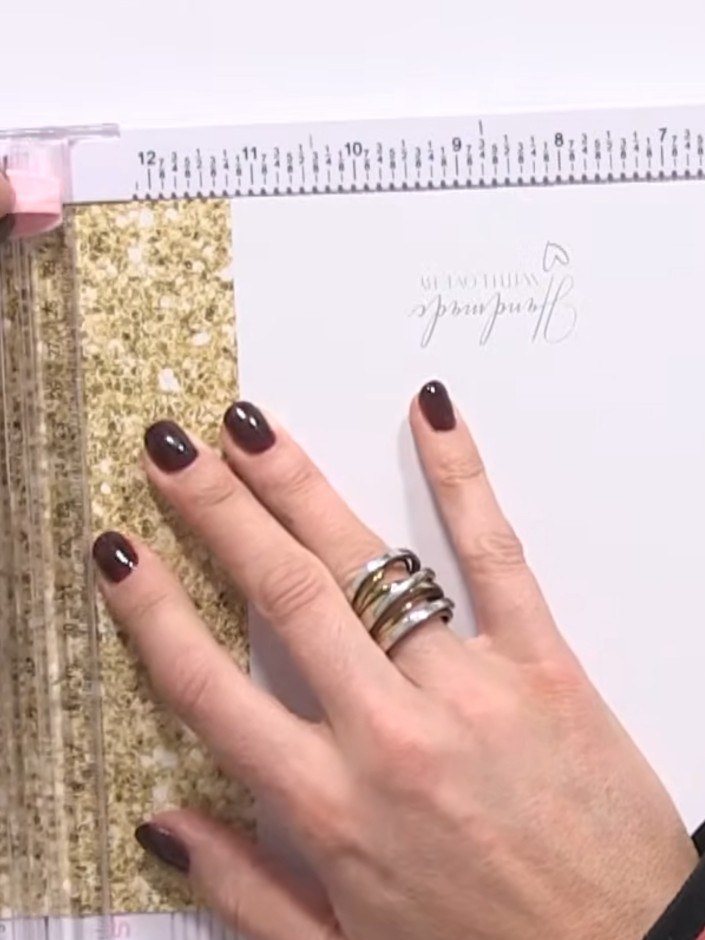
Position alternating panels down the centre of your card base. Place them side by side to create a balanced, panelled design across the card front.
▶ watch this step (31:30)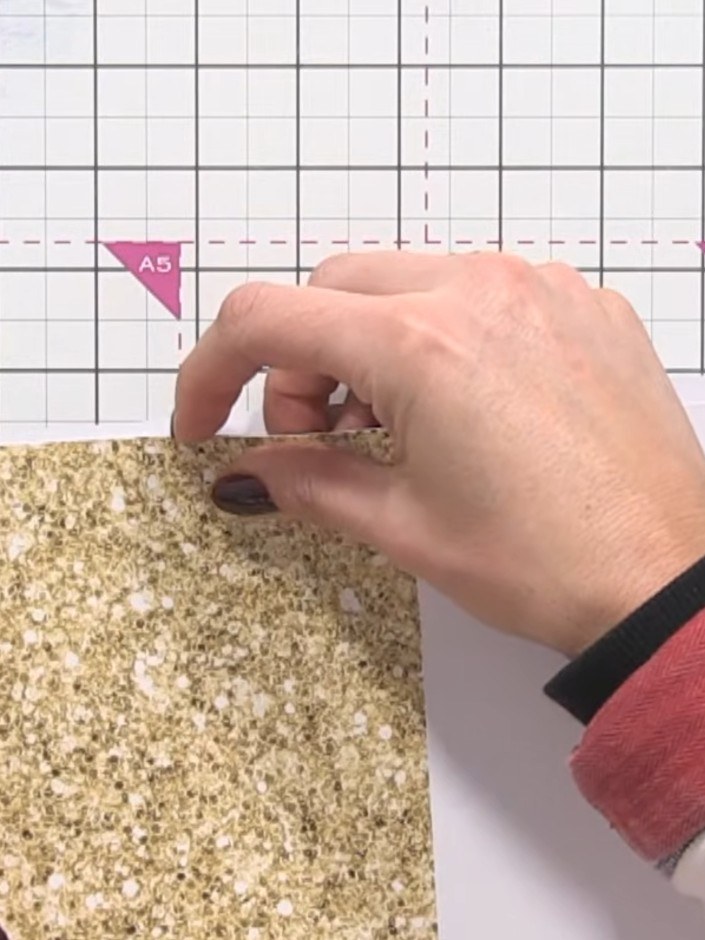
Position and adhere the gold glitter card panels to the left side of the card front and the bottom right corner. Add die-cut floral embellishments or other decorative elements from your card kit to complete the design.
▶ watch this step (32:00)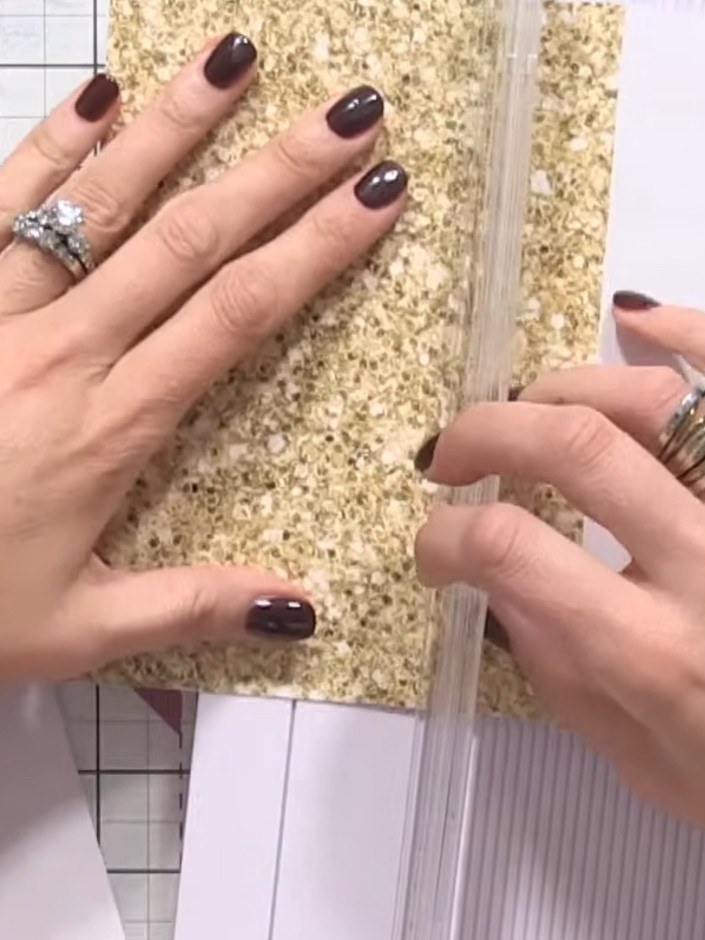
Position your glittery embellishment panels on the white card base. Use the grid lines on your cutting mat to ensure they are placed evenly and aligned properly.
▶ watch this step (32:30)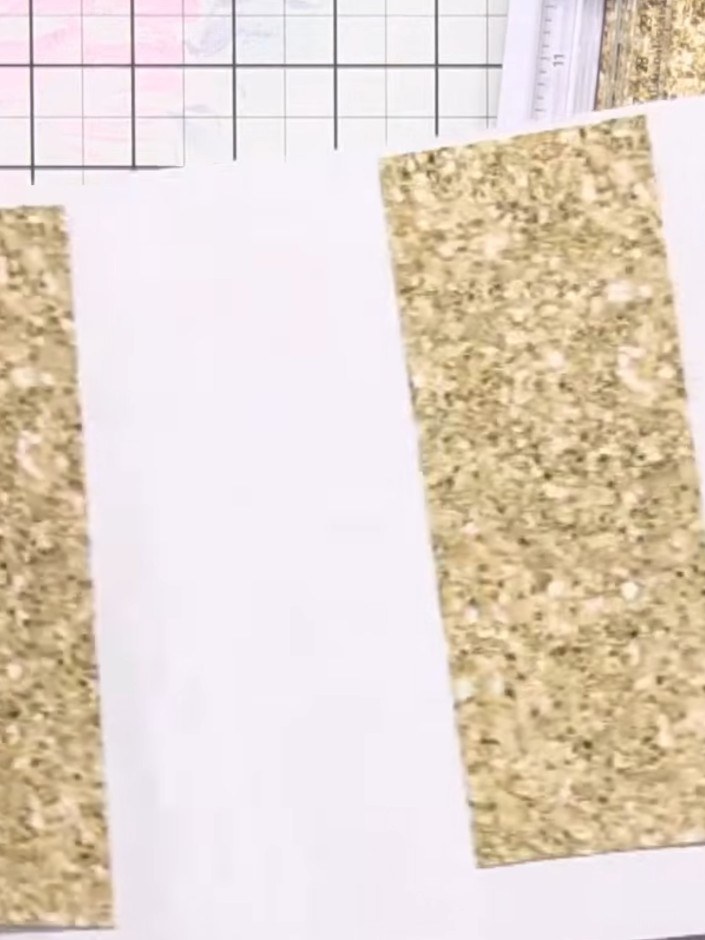
Adhere the gold glitter panels to the back of the card to create a coordinated striped design. Position them to align with the front panels for a cohesive look.
▶ watch this step (33:30)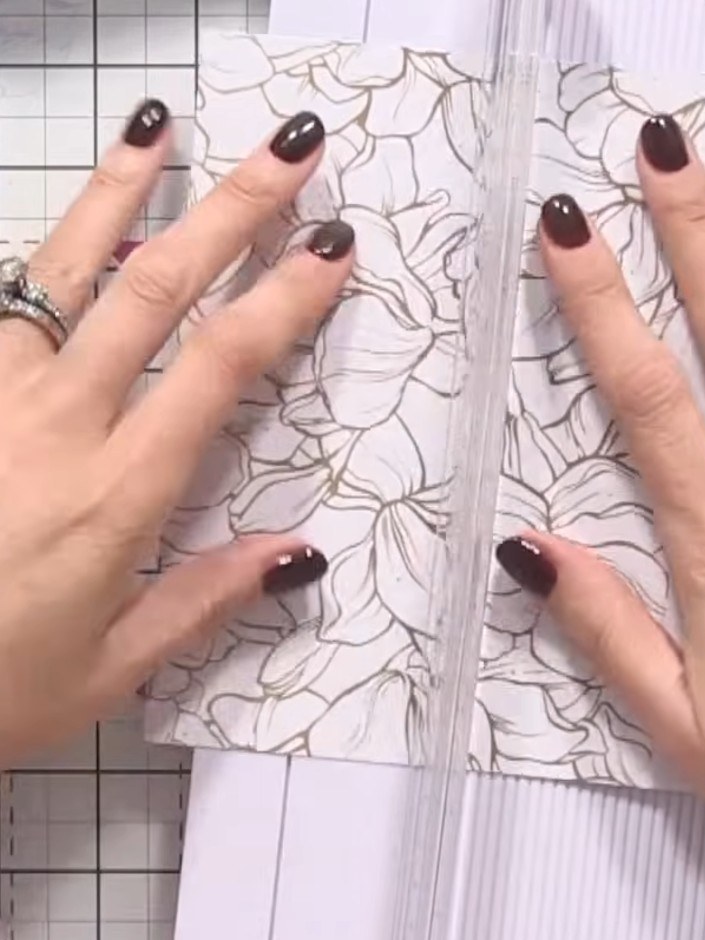
Trim any excess card stock from the bottom edges of your card to neaten the finish. Use both hands to smooth and check the edges are aligned before trimming if needed.
▶ watch this step (34:00)Written up from the show itself. See every guide from our shows · free how-to guides · watch live on My Telly