QUICK LINKS

info@howtocraftnetwork.com
We just got smarter - shop and watch with the SBM appGET THE APPWatch us live on your smart TVSEE HOWDiscover our dedicated IPTV channel - go to my-telly.comWATCHCollect loyalty points on every orderFIND OUT MORE
Welcome to the How to Craft Network
 
SBM SHOP
FOLLOW US
GIVE YOUR FRIENDS €10 OFF REFER A FRIEND › DISCOVER MY-TELLY.COM › WE JUST GOT SMARTER GET THE APP › AWARD WINNING CHANNEL ON YOUR TV › JOIN THE CLUB FOR SAVINGS ›
 

Z-Fold Card with Dimensional Scene

A project from our live show MY PODCAST - Catch my latest updates broadcast 10th June 2024 · 10/06/2024 · watch it from 54:00
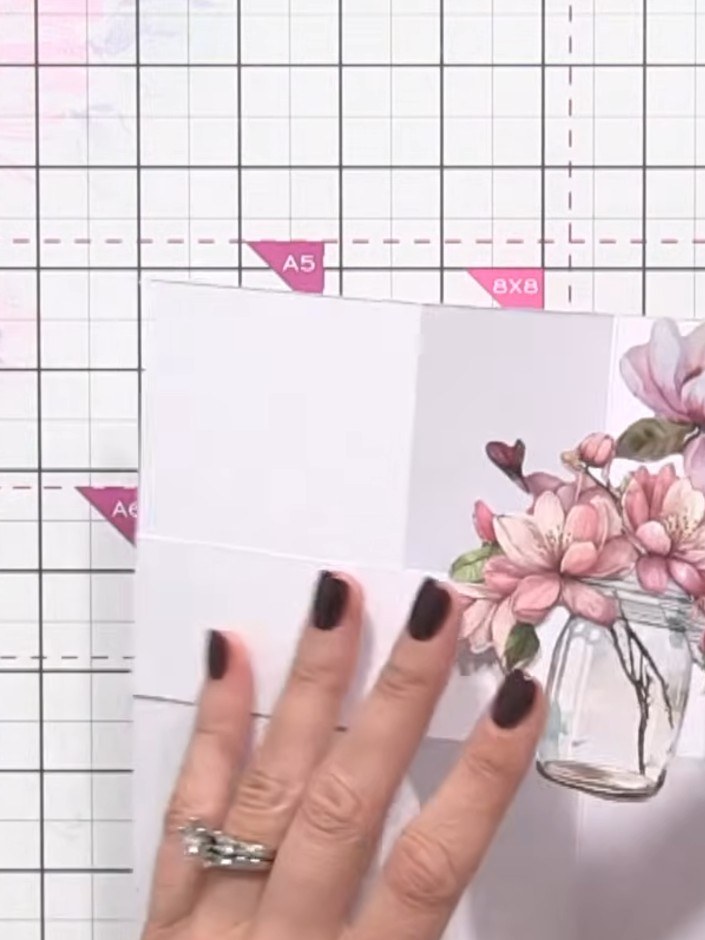
Z-Fold Card with Dimensional Scene - the finished project
The finished project

Create an elegant Z-fold card featuring a beautiful dimensional floral scene. This project uses soft pink magnolia blooms layered across a stepped card structure to create depth and visual interest. The main techniques include precision scoring and folding to create the distinctive Z-fold base, then building up layers with carefully positioned floral embellishments.
DOWNLOAD THIS GUIDE (PDF)

Step by step

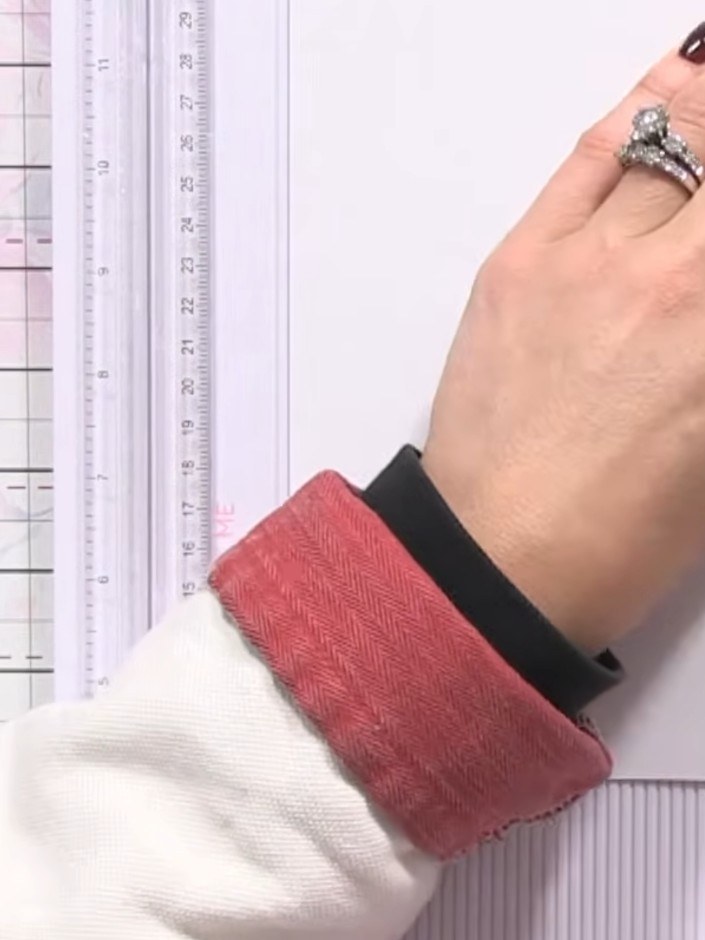
  1. Step 1: Take a 5x7 inch card blank and score it down the front at the halfway point (approximately 3 inches from the f

    Take a 5x7 inch card blank and score it down the front at the halfway point (approximately 3 inches from the fold).

    ▶ watch this step (54:30)
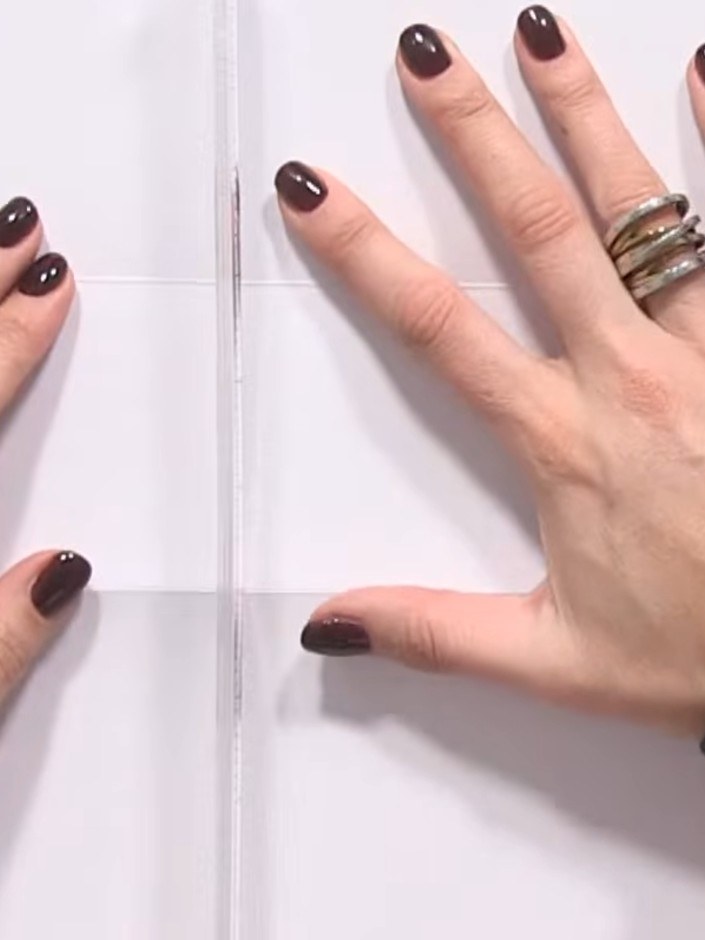
  2. Step 2: Fold the front section of the card back along the score line. Use your hands to create a crisp, clean fold.

    Fold the front section of the card back along the score line. Use your hands to create a crisp, clean fold.

    ▶ watch this step (54:45)
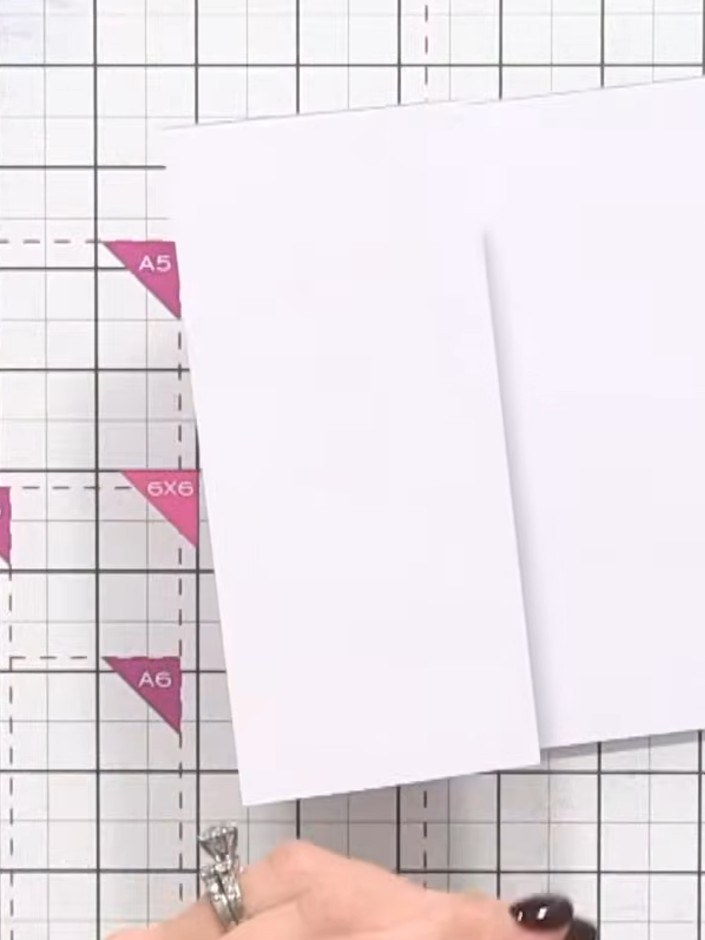
  3. Step 3: Open the card flat and place it on your guillotine trimmer with the fold line visible.

    Open the card flat and place it on your guillotine trimmer with the fold line visible.

    ▶ watch this step (55:00)
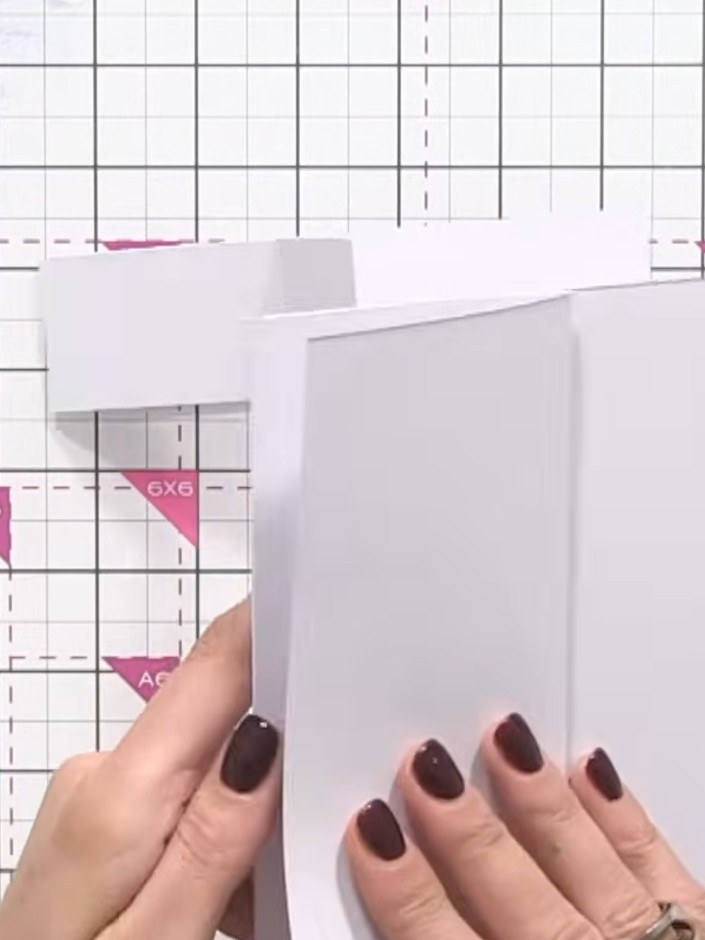
  4. Step 4: Trim approximately 1 to 1.5 inches from the bottom of the white card base to create the offset piece for the z

    Trim approximately 1 to 1.5 inches from the bottom of the white card base to create the offset piece for the z-fold structure.

    ▶ watch this step (55:15)
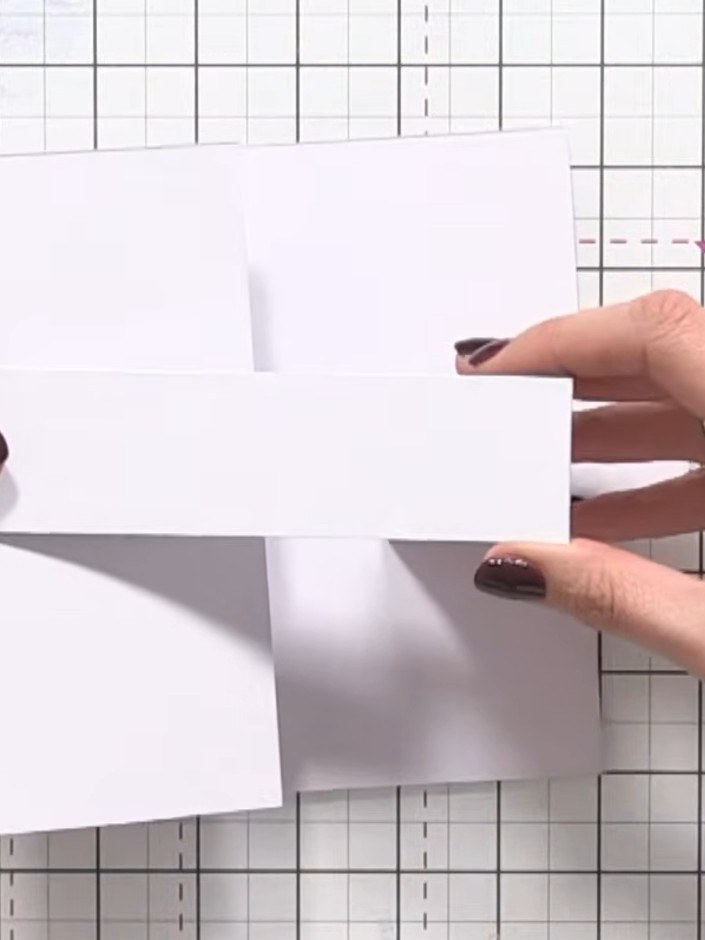
  5. Take the long piece that was cut from the bottom of the card and glue it to the inside back panel of the card. Smooth it down firmly to ensure it adheres well. ▶ watch 55:30
  6. Step 6: Take the shorter piece and glue it to the inside front panel of the card, positioning it to create the stepped

    Take the shorter piece and glue it to the inside front panel of the card, positioning it to create the stepped Z-fold effect.

    ▶ watch this step (55:45)
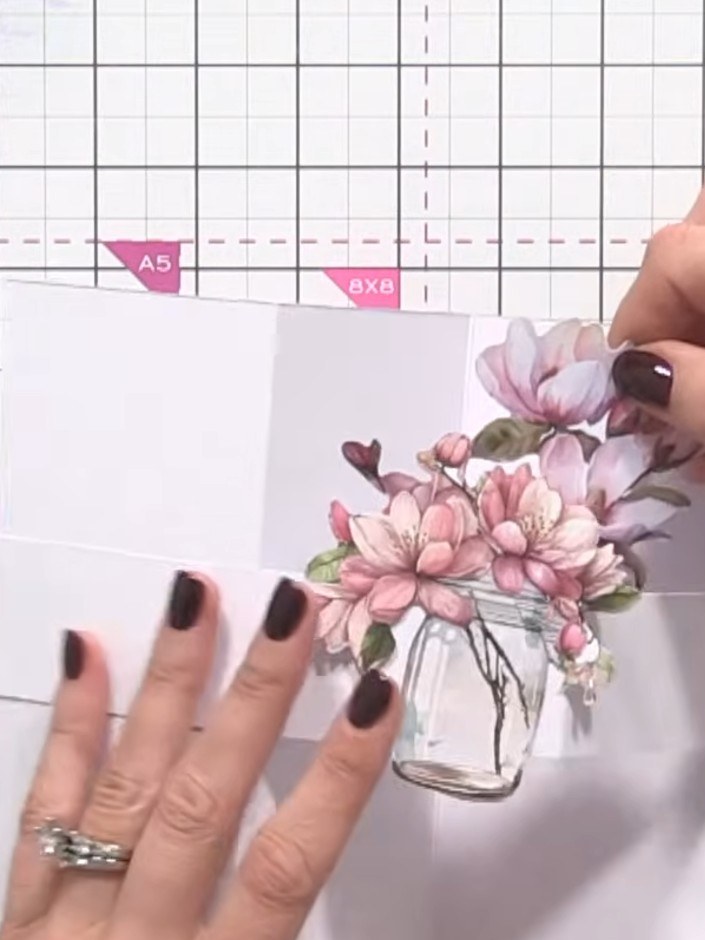
  7. Step 7: Add decorative elements to the back panels of your card. Layer patterned card stock or embellishments onto the

    Add decorative elements to the back panels of your card. Layer patterned card stock or embellishments onto the rear sections to build up dimension and visual interest.

    ▶ watch this step (56:00)
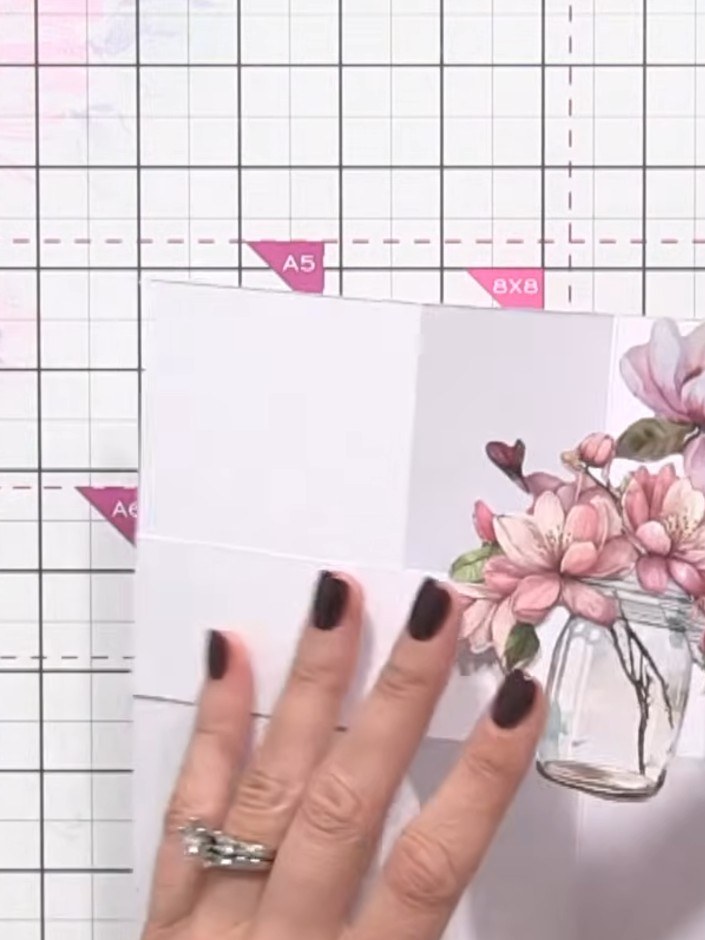
  8. Position your die-cut floral elements on the front panel of the card to create a dimensional scene. Layer the pieces to add depth, placing items such as flowers in a vase towards the centre of the panel. ▶ watch 56:30
  9. Step 9: Layer additional floral embellishments behind the main focal point to build up depth and dimension in your sce

    Layer additional floral embellishments behind the main focal point to build up depth and dimension in your scene. Position the elements to create a fuller, more three-dimensional arrangement.

    ▶ watch this step (57:00)
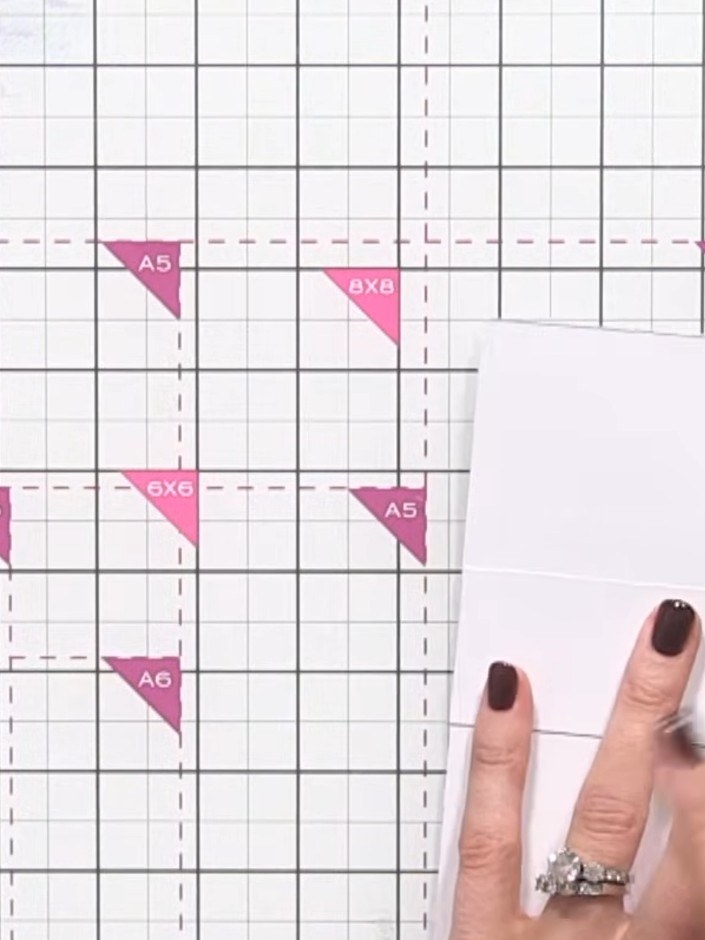
  10. Step 10: Test that the card closes properly before gluing. Ensure all embellishments and the dimensional floral scene f

    Test that the card closes properly before gluing. Ensure all embellishments and the dimensional floral scene fit within the card when closed and will fit inside the envelope.

    ▶ watch this step (57:30)

Tips from the show

More from this show

Written up from the show itself. See every guide from our shows · free how-to guides · watch live on My Telly







