Give your friends €10 off their first order!
Refer a FRIEND








A project from our live show Create and Craft TV - IMALA LAUNCH SHOW - Join Carley Duff - Broadcast 27th May 24 · 27/05/2024 · watch it from 19:15
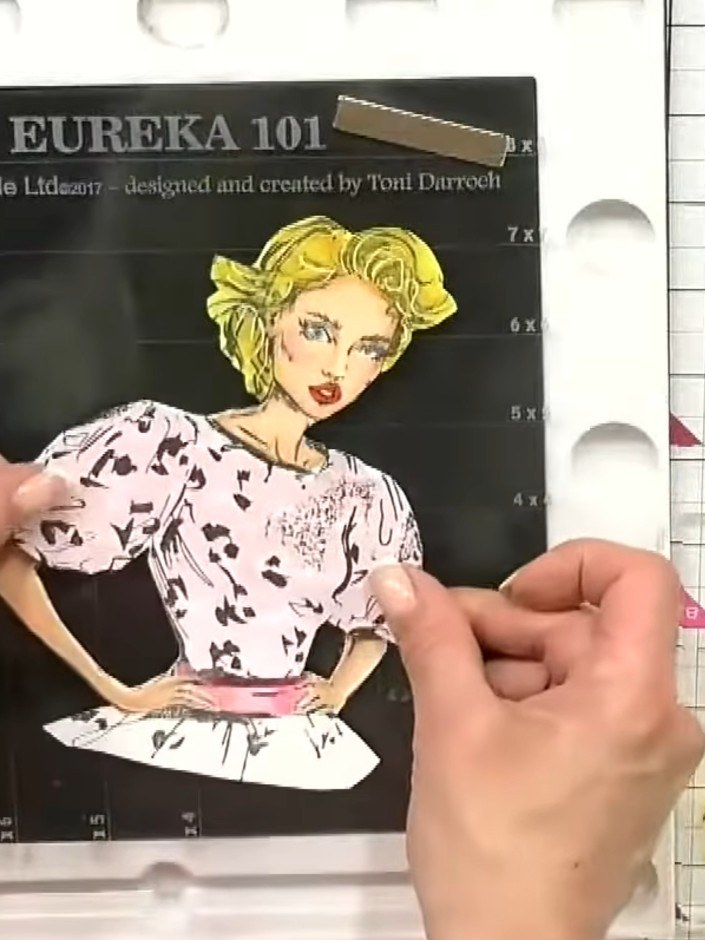
Create a striking card featuring Marjorie, an elegant dolly character with exaggerated blonde hair styling and a pink outfit. This project demonstrates how to add dimension and personality to a stamped image through creative alcohol marker colouring and layered paper piecing techniques. The finished card showcases detailed hair work and dimensional assembly for a truly fabulous result.
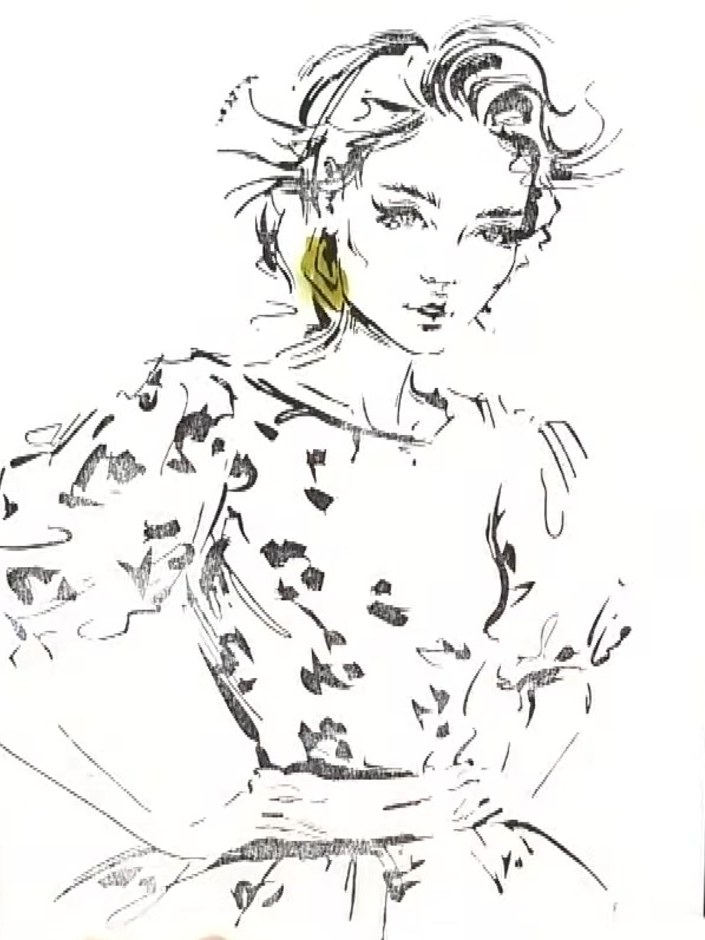
Stamp the Still Fabulous dolly image onto white card stock using black ink.
▶ watch this step (20:30)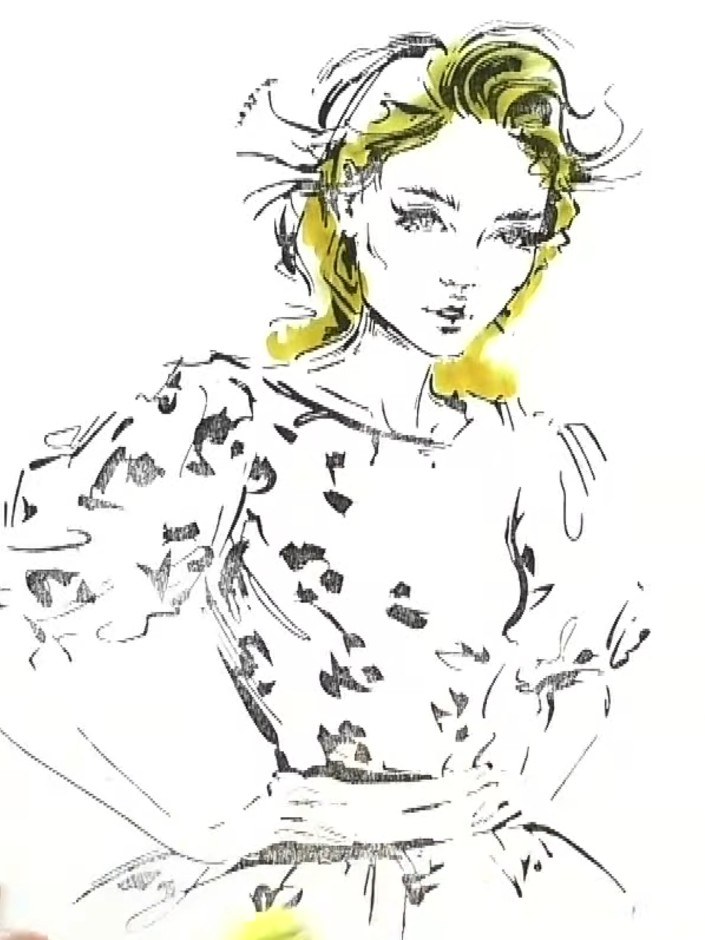
Colour the face, arms and waistband of the stamped dolly image using markers or colouring pencils in your chosen skin tone and clothing colours.
▶ watch this step (20:45)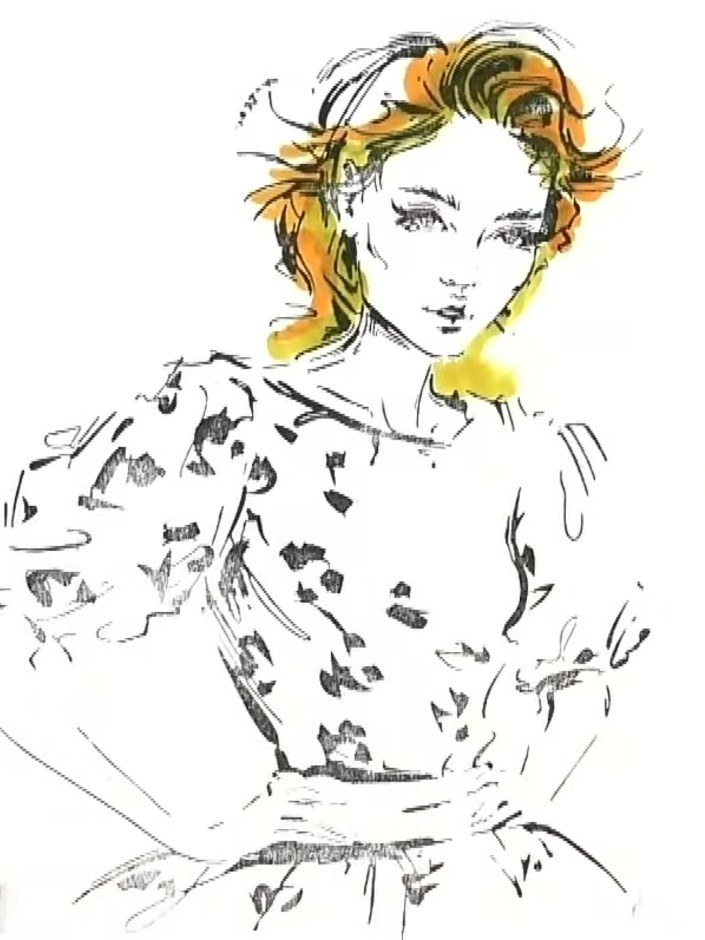
Add darker yellow or gold marker to the front section of the hair to create shadow and depth. Apply the colour in short strokes following the direction of the hair.
▶ watch this step (21:00)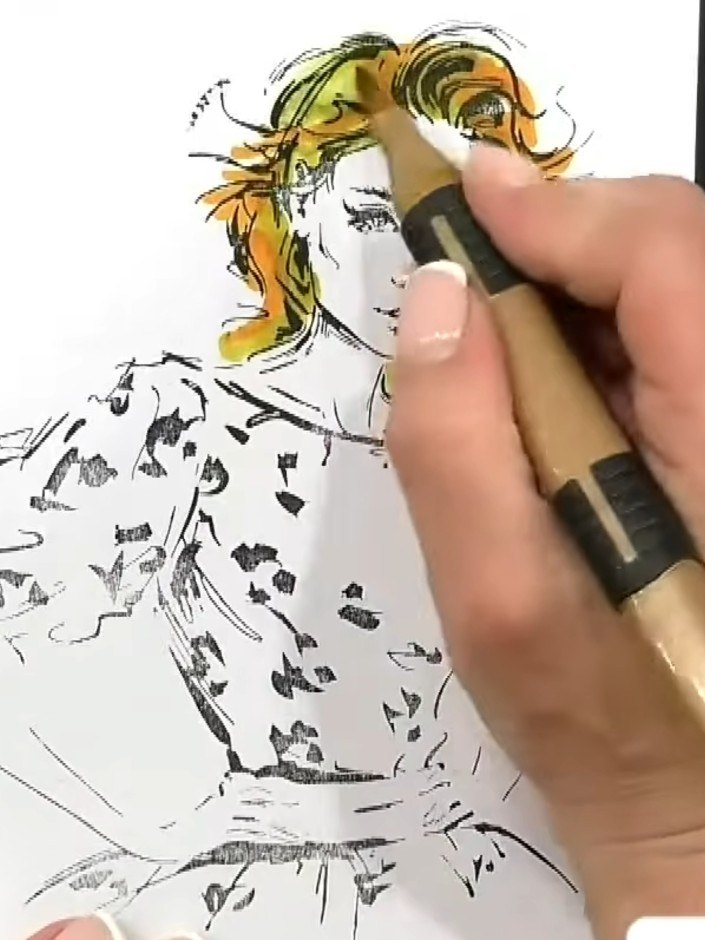
Blend in a mid-tone yellow or orange marker throughout the hair, building up the colour gradually. Work the colour down behind the shoulders to create depth and dimension.
▶ watch this step (21:15)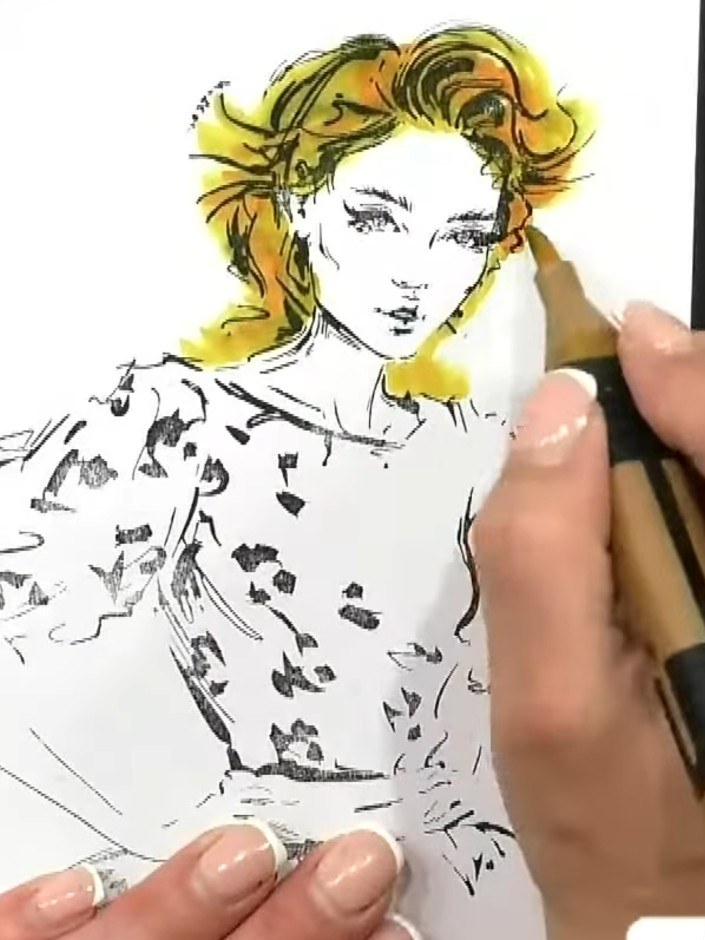
Extend the hair colour down behind the shoulders using yellow and orange tones. Add fine pen strokes with a micron pen to create hair texture and detail in the extended areas.
▶ watch this step (21:30)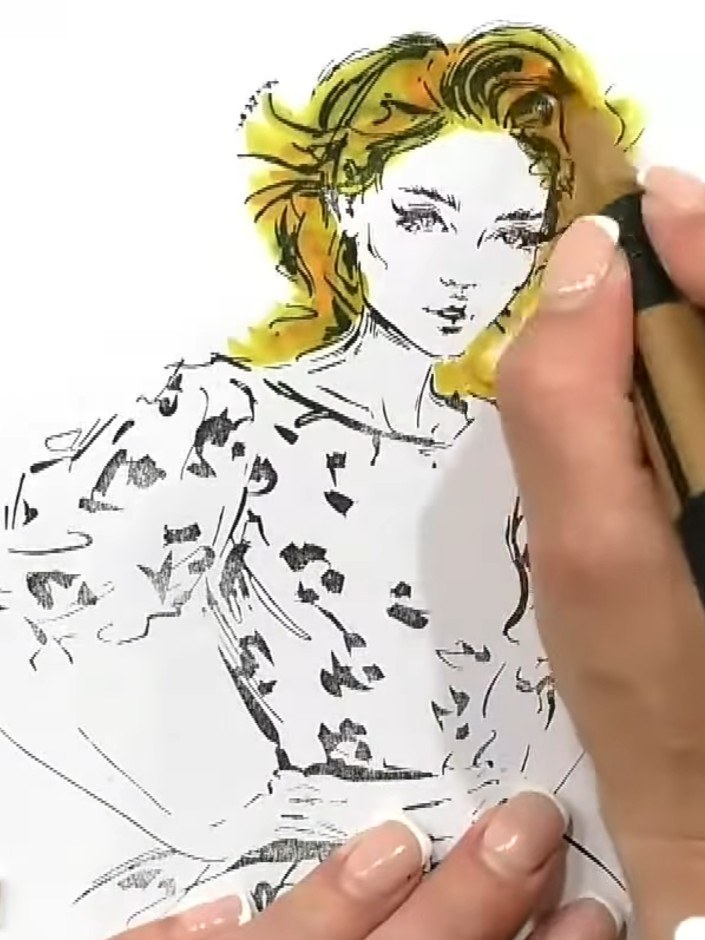
Use a black micron pen or marker to add outline details and swooshes to the hair to define the shape and create volume and movement.
▶ watch this step (21:45)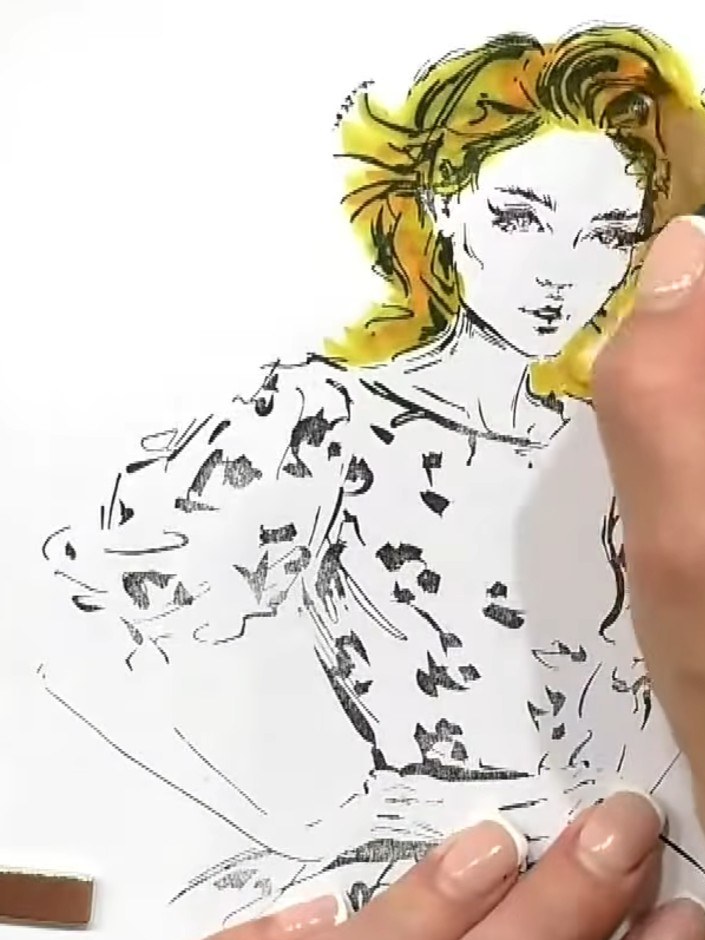
Stamp a second copy of the Still Fabulous dolly image onto white cardstock. Colour the hair with yellow and orange tones using your colouring medium, keeping the colouring simple.
▶ watch this step (22:00)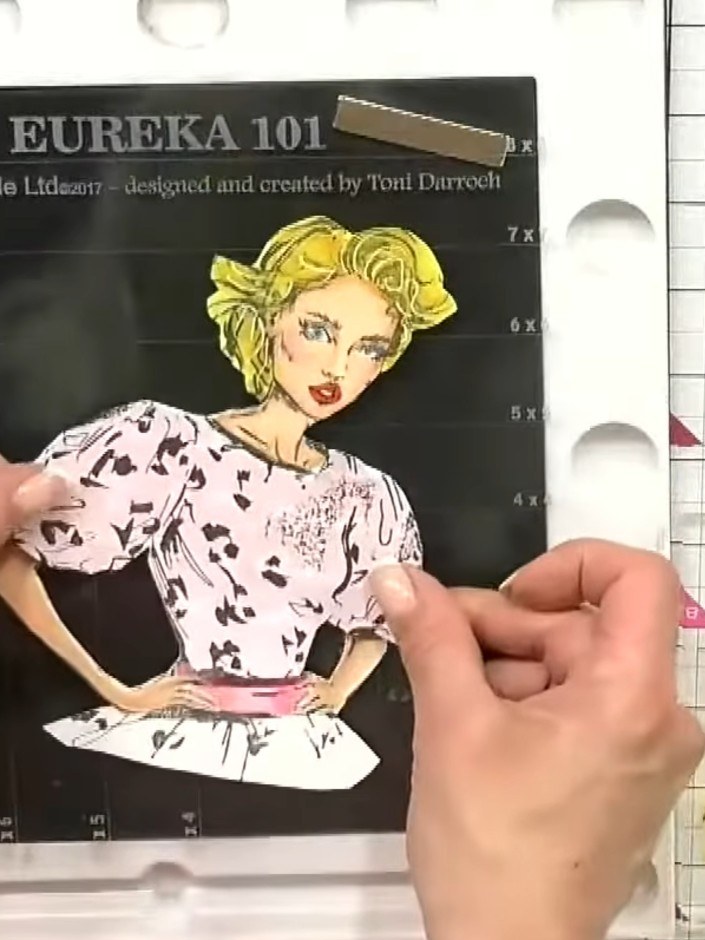
Position the paper-pieced pink dolly image over the stamped base image, aligning the pieces carefully. Glue the coloured dolly flat onto the base to create dimension and complete the layered effect.
▶ watch this step (22:30)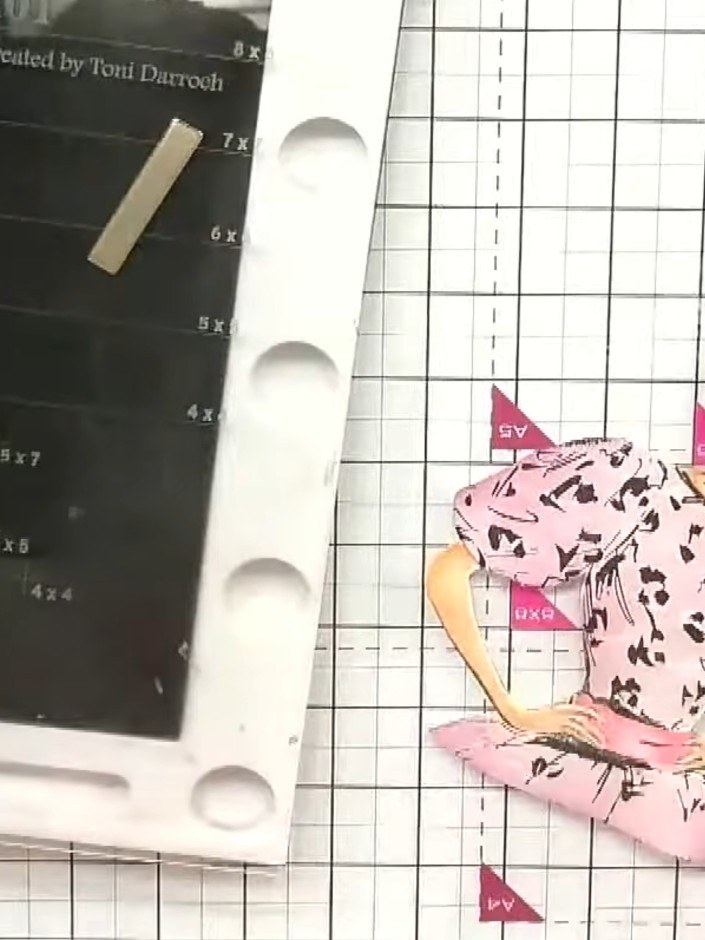
Use a blending stump or brush with ink to soften the edges of the paper-pieced dolly, creating a subtle shadow effect around the figure.
▶ watch this step (24:45)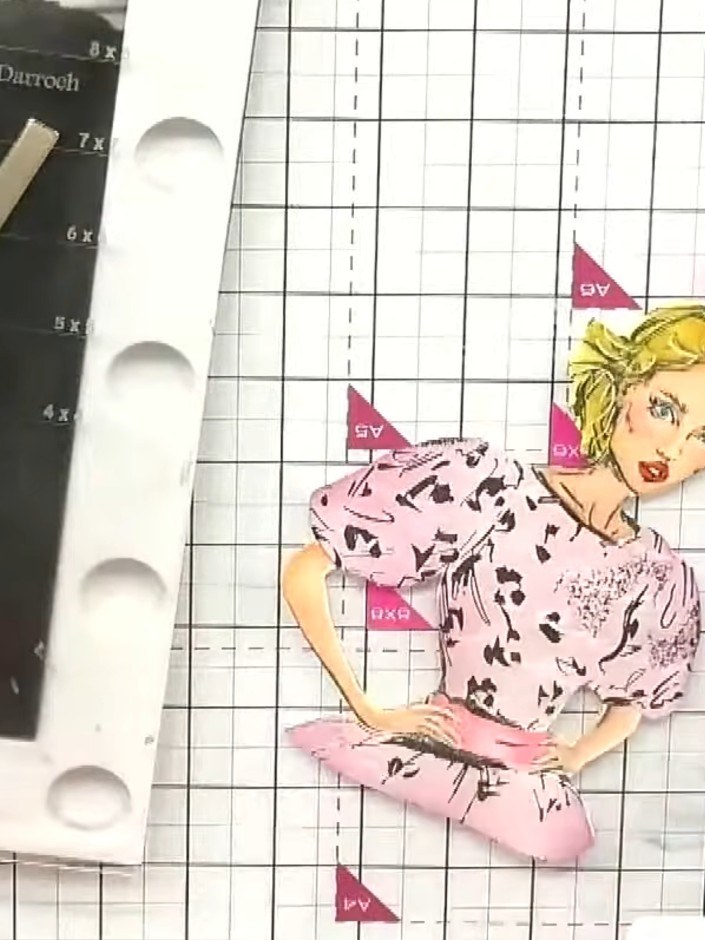
Mount the finished dolly image onto a decorative background layer using a tape runner or glue. Position it centrally on your card base to complete the design.
▶ watch this step (25:15)Written up from the show itself. See every guide from our shows · free how-to guides · watch live on My Telly
