Give your friends €10 off their first order!
Refer a FRIEND








A project from our live show Create and Craft TV - IMALA LAUNCH SHOW - Join Carley Duff - Broadcast 27th May 24 · 27/05/2024 · watch it from 41:45
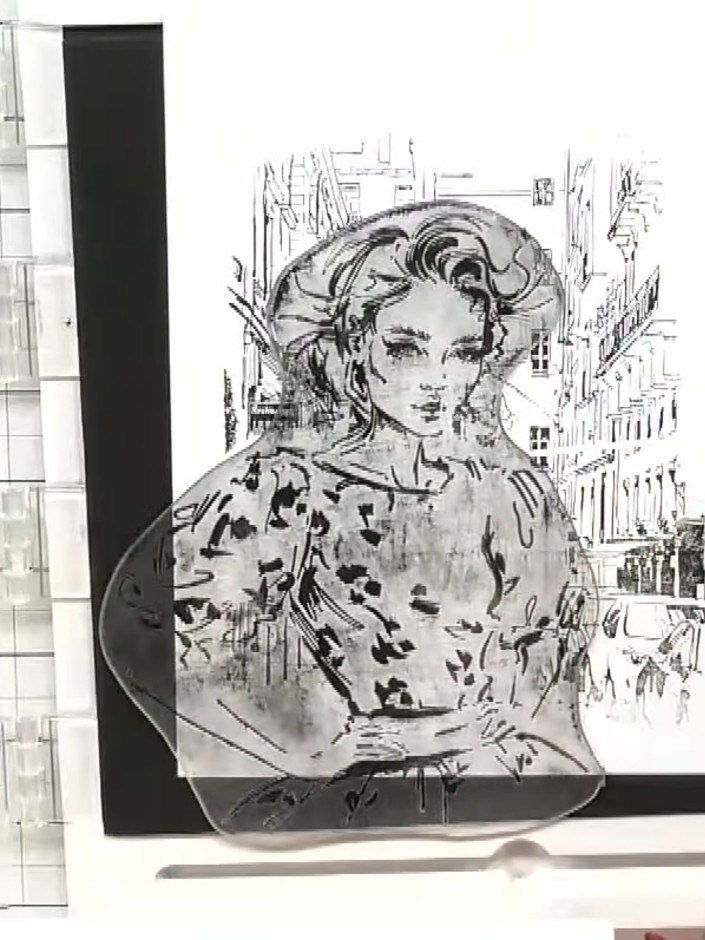
Create a striking layered street scene card featuring the Escape the Ordinary architectural stamp with a masked character from the Still Fabulous collection. This black and white composition demonstrates masking techniques to seamlessly integrate a dolly character into a detailed European street scene. The project showcases how to build depth and dimension by layering stamped images to create a professional, multi-dimensional card design.
 Imala - A5 Stamp - Escape the Ordinary - 250424ESEE IT
 Imala - A5 Stamp - Still Fabulous - 250424MSEE IT
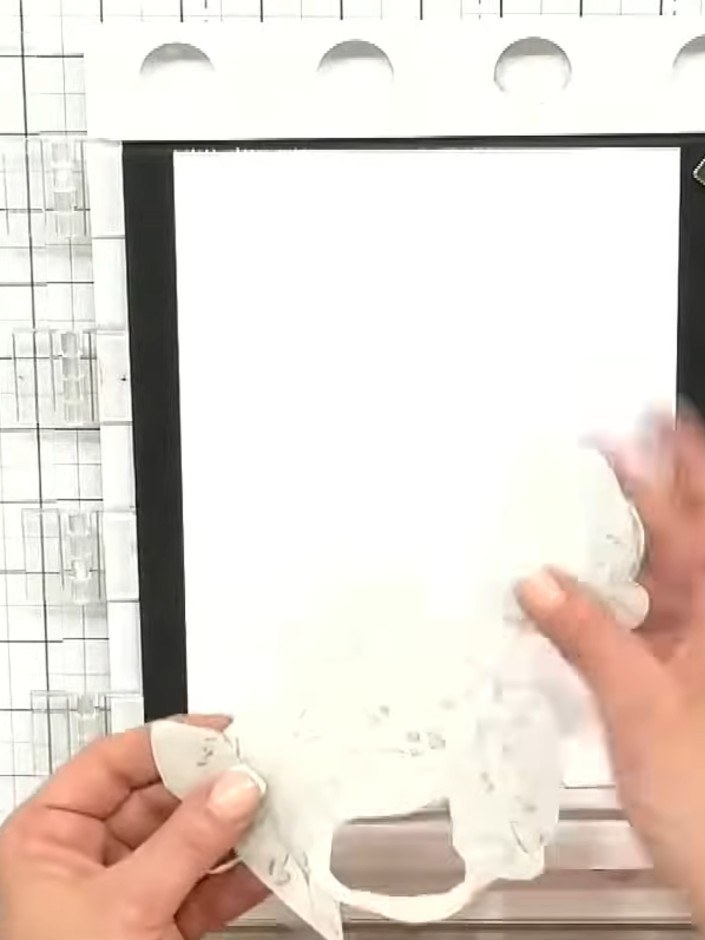
Create a mask for the Escape the Ordinary street stamp using adhesive masking paper. Cut a piece large enough to cover the area you want to mask and apply it to your work surface.
▶ watch this step (42:00)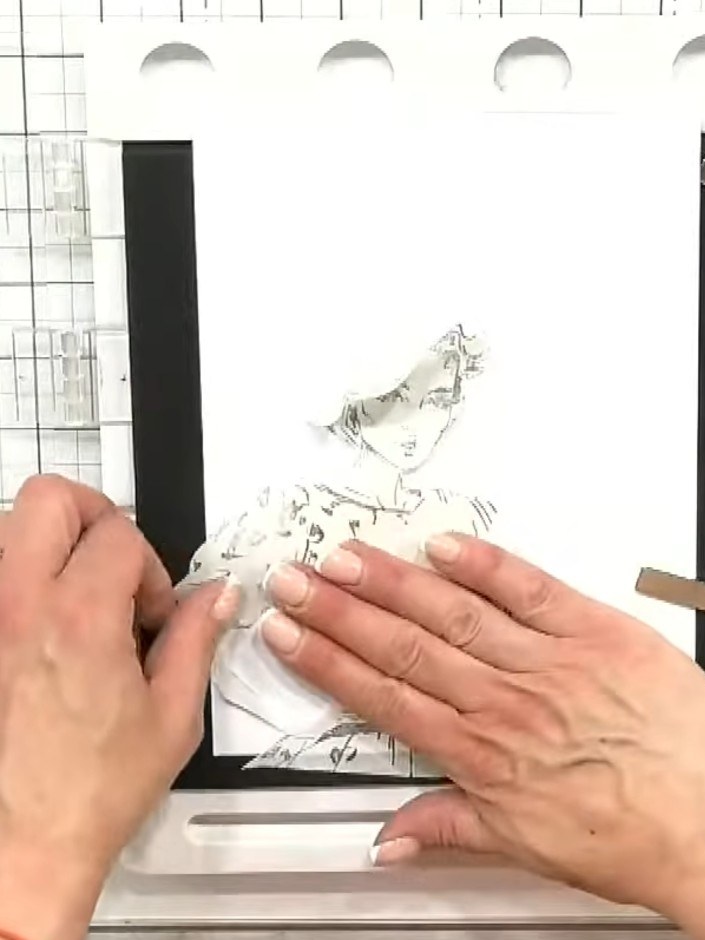
Cut out the mask from the stamped image to isolate specific areas of the street scene where you want to place your character. Use the mask to create diverse placement options for your focal image.
▶ watch this step (42:15)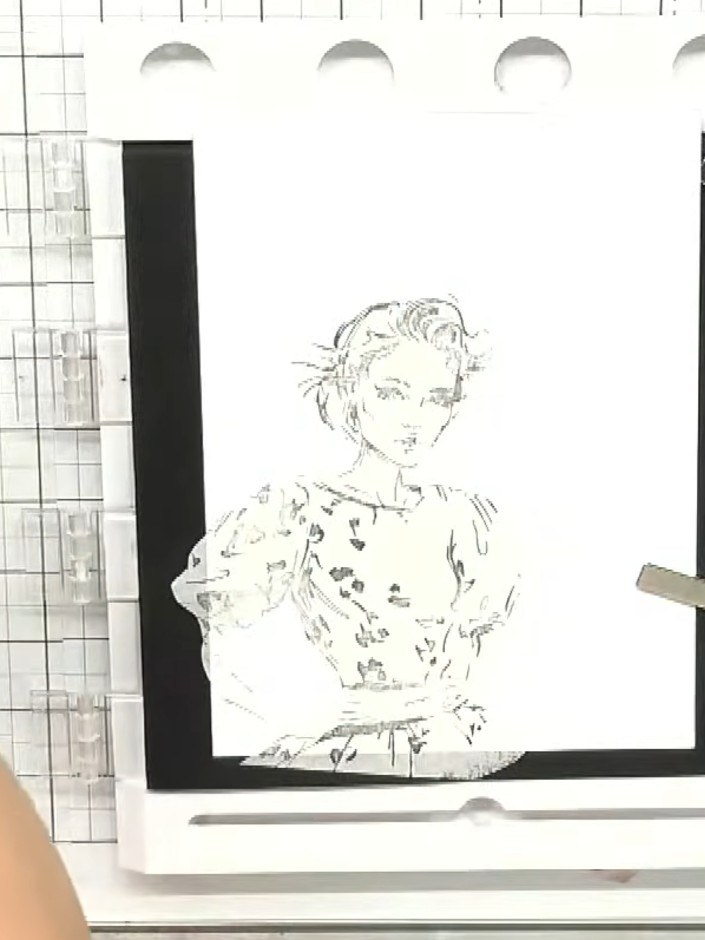
Position the clear stamp mask over the stamped character image on your white card stock. Press down firmly to ensure the mask adheres properly and protects the character area for subsequent stamping.
▶ watch this step (42:30)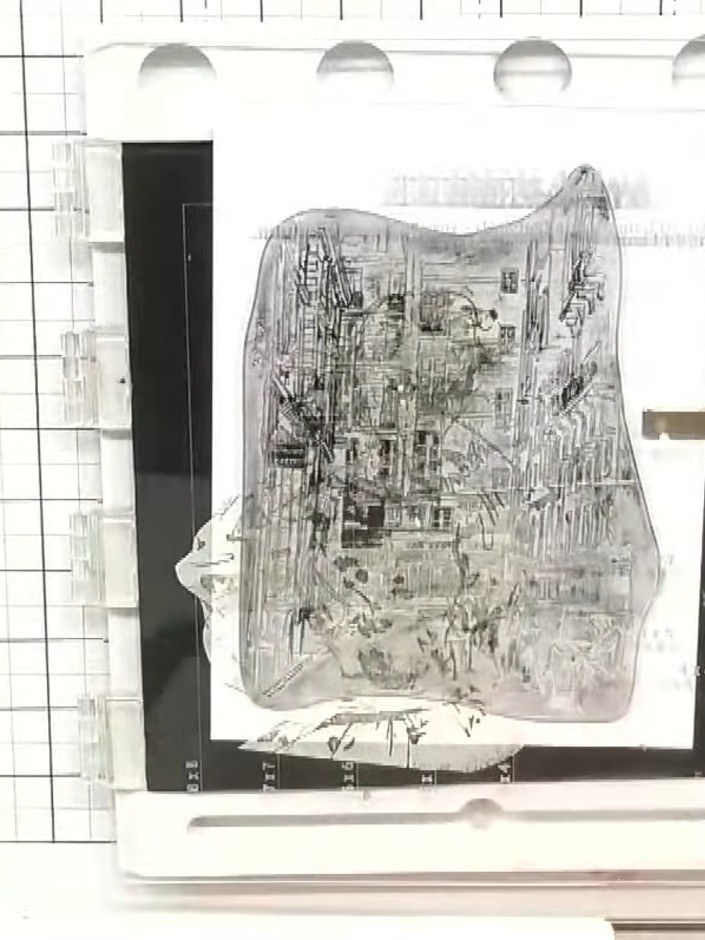
Stamp the Escape the Ordinary street scene stamp over the masked area using black ink.
▶ watch this step (42:45)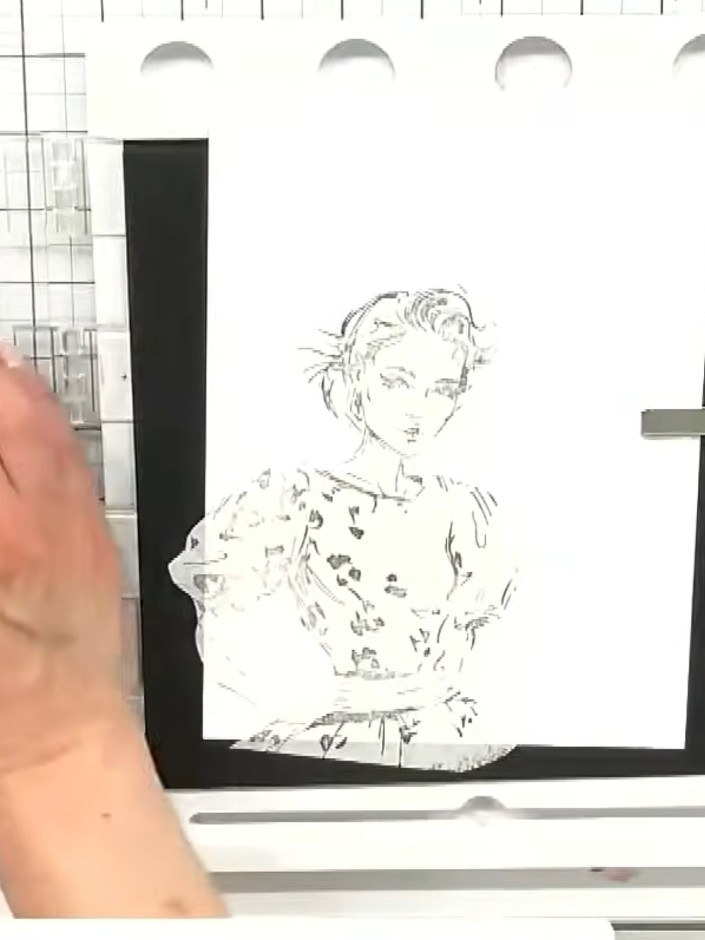
Carefully peel away the embossing folder mask from your stamped image. This reveals the protected white space where you will add your character, whilst the surrounding street scene remains coloured.
▶ watch this step (43:00)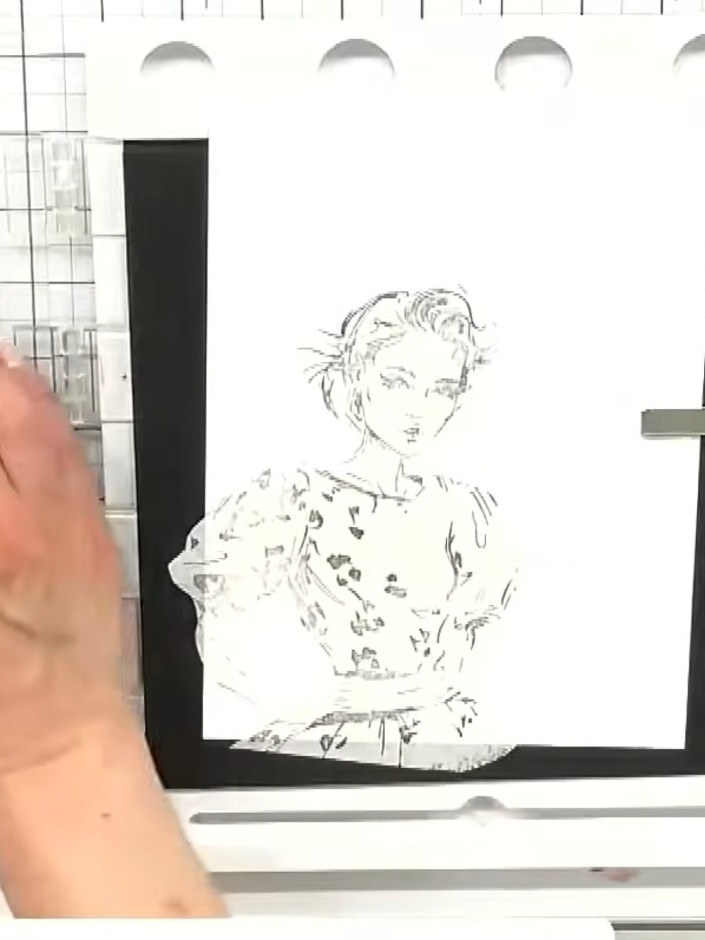
Stamp the Still Fabulous character onto white cardstock and position it within the masked area of the street scene. The character should be placed centrally in the masked space to create a focal point.
▶ watch this step (43:15)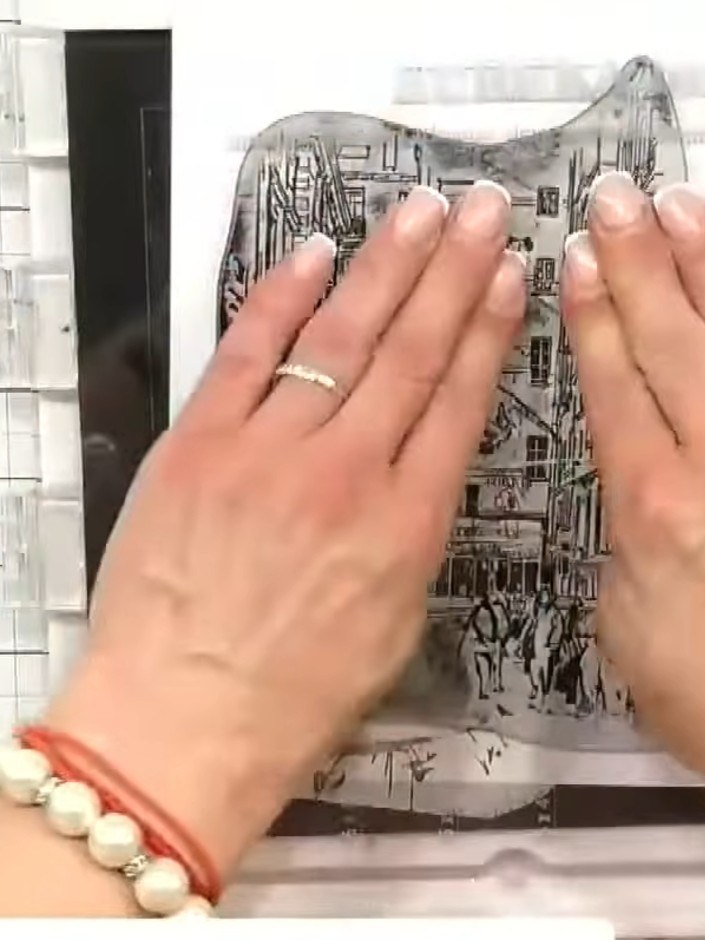
Colour the street scene stamp with markers or watercolours. Add depth and detail to the buildings and street, building up layers of colour to create dimension.
▶ watch this step (43:30)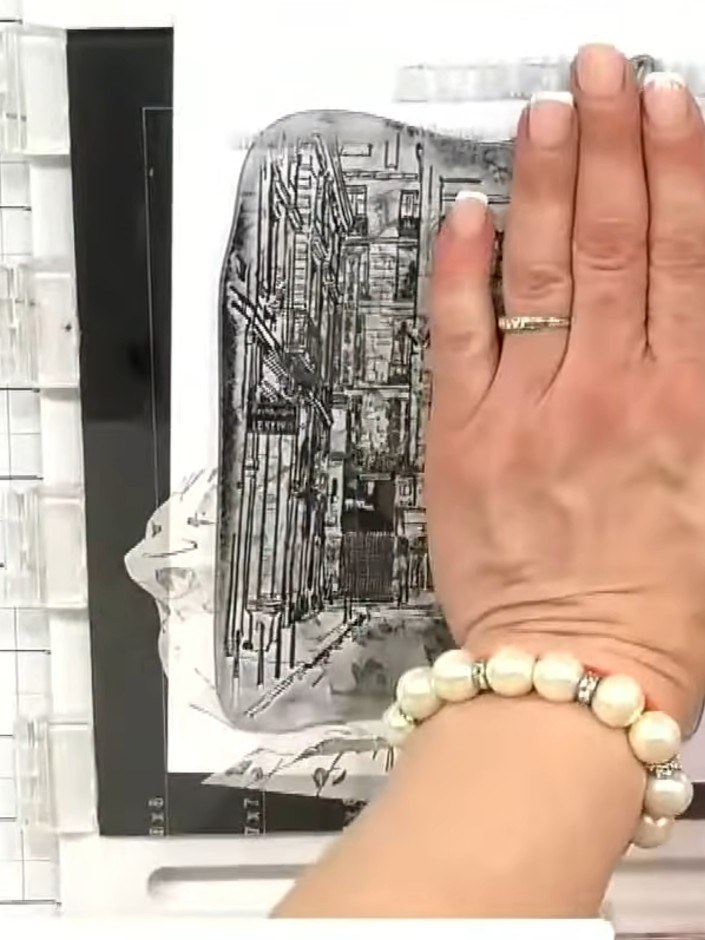
Colour the dolly character stamp to complement the street scene background. Use subtle tones that work with the monochrome aesthetic of the design.
▶ watch this step (43:45)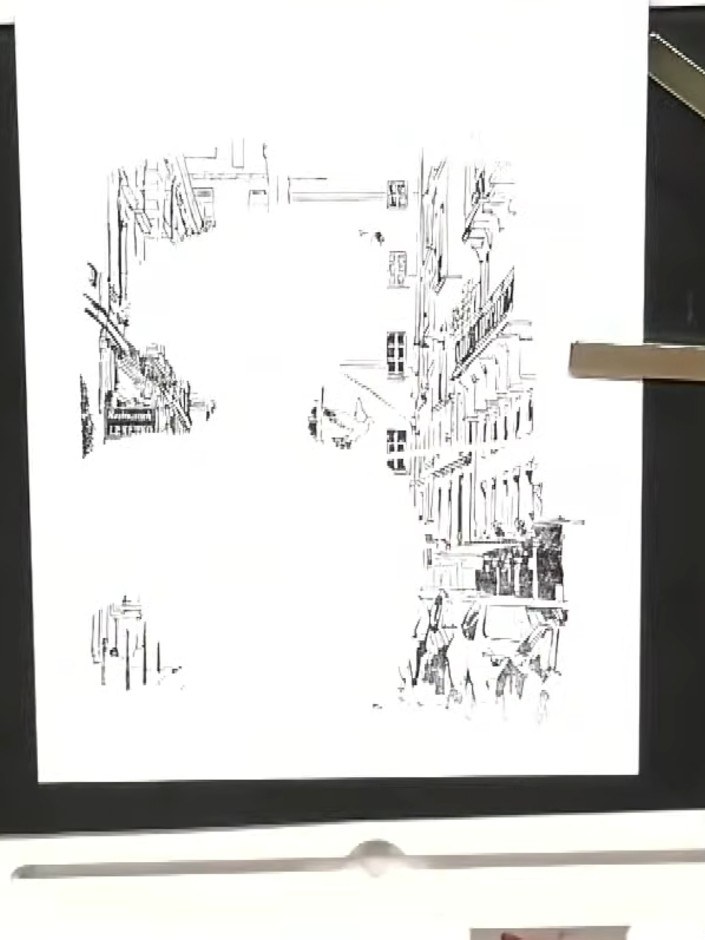
Add additional details from the street scene stamp, such as birds or other elements, to enhance the composition and fill in any blank areas of the design.
▶ watch this step (44:00)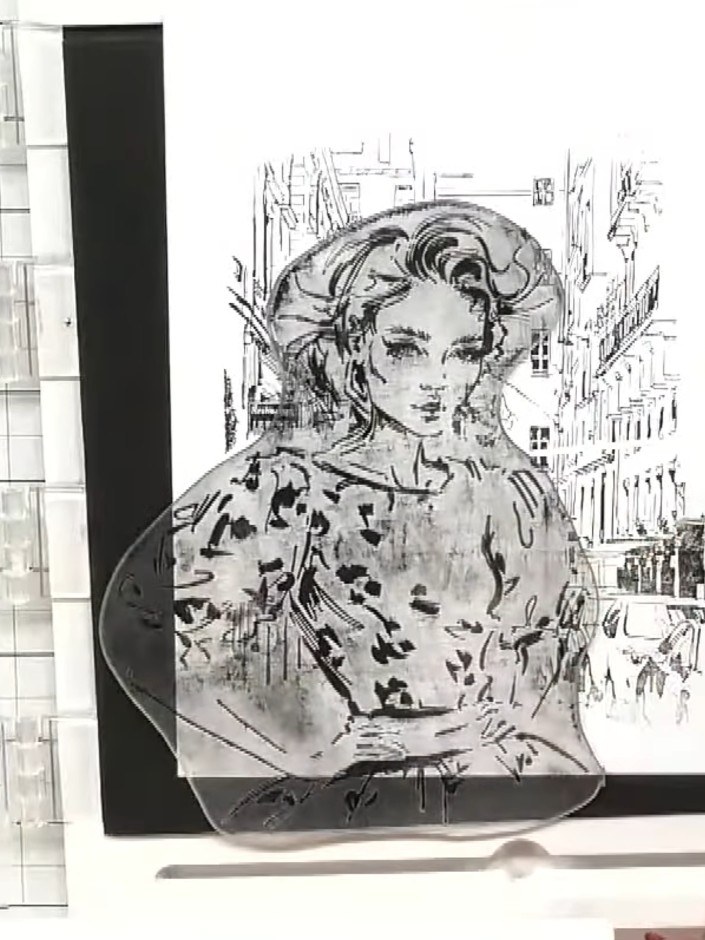
Mount the finished street scene onto a black card base using a tape runner or glue, ensuring the stamped image is centred and secure.
▶ watch this step (44:30)Written up from the show itself. See every guide from our shows · free how-to guides · watch live on My Telly