Give your friends €10 off their first order!
Refer a FRIEND








A project from our live show MY PODCAST - Catch my latest updates broadcast 20th May 2024 · 20/05/2024 · watch it from 49:30
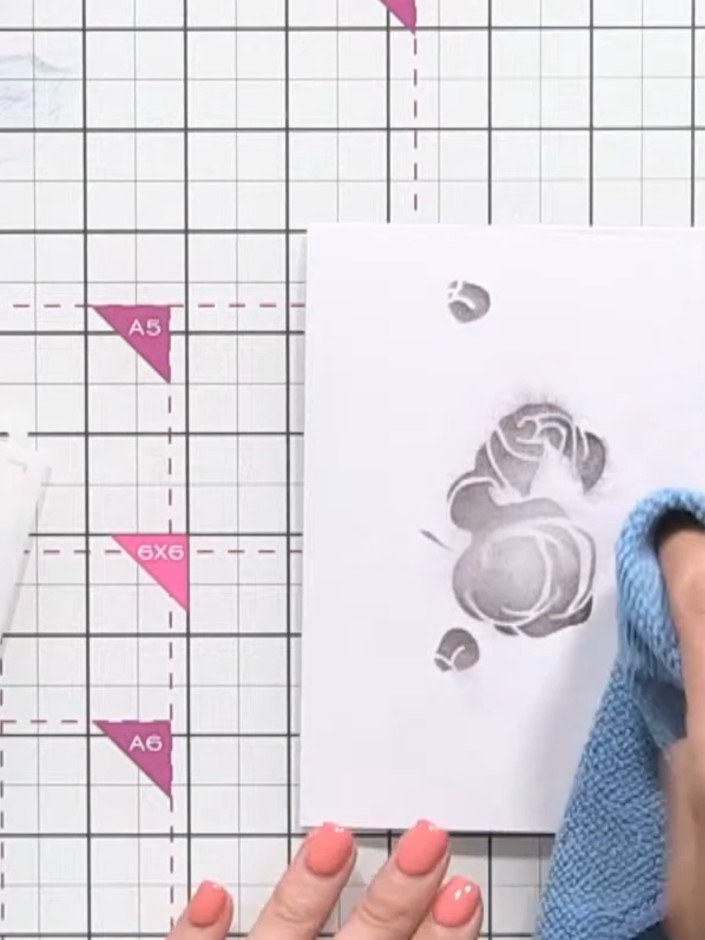
Create a beautiful single-colour layered stencil card featuring an elegant floral bouquet in deep charcoal tones. Using a rose stencil with watercolour or card stock, you'll build up dimensional layers and add an artistic smokey burst effect with water spray. The result is a sophisticated, painterly card with depth and movement.
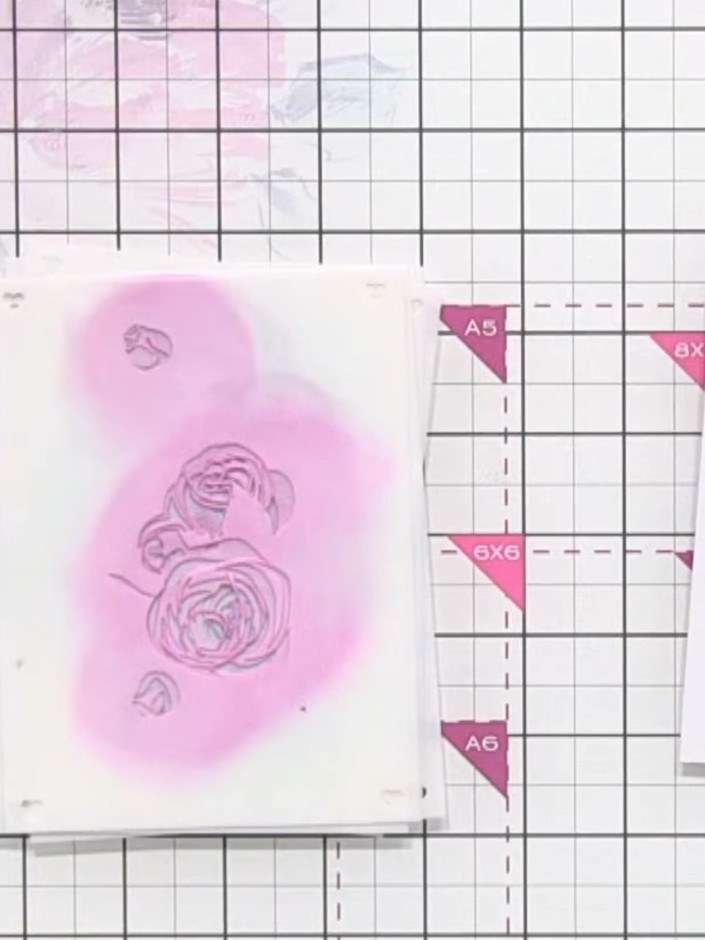
Gather your numbered layering stencils (1-4), a spray bottle filled with water, an ink pad, and a brush. Position your first stencil on white cardstock ready to begin.
▶ watch this step (49:45)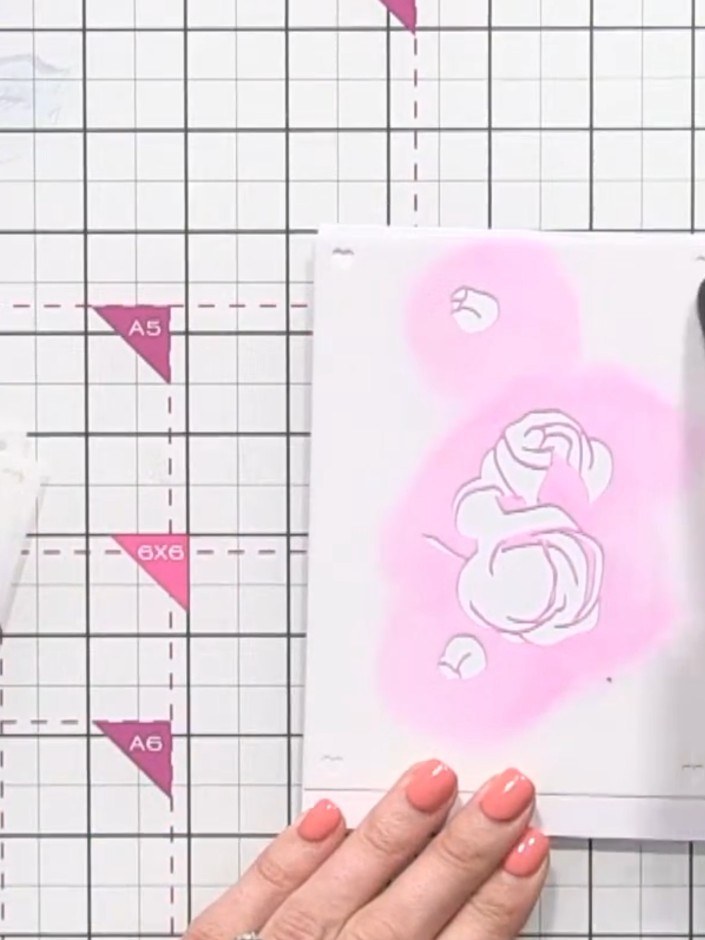
Place stencil number one on your card stock, lining it up at the top. Use the heart registration marks on the stencil to help position it accurately.
▶ watch this step (50:30)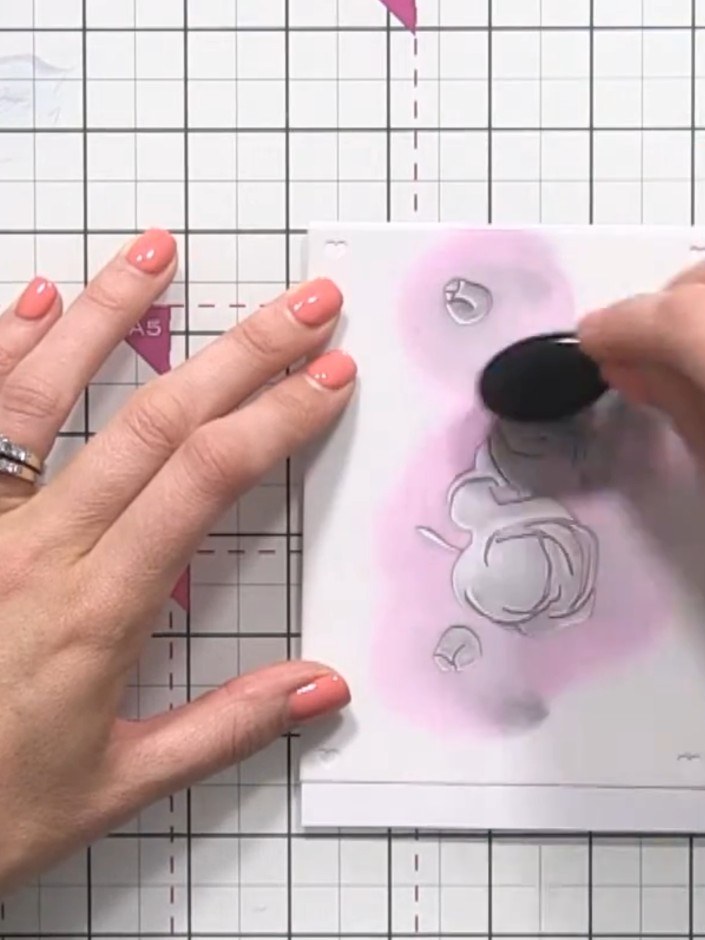
Press your ink pad lightly through the stencil onto the pink watercolour paper to create a soft first layer of the floral design.
▶ watch this step (50:45)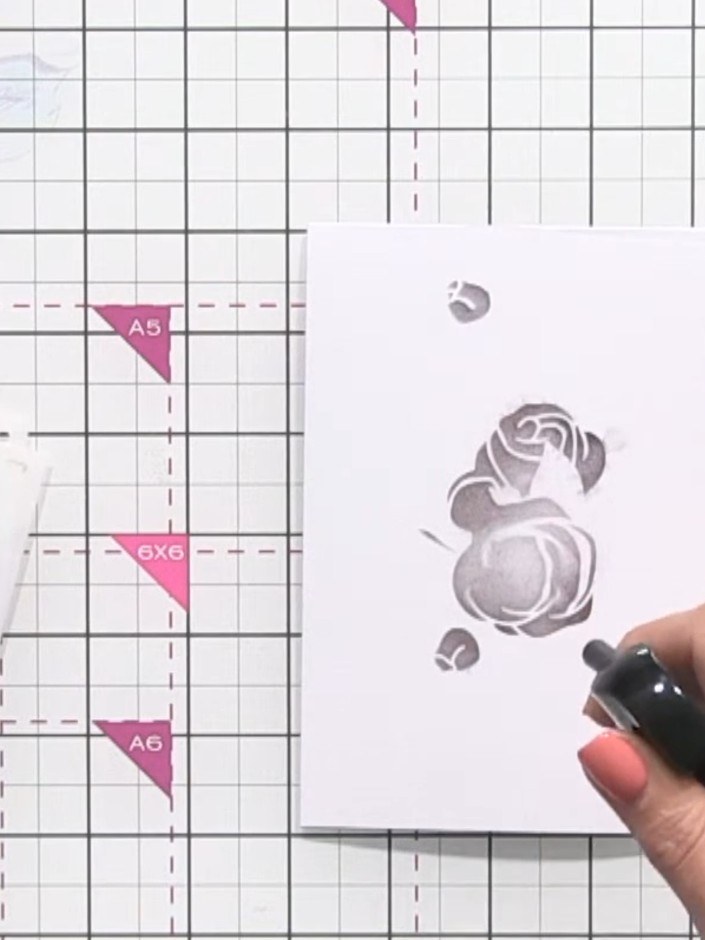
Lightly spray the inked stencil with water to create a fizzing effect that allows the ink to bleed and spread organically across the paper.
▶ watch this step (51:00)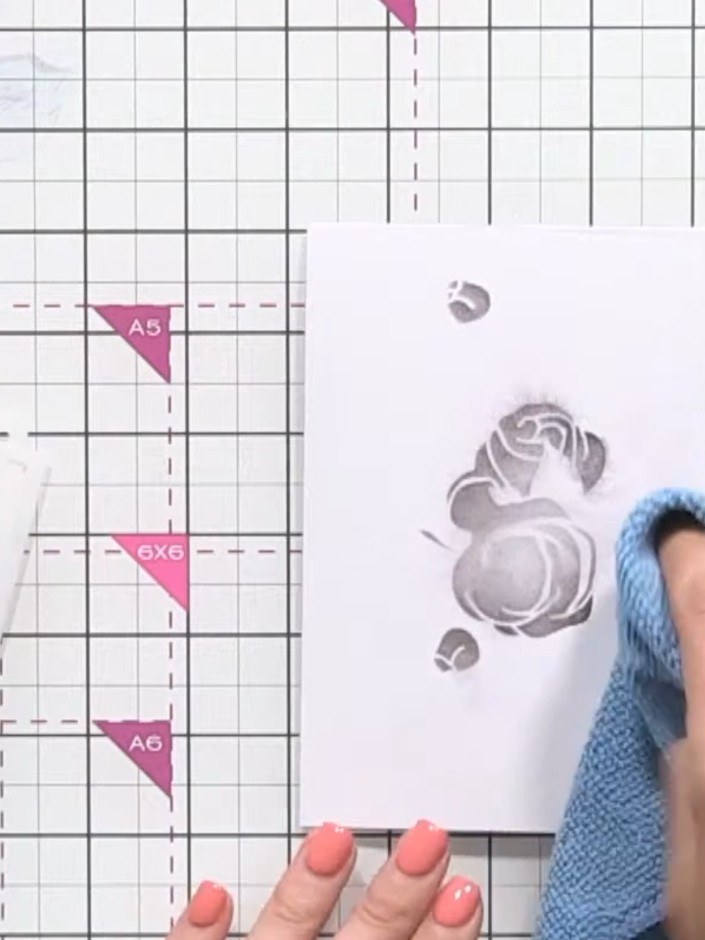
Use a tissue to blot away any excess water from the stamped image. Allow the ink to dry slightly before proceeding to the next step.
▶ watch this step (51:30)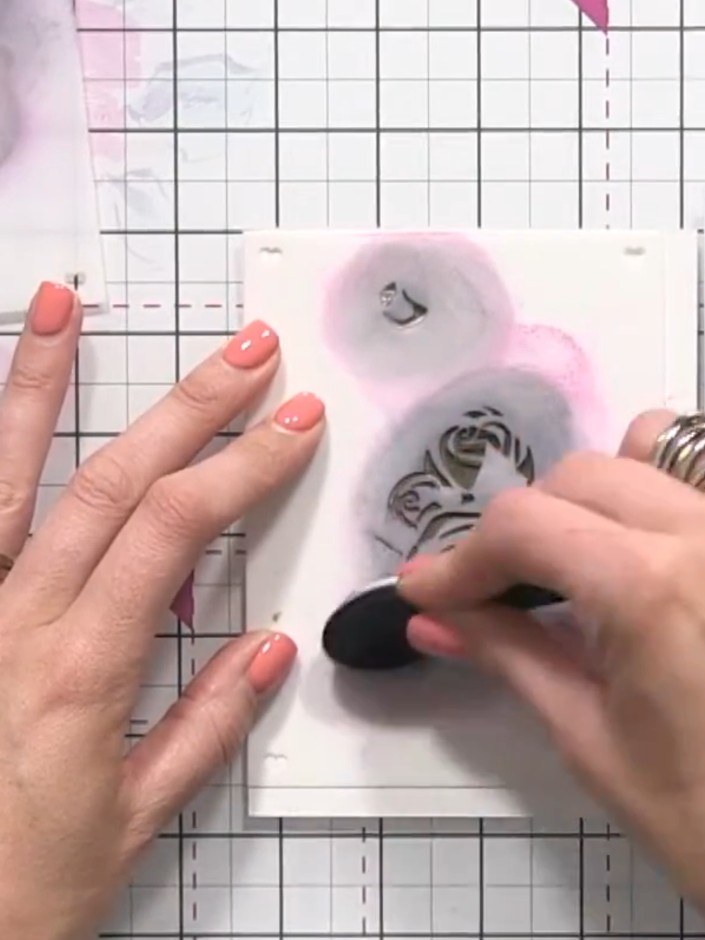
Position stencil number two over your first layer. Press your ink pad firmly onto the stencil to create a second, more defined layer of the rose design without spraying.
▶ watch this step (55:30)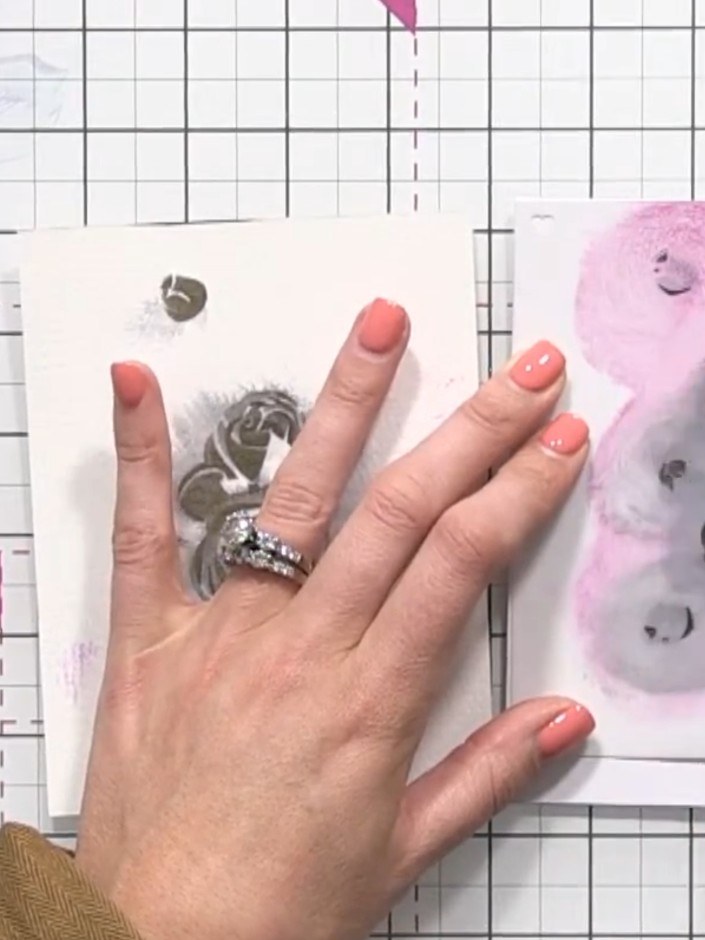
Apply stencil number three over your card. Press the black ink pad firmly through the stencil to transfer the darkest layer of detail onto your design.
▶ watch this step (56:00)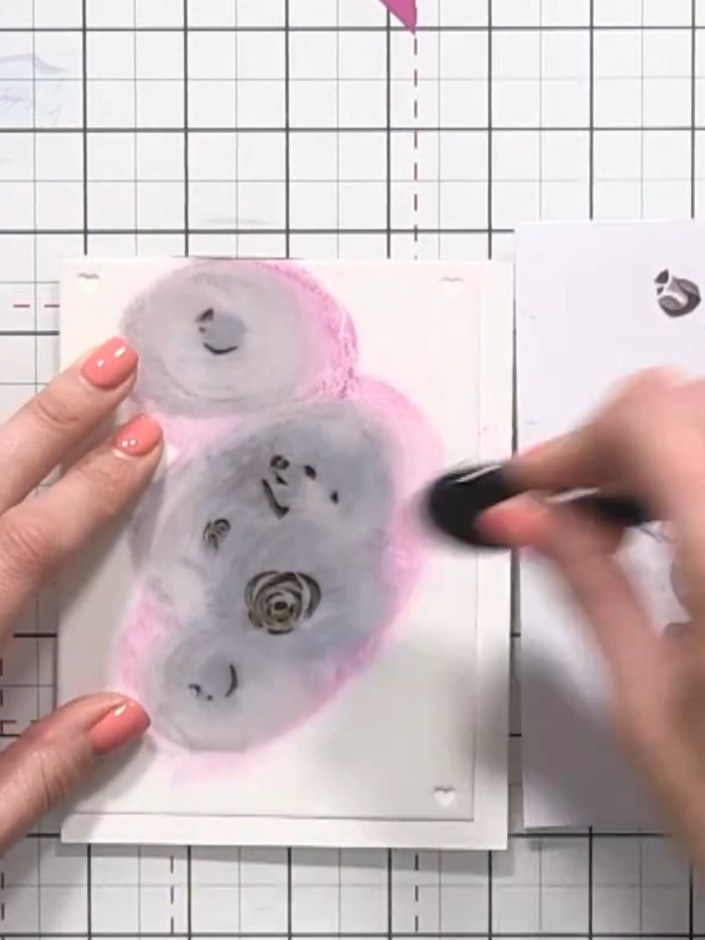
Position stencil number four (the leaves layer) over your card. Using a water spray or brush, lightly spray or apply water over the stencil to create a fizzing effect with the ink, adding texture to the final detail layer.
▶ watch this step (56:30)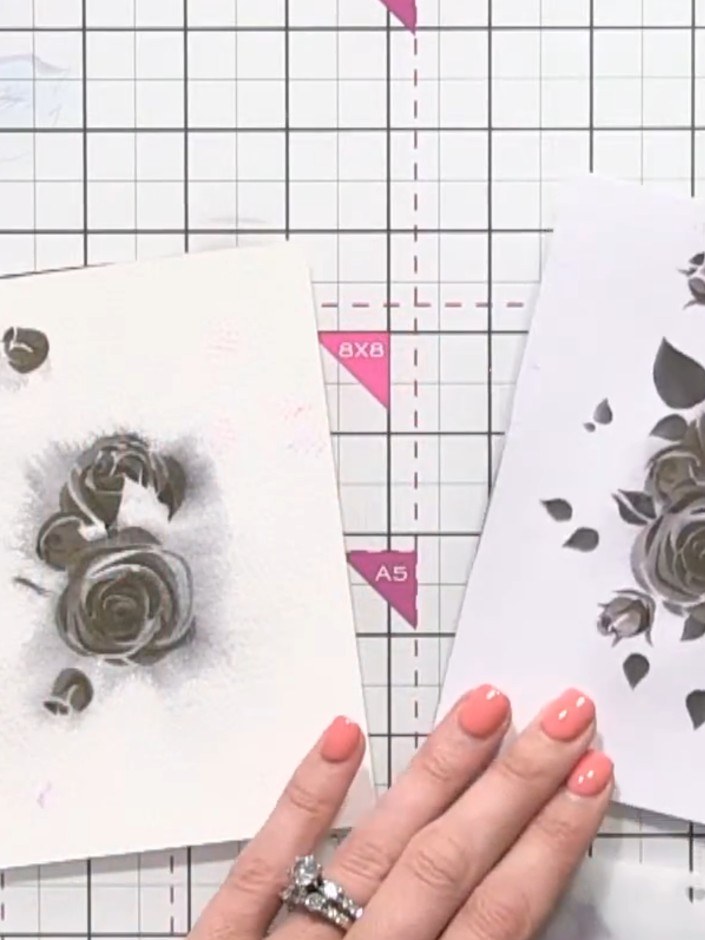
If detail has been lost from over-spraying, allow the card to dry completely, then reposition the stencil and press the black ink pad over it again to restore the crisp rose and leaf details.
▶ watch this step (57:00)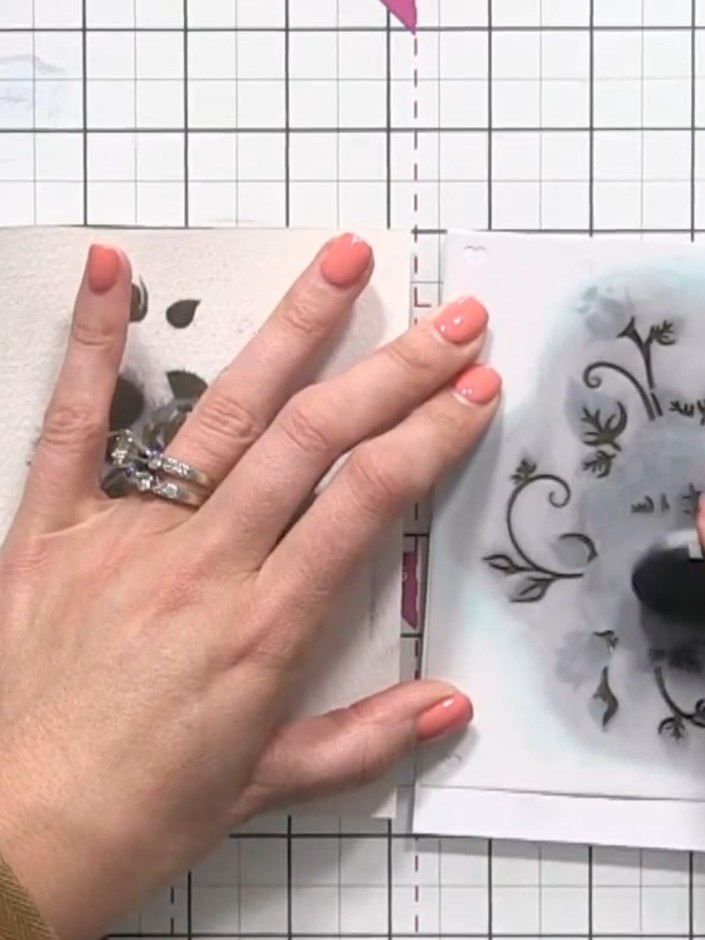
Using a black stamping ink pad, carefully dab over the final stencilled layer to add definition and bring out all the fine details of the floral design.
▶ watch this step (59:30)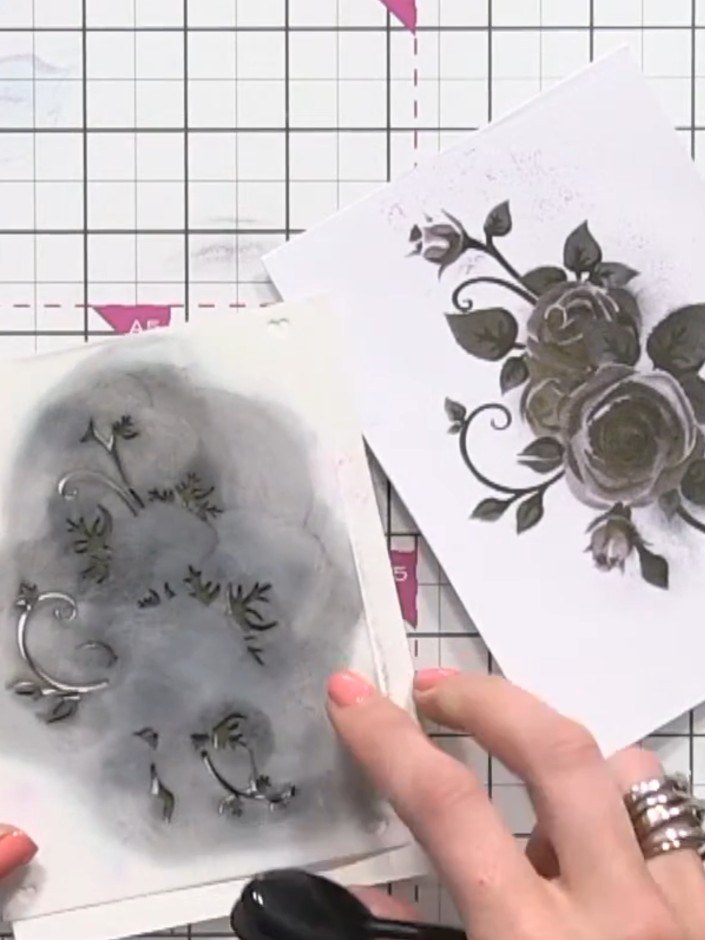
Add a sentiment to complete your card. The finished design features a beautiful grayscale, dimensional floral arrangement created through layered stencilling with a single ink pad.
▶ watch this step (1:00:45)Written up from the show itself. See every guide from our shows · free how-to guides · watch live on My Telly