Give your friends €10 off their first order!
Refer a FRIEND








Prices change straight away. Every language is our own translation, not Google.
A project from our live show HSN PRODUCT INSPIRATION - Join me for a fun filled show broadcast 22nd September 2026 · 22/09/2026 · watch it from 19:00
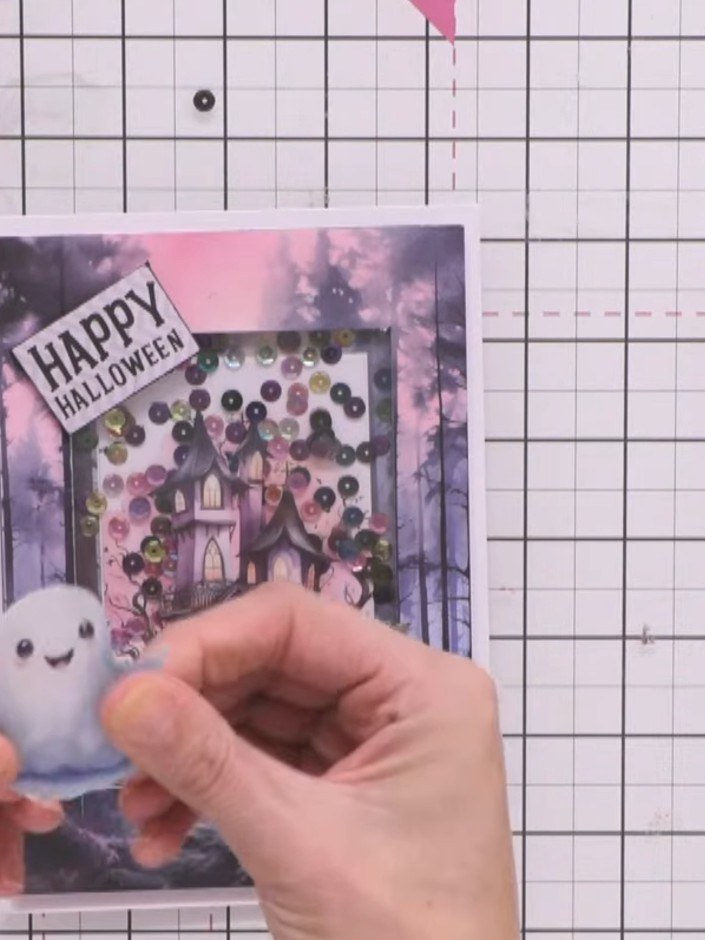
Create a charming Halloween shaker card featuring a spooky house scene with adorable characters. This dimensional card showcases a window aperture filled with moving sequins, layered against atmospheric backdrops in purples, pinks and greys. The main techniques include layering printed panels, creating a shaker element, and adding 3D character toppers for an enchanting interactive greeting card.
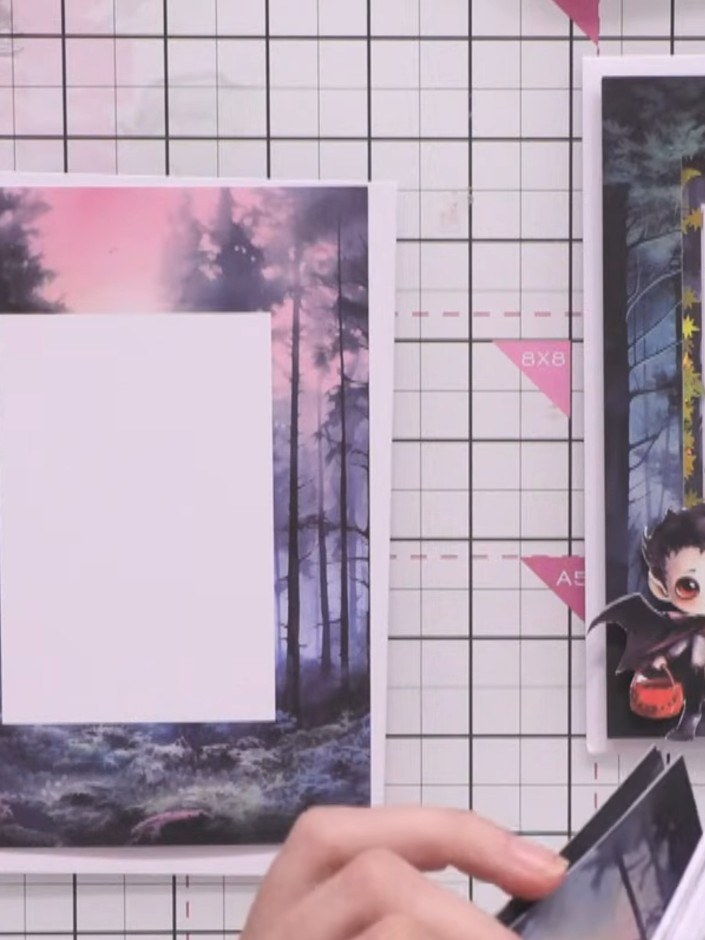
Select two card backing sheets from your stash in contrasting colours—one darker and one lighter. Choose papers that will complement your Halloween topper design.
▶ watch this step (19:30)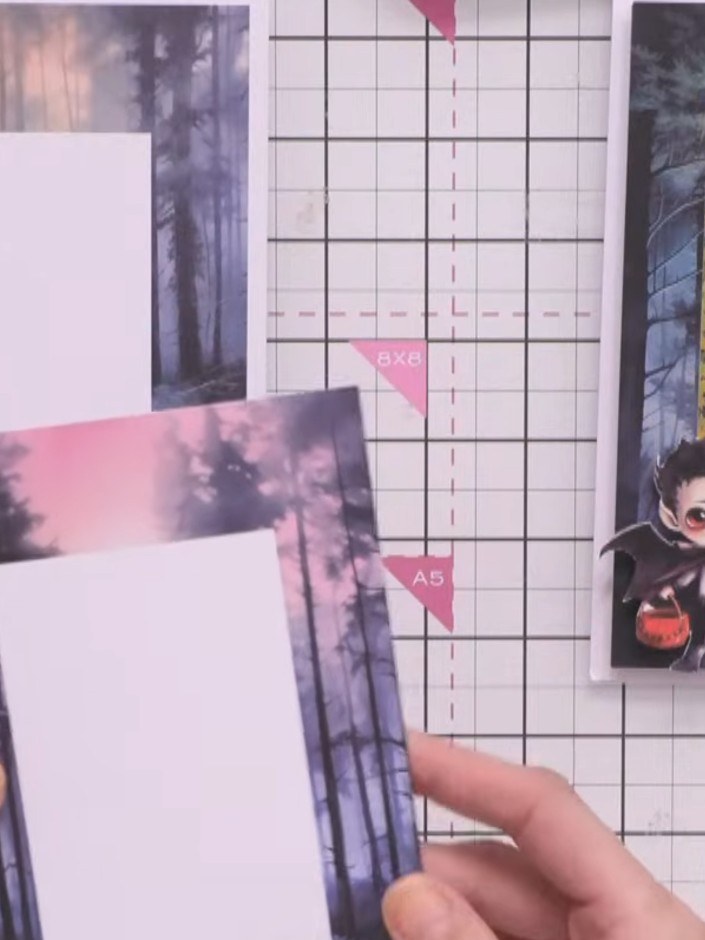
Cut a rectangular window out of the front card panel using scissors, following the white guideline printed on the design.
▶ watch this step (21:30)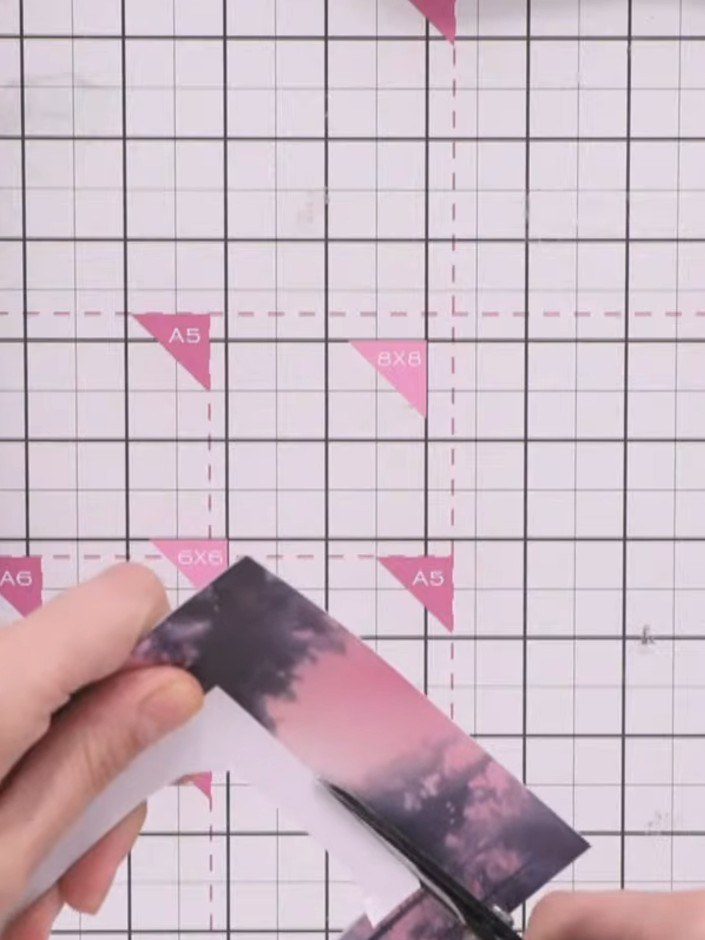
Carefully cut out the white window opening from the printed panel. Make small cuts at each corner to slightly enlarge the window opening using scissors or a trimmer blade.
▶ watch this step (23:00)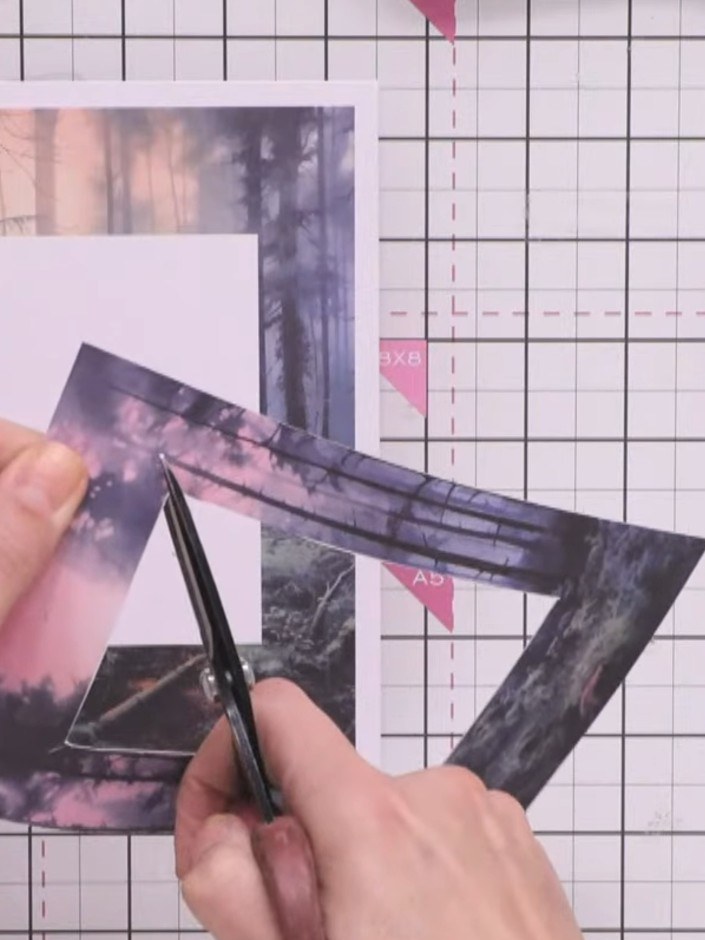
Use a dark-coloured brush or pen to colour in the white edges around your cut window frame to hide any harsh lines. This will give your frame a more polished, professional finish.
▶ watch this step (24:00)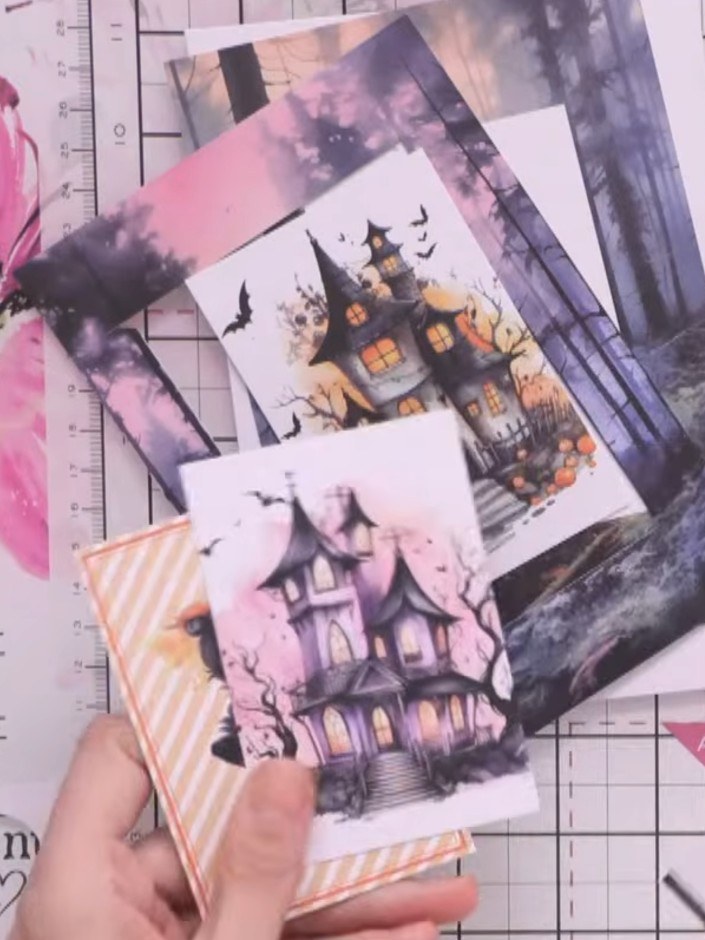
Fussy cut the house character from the kit papers, carefully cutting around the outline of the haunted house image with its illuminated windows and bats.
▶ watch this step (27:00)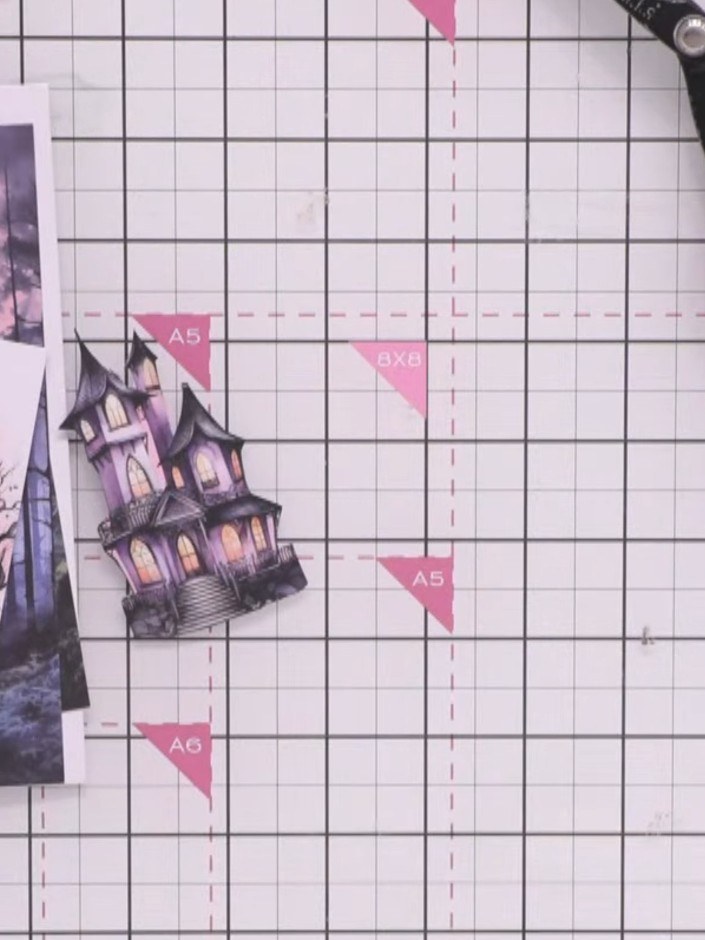
Fussy cut additional characters from the kit, such as the ghost and the girl. Use scissors to carefully remove any unwanted drips or details around the edges.
▶ watch this step (30:00)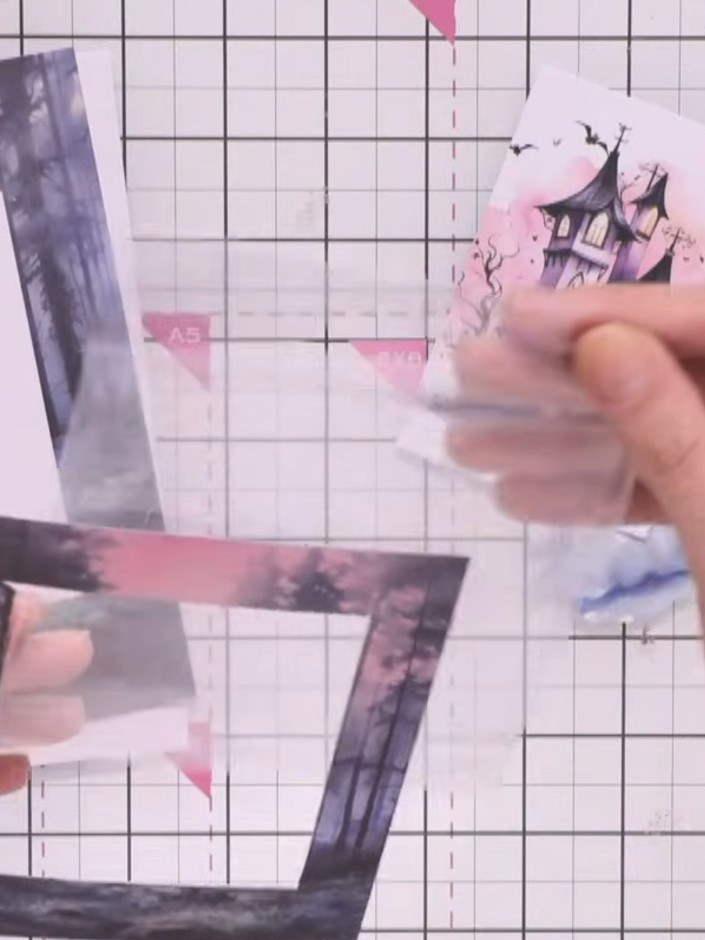
Cut a piece of clear plastic from the kit packaging to size for your shaker window. Trim away the top and bottom flaps to create a clean rectangular piece that will fit your frame.
▶ watch this step (34:30)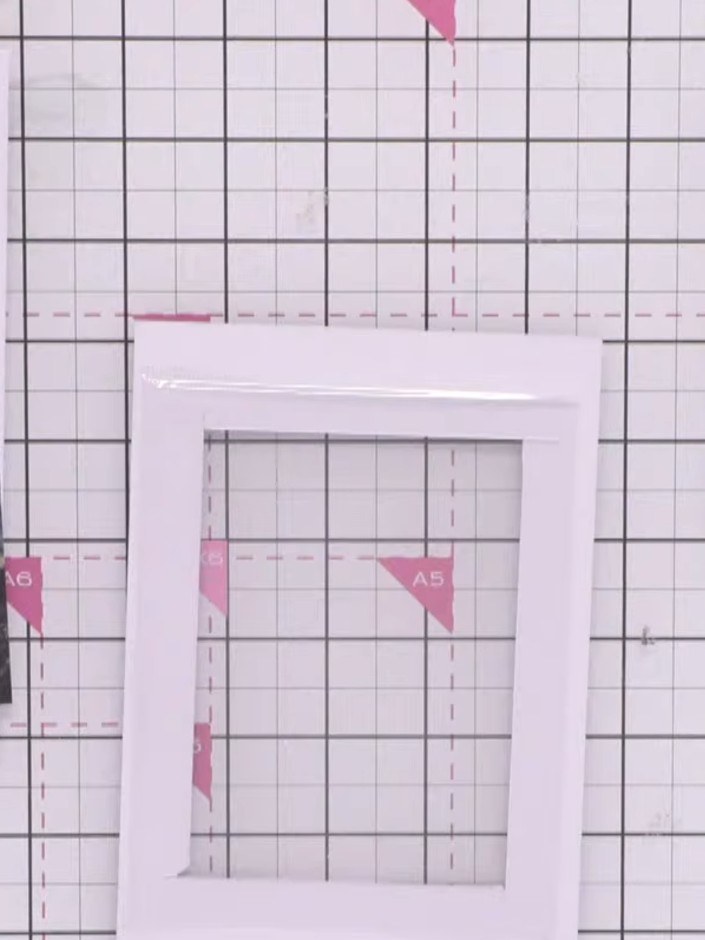
Apply double-sided tape or foam pads all the way around the back of your card window frame, ensuring there are no gaps in the adhesive.
▶ watch this step (37:00)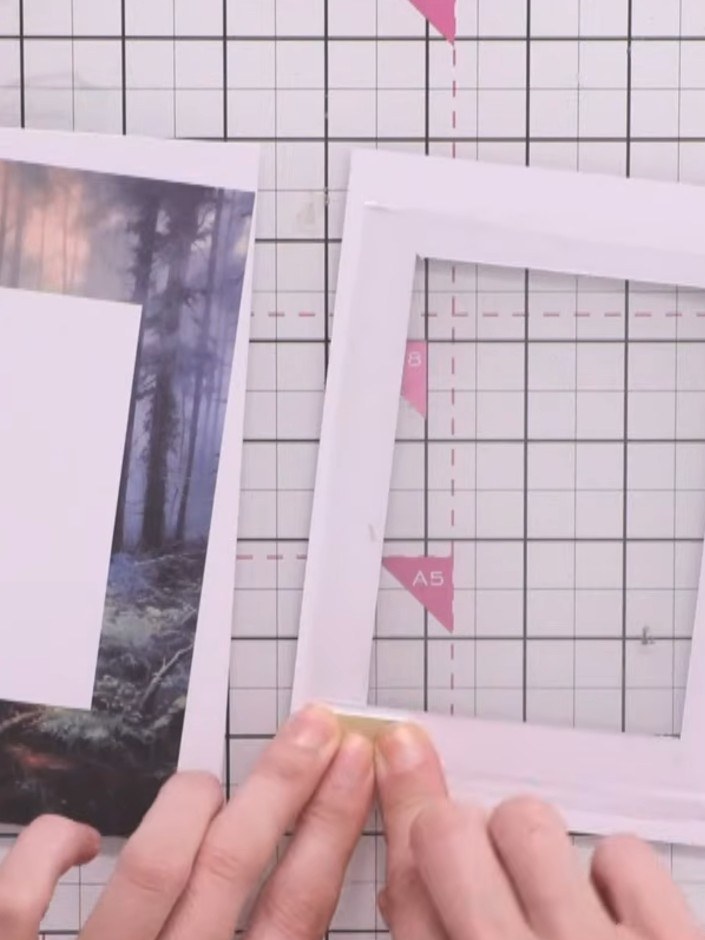
Adhere the clear plastic window to the foam tape frame, smoothing it down carefully from the centre outwards to avoid lumps and bubbles. Ensure the plastic is firmly attached to all edges of the foam tape.
▶ watch this step (39:30)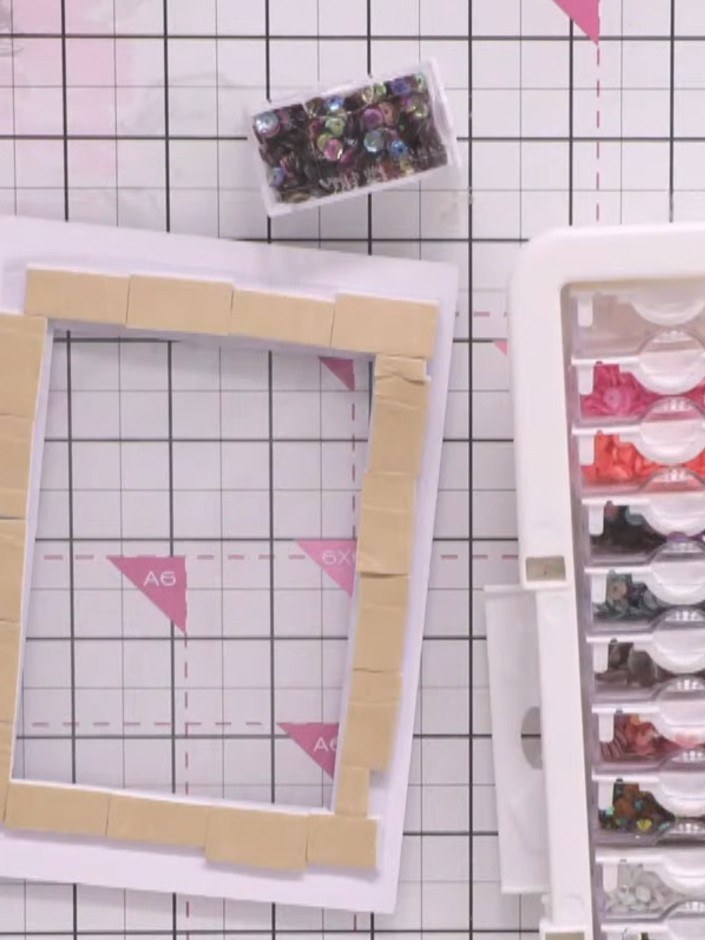
Place the fussy-cut house card flat inside the window aperture as your background layer. Position it centrally behind the frame so the house scene shows through the opening.
▶ watch this step (43:00)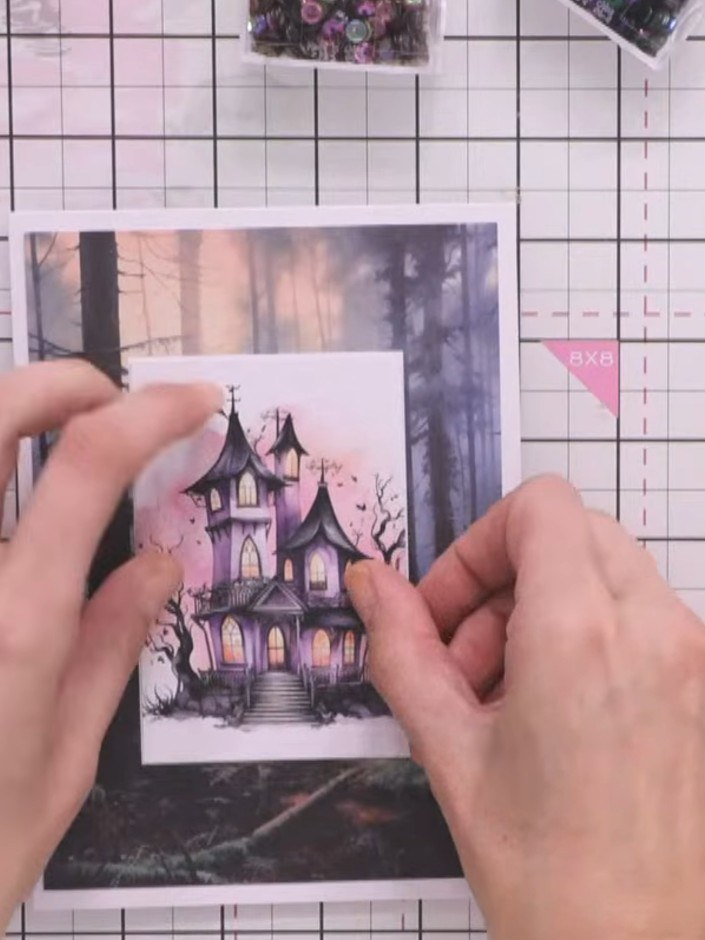
Apply foam pads to the back of the fussy-cut haunted house and character pieces. Position them inside the frame window at varying heights to create dimension.
▶ watch this step (45:30)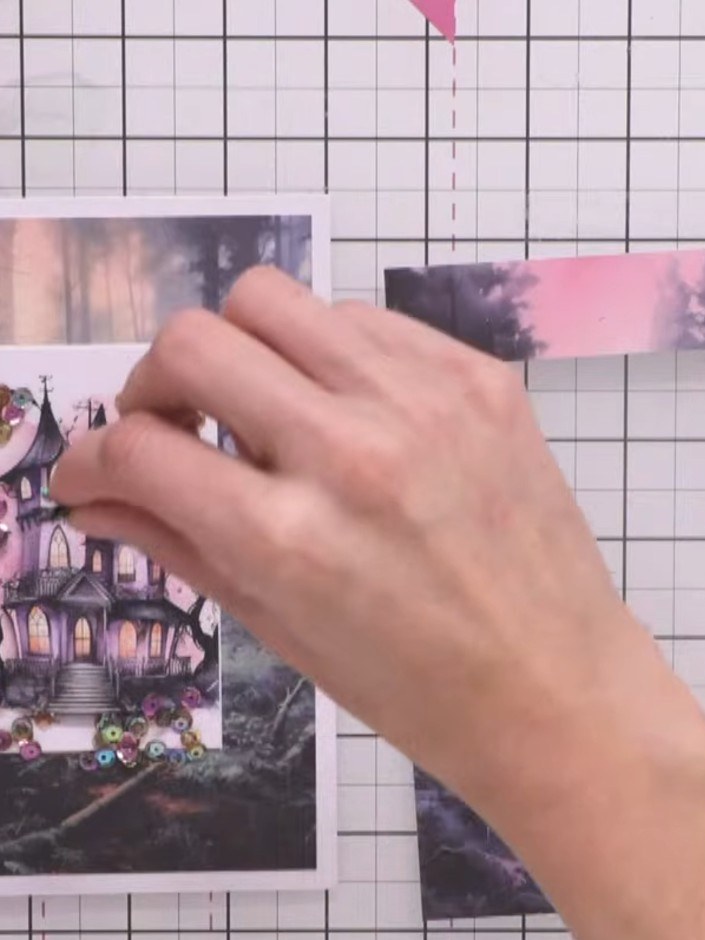
Scatter sequins around the inside of the window frame. Use a moderate amount so the card shakes freely without being too sparse.
▶ watch this step (47:00)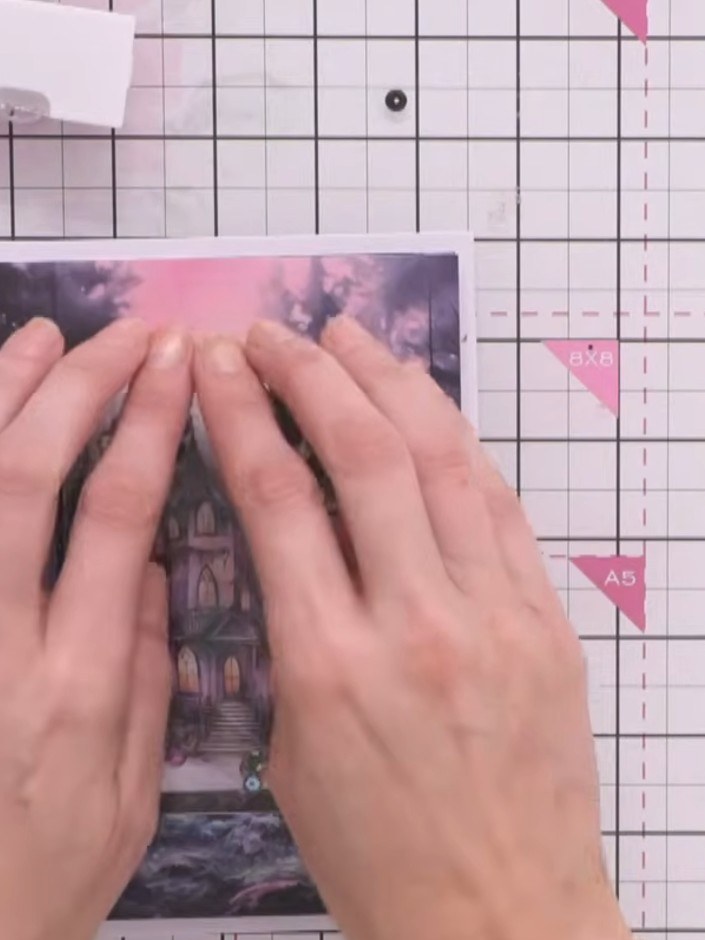
Remove the backing from all foam pads on the window assembly. Press the window assembly firmly onto the front of the card, massaging it into place to ensure it is secure.
▶ watch this step (49:30)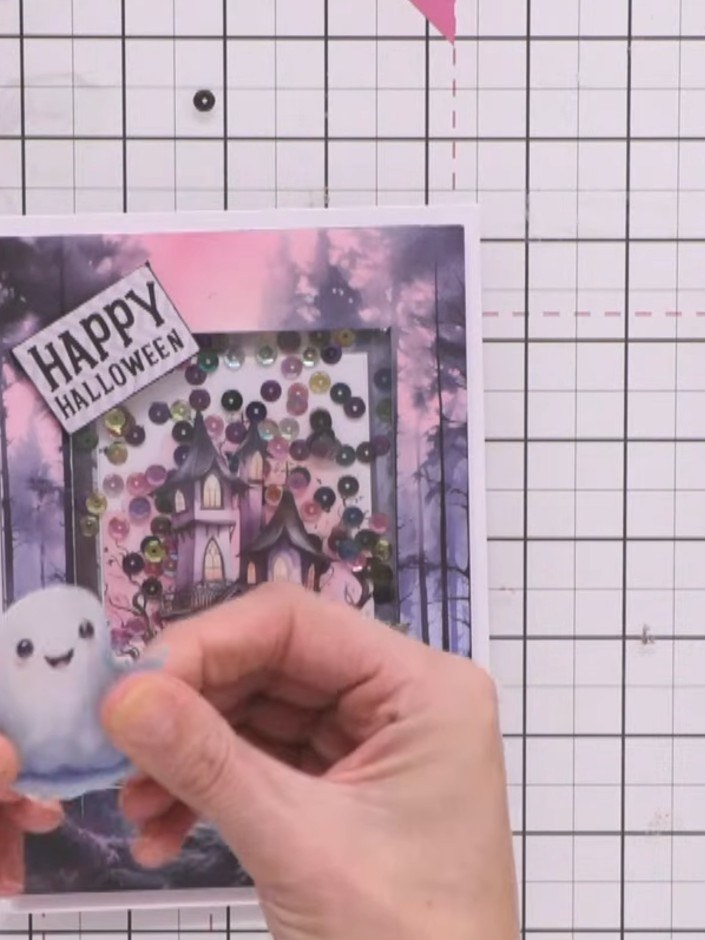
Adhere the 'Happy Halloween' sentiment topper to the top corner of the card using foam pads to raise it above the surface for added dimension.
▶ watch this step (51:00)Written up from the show itself. See every guide from our shows · free how-to guides · watch live on My Telly


