Give your friends €10 off their first order!
Refer a FRIEND








A project from our live show THE THURSDAY DROP - Latest Products from Toni - Broadcast 6th August 2026 · 06/08/2026 · watch it from 9:00
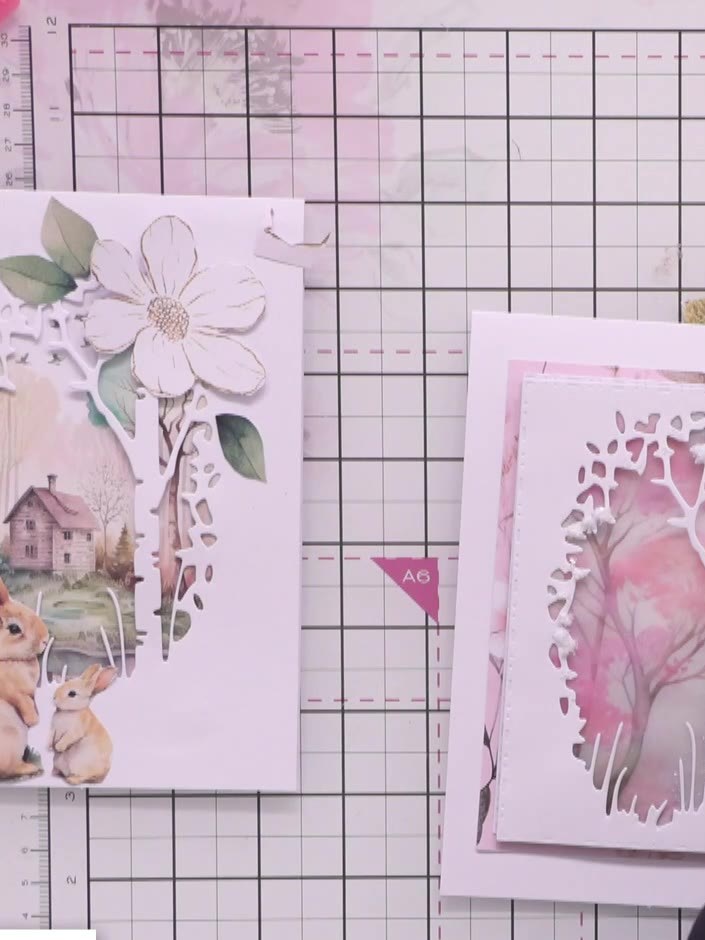
Create an elegant layered card featuring a delicate rose branch design with three dimensional rose heads, buds and foliage. Using layering stencils and dyes in soft pink tones, you'll build up depth and perspective to achieve a beautiful watercolour effect. The finished piece showcases artistic florals framed within an intricate die-cut border for a stunning handmade greeting card.
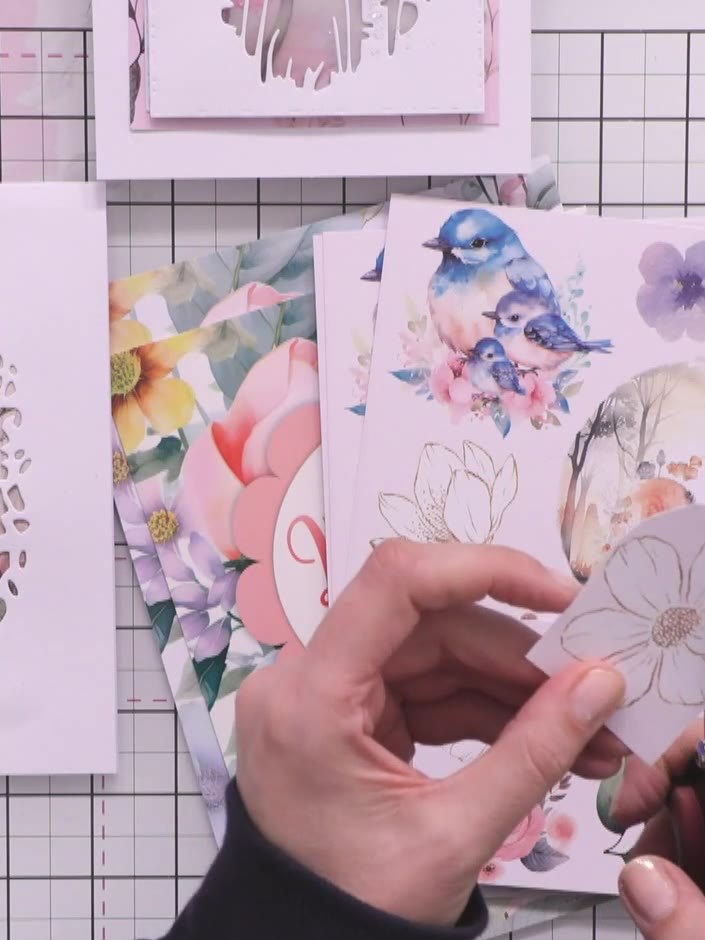
Place the rose branch layering stencil onto your card base or background paper. Position it where you want the design to appear on your card.
▶ watch this step (9:15)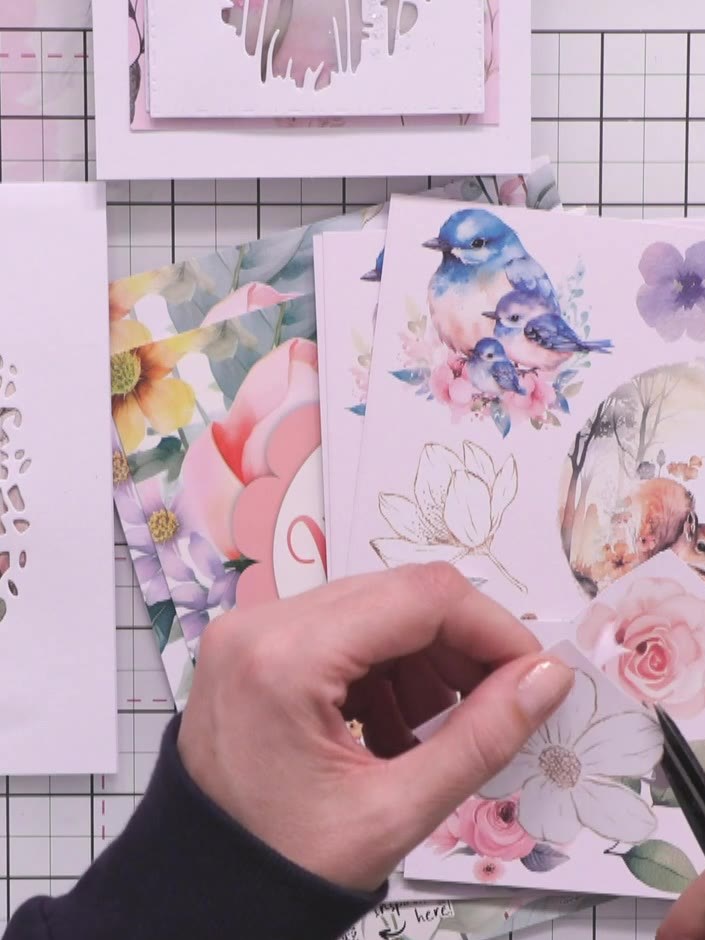
Apply the included dye through the rose branch stencil using a sponge applicator. Follow the heart system marked on the stencil to guide your placement. Build up the colour gradually for a soft, layered effect.
▶ watch this step (9:30)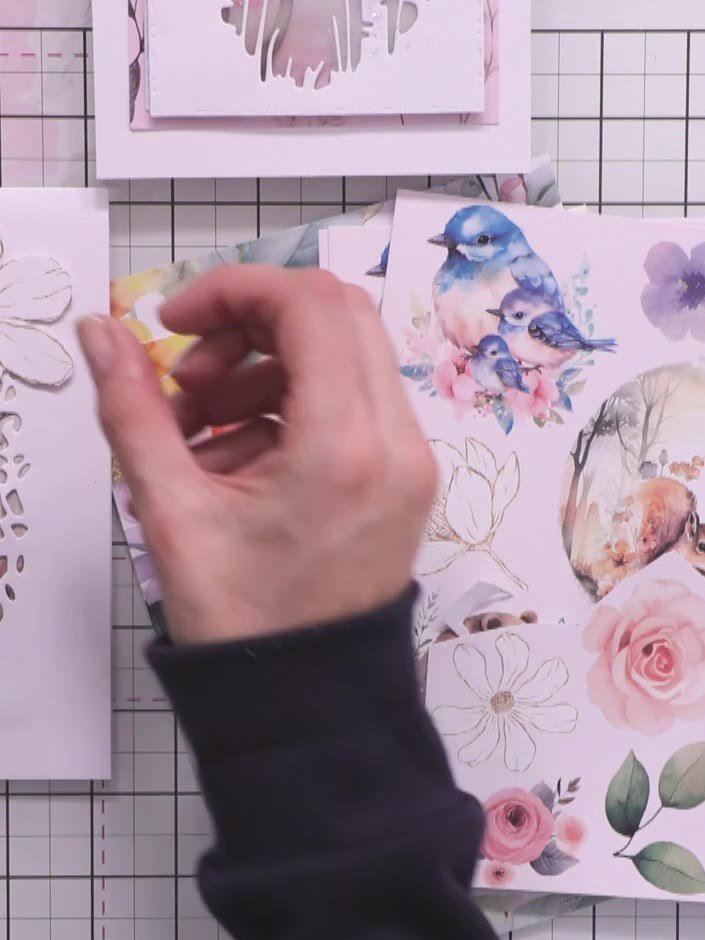
Layer additional stencils on top to build the three rose heads, buds, and smaller foliage elements. Position the rose and flower stencils over your base layer, adding depth and detail to create a dimensional floral design.
▶ watch this step (9:45)
Apply dye through each successive stencil layer to build up the rose branch design. Work through the layers in order to create dimension and perspective. Allow each layer to dry before applying the next stencil.
▶ watch this step (10:00)
Optionally spray the card with water to blend the dyes and create a softer, more artistic finish. Use a light misting spray to gently blend the colours together.
▶ watch this step (10:15)Written up from the show itself. See every guide from our shows · free how-to guides · watch live on My Telly
