Give your friends €10 off their first order!
Refer a FRIEND








A project from our live show Create and Craft TV - IMALA LAUNCH SHOW 2 - Join Carley Duff - Broadcast 30th April 24 · 30/04/2024 · watch it from 26:15
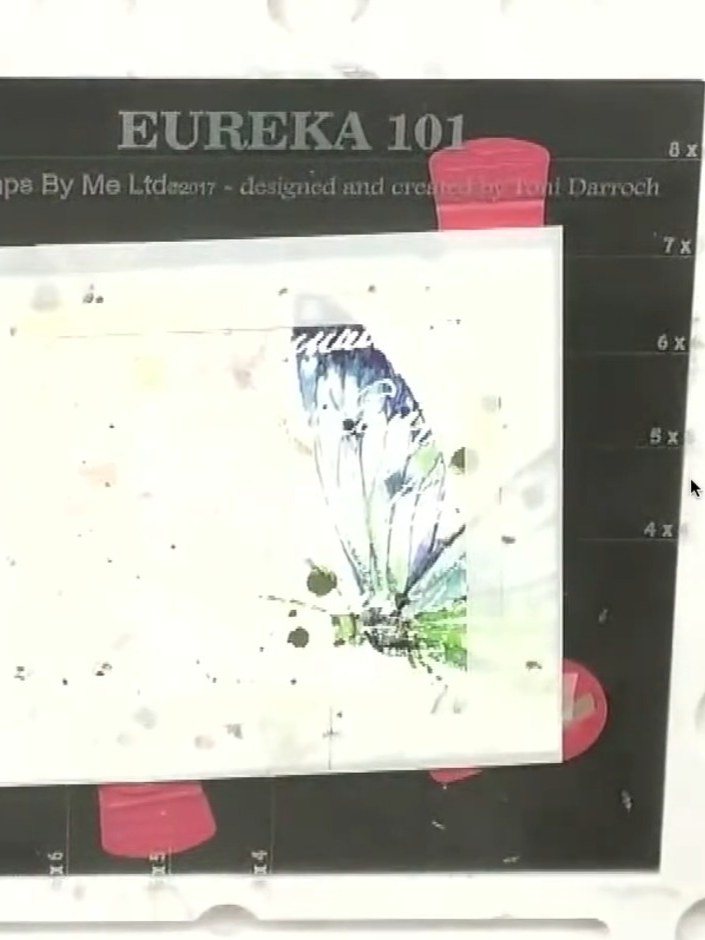
Create an elegant layered card featuring a perfectly framed square aperture with blended ink backgrounds in soft pink tones. Use nested stencils taped together to create the frame, then add a beautiful stamped floral design cascading down one side for a professional, sophisticated finish. This technique combines stencilling, ink blending and stamping to achieve a stunning dimensional effect.
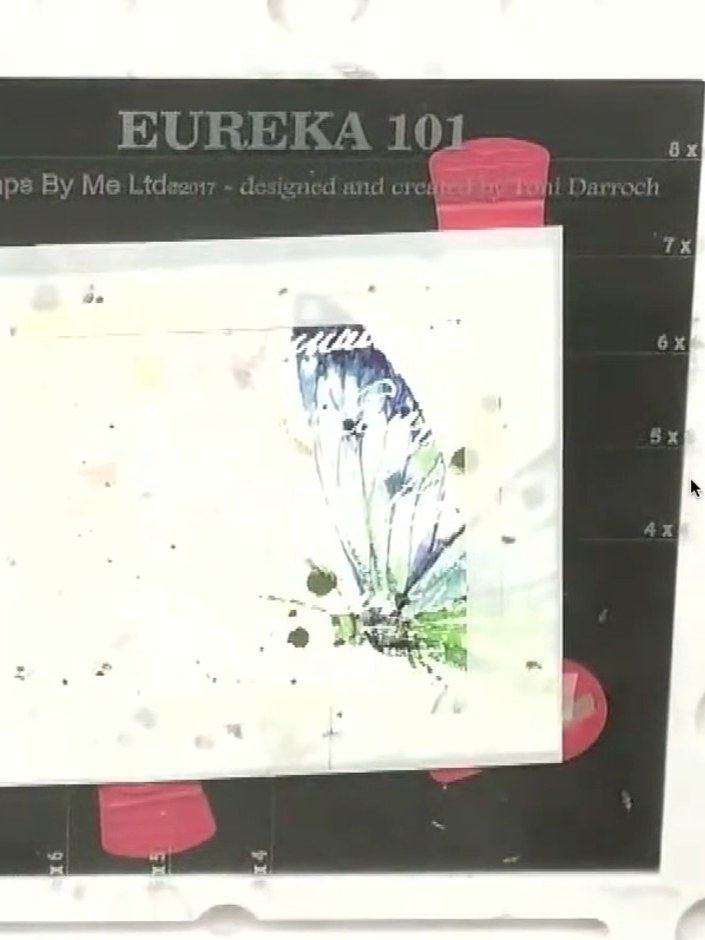
Tape two nested aperture stencils together to create a thicker frame. Secure them with low-tack tape from the edge, ensuring the apertures are aligned.
▶ watch this step (26:15)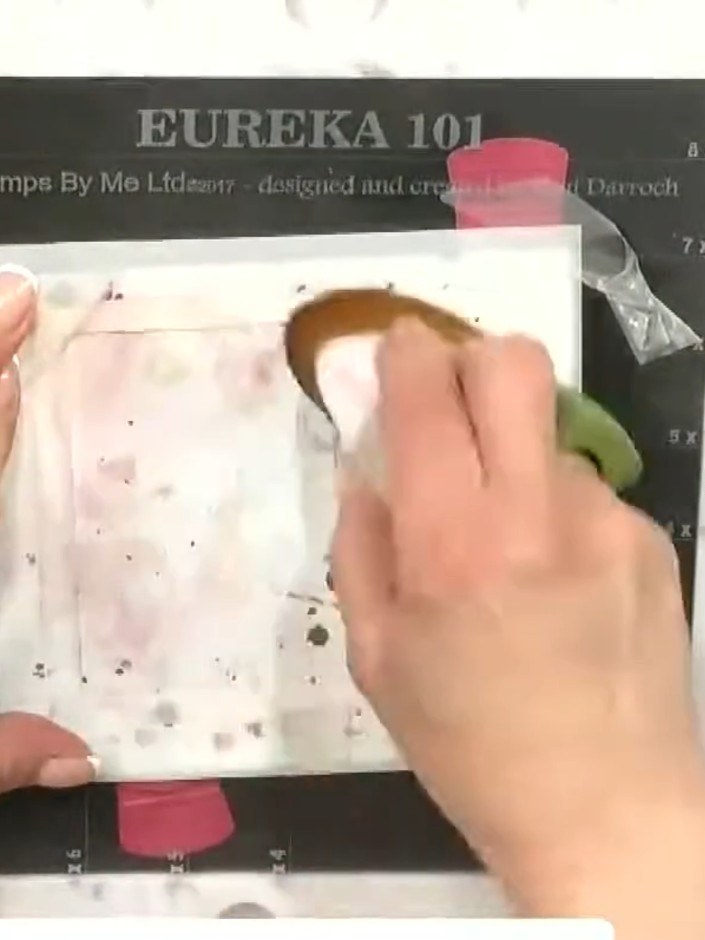
Position the taped stencils on your card base and secure with low-tack tape. Ensure the stencils are placed where you want them on the card front before taping down.
▶ watch this step (26:30)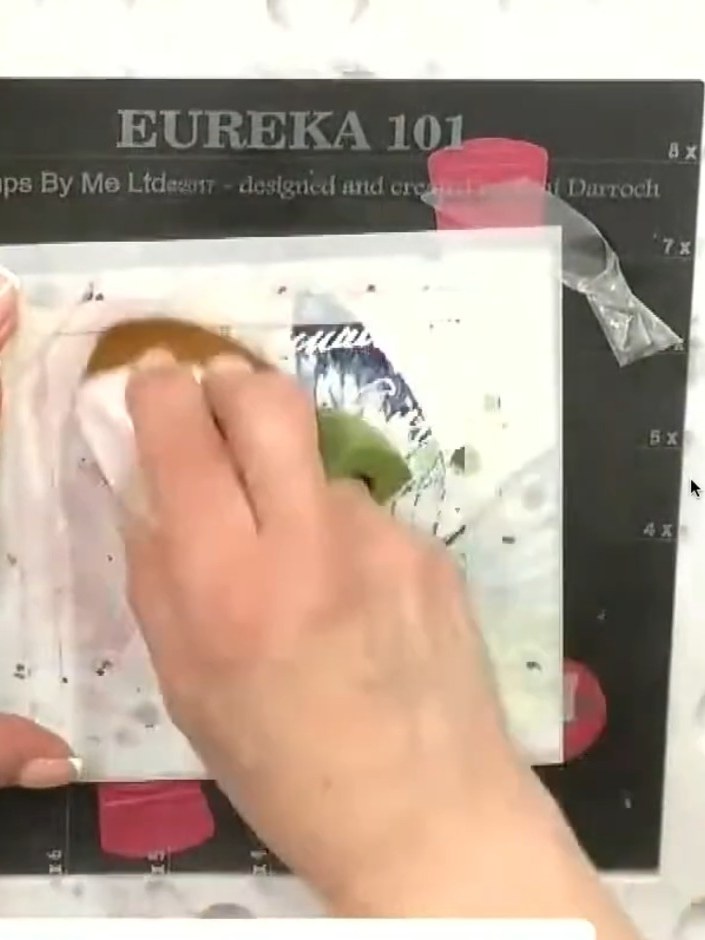
Take a dye ink pad in your chosen colour and blend it over the top edge of the aperture to create a soft square frame effect.
▶ watch this step (26:45)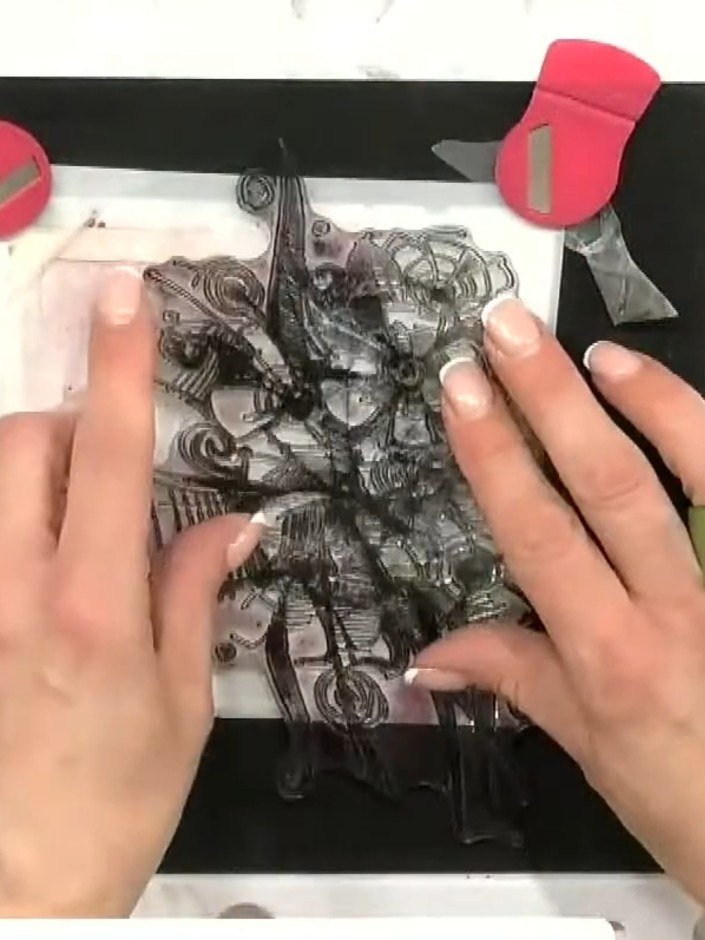
Stamp a floral design over the blended edge of the frame, allowing the stamp to cascade down one side. Use the clear stamp positioned to overlap the inked area.
▶ watch this step (27:00)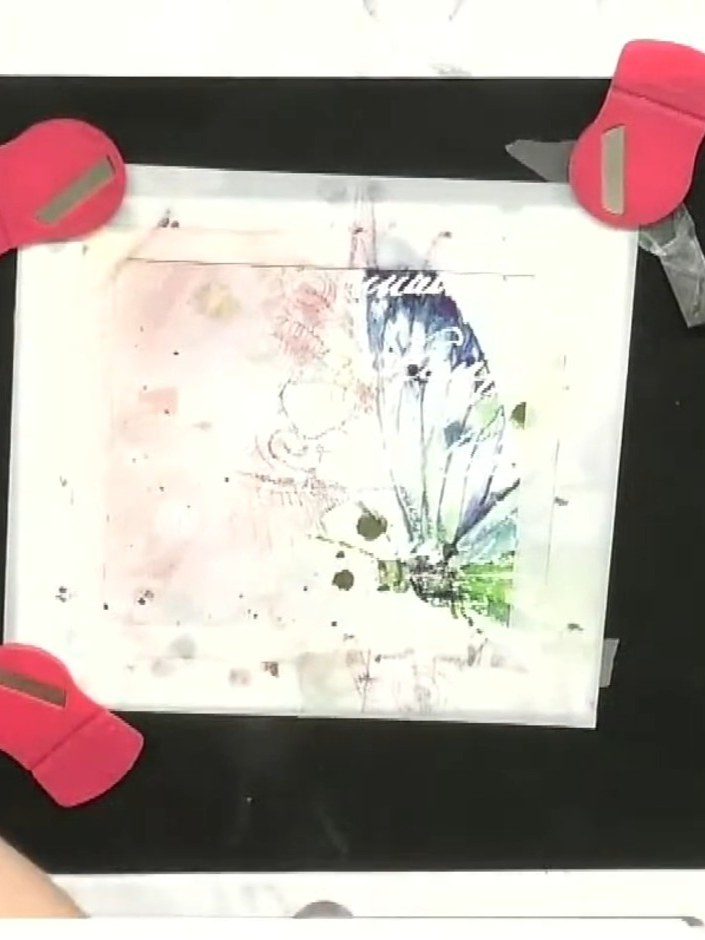
Carefully remove the stencil to reveal the blended ink design with stamped butterfly detail. The nested frame creates a perfectly defined border around your artwork.
▶ watch this step (27:15)Written up from the show itself. See every guide from our shows · free how-to guides · watch live on My Telly