Give your friends €10 off their first order!
Refer a FRIEND








A project from our live show Create and Craft TV - IMALA LAUNCH SHOW 2 - Join Carley Duff - Broadcast 30th April 24 · 30/04/2024 · watch it from 50:15
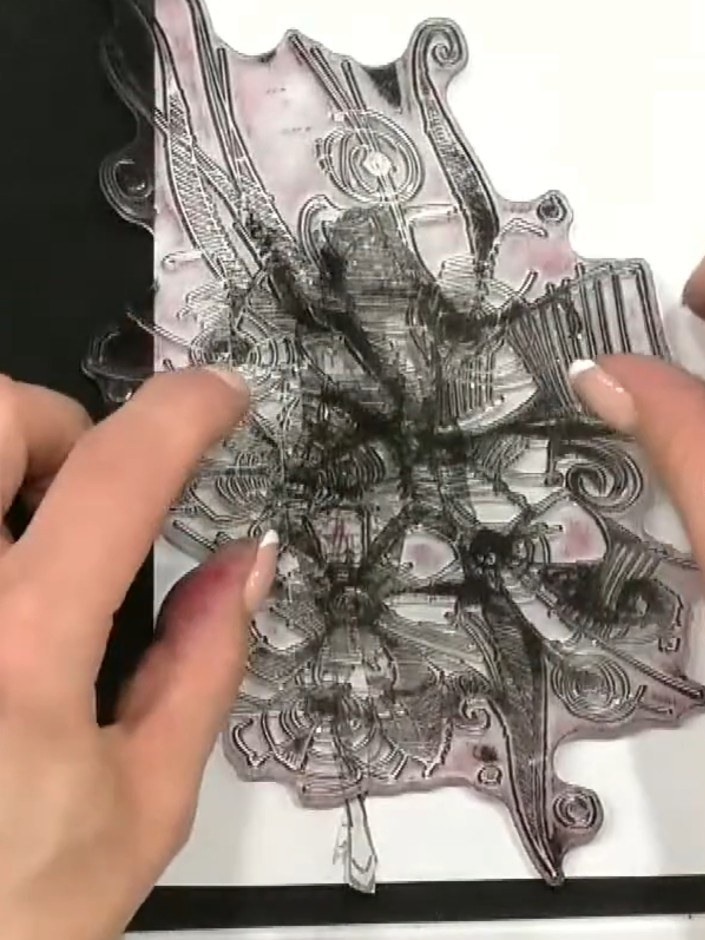
Create a striking fashion-forward card featuring a dress-up doll stamp with an elegant floral overlay. This mixed-media project combines masking techniques with layered stamping to produce a dimensional design on decorative paper. The finished piece showcases a sophisticated silhouette enhanced with delicate botanical details in monochrome tones.
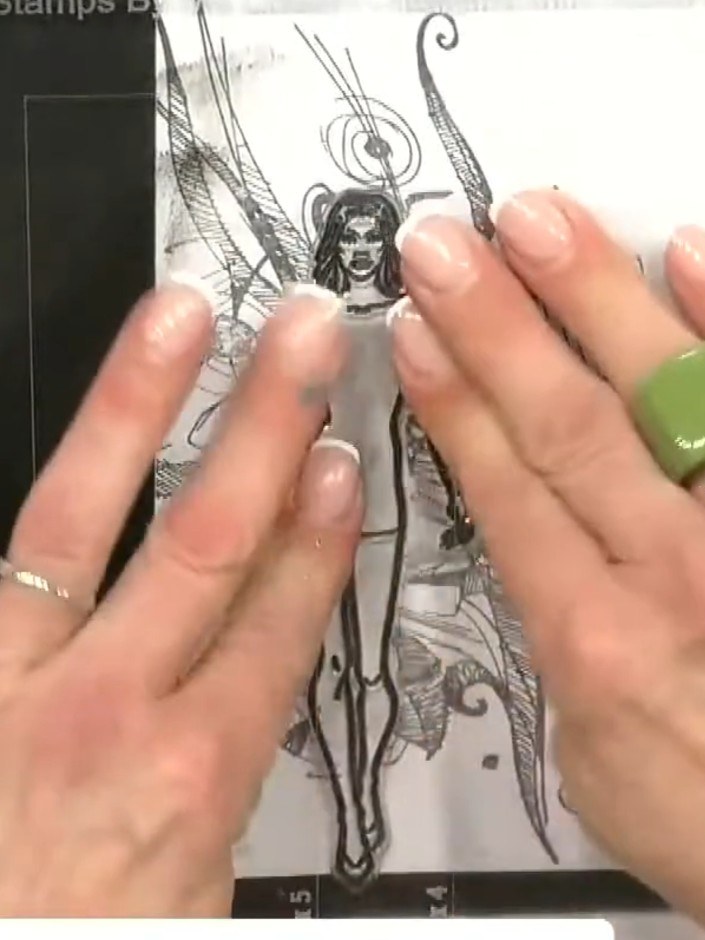
Stamp the dress-up doll figure onto your card base using black ink. Position the stamp centrally on your card. This will act as a mask for the next layers.
▶ watch this step (50:15)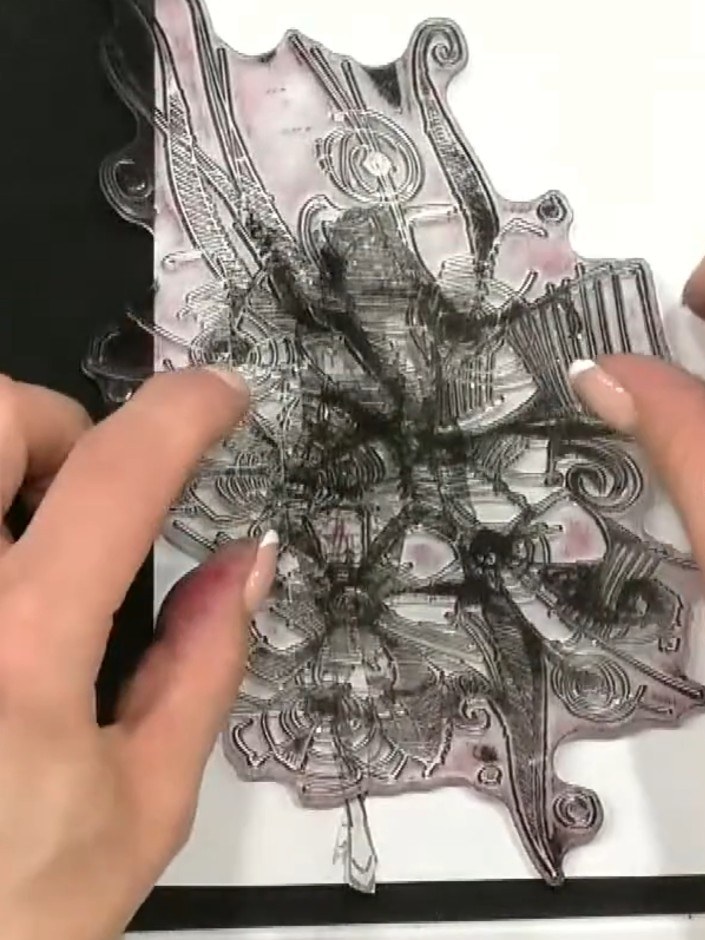
Position the floral stamp over the masked doll image and stamp it using black ink to create a layered, overlapping design. The mask will protect the doll whilst the decorative elements stamp around it.
▶ watch this step (50:30)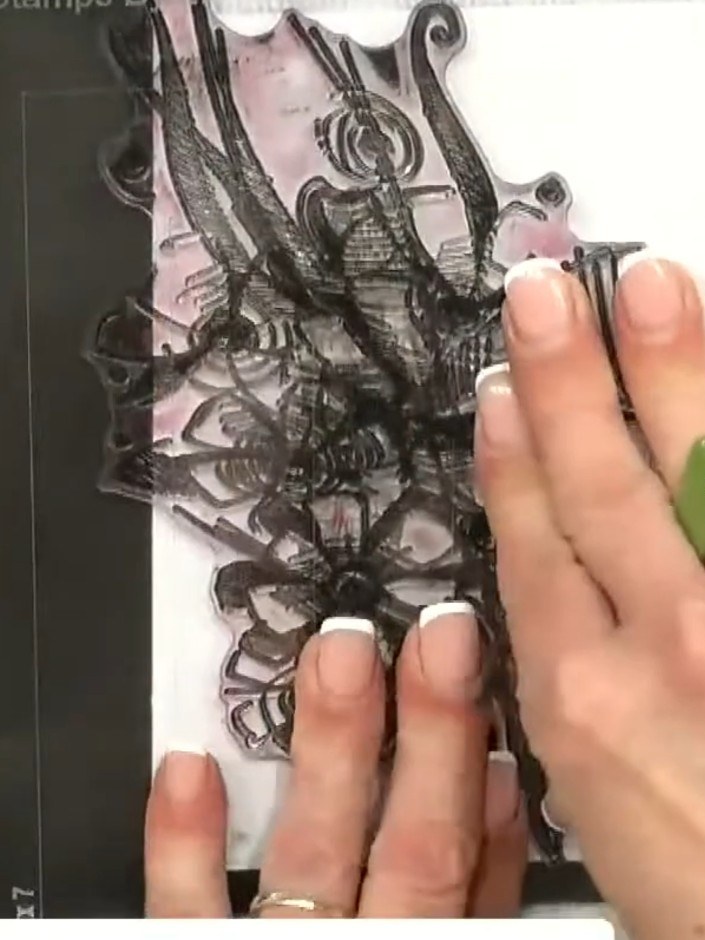
Carefully peel away and remove the mask from the card to reveal the stamped doll image with the floral overlay design around it.
▶ watch this step (50:45)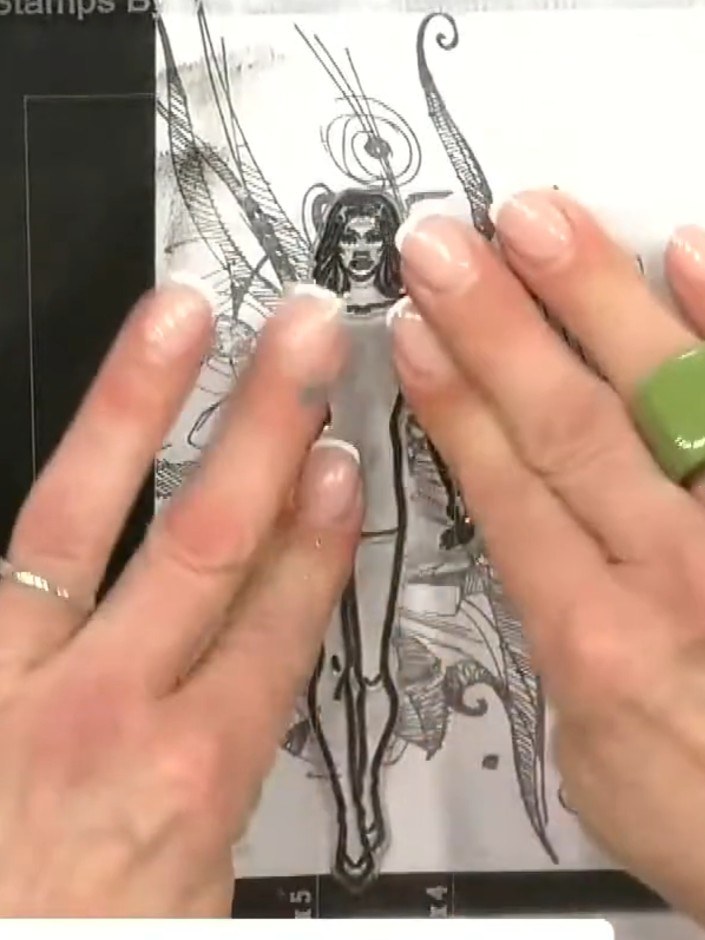
Position the cut-out fairy doll figure onto a piece of decorative paper with abstract patterns. Layer the stamped image on top to add dimension and visual interest to your composition.
▶ watch this step (51:15)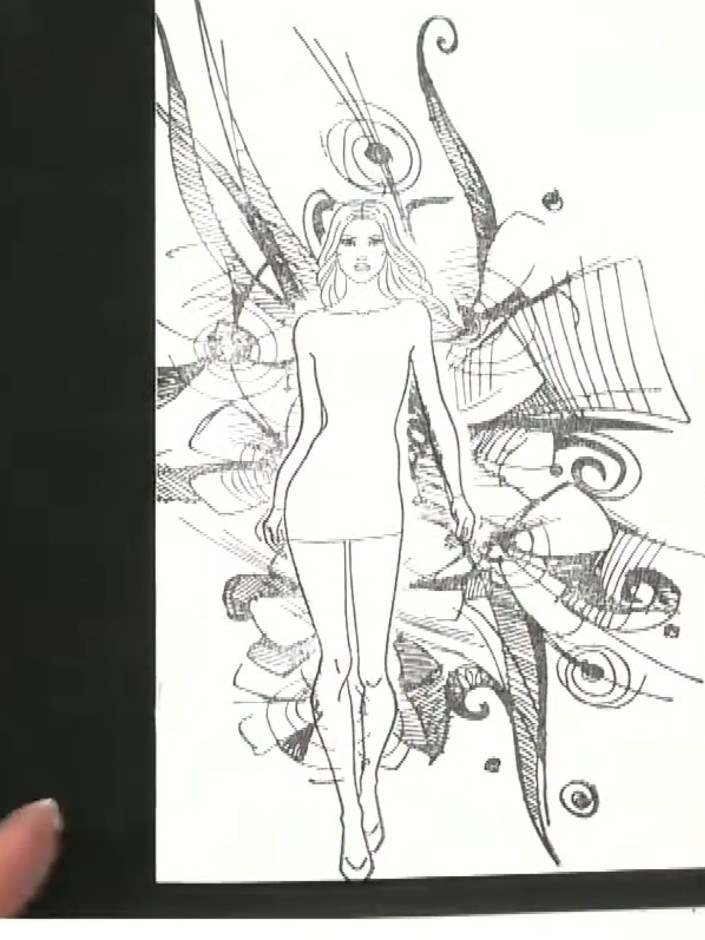
Adhere the layered doll image back onto your main card design, positioning it centrally over the background elements.
▶ watch this step (52:00)Written up from the show itself. See every guide from our shows · free how-to guides · watch live on My Telly