Give your friends €10 off their first order!
Refer a FRIEND








A project from our live show Create and Craft TV - IMALA LAUNCH SHOW 2 - Join Carley Duff - Broadcast 25th April 24 · 25/04/2024 · watch it from 28:45
Create a vibrant London-themed card featuring a colourful ink-blended background with stamped city scenes and layered character elements. This project combines fresh, contemporary design with dimensional depth, using multiple stamps to build a complete urban scene. The finished piece showcases bold pinks, purples, and yellows with detailed architectural stamps and a stylish character focal point.
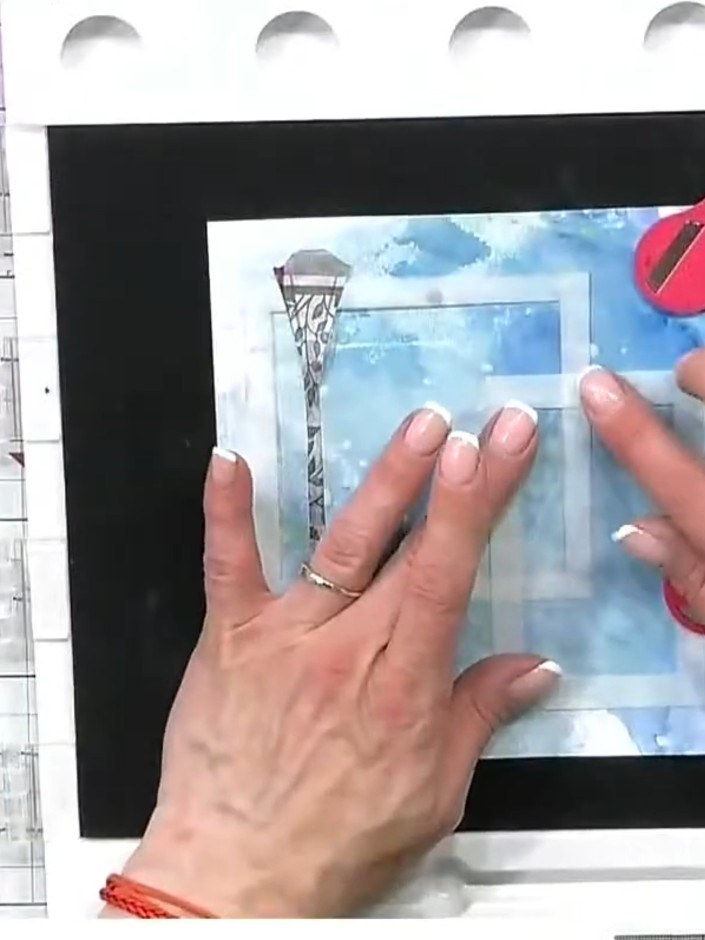
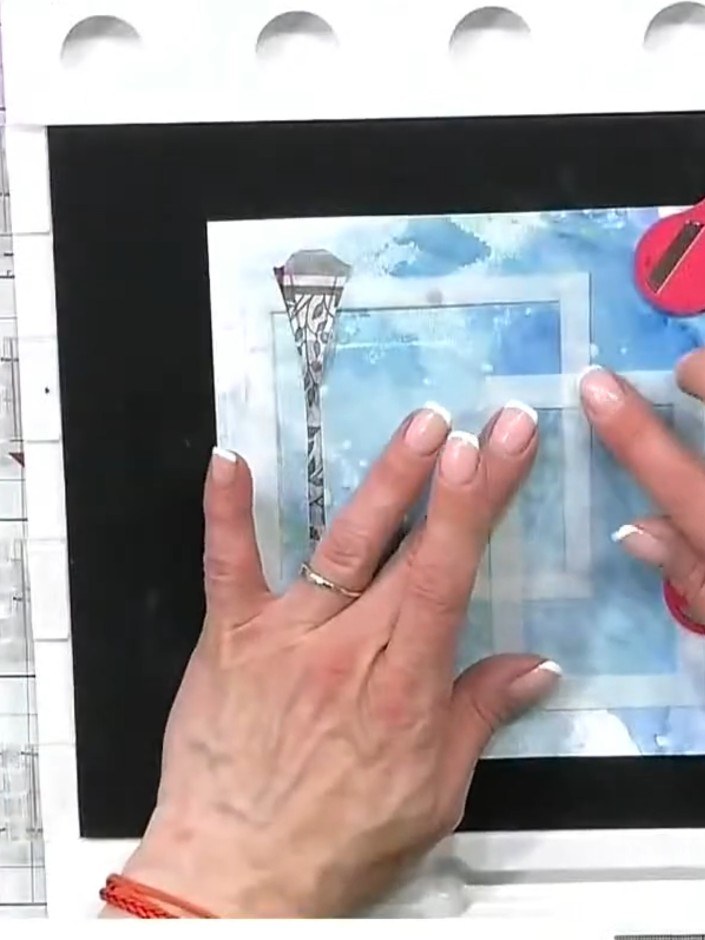
Create a mop-up background by stamping leftover ink from your palette onto white card stock using aperture stencils and the lamp post stamp from the Trendsetter set. Layer the stencils to create depth and interest in the background.
▶ watch this step (28:45)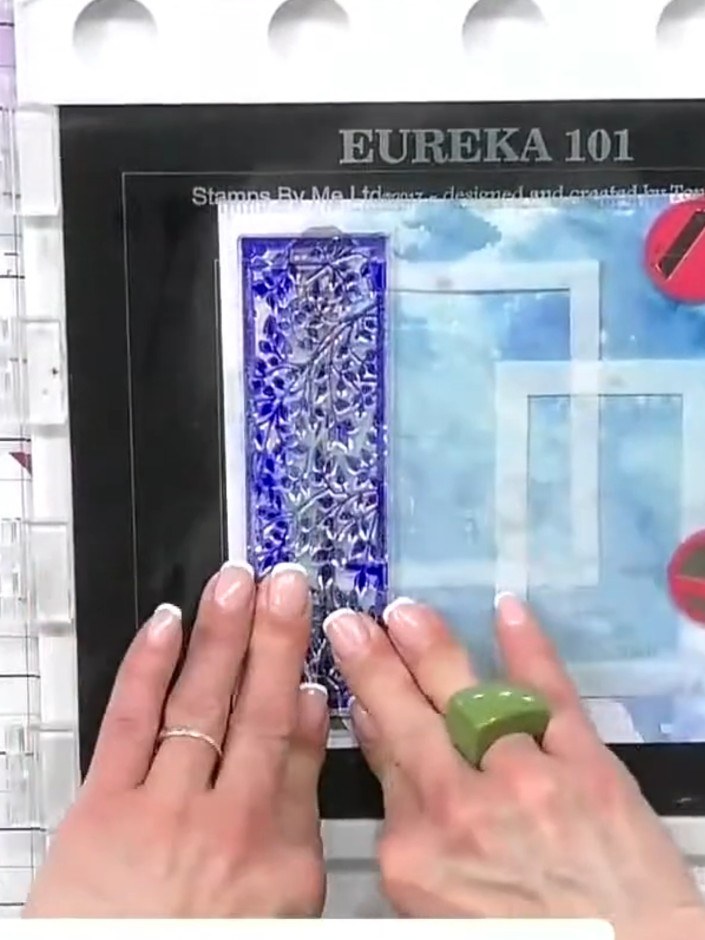
Apply ocean blue ink over the apertures and lamp post mask using a blending tool. Stamp the decorative border stamp repeatedly along the left edge to create a patterned background.
▶ watch this step (29:15)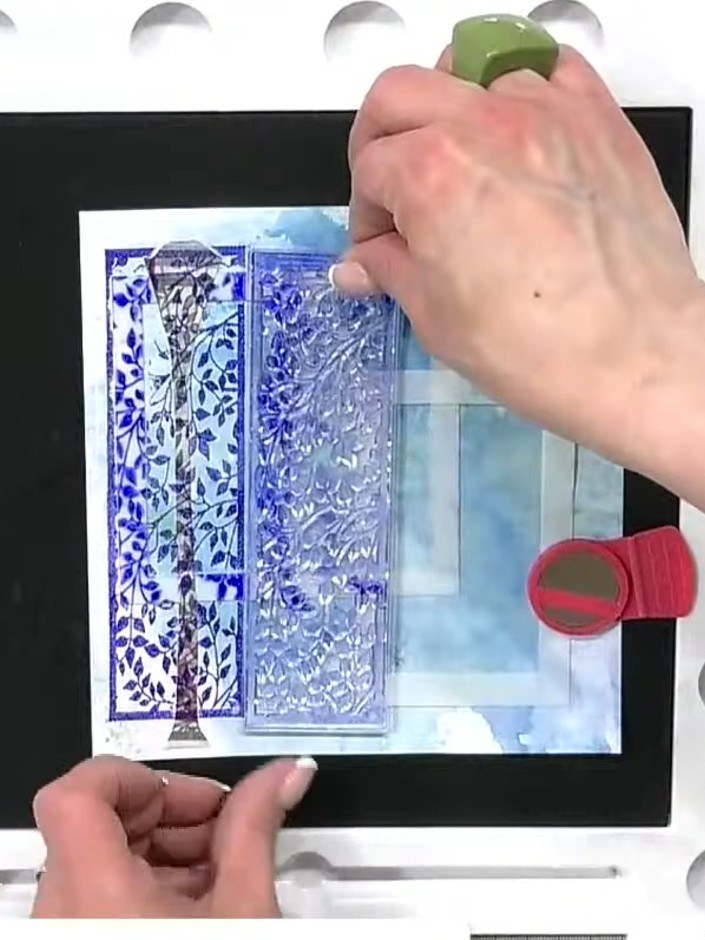
Stamp your chosen character from the Opposites Attract stamp set onto white cardstock and colour it in. Carefully cut out the stamped character to create a layered focal point for your card.
▶ watch this step (29:45)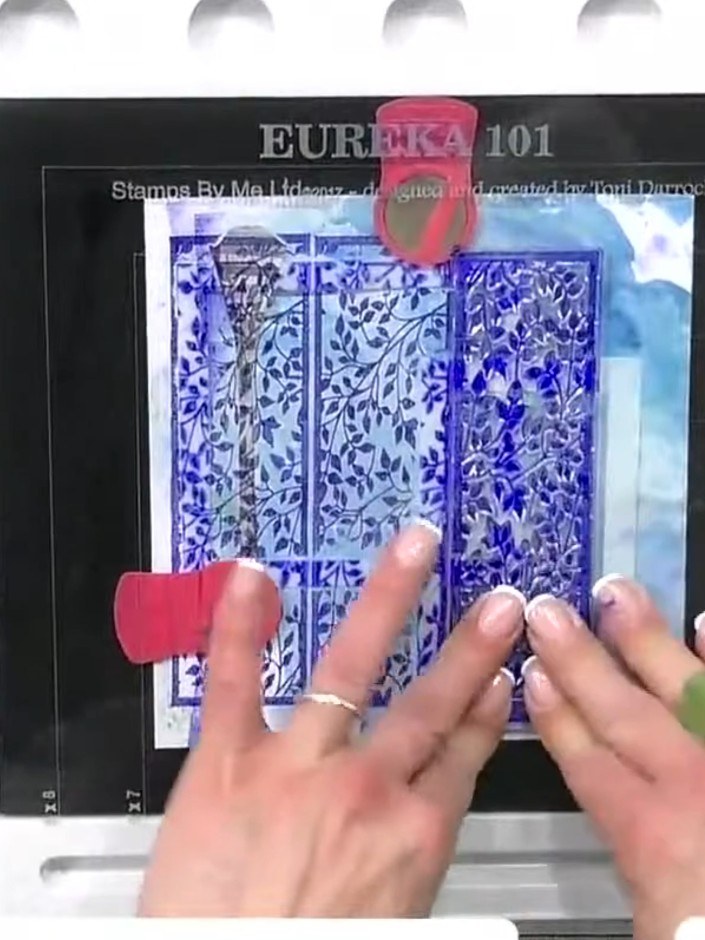
Position your cut-out character onto the stamped background panel, layering her over the blue city elements to create depth. Press down firmly to adhere the character in place.
▶ watch this step (30:30)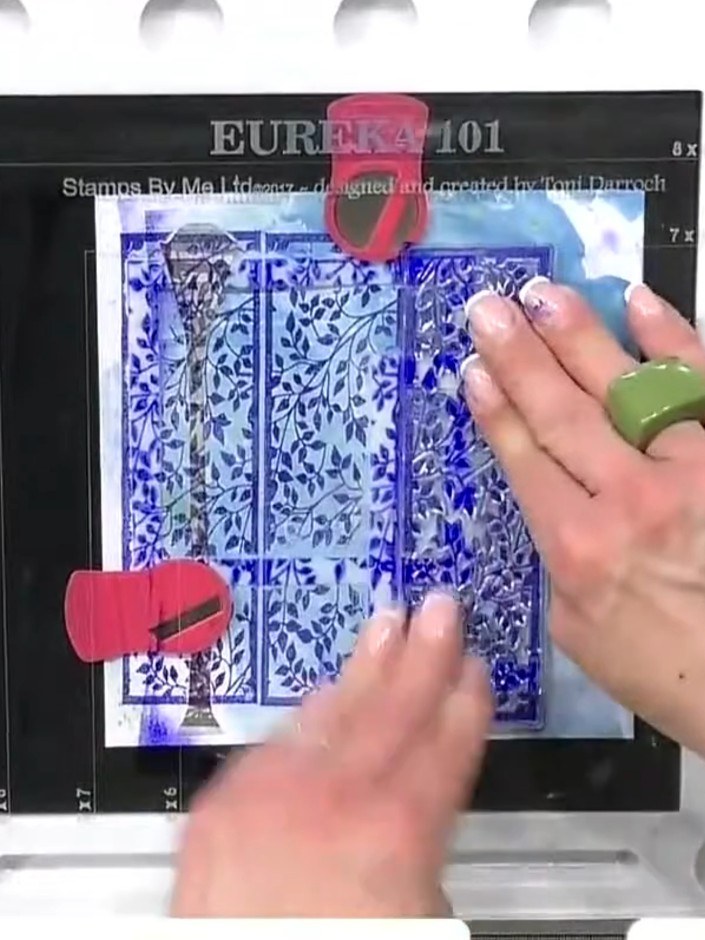
Stamp the City Lights London stamp over the top of your composition using embossing ink. Apply the ink evenly across the stamped background to create the layered effect.
▶ watch this step (31:00)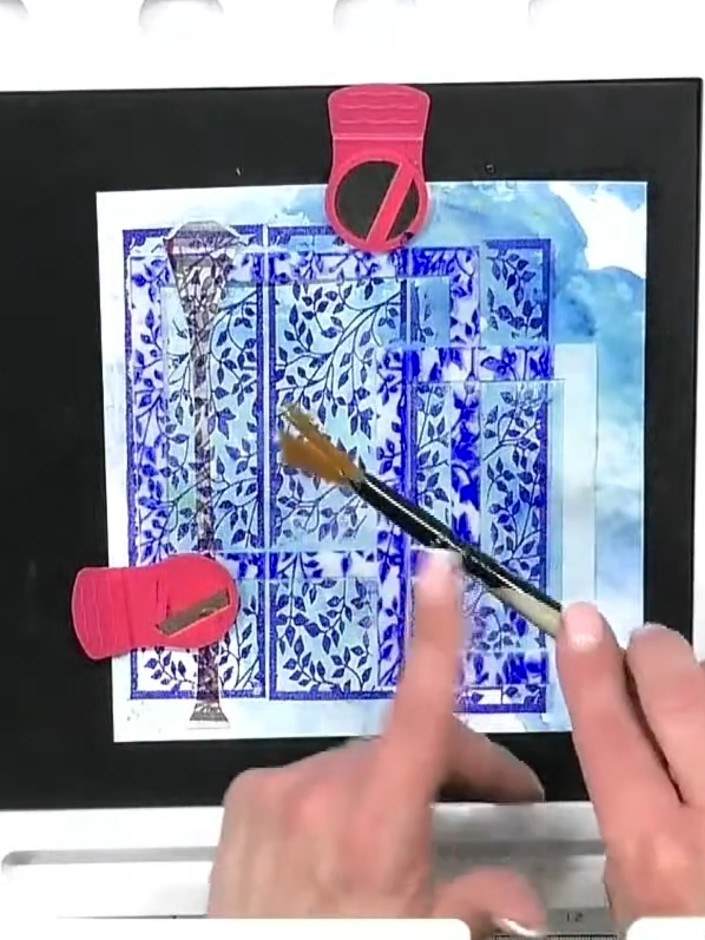
Apply clear embossing powder to the wet stamped image. Use a heat tool to melt the embossing powder until it sets with a glossy finish. Dry off any excess water quickly with a cloth or tissue.
▶ watch this step (31:30)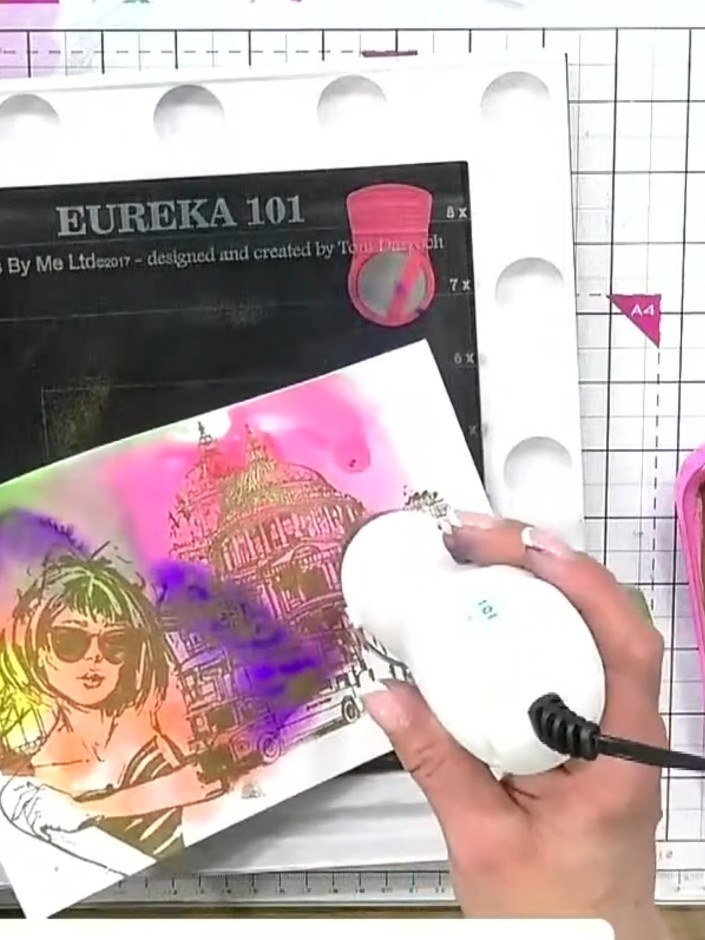
Using a white gel pen, add highlights to the embossed areas including the bus and other London landmarks to enhance the 3D effect and bring the design together.
▶ watch this step (42:00)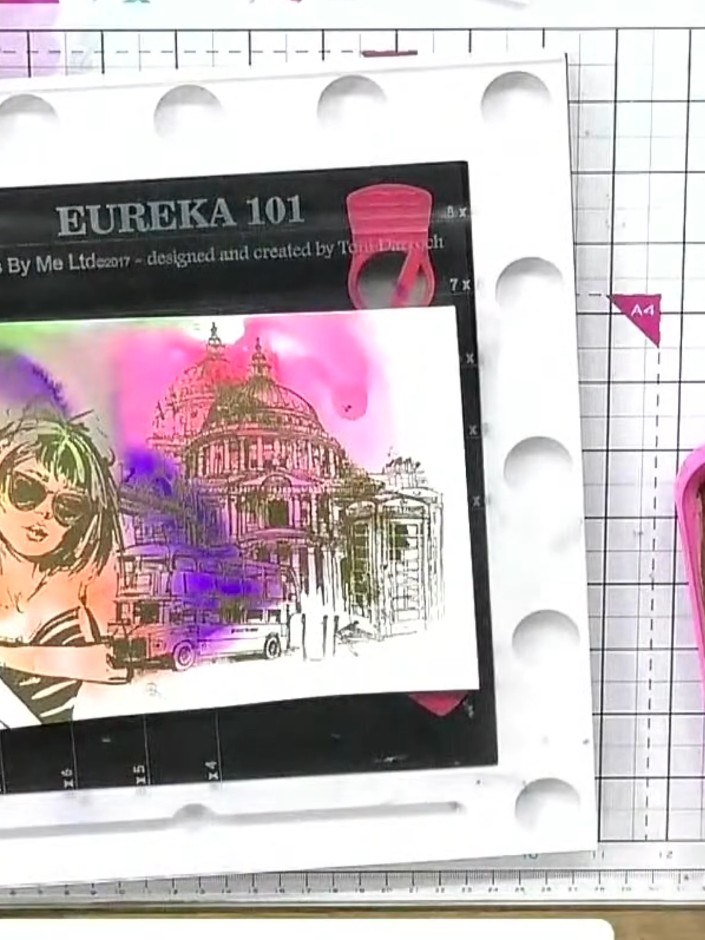
Mount your finished watercoloured artwork onto a black card mat. Then attach the matted piece onto your chosen card base to complete your London City Lights card.
▶ watch this step (43:00)Written up from the show itself. See every guide from our shows · free how-to guides · watch live on My Telly

