Give your friends €10 off their first order!
Refer a FRIEND








A project from our live show Create and Craft TV - IMALA LAUNCH SHOW 2 - Join Carley Duff - Broadcast 25th April 24 · 25/04/2024 · watch it from 48:15
Create a fresh, contemporary card featuring a watercoloured character illustration on a bold black background. Using loose watercolour blending in blues and greens, this design showcases a casual figure in jeans and trainers with hand-lettered text. The simple yet striking composition demonstrates how one stamp can create a complete card with minimal effort.
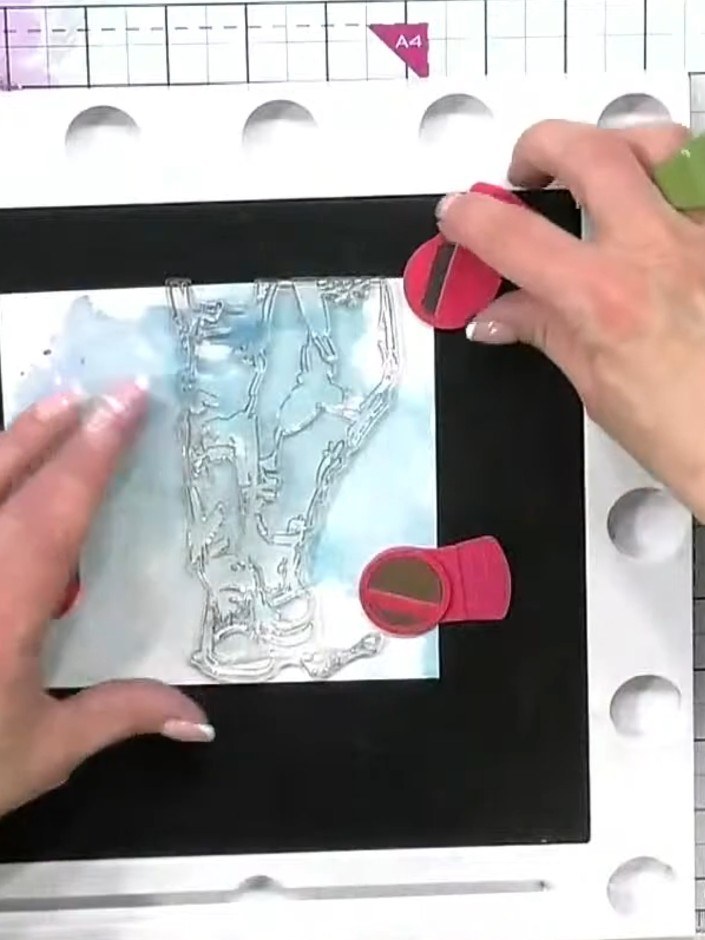
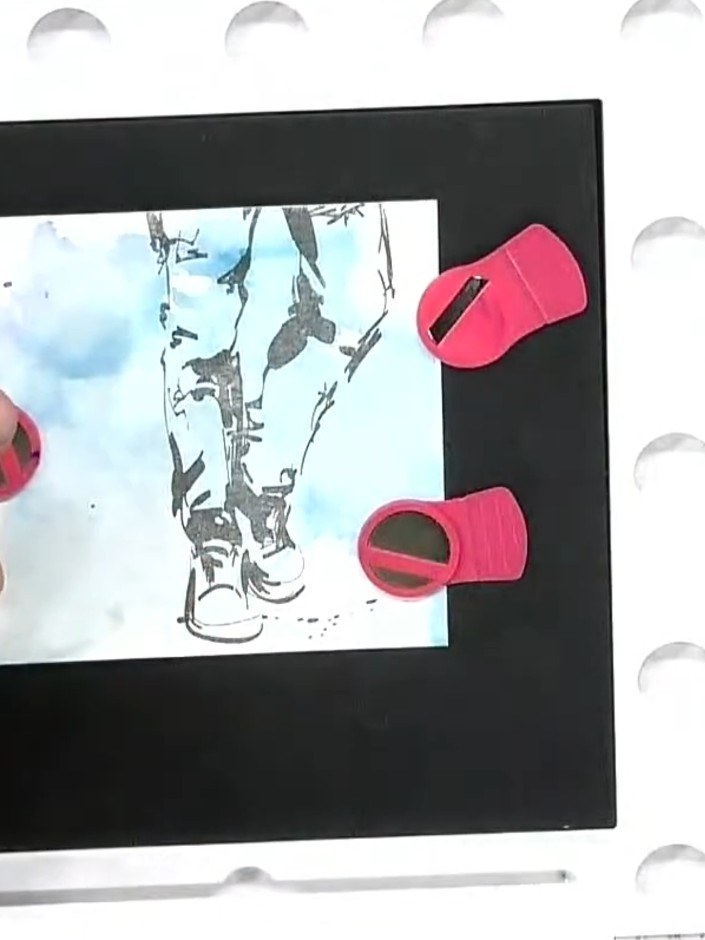
Stamp one of the character variations from the Perfectly Paired stamp set onto your pre-made inky background using Versafine ink. Position the stamp carefully to place the character where desired on the background.
▶ watch this step (48:15)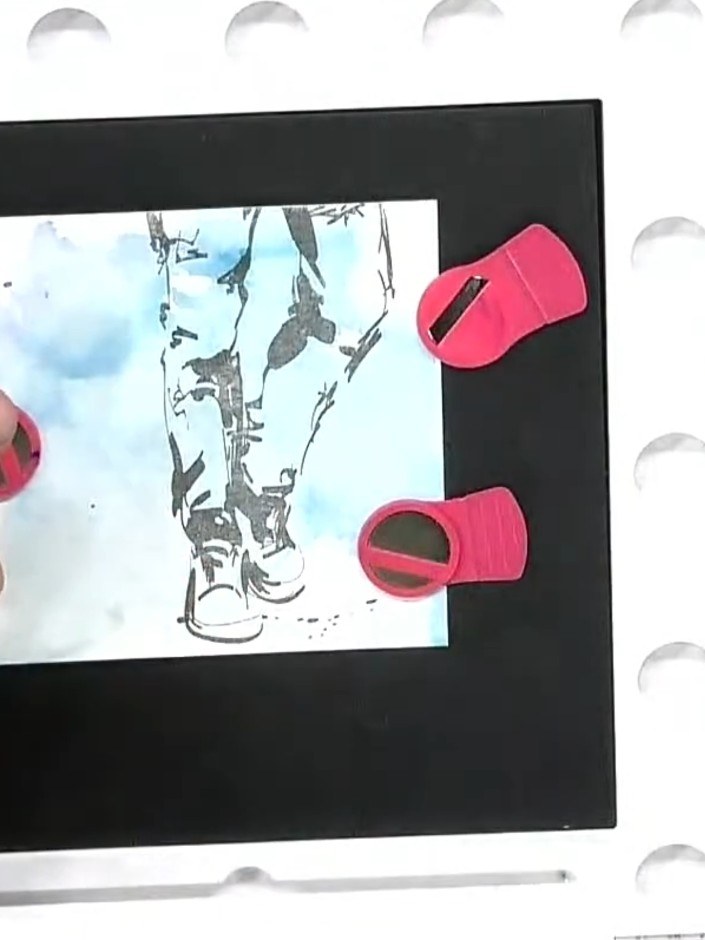
Position a sentiment stamp from the Perfectly Paired collection in the centre of your watercoloured panel. Ink the stamp with black ink and press firmly onto the panel to create a clear impression.
▶ watch this step (48:45)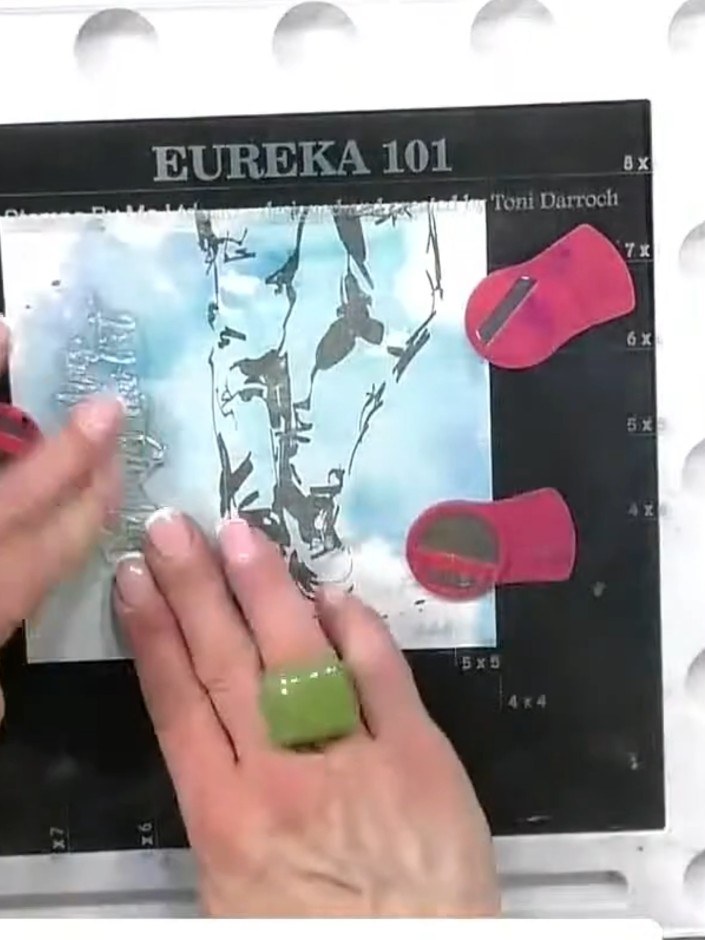
Prepare your watercolours in pink, green and blue. Begin painting loosely over the creases and folds of the character's clothing, working on one side at a time to build up colour and depth.
▶ watch this step (49:15)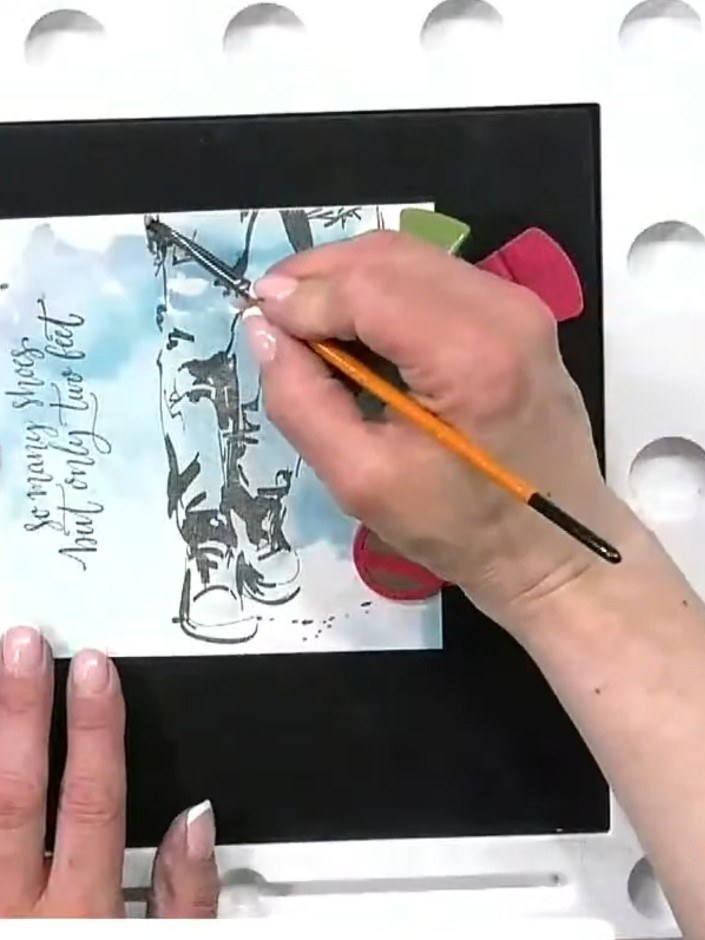
Using a damp brush, pull the watercolour across the stamped image to create light and shadow effects. Build up depth gradually, working in layers without over-saturating the card.
▶ watch this step (50:00)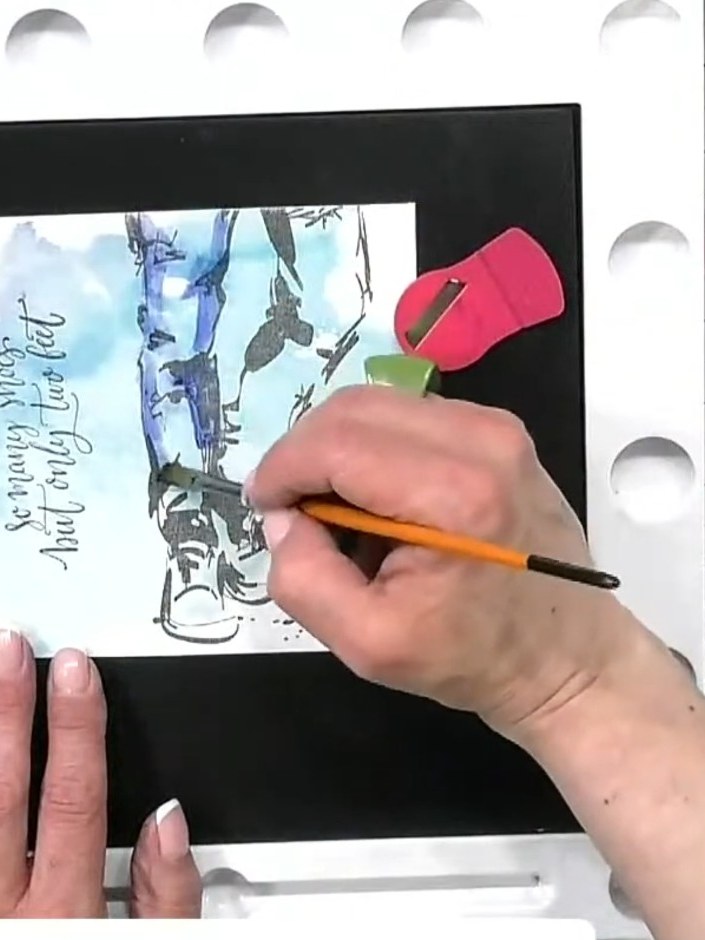
Build up colour on the watercoloured image by adding a slightly deeper tone to create additional depth and dimension. Layer the colours to achieve a more fluid and transparent effect, adding richness to the design.
▶ watch this step (50:30)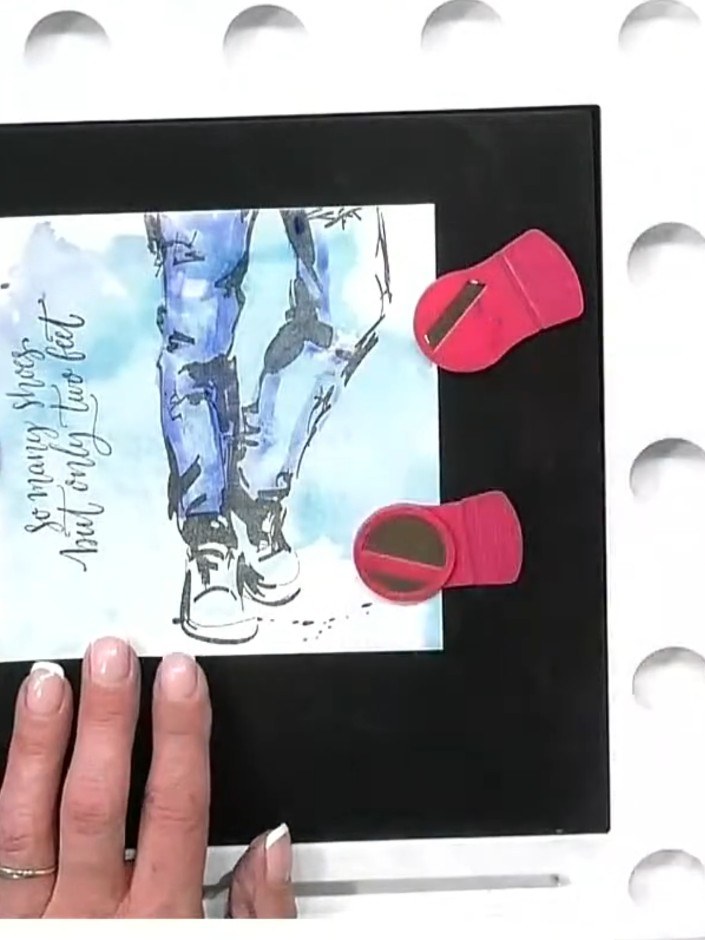
Once the watercolour is completely dry, mount your finished artwork onto a black card mat and then onto your card base to complete your character card.
▶ watch this step (51:00)Written up from the show itself. See every guide from our shows · free how-to guides · watch live on My Telly
