Give your friends €10 off their first order!
Refer a FRIEND








Prices change straight away. Every language is our own translation, not Google.
A project from our live show MY PODCAST - Catch my latest updates broadcast 29th December 2025 · 29/12/2025 · watch it from 50:15
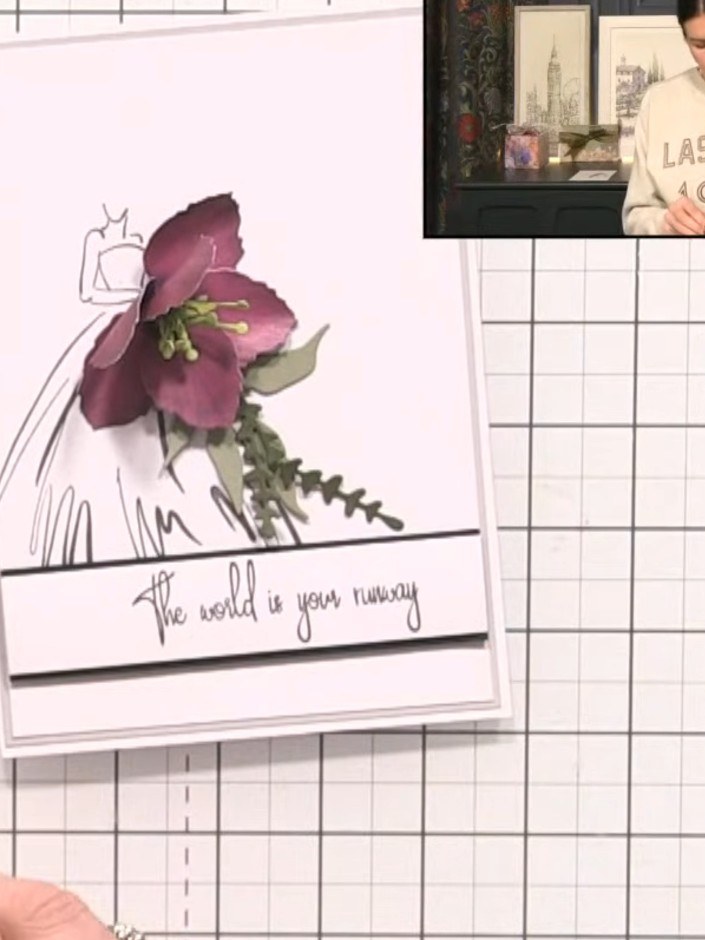
Create an elegant card featuring a stamped lady figure adorned with a beautiful three-dimensional floral dress. The design combines delicate line work with soft watercolour tones in pink and purple, enhanced with sparkly embellishments and layered petals for a sophisticated, artistic finish. This project uses stamping, watercolouring, and dimensional flower layering techniques to achieve a refined and feminine result.
 Stamps By Me - Floral Dimensions - Hellebore - 191225ASEE IT
 Stamps By Me - Seek the Extraordinary Paper Pad 12 X 12 - 071223ASEE IT
 Stamps By Me - Premium Pigment Ink Pure White - Cotton - 121022MSEE IT
 A5 Stamp - Lamination - Keep Shining - 240424DSEE IT
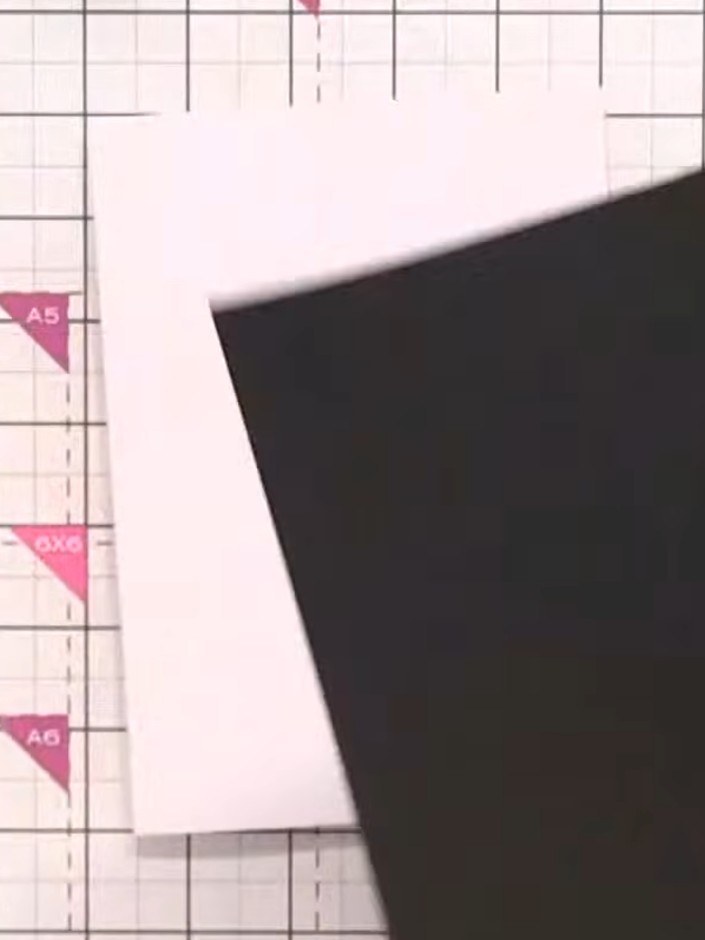
Cut a black card base. Cut a piece of black cardstock to create a matted layer for the card front.
▶ watch this step (1:02:00)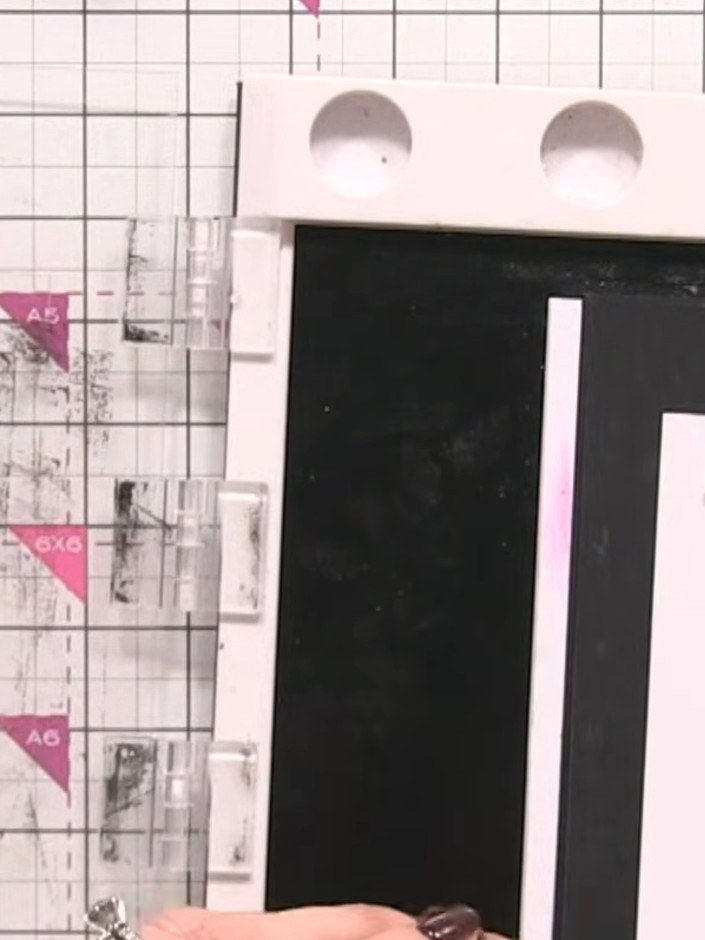
Stamp the lady outline image onto your white card panel using black ink, positioning her towards the upper portion of the design. Ensure the image is clear and well-defined before lifting the stamp.
▶ watch this step (1:05:30)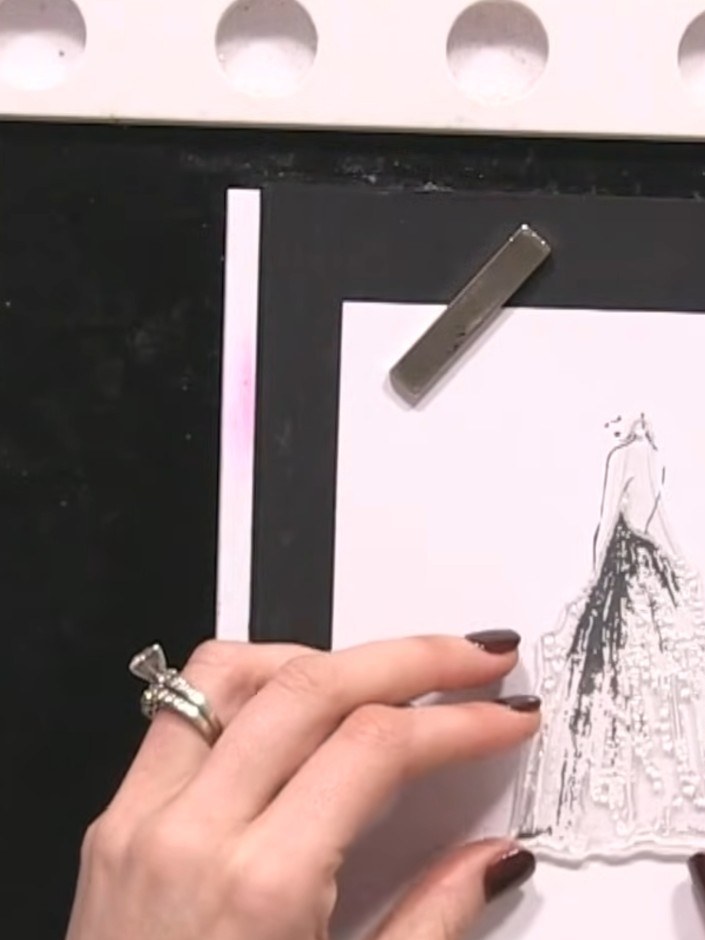
Apply teal and purple ink pads to the dress area of the stamped lady using a sponging or blending technique. Build up the colour gradually to create a watercolour effect on the dress. Lightly spray the inked dress area with water to blend and soften the colour transitions between the black and white ink.
▶ watch this step (1:06:30)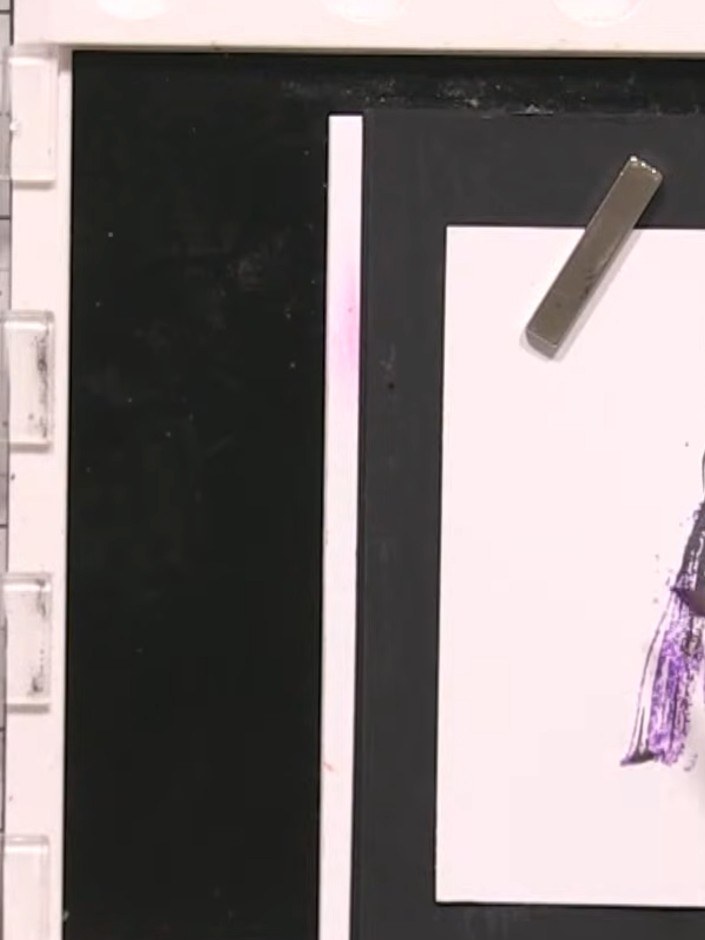
Add purple ink speckles around the dress area using a brush to create an artistic splatter effect. Allow the speckles to extend beyond the dress outline for a creative, artistic look.
▶ watch this step (1:08:00)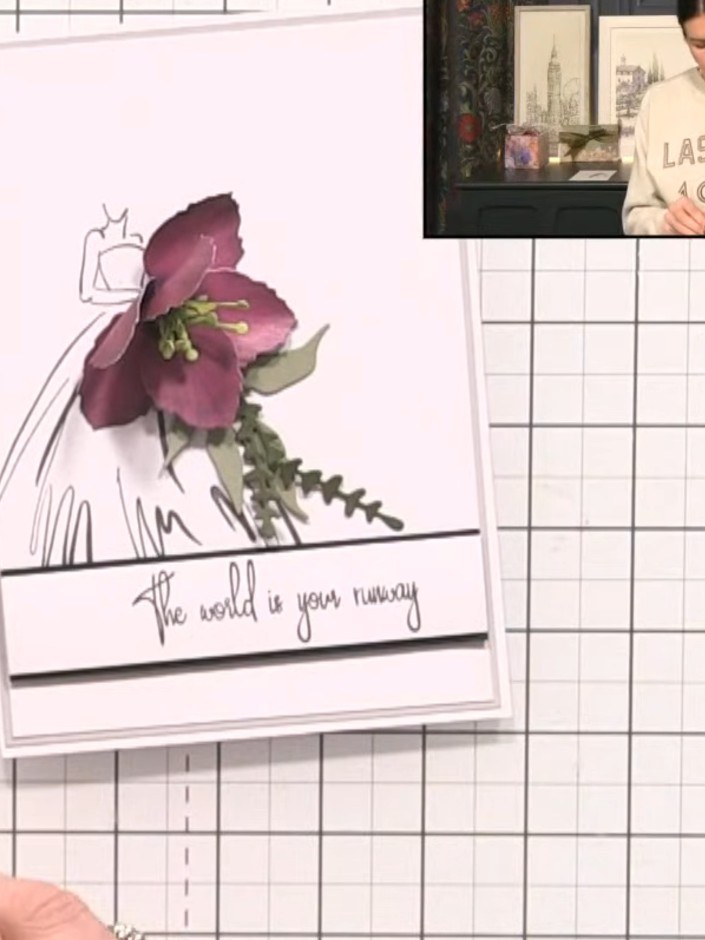
Stamp a sentiment such as 'the world is your runway' underneath the lady's dress using black ink. Position the sentiment stamp below the dress illustration and press firmly to create a clear impression.
▶ watch this step (1:08:45)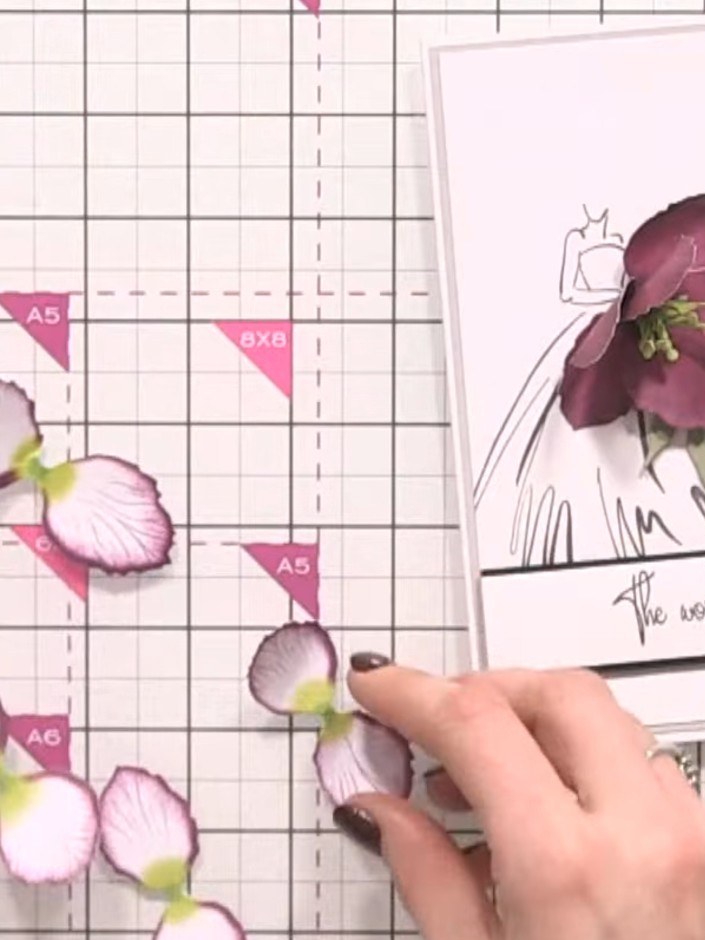
Die-cut the small floral flower pieces from coloured cardstock using the hellebore die set. Ensure all the petals and centres are cut cleanly and separate the individual pieces.
▶ watch this step (1:11:00)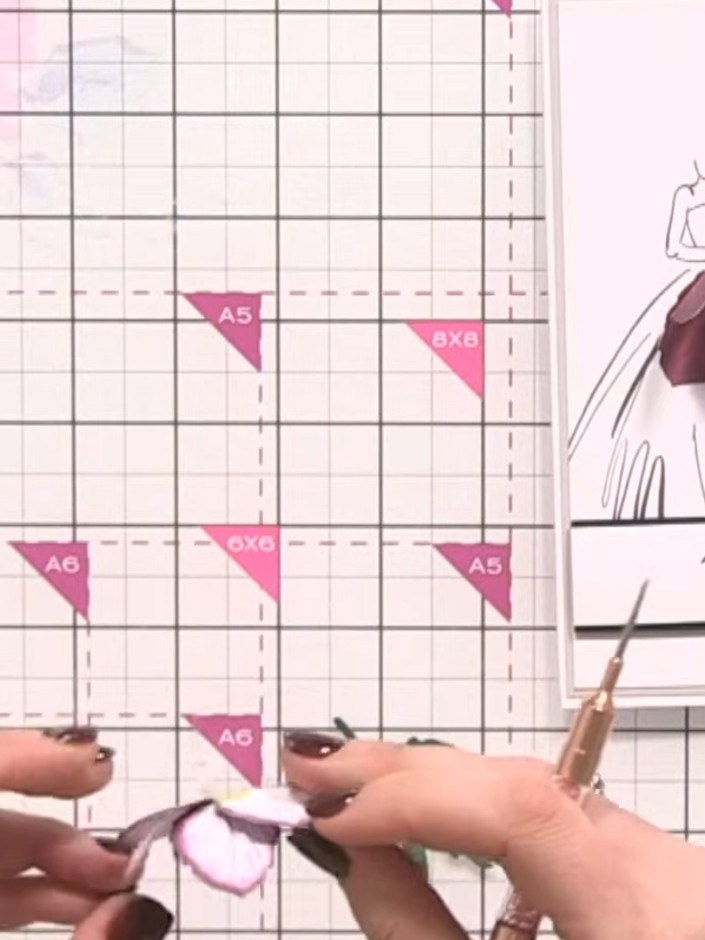
Layer and glue the flower petals together to create a three-dimensional effect. Build up the layers to add dimension to your floral embellishment.
▶ watch this step (1:13:00)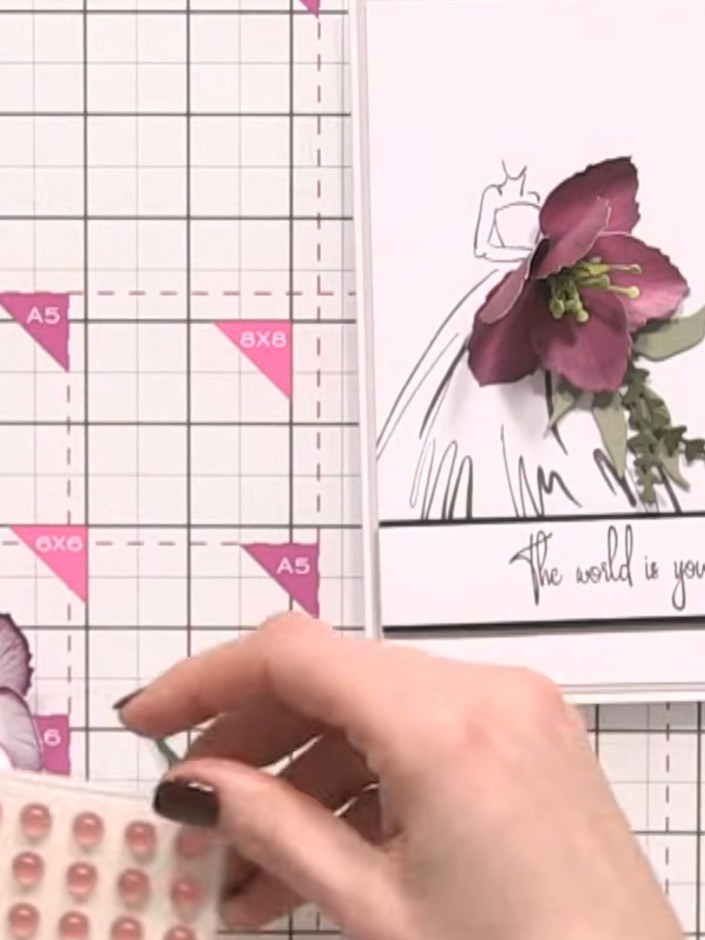
Attach a pink gem to the centre of the white and pink flower for added sparkle and focal interest.
▶ watch this step (1:13:30)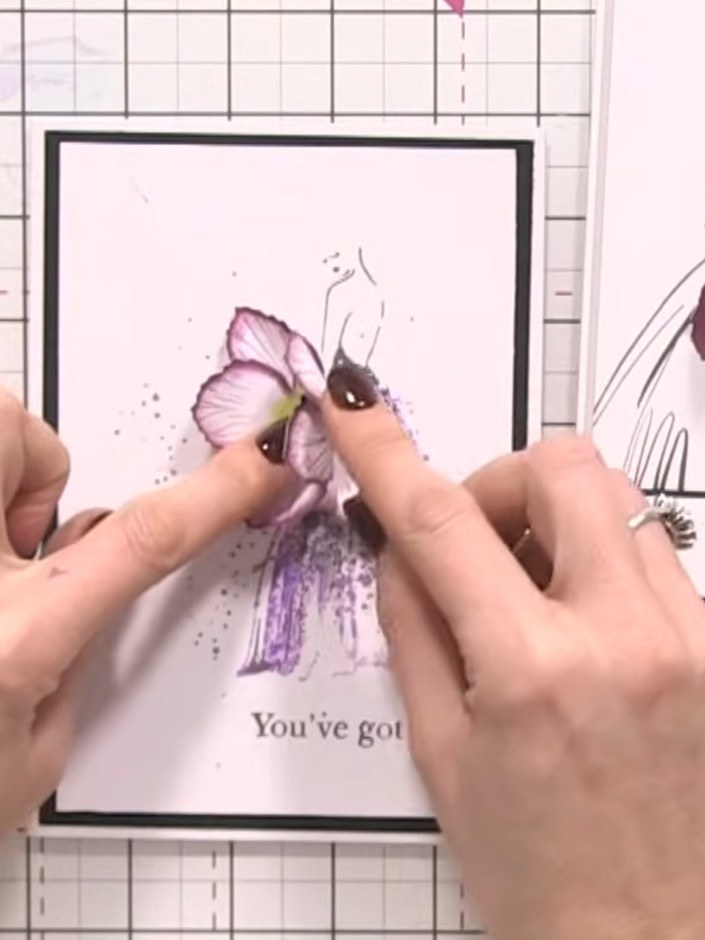
Position the completed purple flower onto the card front, placing it so it appears to be held by or emerging from the stamped lady figure. Fold the flower slightly to add dimension, then glue it securely in place.
▶ watch this step (1:18:30)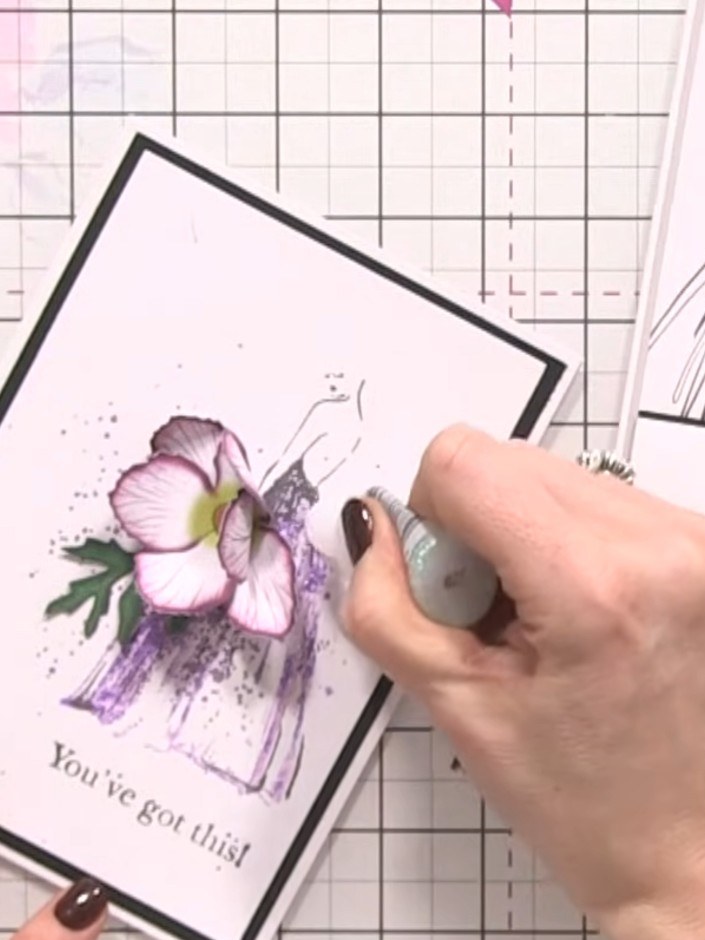
Add small foliage sprigs around the flower arrangement to create a natural, flowing composition. Position the greenery to complement the hellebore and complete the floral design on the dress.
▶ watch this step (1:19:15)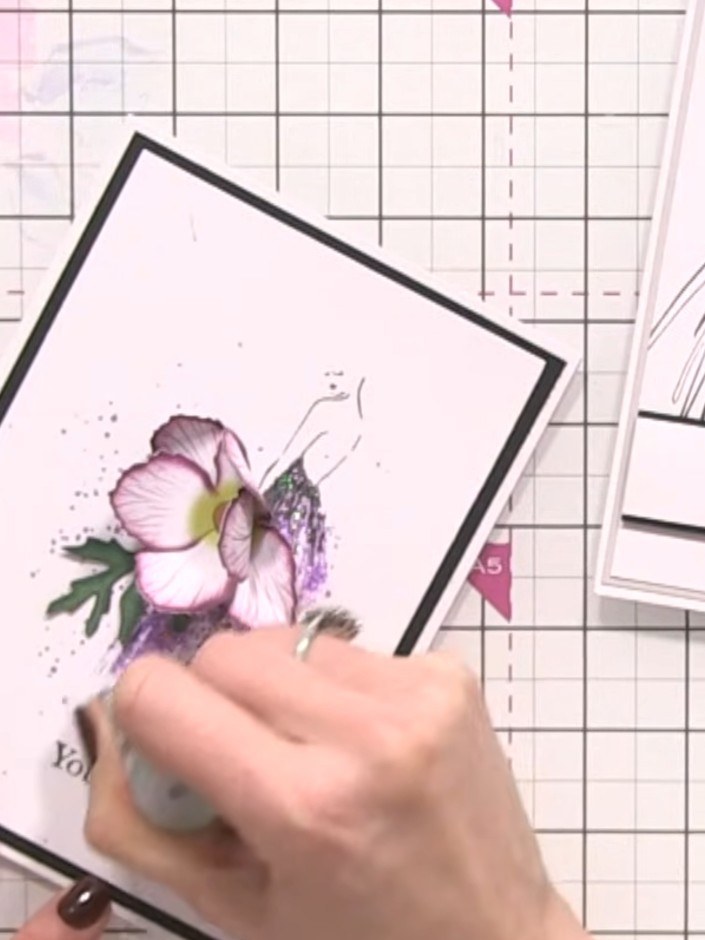
Add sparkle to the dress area by applying glitter or sparkly embellishments to enhance the floaty, ethereal quality of the design.
▶ watch this step (1:19:45)Written up from the show itself. See every guide from our shows · free how-to guides · watch live on My Telly


