Give your friends €10 off their first order!
Refer a FRIEND








A project from our live show PRODUCT PREVIEW - HSN SHOW JAN 30TH - Join Toni for an early look at all the goodies coming to HSN this month - Broadcast 24TH JANUARY 2024 · 29/01/2024 · watch it from 28:00
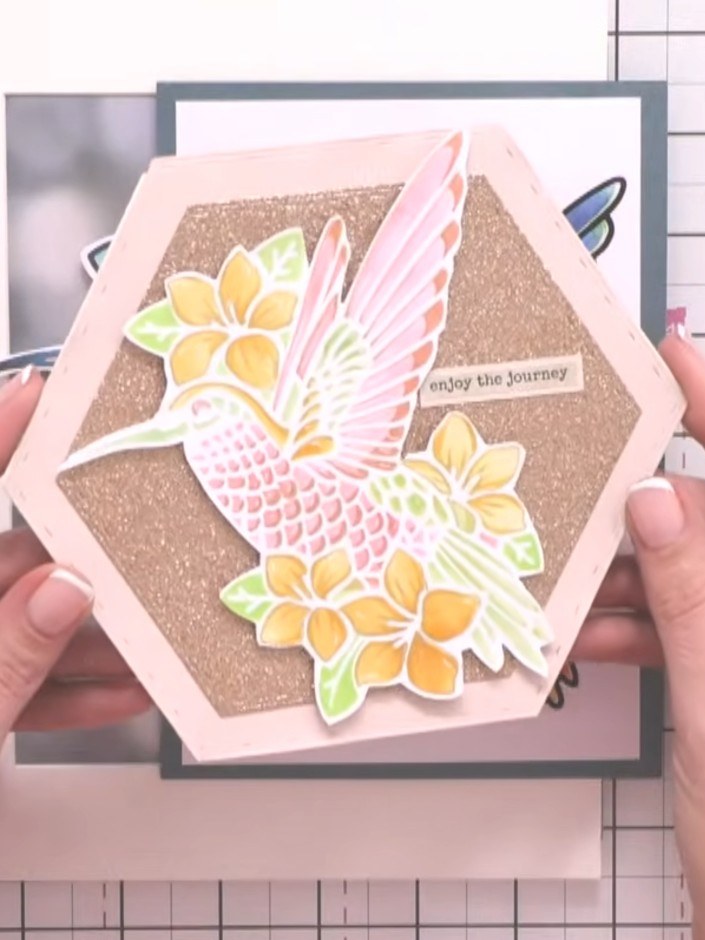
Make a stunning shaped card featuring vibrant dahlia flowers created with layering stencils in soft watercolour shades of pink, purple and blue. The design uses coordinating dies to create an elegant decorative border and incorporates delicate green foliage for a fresh, botanical feel. Perfect for special occasions, this card showcases beautiful depth through careful stencil layering and can be personalised with your chosen sentiment.
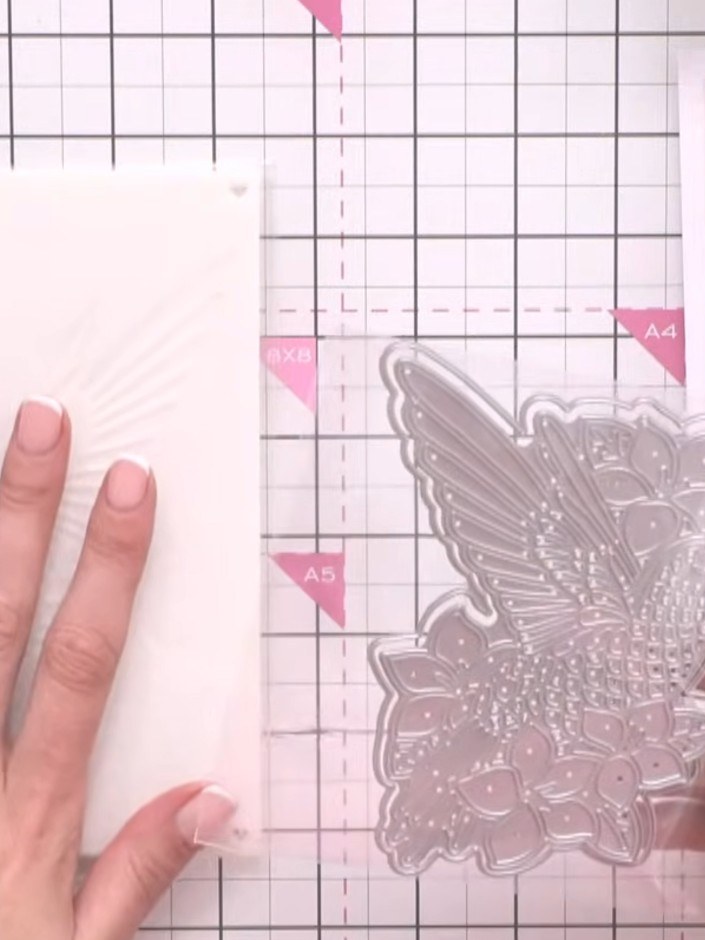
Gather the Set Me Free layering stencil and die set. Select your ink colours for creating the hummingbird design using the six layering stencils included in the kit.
▶ watch this step (28:15)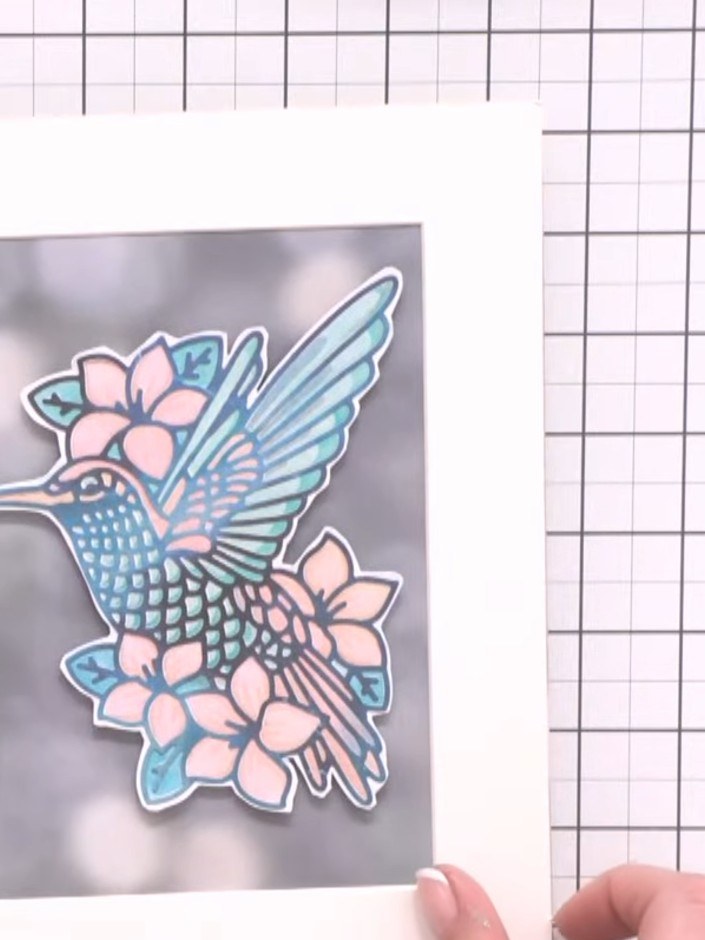
Place the first stencil layer over your card base, aligning it using the heart guides. Apply your chosen ink colour through the stencil using a blending tool or sponge.
▶ watch this step (28:45)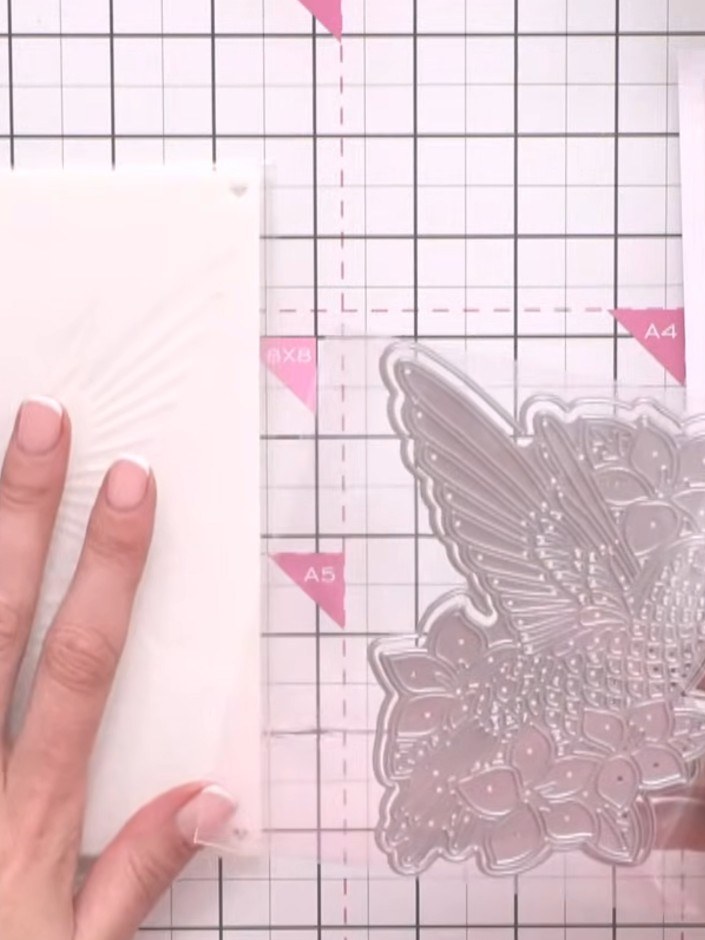
Continue layering with stencils two, three, four, and five in sequence. Position each stencil over your card base and apply ink or colour through the design. Build up the layers to create depth and dimension in your hummingbird design.
▶ watch this step (29:00)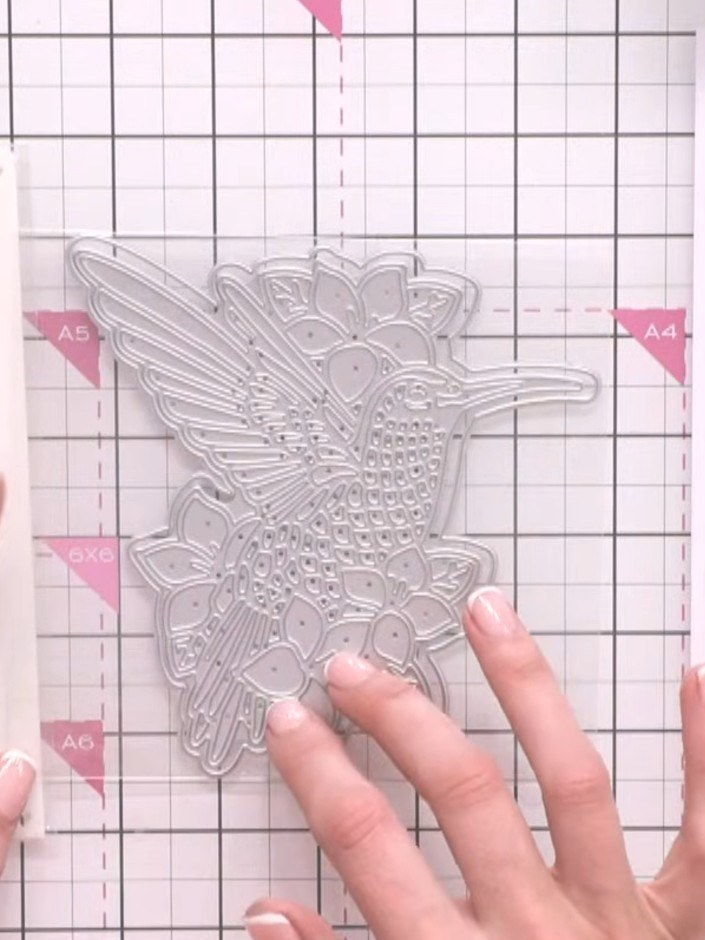
Use the coordinating die from the Set Me Free stencil and die set to cut out the hummingbird shape. This will create the outline for your shaped card.
▶ watch this step (29:30)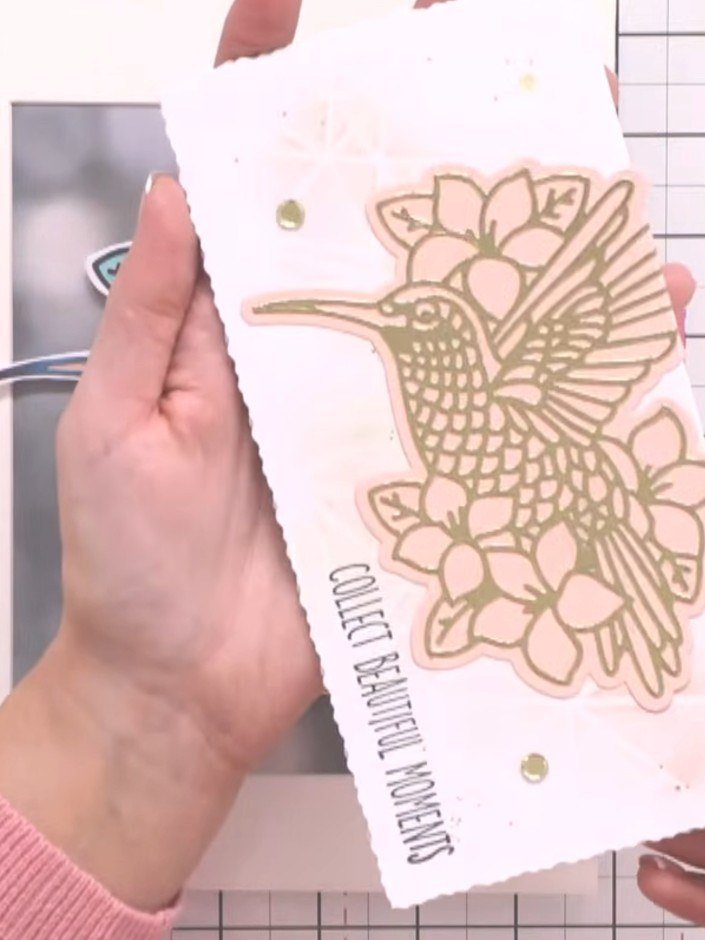
For an alternative look, stamp the hummingbird and flowers design onto patterned paper instead of white card. This creates a different effect whilst using the same stamp set.
▶ watch this step (30:00)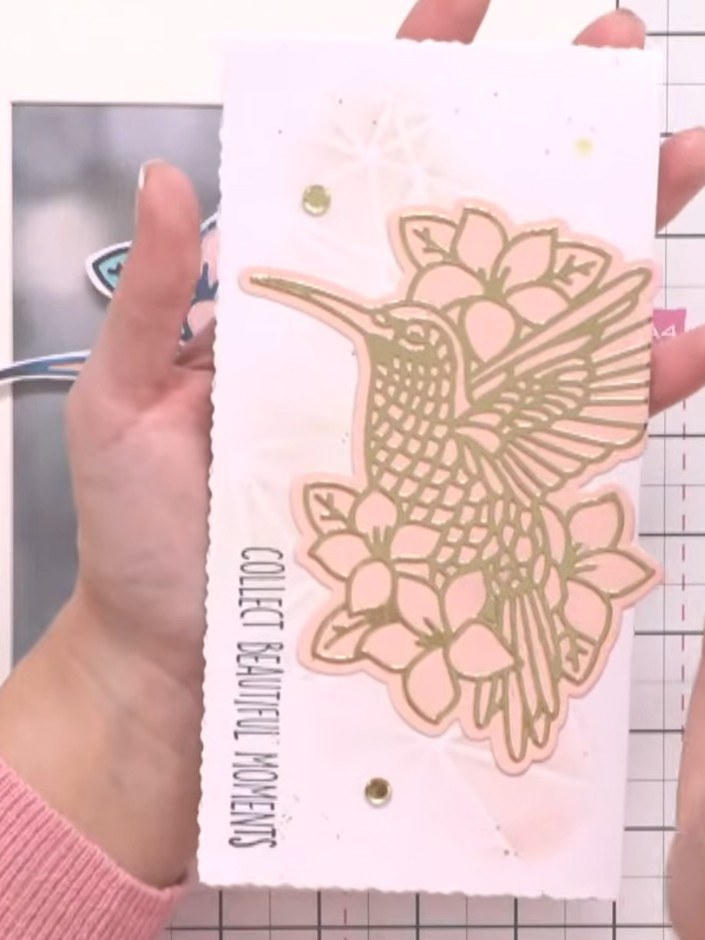
Position the hummingbird stencil partially off the edge of your card base to create an interesting partial design effect. This allows the design to extend beyond the card edge for a more dynamic look.
▶ watch this step (30:15)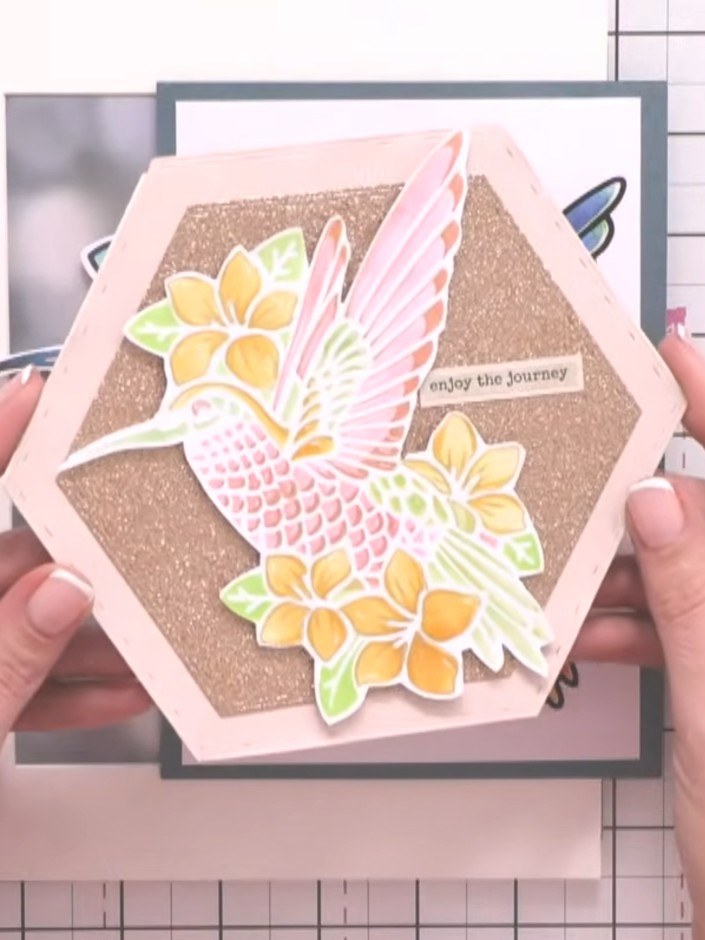
Add sparkle to your final layer by applying glitter or embossing powder to the hummingbird and floral elements. This will give your card an extra dimension and catch the light beautifully.
▶ watch this step (30:45)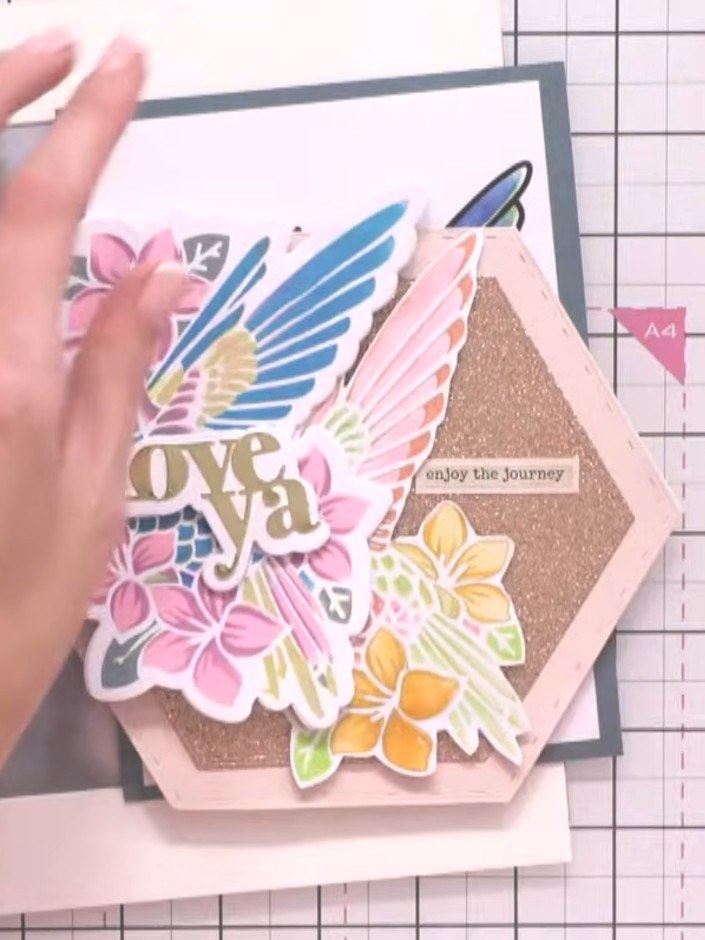
Mount your finished floral design onto the pink hexagonal card base. Position the decorated panel centrally and secure in place to create a standing card that displays your hummingbird and flowers.
▶ watch this step (31:15)Written up from the show itself. See every guide from our shows · free how-to guides · watch live on My Telly
