QUICK LINKS

info@howtocraftnetwork.com
We just got smarter - shop and watch with the SBM appGET THE APPWatch us live on your smart TVSEE HOWDiscover our dedicated IPTV channel - go to my-telly.comWATCHCollect loyalty points on every orderFIND OUT MORE
Welcome to the How to Craft Network
 
SBM SHOP
FOLLOW US
GIVE YOUR FRIENDS €10 OFF REFER A FRIEND › DISCOVER MY-TELLY.COM › WE JUST GOT SMARTER GET THE APP › AWARD WINNING CHANNEL ON YOUR TV › JOIN THE CLUB FOR SAVINGS ›
 

Embossed Vellum Card with White Ink Highlight

A project from our live show CREATE AND CRAFT TV - Join Toni for her brand new SBM launch show 3 - broadcast98th Jan 2024 · 09/01/2024 · watch it from 11:30
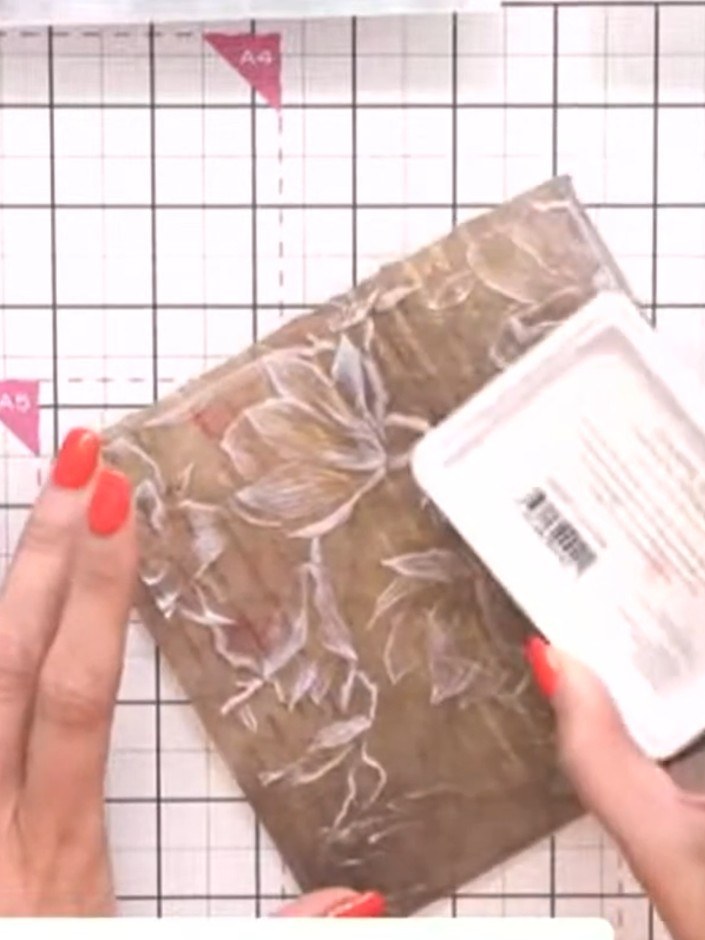
Embossed Vellum Card with White Ink Highlight - the finished project
The finished project

Create an elegant vintage-style card using coffee-coloured vellum embossed with beautiful script and floral patterns. The embossed texture is highlighted with white ink to reveal the delicate detail, giving a sophisticated, antique appearance. This simple technique combines embossing and ink highlighting to produce a stunning dimensional effect.
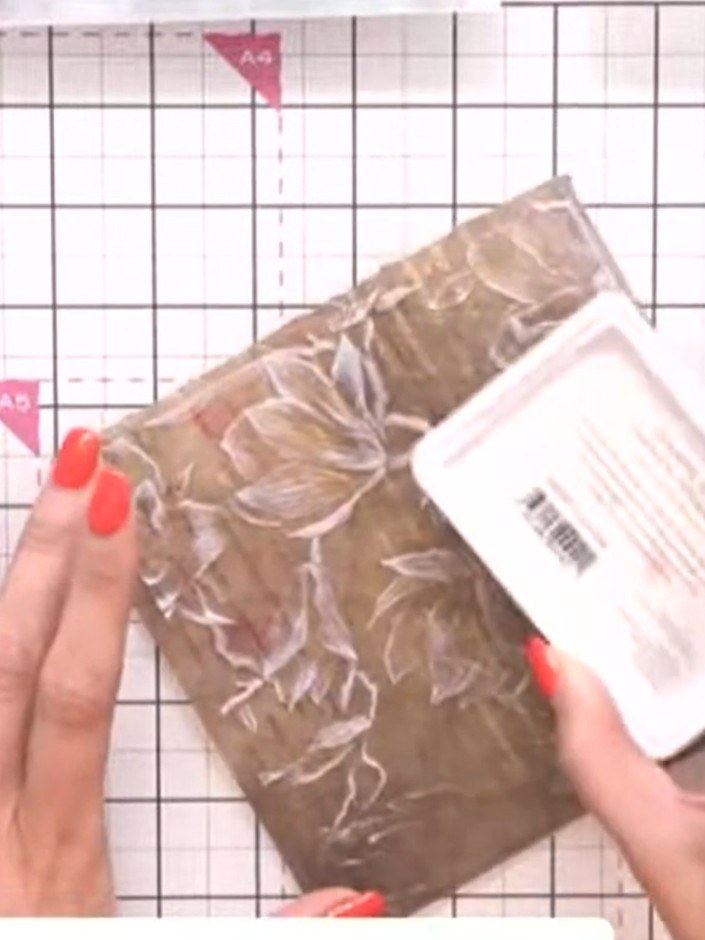
You will need

Stamps By Me - Wistful Charm - 5 X 7 Stencil - Floral 180723CStamps By Me - Wistful Charm - 5 X 7 Stencil - Floral 180723CSEE IT

DOWNLOAD THIS GUIDE (PDF)

Step by step

  1. Step 1: Tear away the excess vellum from around the embossed design on the vellum sheet, leaving the embossed floral p

    Tear away the excess vellum from around the embossed design on the vellum sheet, leaving the embossed floral pattern intact.

    ▶ watch this step (11:30)
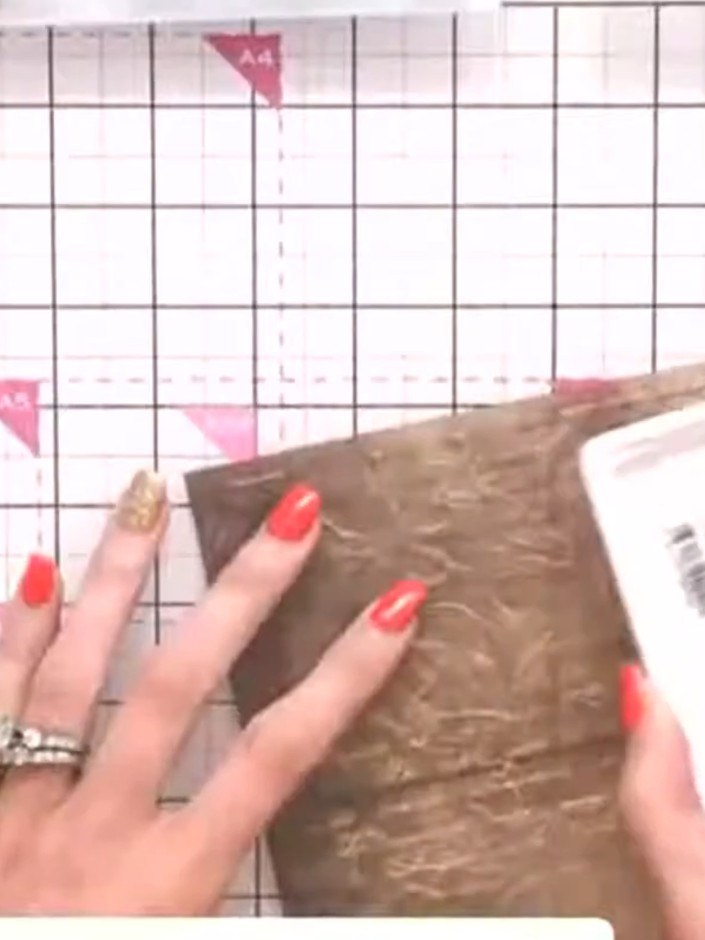
  2. Step 2: Place your vellum sheet onto the embossing mat, positioning it ready for embossing with the floral stencil.

    Place your vellum sheet onto the embossing mat, positioning it ready for embossing with the floral stencil.

    ▶ watch this step (11:45)
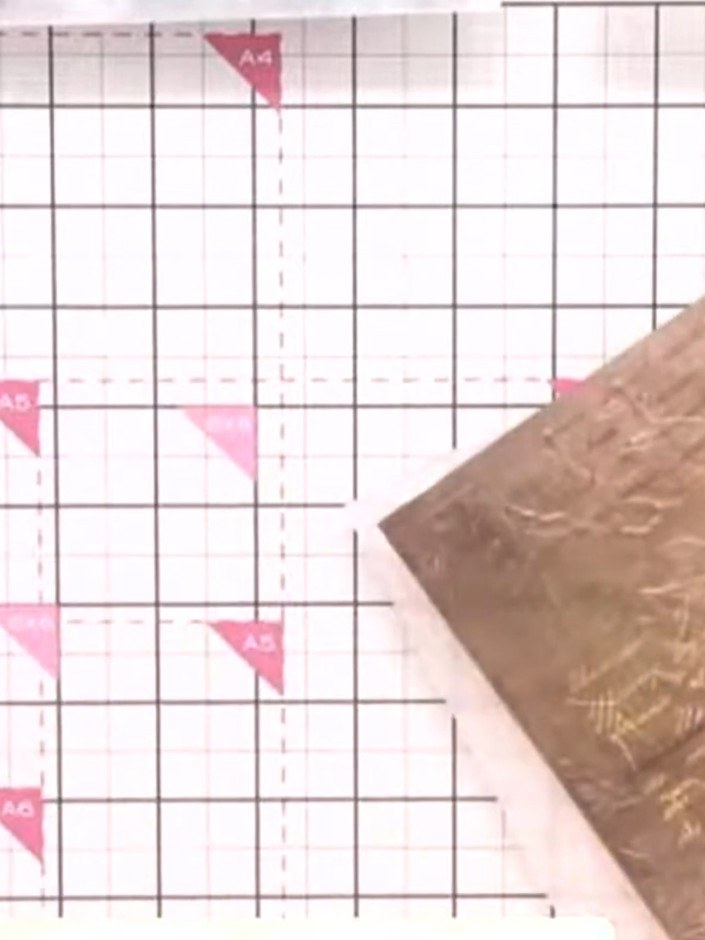
  3. Step 3: Run the vellum through your die-cutting machine with the Magnolia embossing folder to create the embossed patt

    Run the vellum through your die-cutting machine with the Magnolia embossing folder to create the embossed pattern on the vellum.

    ▶ watch this step (12:00)
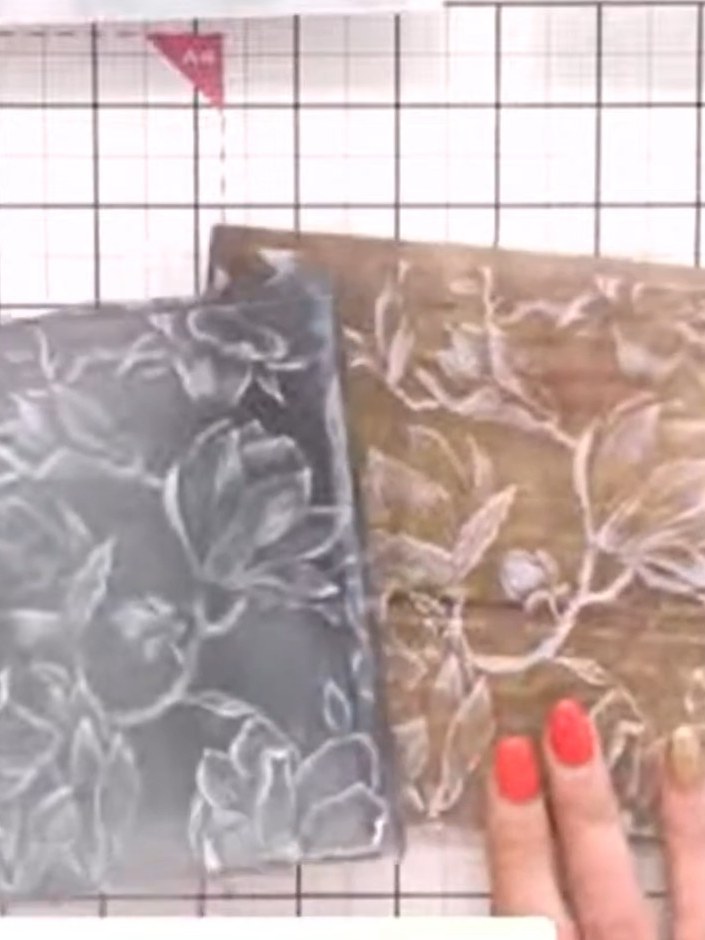
  4. Step 4: Carefully lift the embossed vellum sheet away from the embossing folder to reveal the raised floral texture de

    Carefully lift the embossed vellum sheet away from the embossing folder to reveal the raised floral texture detail.

    ▶ watch this step (12:15)
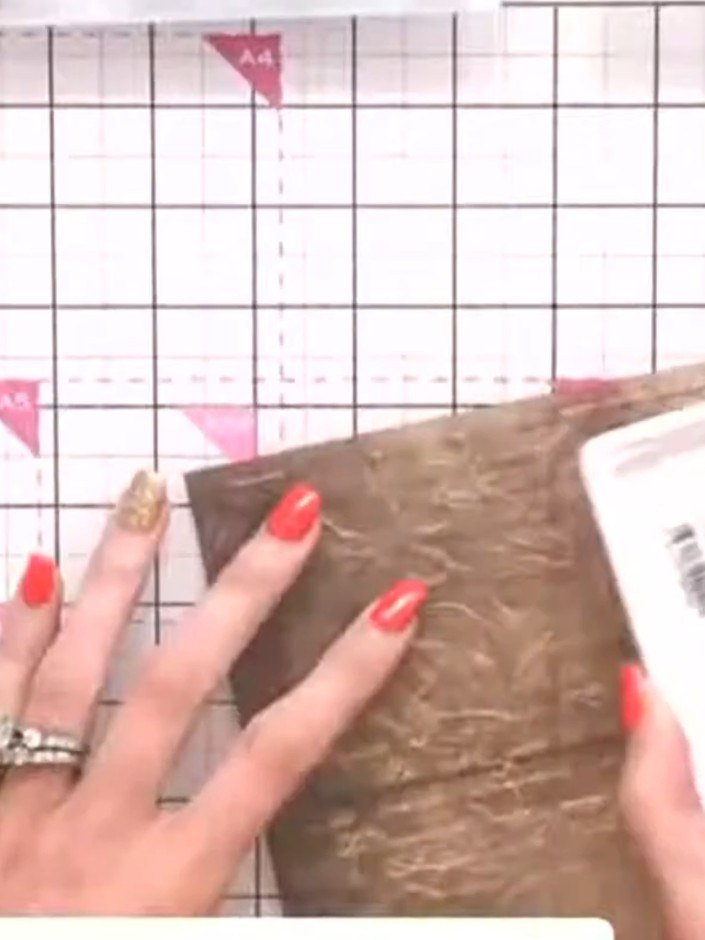
  5. Step 5: Take a white ink pad and gently brush it over the embossed vellum surface to highlight the raised detail.

    Take a white ink pad and gently brush it over the embossed vellum surface to highlight the raised detail.

    ▶ watch this step (12:30)
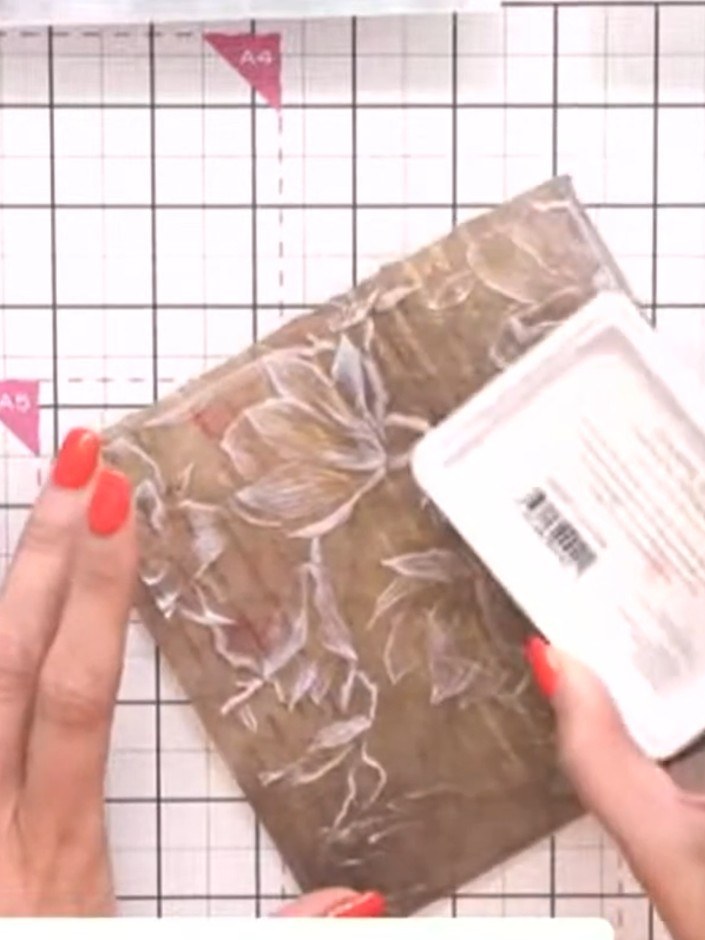
  6. Step 6: Allow the white ink to dry completely to reveal the vintage embossed effect with the gold vellum visible throu

    Allow the white ink to dry completely to reveal the vintage embossed effect with the gold vellum visible through the floral design.

    ▶ watch this step (12:45)

Tips from the show

More from this show

Written up from the show itself. See every guide from our shows · free how-to guides · watch live on My Telly







