Give your friends €10 off their first order!
Refer a FRIEND








A project from our live show CREATE AND CRAFT TV - Join Toni for her brand new SBM launch show 3 - broadcast98th Jan 2024 · 09/01/2024 · watch it from 22:30
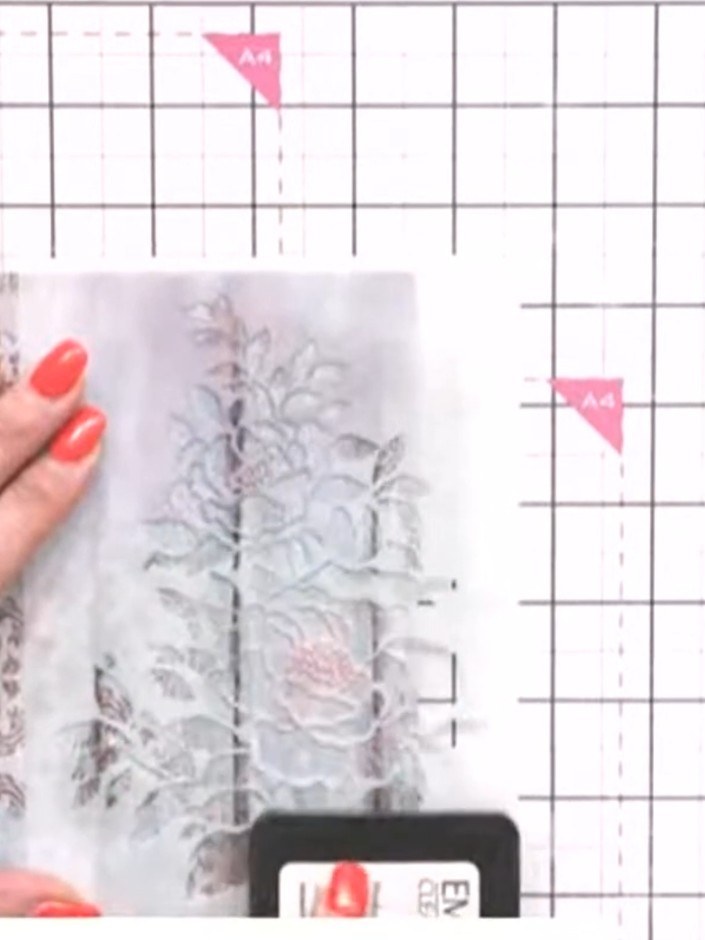
Create an elegant textured paper panel featuring delicate fern motifs with a sophisticated gold foiled finish. Using stencilling and embossing techniques, you'll apply sticky ink through a fern stencil to create subtle watermark effects, then add gold embossing powder and heat to achieve beautiful metallic detail. The result is a stunning piece with natural botanical imagery enhanced by shimmering gold accents on textured paper.
 Stamps By Me - Wistful Charm - 5 X 7 Stencil - Fern - 180723BSEE IT
 Stamps By Me - Wistful Charm - 7 X 7 Paper Pad 140623BSEE IT
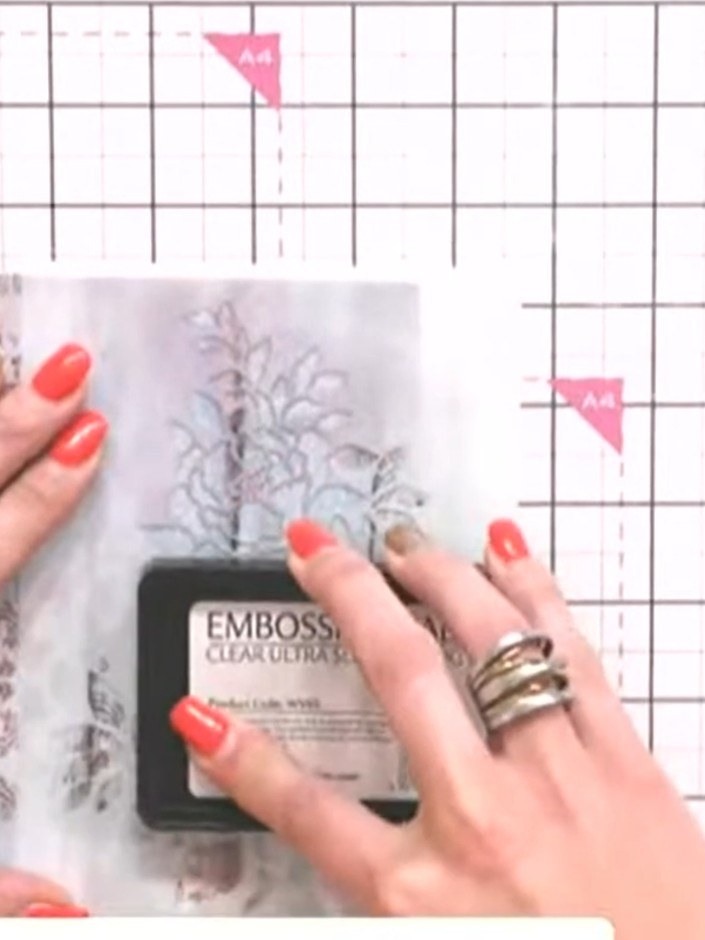
Prepare your textured pattern paper by wiping it with an antistatic bag to remove any static that might interfere with the embossing powder.
▶ watch this step (22:30)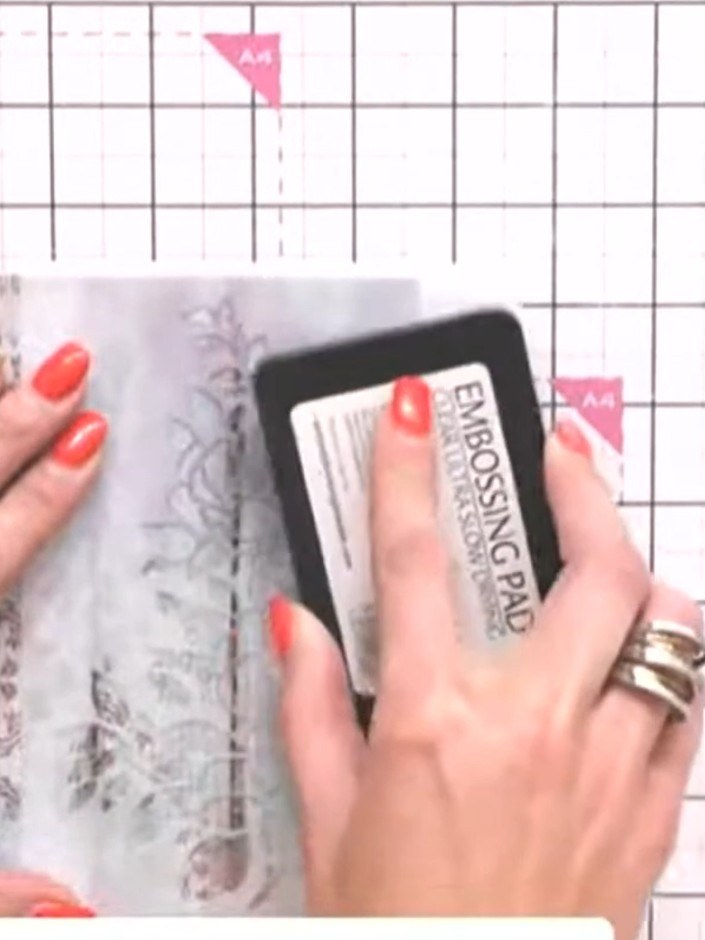
Position the fern stencil on your chosen paper from the Wistful Charm paper pad. Place it where you want the embossed design to appear.
▶ watch this step (22:45)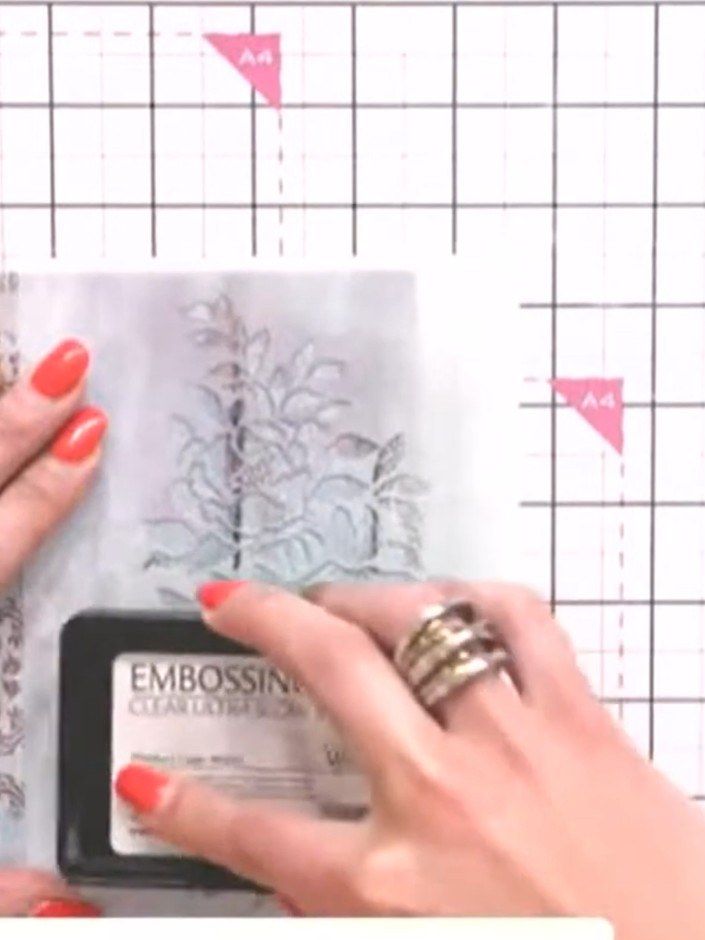
Position the fern stencil over your paper. Apply sticky embossing ink through the stencil using an ink pad, making multiple swipes to ensure all the detail is captured.
▶ watch this step (23:00)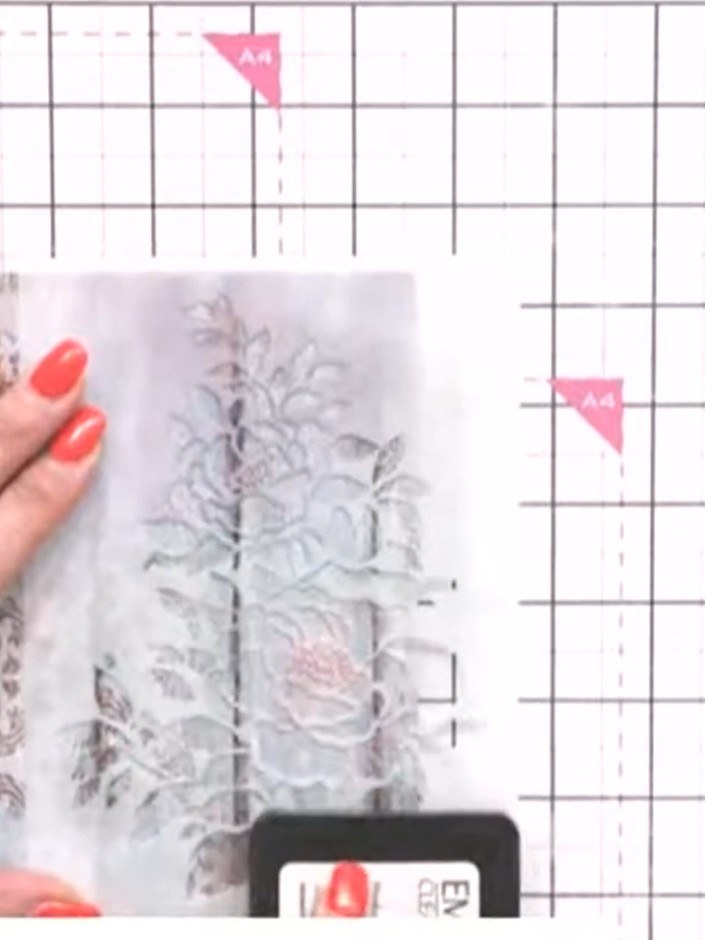
Carefully lift the fern stencil away from the vellum to reveal the embossed design underneath.
▶ watch this step (23:15)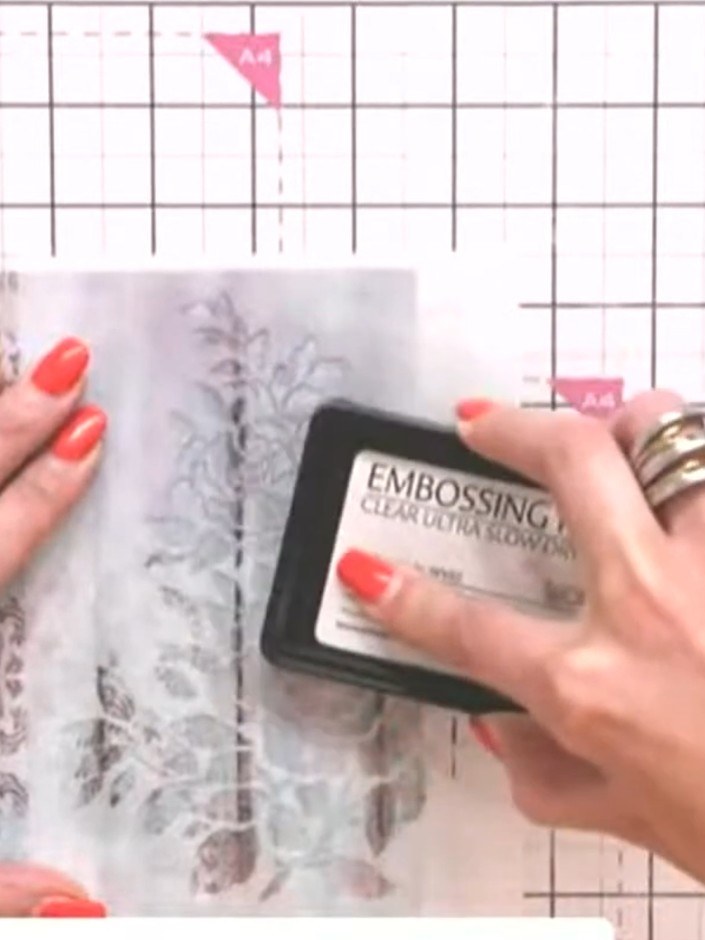
Sprinkle gold embossing powder generously over the wet ink on the vellum paper, ensuring all the stamped areas are covered.
▶ watch this step (23:30)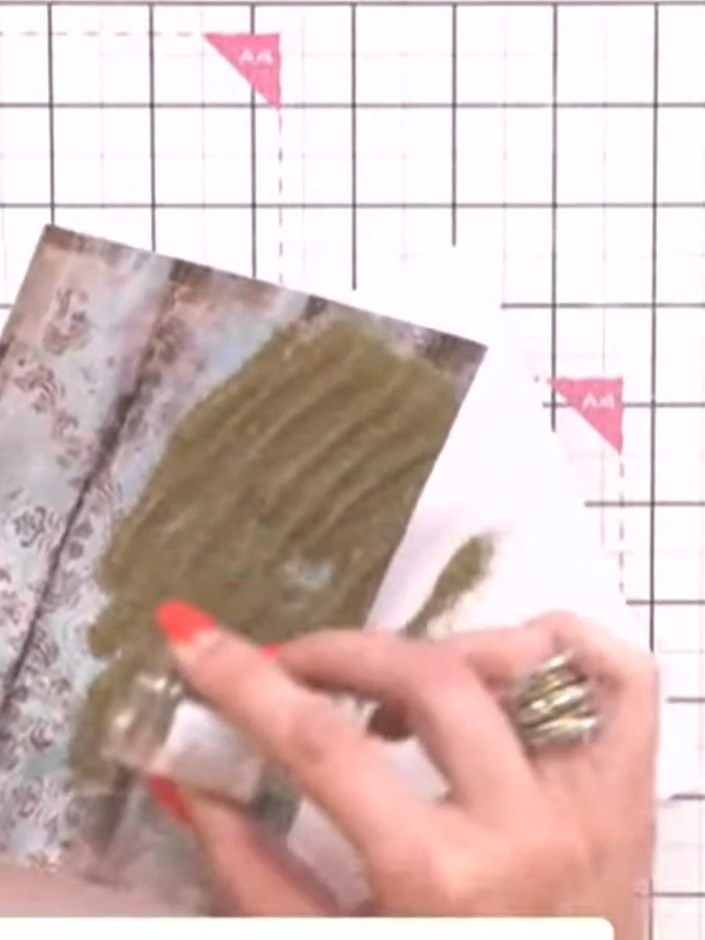
Tap off the excess gold embossing powder back into the container, ensuring any loose powder is removed from the stencilled areas.
▶ watch this step (23:45)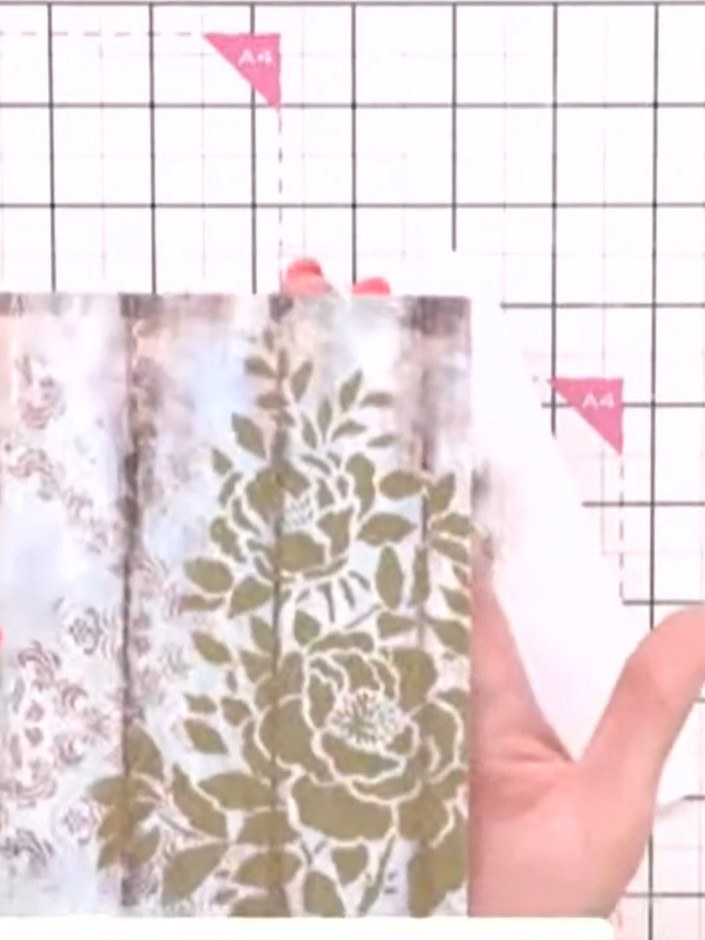
Use a heat tool to melt the gold embossing powder until it becomes shiny and raised, creating a beautiful embossed effect on the stencilled design.
▶ watch this step (24:00)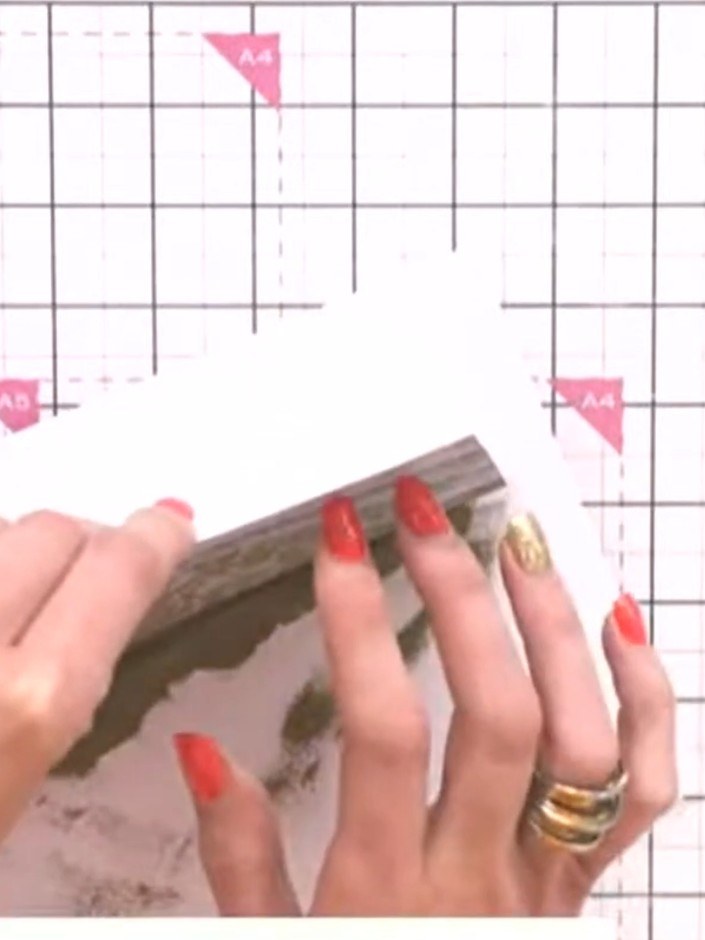
Allow the embossed design to cool completely. Mount the finished stencilled paper onto a card blank using a tape pen for quick and secure adhesion.
▶ watch this step (24:15)Written up from the show itself. See every guide from our shows · free how-to guides · watch live on My Telly