Give your friends €10 off their first order!
Refer a FRIEND








A project from our live show CREATE AND CRAFT TV - Join Toni for her brand new SBM launch show - broadcast 2nd Jan 2024 · 02/01/2024 · watch it from 34:30
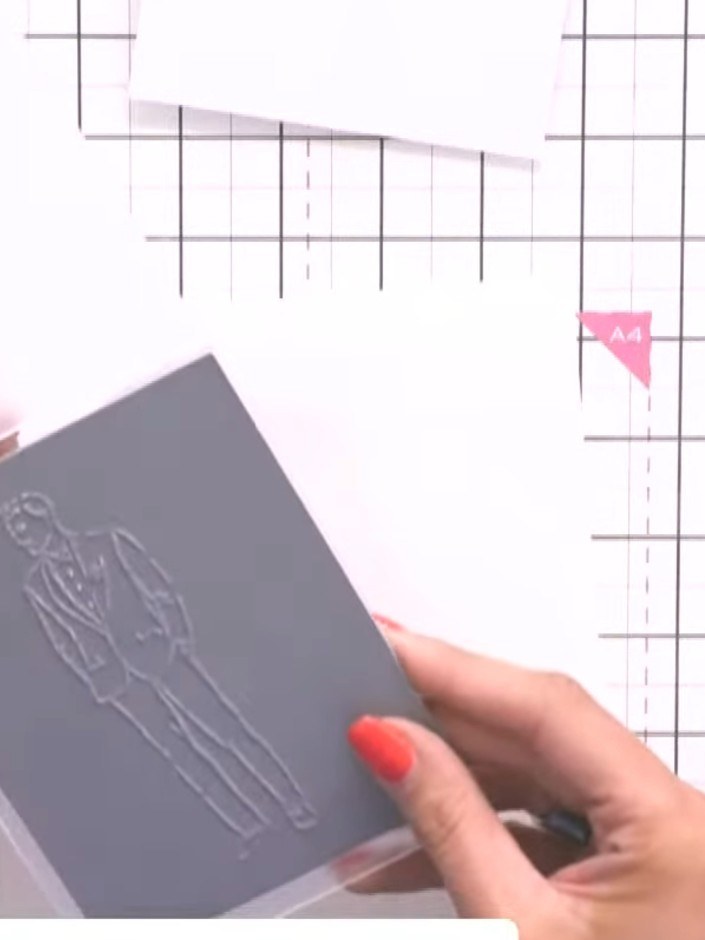
Create a sophisticated gentleman-themed card using the Jasper embossing folder in two ways. This contemporary design features a full embossed background with a fussy-cut gentleman figure highlighted with white ink, creating elegant dimension. Perfect for any occasion, this modern card celebrates masculine styling without traditional floral elements.
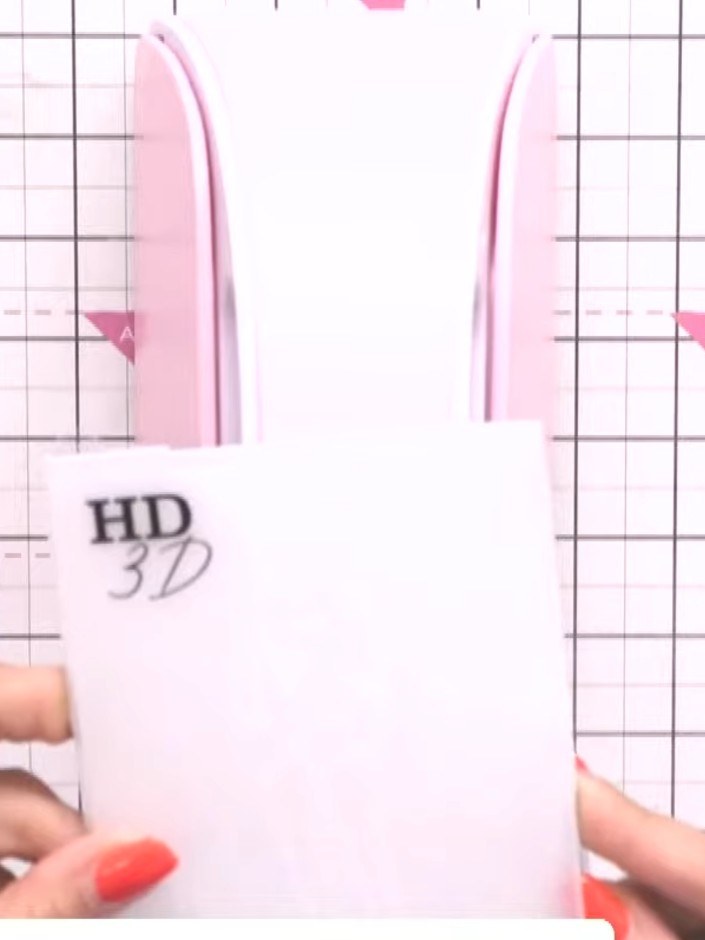
Run the Jasper embossing folder through your die-cutting machine with white card stock to create a textured background layer with the 'HD 3D' pattern.
▶ watch this step (35:00)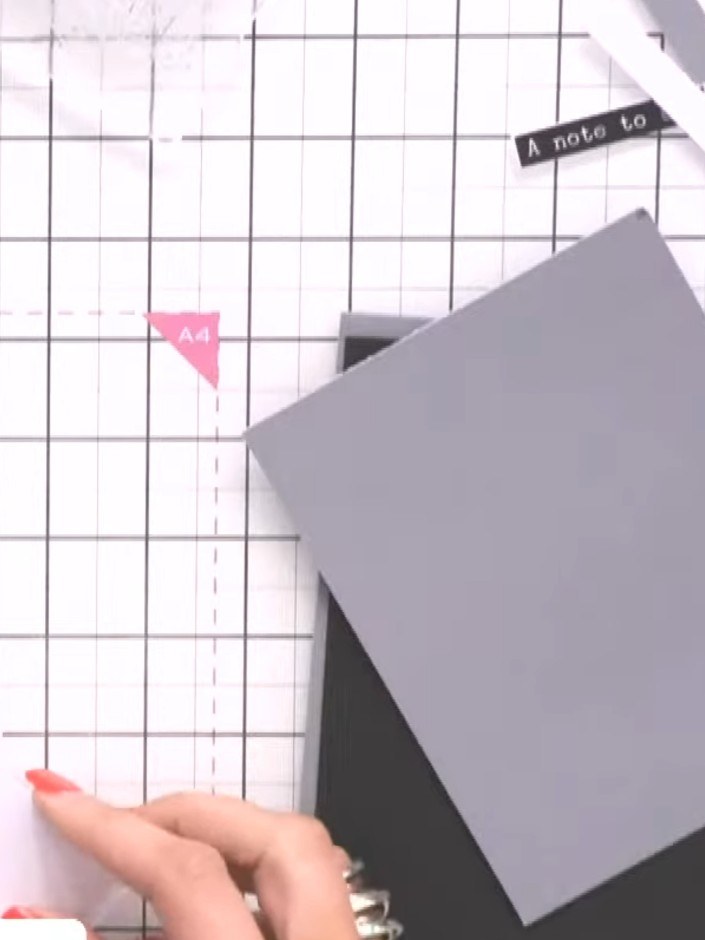
Run the Jasper embossing folder through your die-cutting machine again, this time using grey card stock to create the focal point panel.
▶ watch this step (35:15)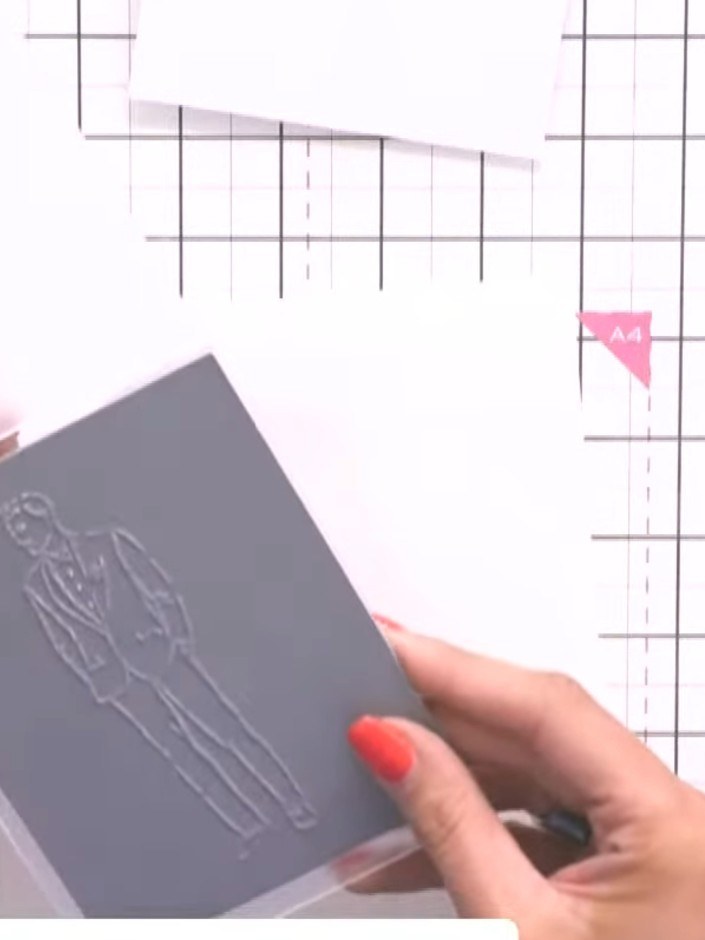
Carefully fussy-cut around the exterior of the embossed Jasper gentleman design on the grey card. Follow the raised embossed line closely to ensure clean, precise edges.
▶ watch this step (36:00)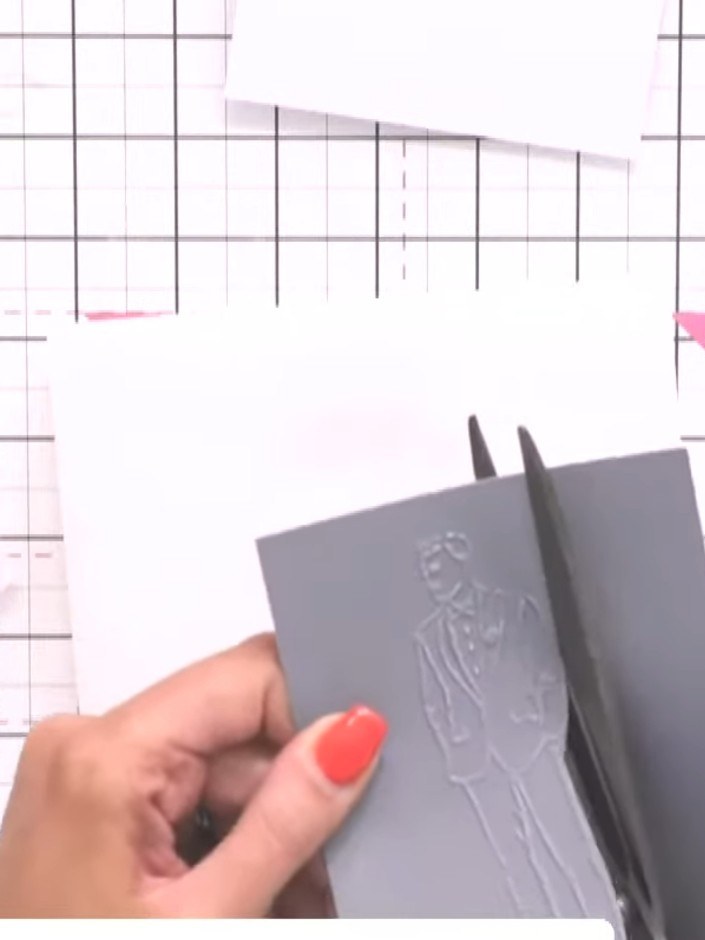
Take a white ink pad and gently tap or swipe it over the top of the fussy-cut Jasper image to bring back the embossed detail that was lost during cutting.
▶ watch this step (36:45)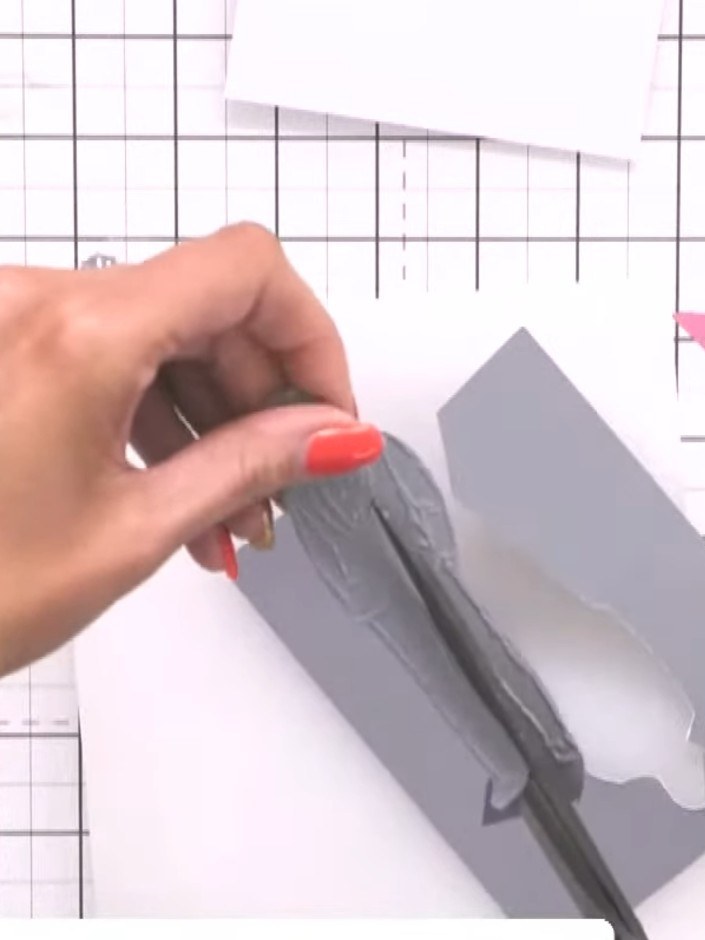
Layer a piece of black card onto the grey card blank base. Position the black card centrally on the grey card and secure in place.
▶ watch this step (37:30)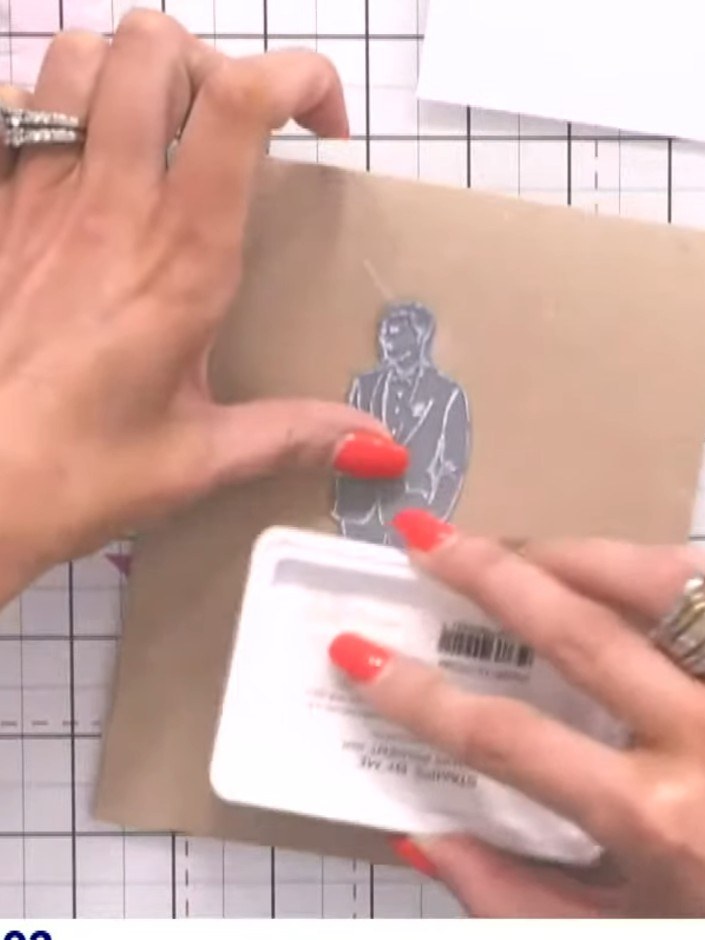
Take the white stamped Jasper gentleman piece and adhere it to the layered card base using a white ink pad to apply adhesive to the back. Position it centrally on the kraft layer.
▶ watch this step (38:00)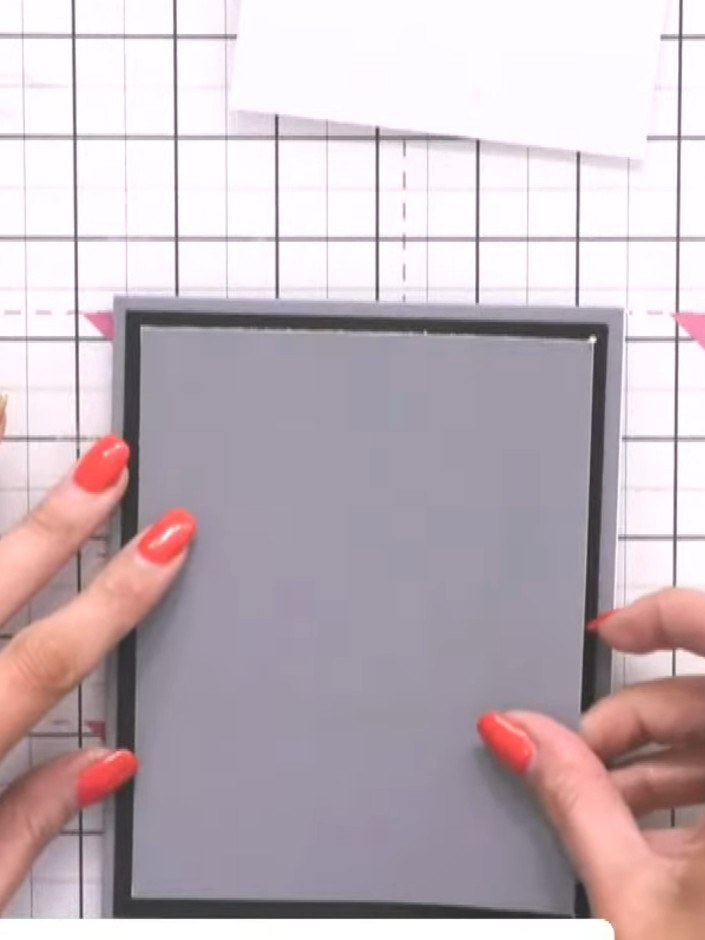
Mount the fussy-cut grey Jasper figure onto the black card frame using foam pads to create dimension. Position it centrally within the frame.
▶ watch this step (38:30)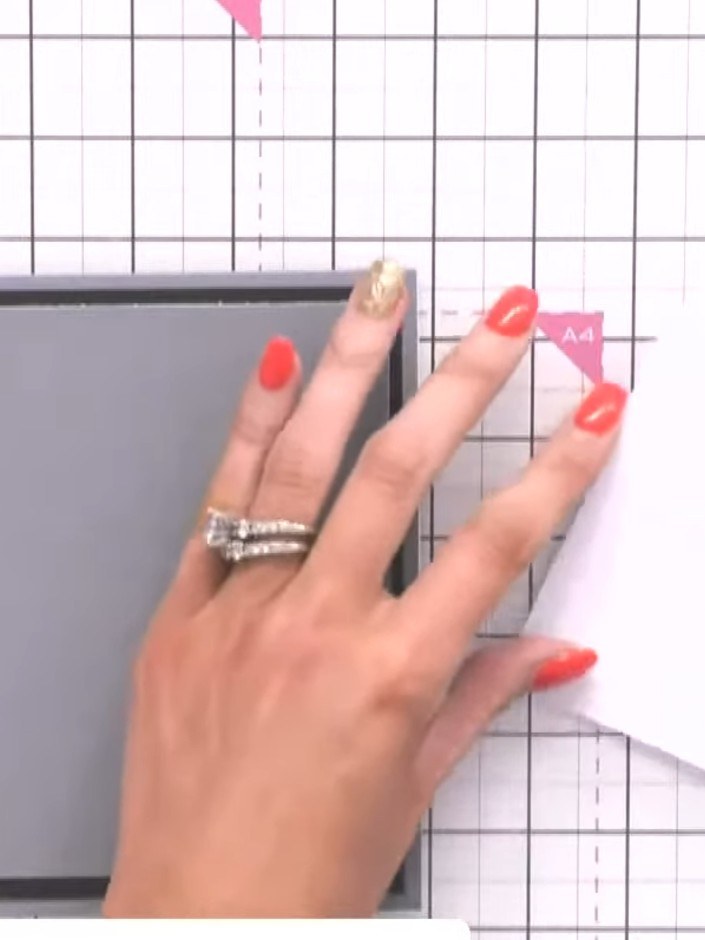
Add a sentiment tab such as 'A note to say' to the top right corner of the card to complete your design.
▶ watch this step (39:00)Written up from the show itself. See every guide from our shows · free how-to guides · watch live on My Telly