Give your friends €10 off their first order!
Refer a FRIEND








A project from our live show CREATE AND CRAFT TV - Join Toni for her brand new SBM launch show - broadcast 2nd Jan 2024 · 02/01/2024 · watch it from 51:45
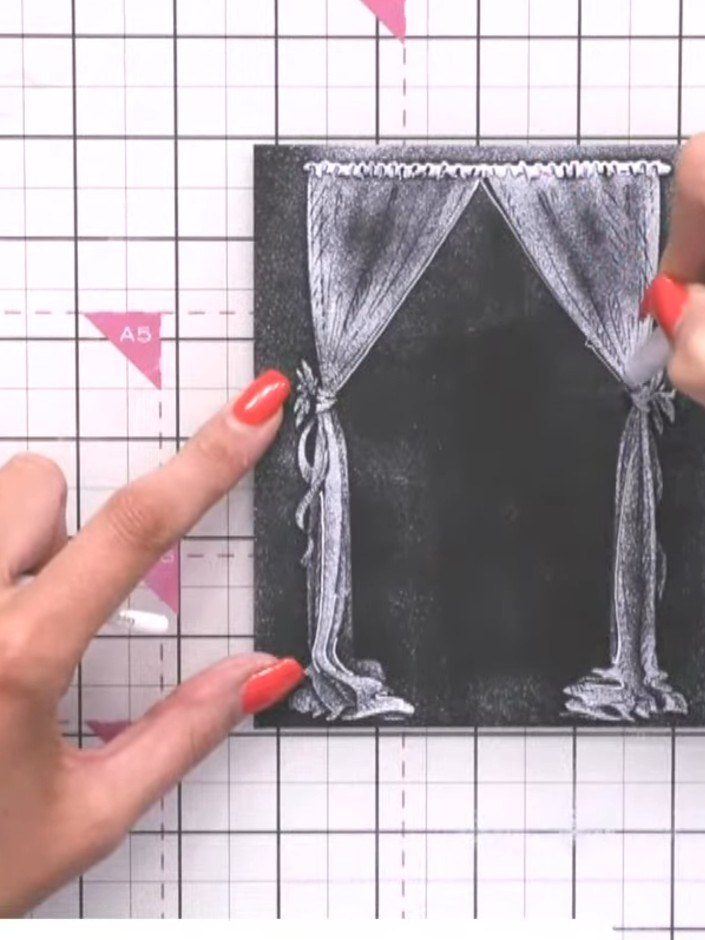
Create a striking card featuring elegant cabaret curtains with a sophisticated chalkboard effect. Using an embossing folder on black card and highlighting with white ink, you'll craft a theatrical curtain design that beautifully frames any sentiment or image. This versatile technique works perfectly for multiple occasions, from birthdays to special celebrations.
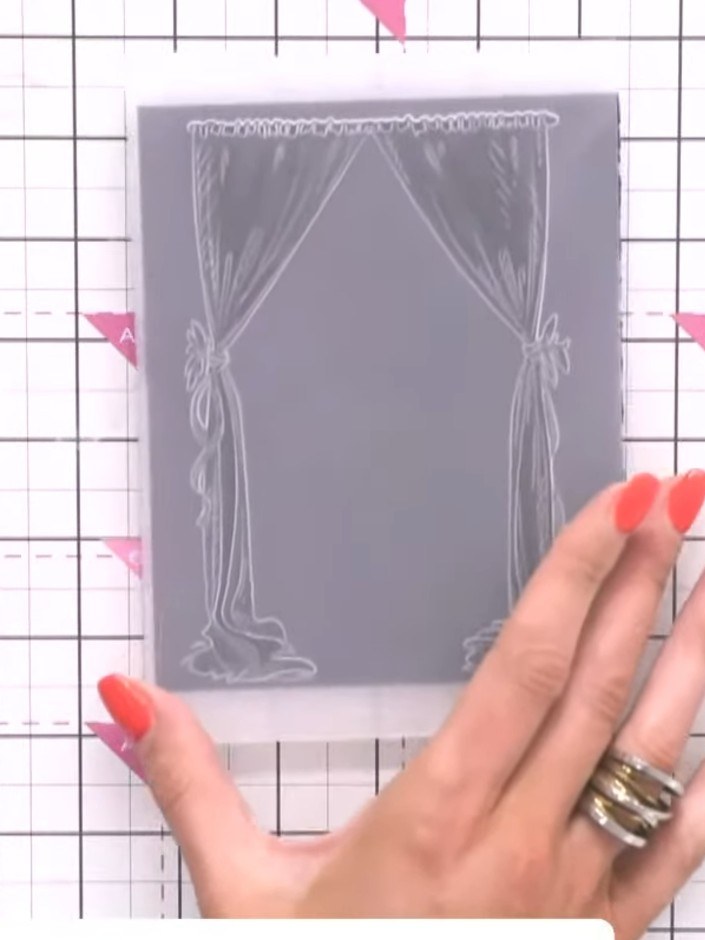
Place your black card stock into the Cabaret Curtains embossing folder, ensuring it is positioned centrally within the folder.
▶ watch this step (52:00)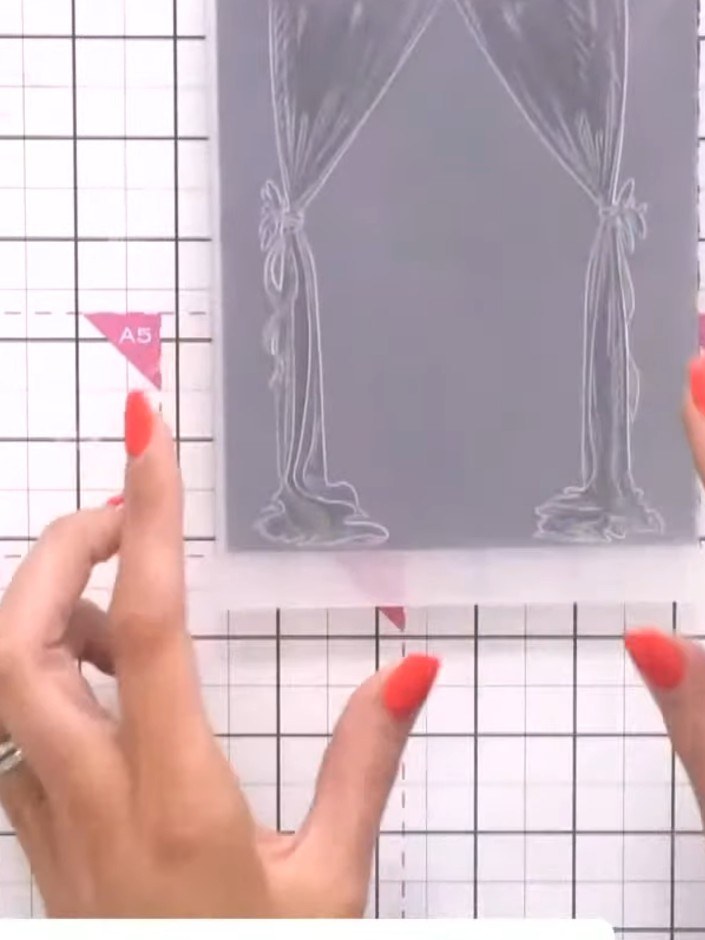
Place the black card into the 3D embossing folder showing the bride and groom design. Run the folder through your die-cutting machine to emboss the image onto the black card.
▶ watch this step (52:15)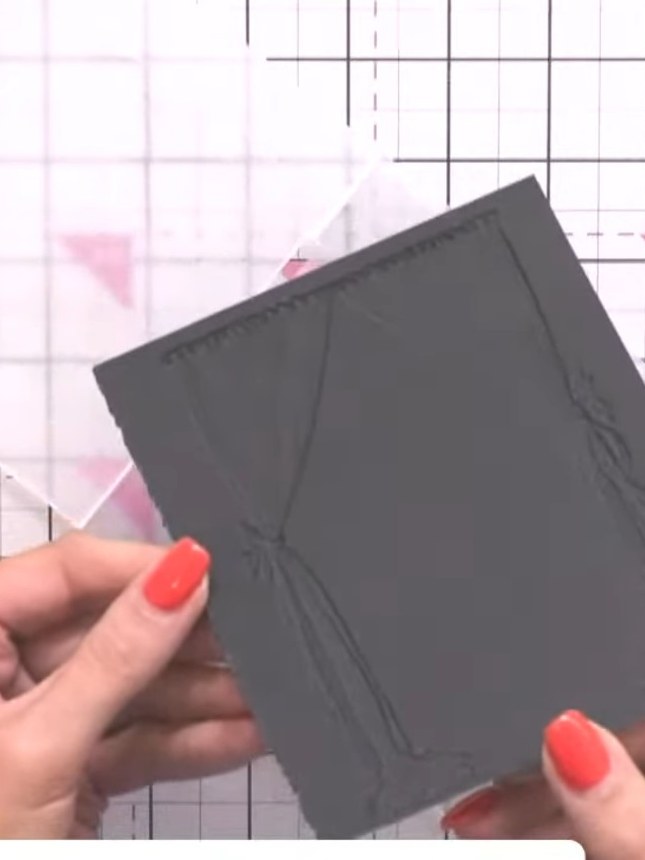
Open the embossing folder to reveal the embossed design on the black card. Note that the embossed pattern may not be immediately visible on the dark cardstock.
▶ watch this step (52:30)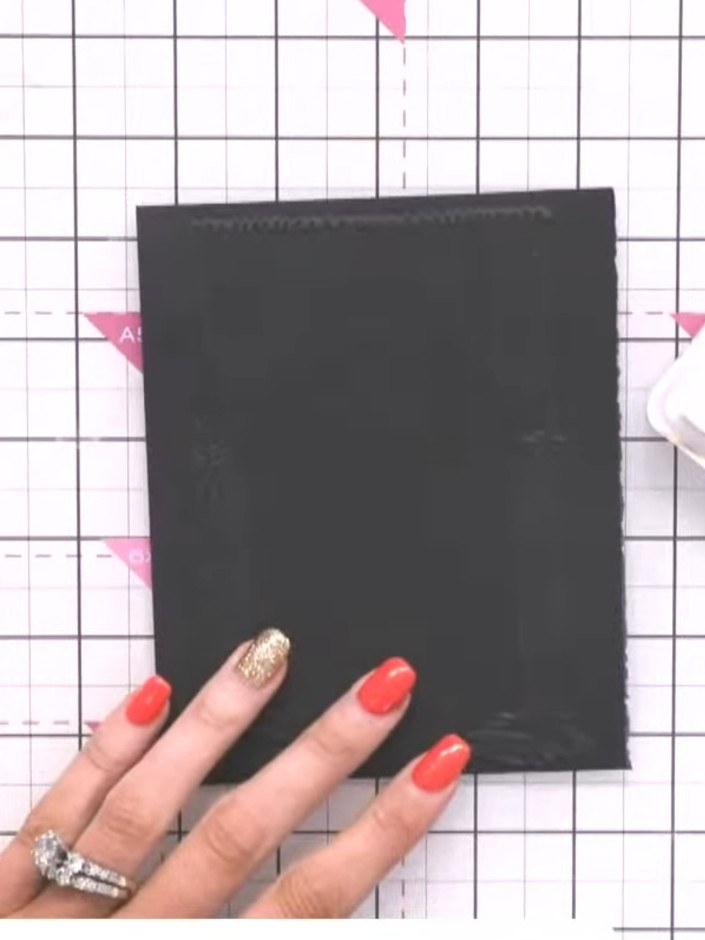
Take a white ink pad and tap or swipe it across the embossed design on the black card to bring out the raised detail and create a chalkboard effect.
▶ watch this step (53:00)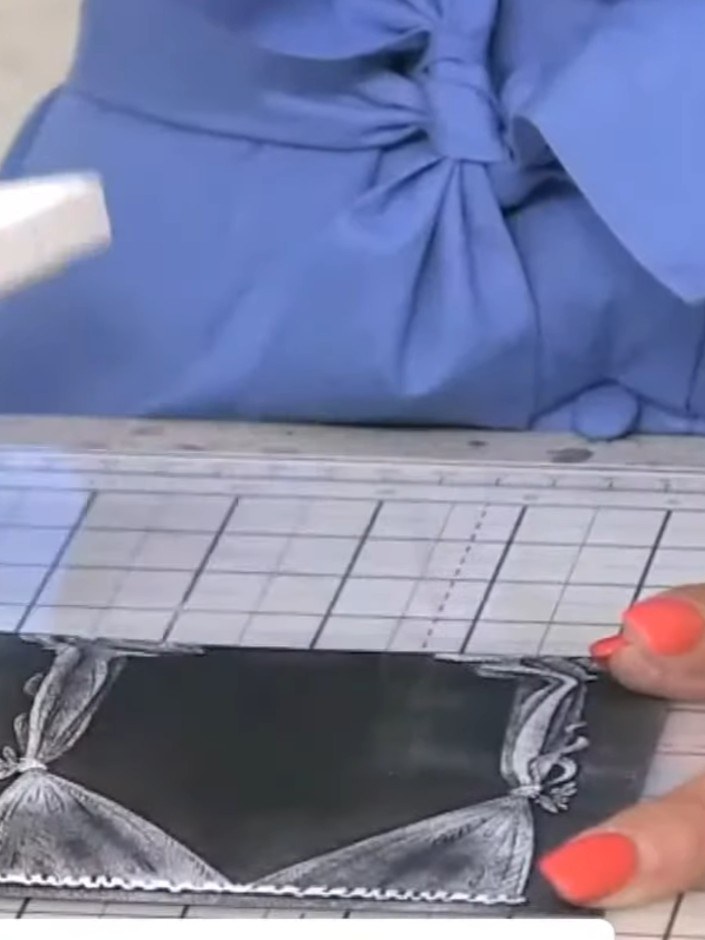
Continue applying white ink to highlight the curtain pleats, canopy, and ribbon details on the black card to create dimension and a chalkboard effect.
▶ watch this step (53:30)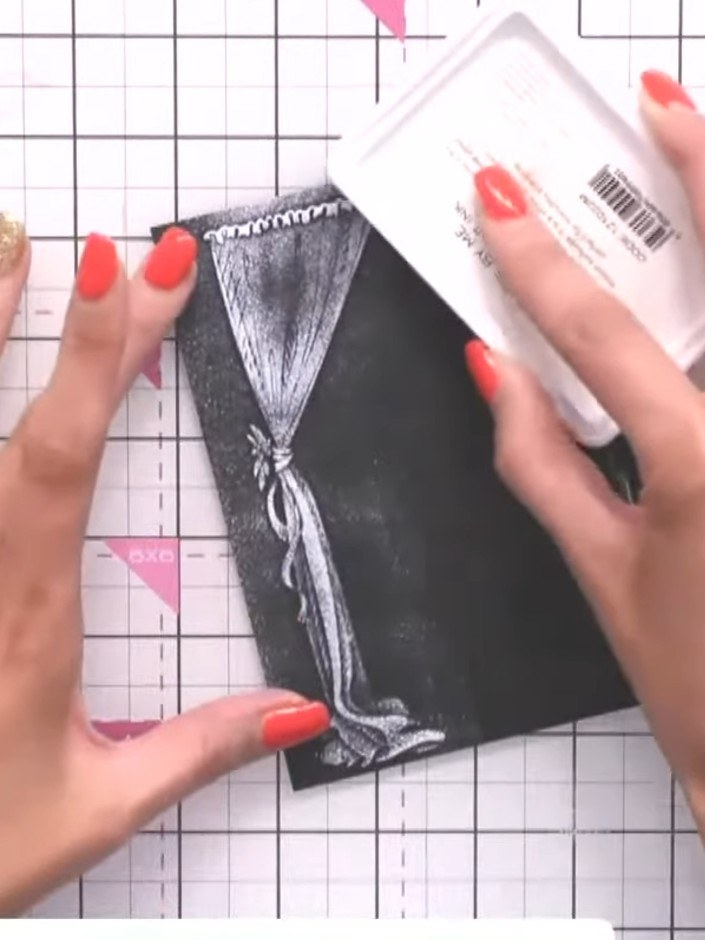
Use a white gel pen to add extra detail to specific lines such as the pleats and canopy for additional dimension. Ink up the pen with an ink pad if needed. This step is optional but enhances the chalkboard effect.
▶ watch this step (54:00)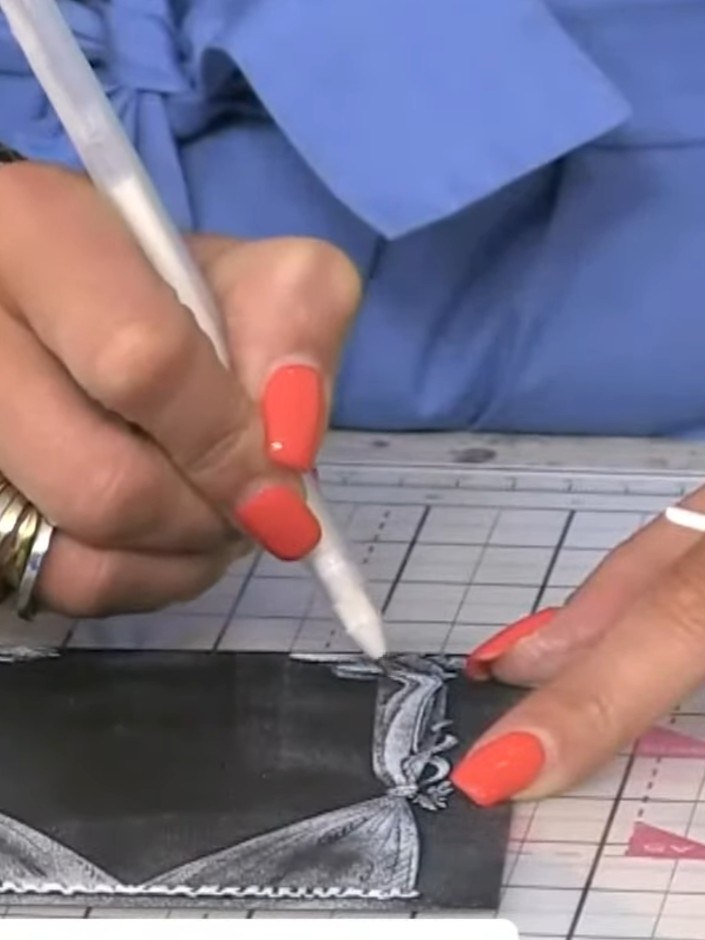
Mount the embossed and inked curtain panel onto a black card blank. Use a white pen to add highlights and details to the curtains, drawing along the edges and folds to enhance the dimensional effect.
▶ watch this step (54:30)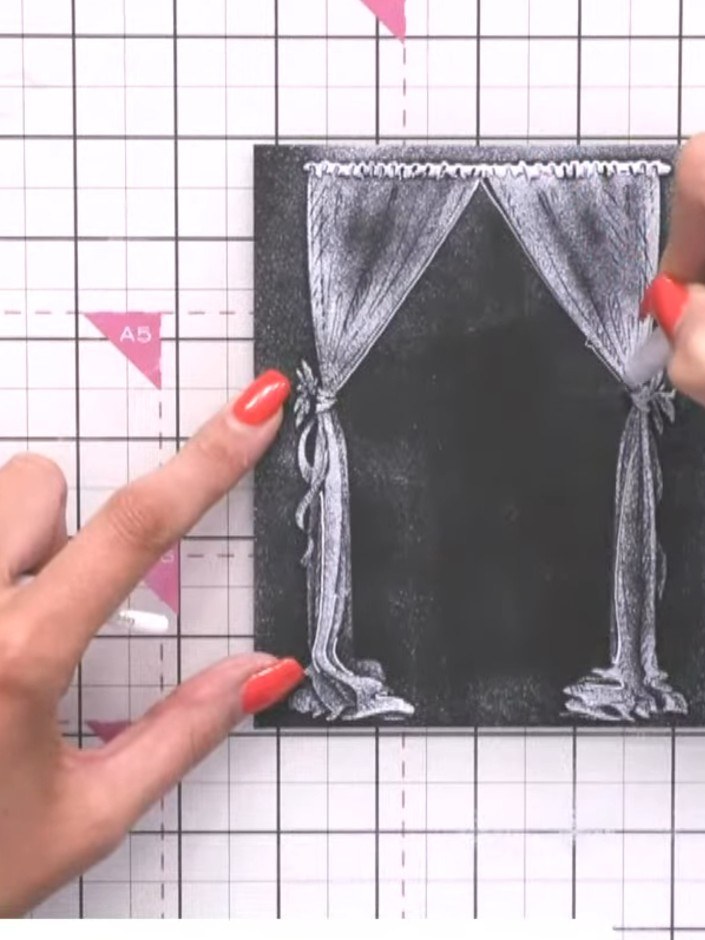
Add your chosen sentiment or image in the centre of the curtain frame using a white pen or marker on the black card.
▶ watch this step (55:00)Written up from the show itself. See every guide from our shows · free how-to guides · watch live on My Telly