Give your friends €10 off their first order!
Refer a FRIEND








A project from our live show HOBBYMAKER TV - Join us for the latest show - Broadcast 3 p.m. (UK) 13th July 2026 · 13/07/2026 · watch it from 37:15
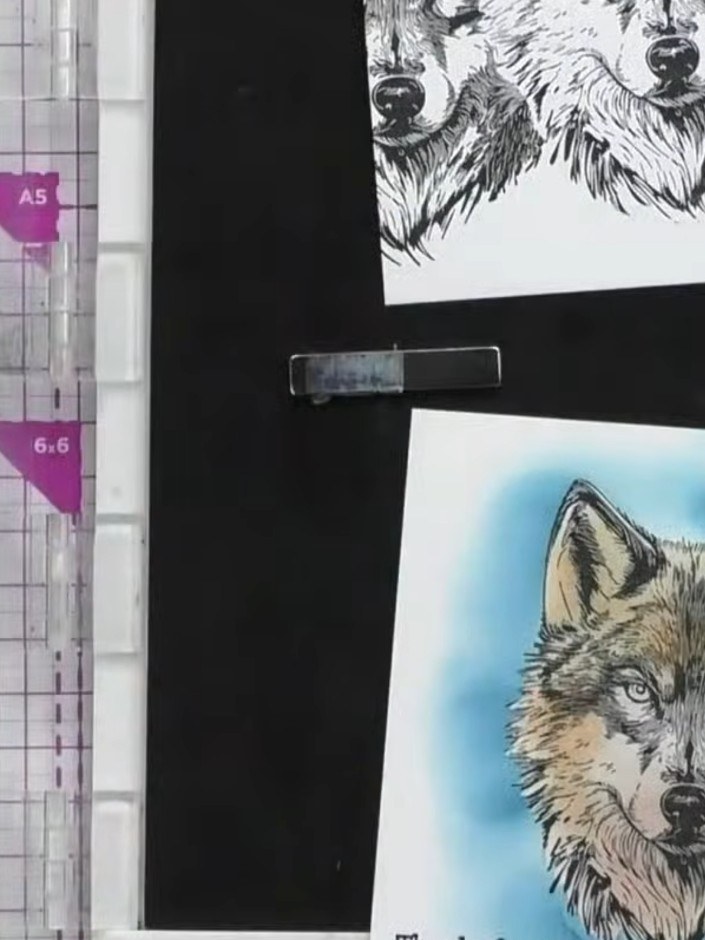
Create a striking wolf portrait card using stamp, stencil and mask layering techniques. The design builds up with brown tones for the wolf, then a contrasting blue background, creating depth and visual interest with minimal effort. The finished card features a detailed wolf face with the sentiment 'Thanks for always being there' on a white card base.
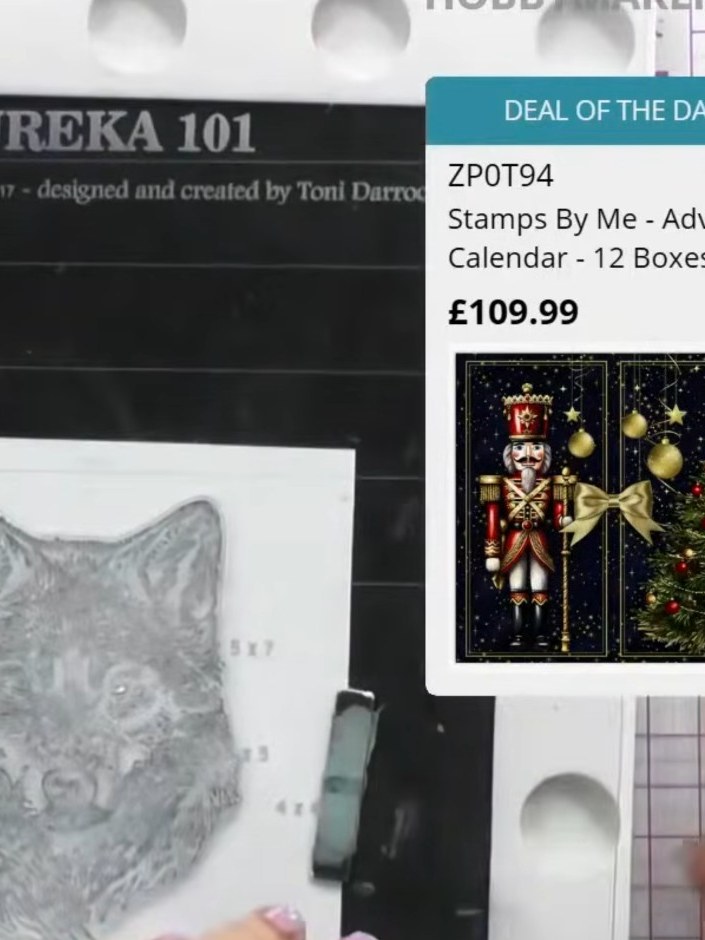
Stamp the large wolf head image onto white card stock using the Eureka 101 stamping platform. Position the stamp carefully and press firmly to transfer the detailed image.
▶ watch this step (37:30)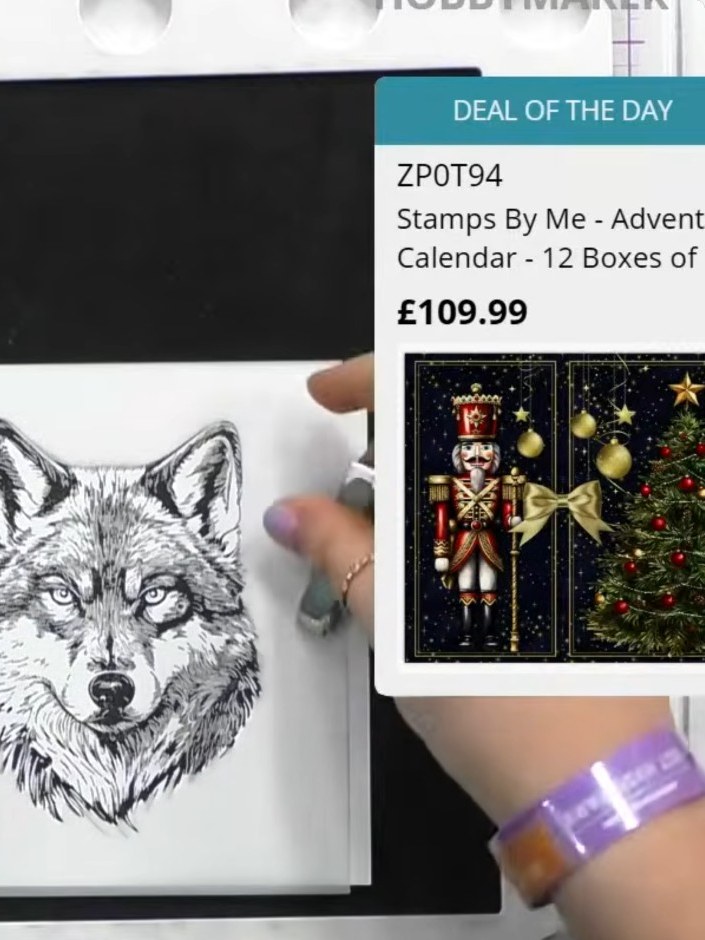
Place the outside edge stencil over the stamped wolf image. Using a brush, ink through the stencil with brown tones, layering lighter and darker browns to create depth and dimension.
▶ watch this step (38:45)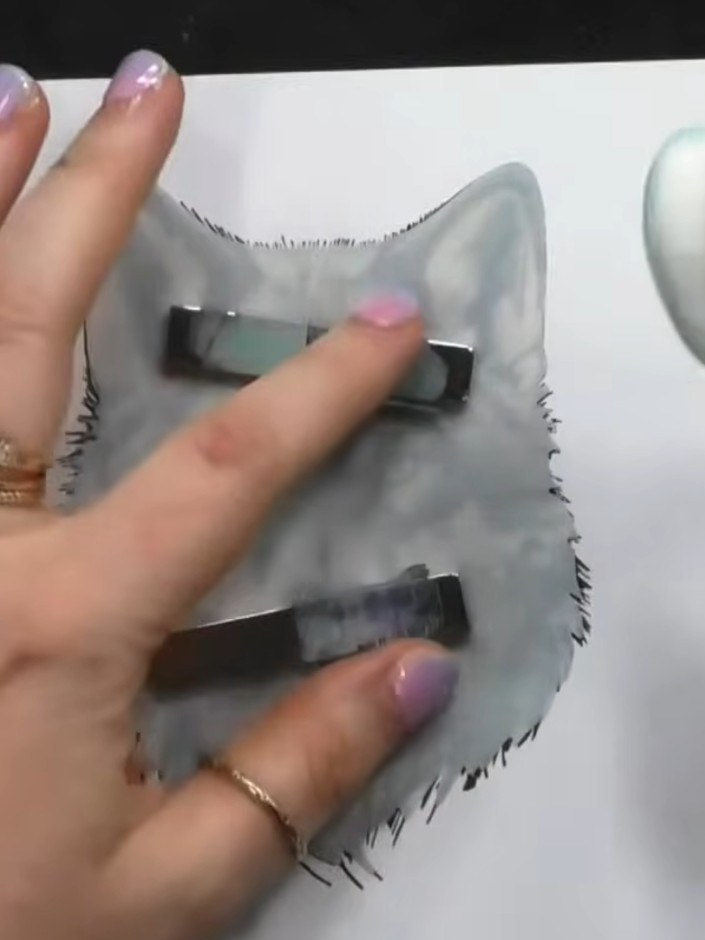
Position the grey wolf mask over the coloured wolf image to protect it from further inking. Ensure the mask aligns precisely with the stamped image underneath.
▶ watch this step (40:45)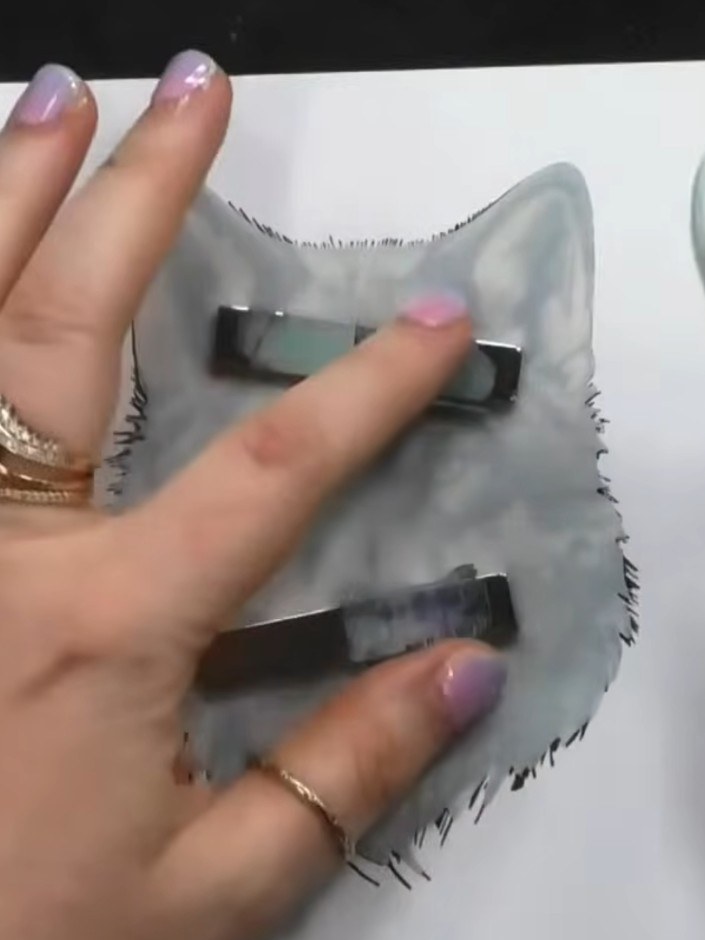
Using a blending tool with blue ink, blend colour around the masked wolf image to create contrast against the background. If the mask shifts slightly whilst working, gently reposition it and continue blending.
▶ watch this step (41:00)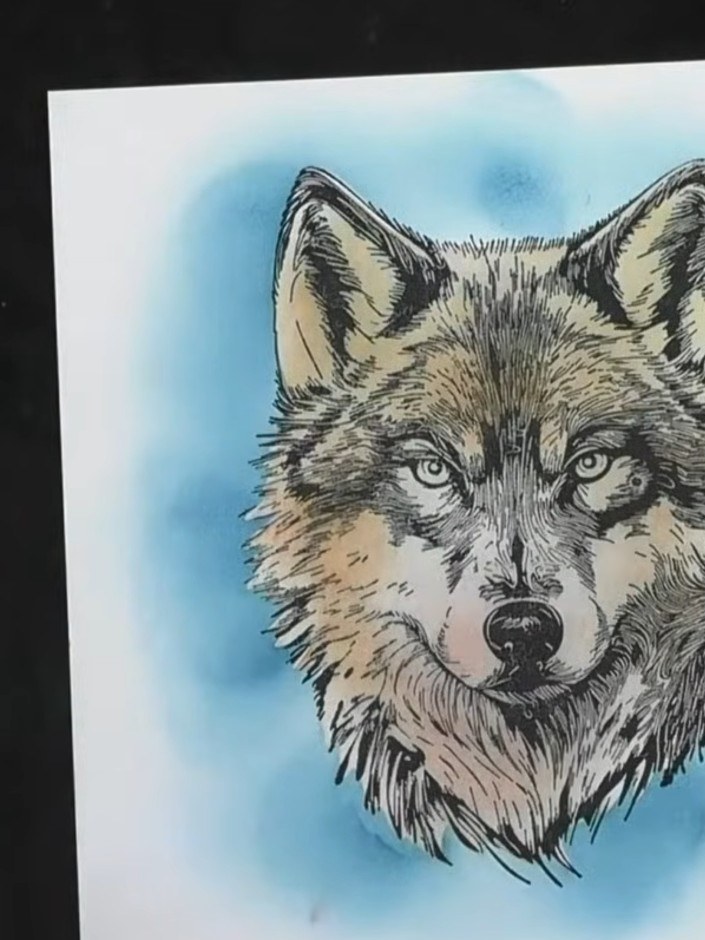
Carefully remove the mask from the wolf image to reveal the finished layered effect. The wolf will now stand out clearly against the blue blended background, showing the detailed stamped image with its natural colouring.
▶ watch this step (41:45)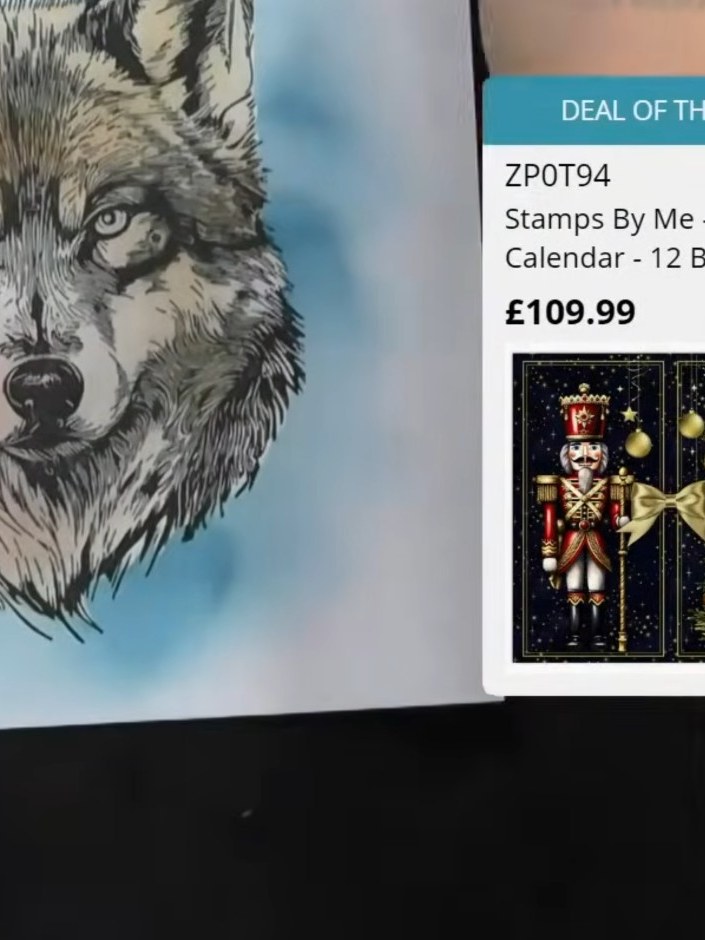
Stamp a sentiment from the set onto the bottom of the card using black ink to complete your woodland wolf design.
▶ watch this step (42:15)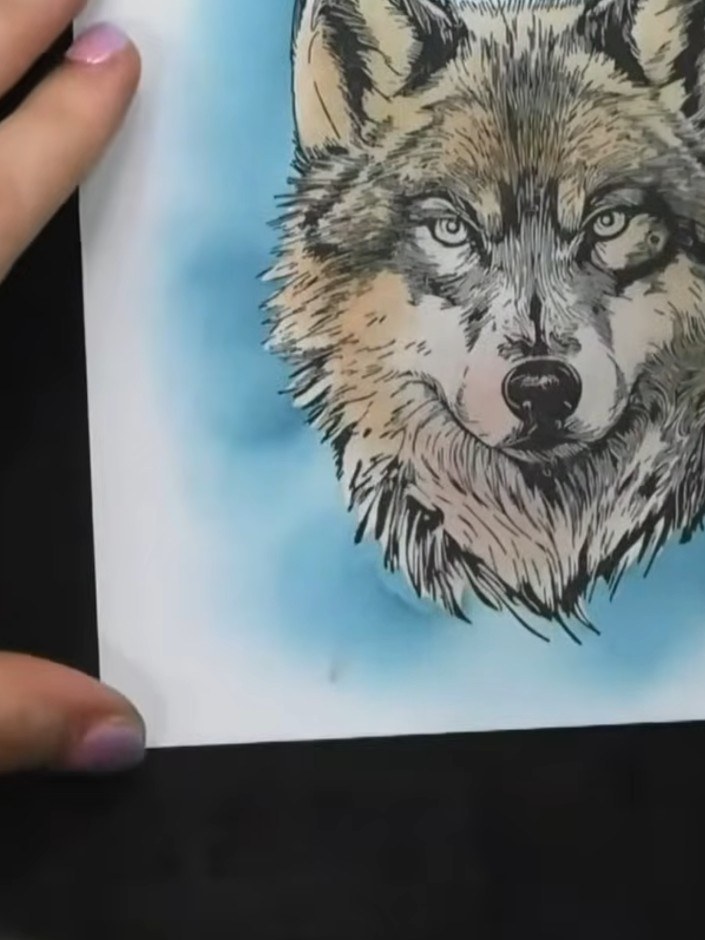
For a three-wolf effect, position the mask over your stamped wolf image and stamp again to create additional wolves. Repeat the masking and stamping process to build up depth and create a pack of wolves on your card.
▶ watch this step (42:30)Written up from the show itself. See every guide from our shows · free how-to guides · watch live on My Telly