Give your friends €10 off their first order!
Refer a FRIEND








A project from our live show CREATE AND CRAFT TV - Join Toni for her brand new launch show 2 - broadcast 16th Oct 23 · 16/10/2023 · watch it from 9:45
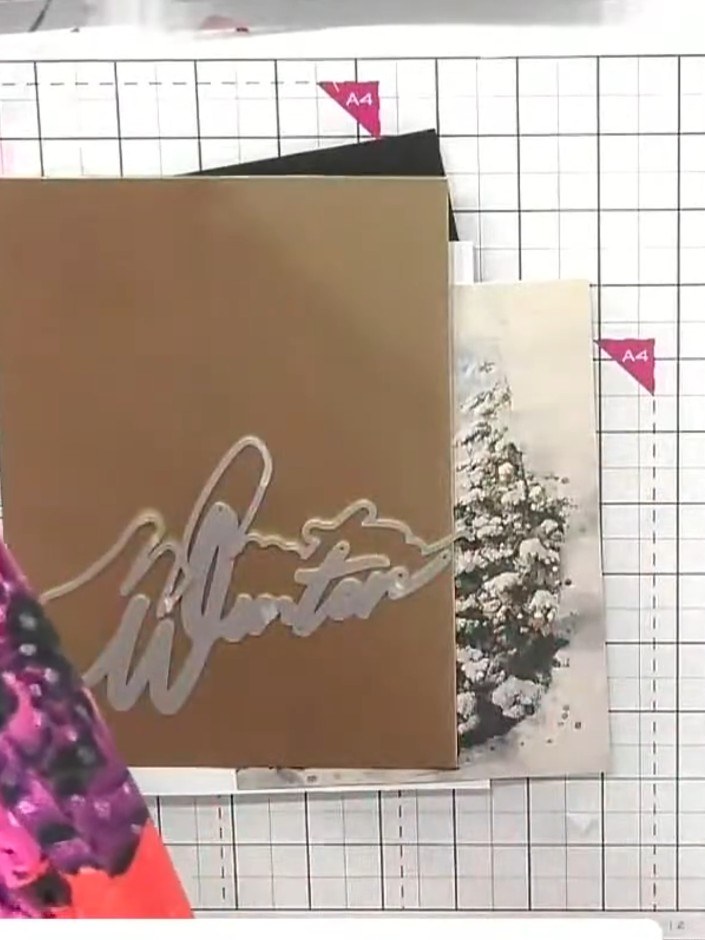
Make an elegant Christmas card with a die-cut snow drift word and window aperture revealing a painted winter castle scene. The layered design creates beautiful dimension through shadow detail, giving the effect of looking through a window at a snowy landscape. This sophisticated card combines die-cutting with watercolour-style imagery for a stunning festive result.
 Christmas Window Die - Beautiful View - 060323ASEE IT
 Christmas Window Die - Look & See - 060323DSEE IT
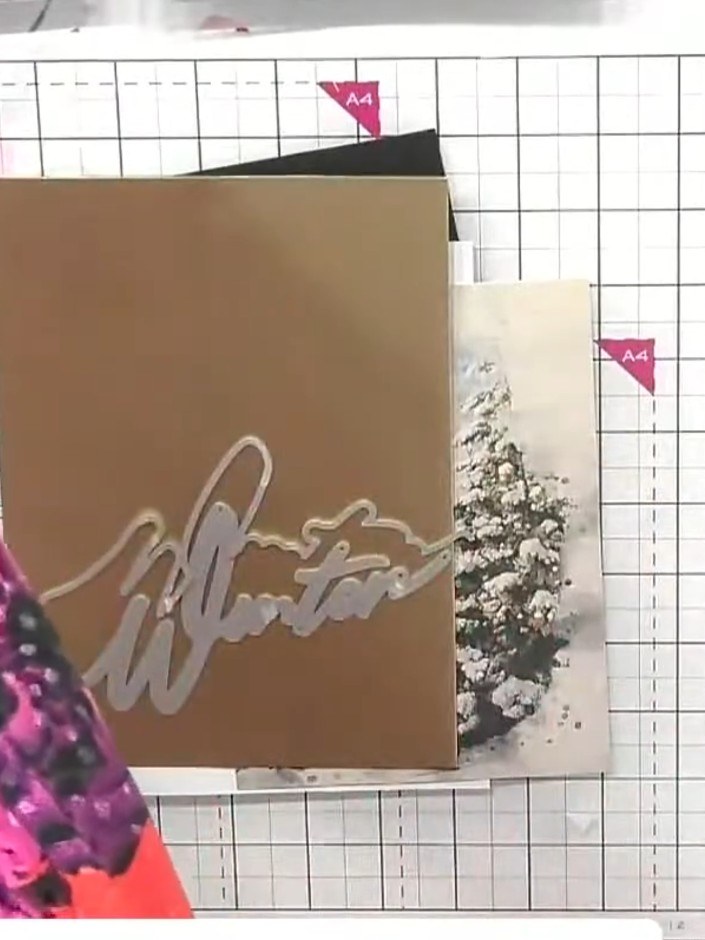
Cut the snow drift word die from white card stock using your die-cutting machine. Remove the die-cut word from the card, leaving the drift base piece.
▶ watch this step (9:45)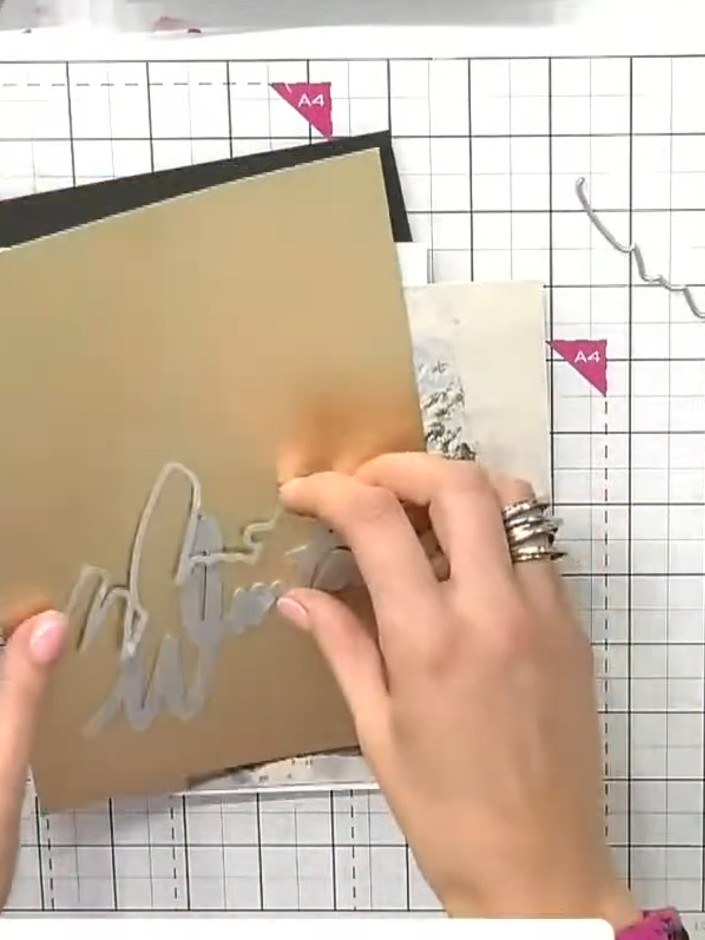
Cut out the top portion of the snow drift die separately from the kraft card. This creates the upper snow drift element that will sit across the bottom of your card.
▶ watch this step (10:00)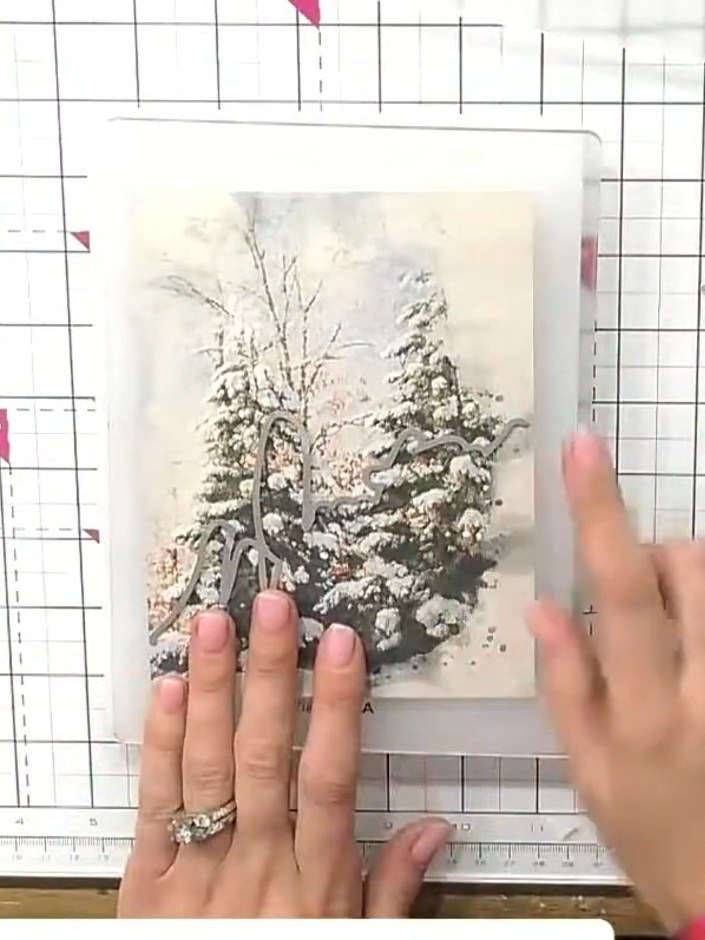
Take one of the painted mounts from the Festive Friends set and trim it down to size so it will fit behind the window aperture on your card front.
▶ watch this step (12:30)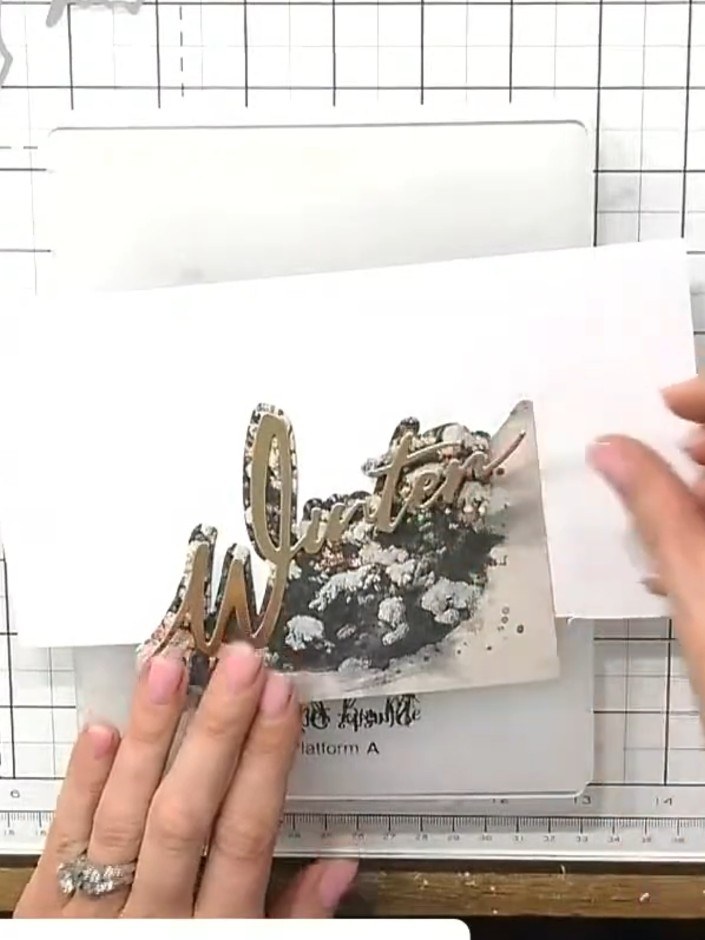
Position the painted mount over your chosen festive image on a piece of card stock. Ensure the image shows through the window opening, then adhere the mount in place.
▶ watch this step (14:00)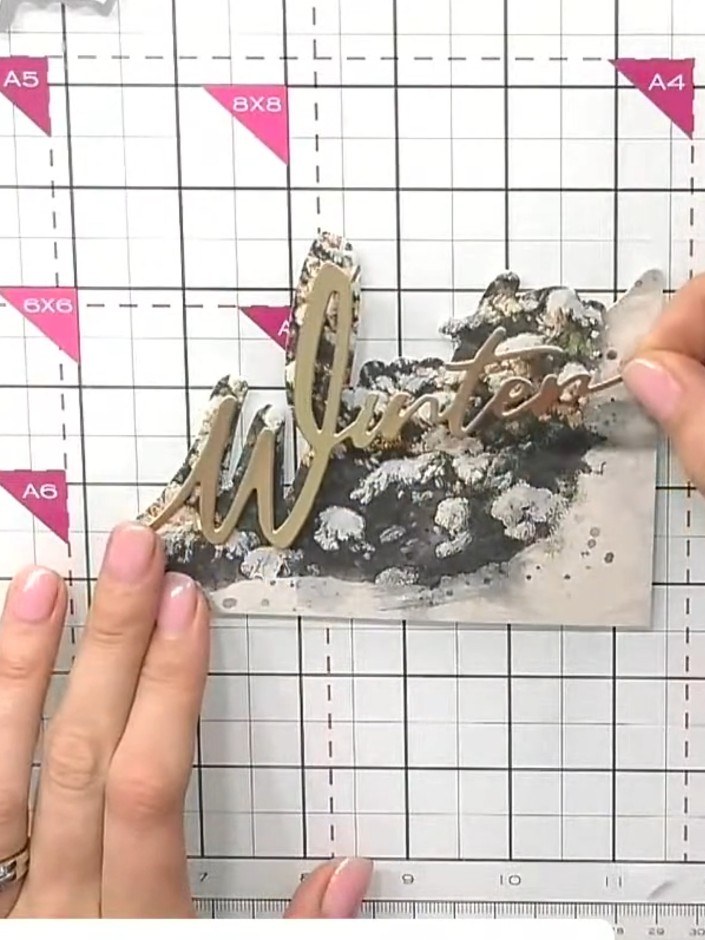
Using grey watercolour or ink, colour the shadow detail on the chipboard window die cuts to add depth and dimension to the design.
▶ watch this step (14:45)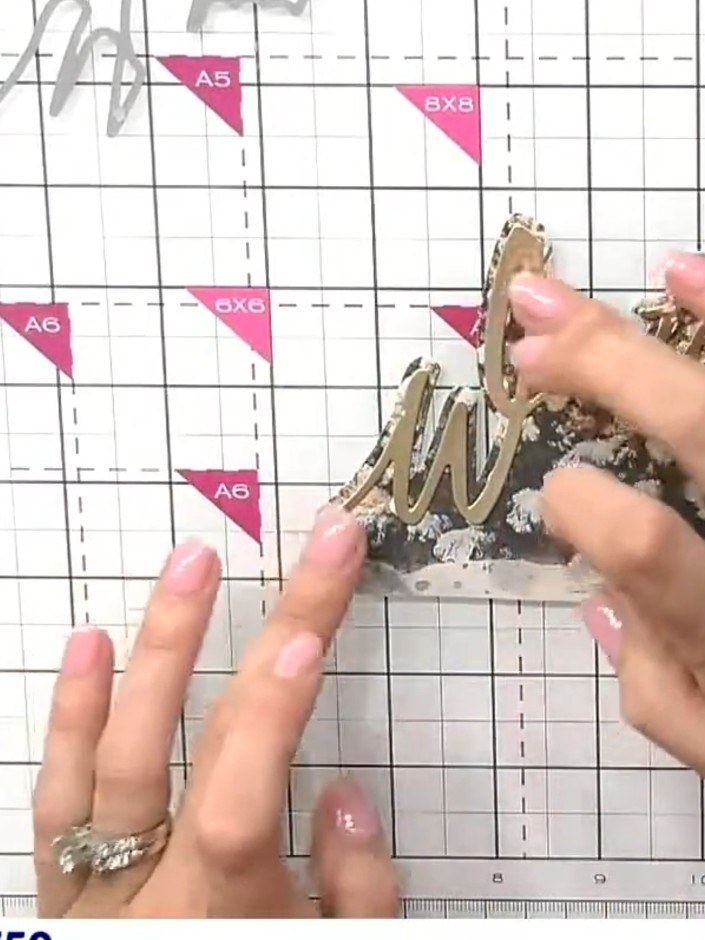
Fussy cut a second bird or decorative element from the painted mount pack. Attach foam pads to the back of the cut-out to create a 3D layered effect.
▶ watch this step (15:30)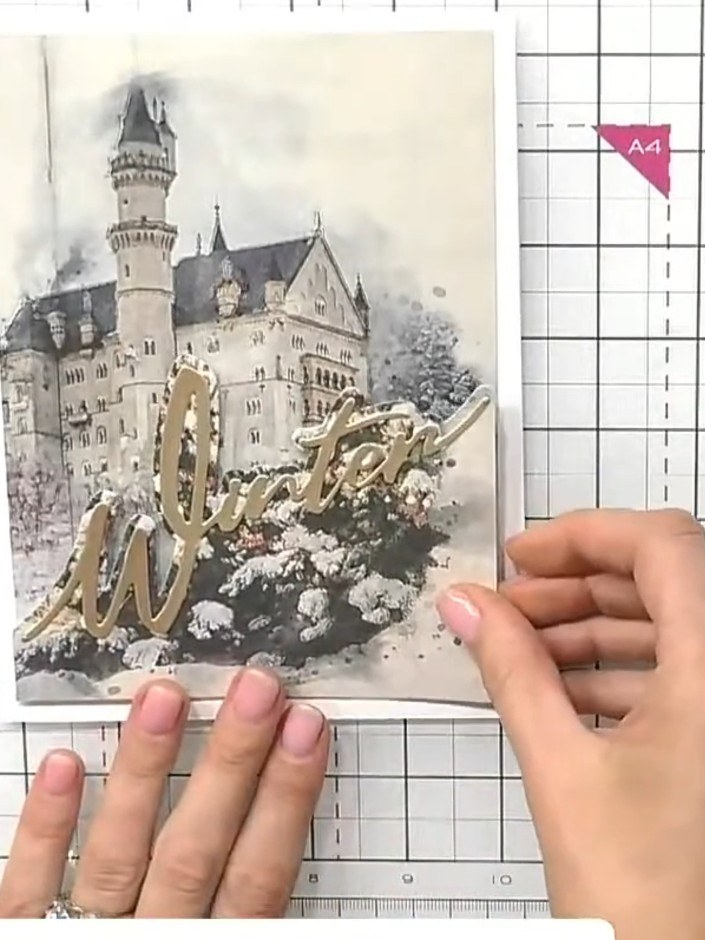
Adhere the layered window element to the front of a folded card base, positioning it centrally to complete your card.
▶ watch this step (16:15)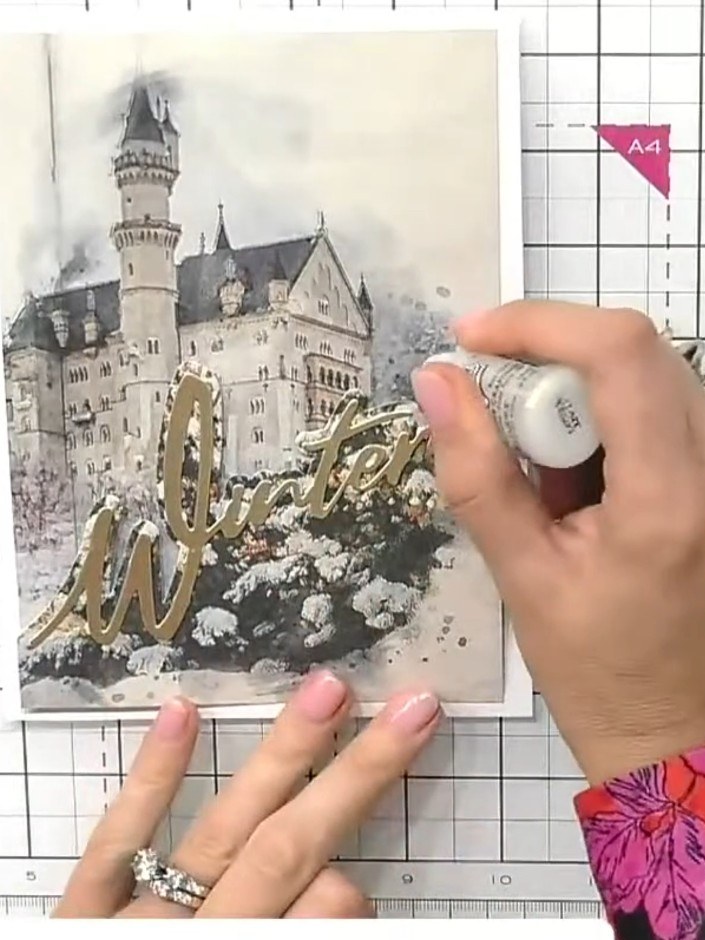
Apply sparkle glue to the trees and background elements. Sprinkle glitter over the glued areas to create a snowy, festive effect.
▶ watch this step (16:45)Written up from the show itself. See every guide from our shows · free how-to guides · watch live on My Telly