Give your friends €10 off their first order!
Refer a FRIEND








A project from our live show CREATE AND CRAFT TV - Join Toni for her brand new launch show 2 - broadcast 16th Oct 23 · 16/10/2023 · watch it from 1:17:30
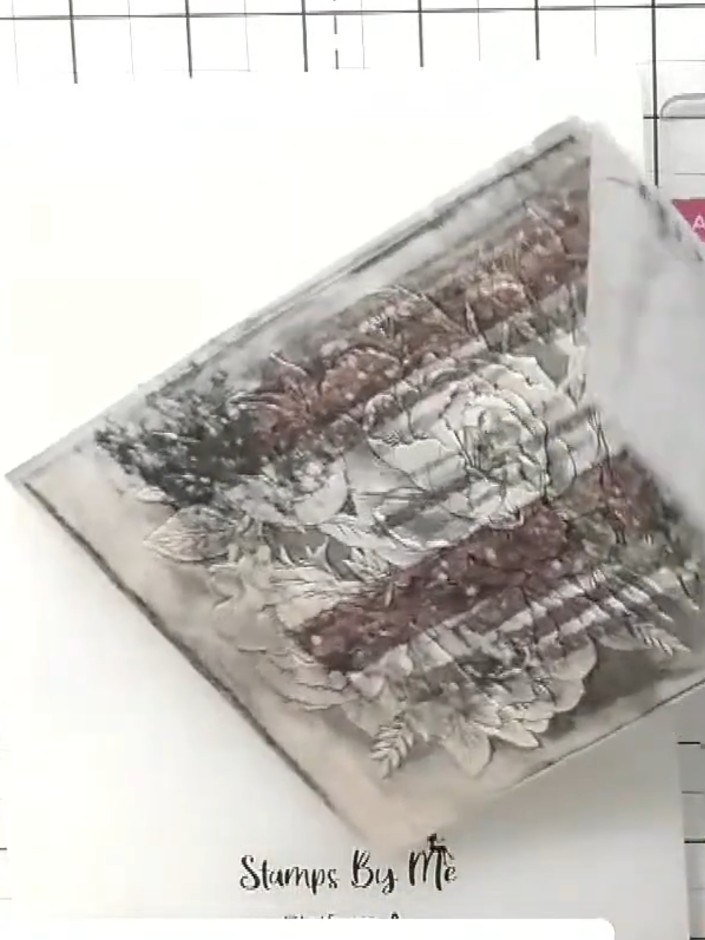
Create a stunning woodland scene using 3D embossing and a two-tone ink technique. This project combines black ink with white highlights to bring out the intricate details of trees and forest elements on your embossed design. The result is a dramatic, high-contrast piece perfect for cards and papercraft projects.
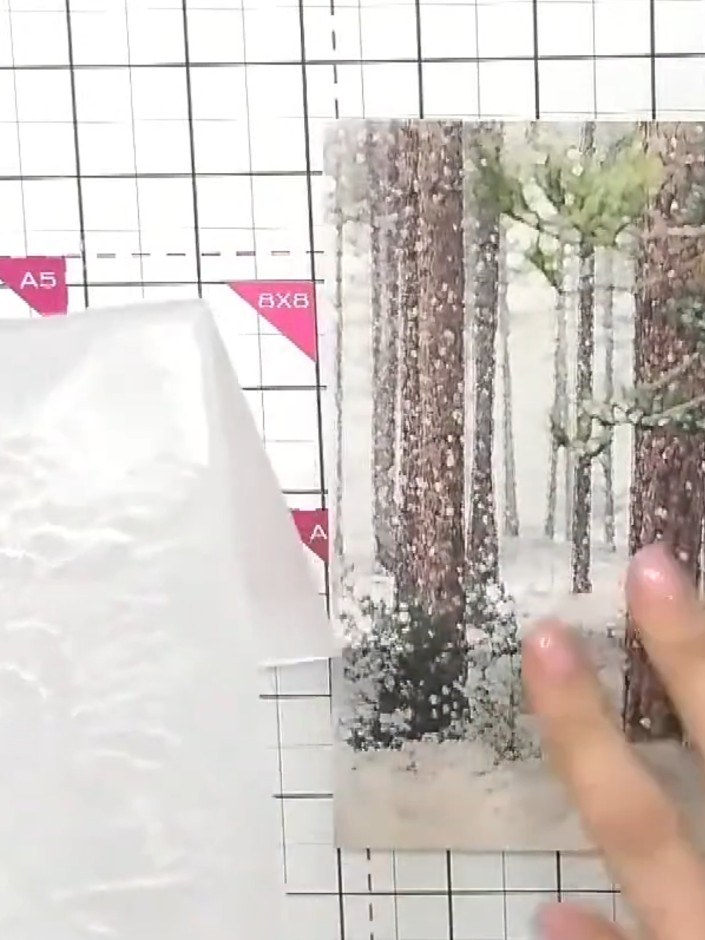
Select an HD 3D embossing folder featuring a woodland or forest scene. The embossing folder should have a detailed design with trees and foliage.
▶ watch this step (1:17:30)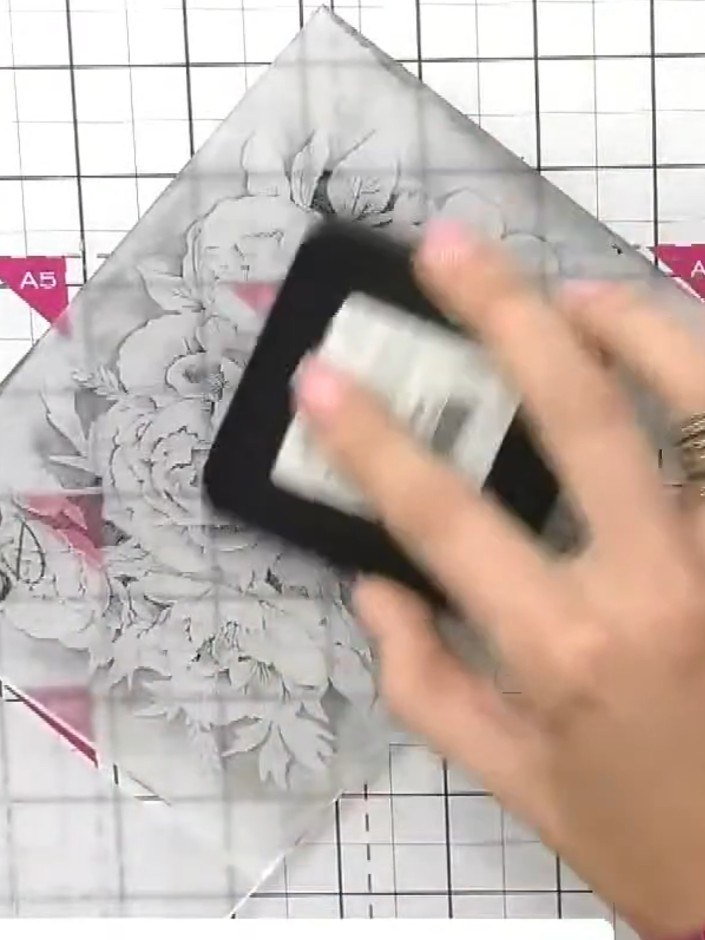
Ink the embossing folder with black ink using a brush applicator. Apply the ink lightly to both the raised and recessed areas of the folder to ensure full coverage.
▶ watch this step (1:18:00)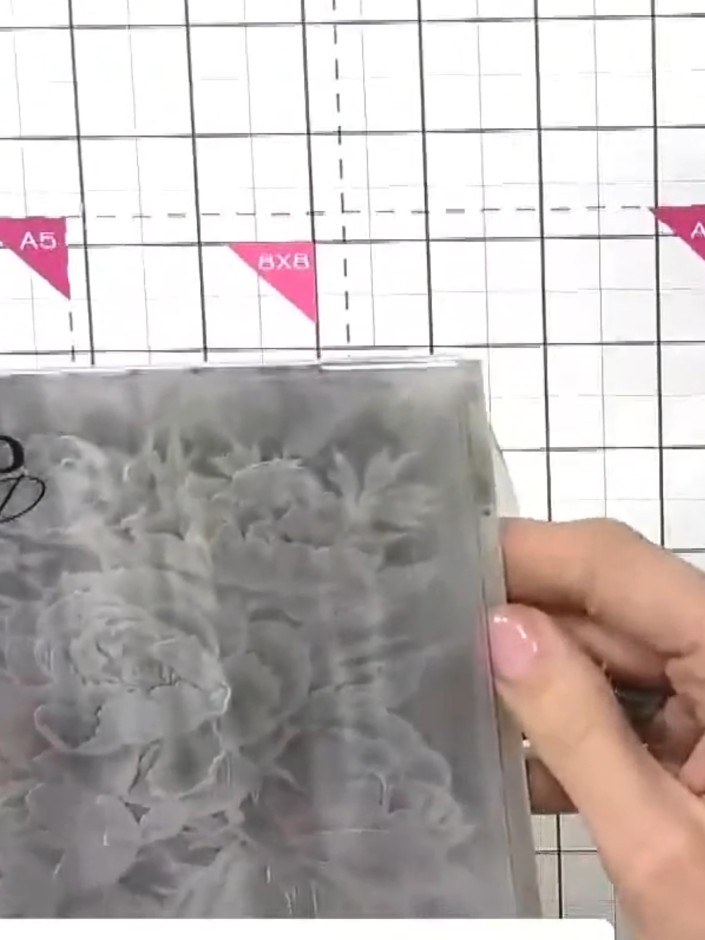
Run your white or cream card stock through your die-cutting machine with the inked embossing folder to create the embossed design.
▶ watch this step (1:18:30)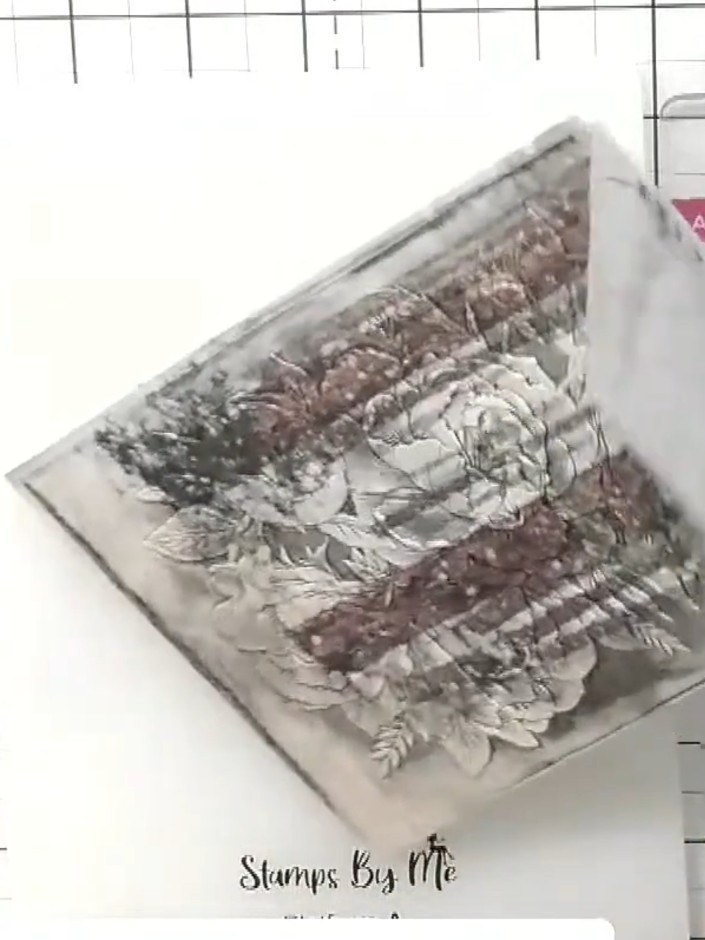
Examine the embossed painted mount and choose which side you prefer - the raised or recessed side. Select the side that shows the design most clearly for your project.
▶ watch this step (1:19:00)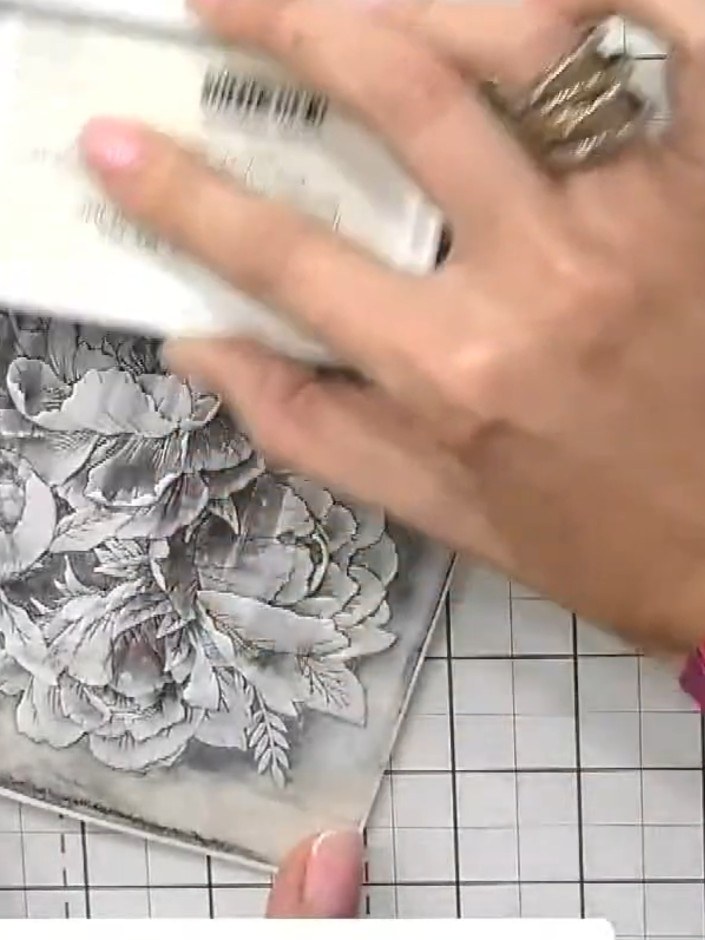
Using a white ink pad, lightly brush over the embossed design to highlight the raised elements. Focus on the flowers, foliage and foreground details to create subtle contrast and dimension.
▶ watch this step (1:20:00)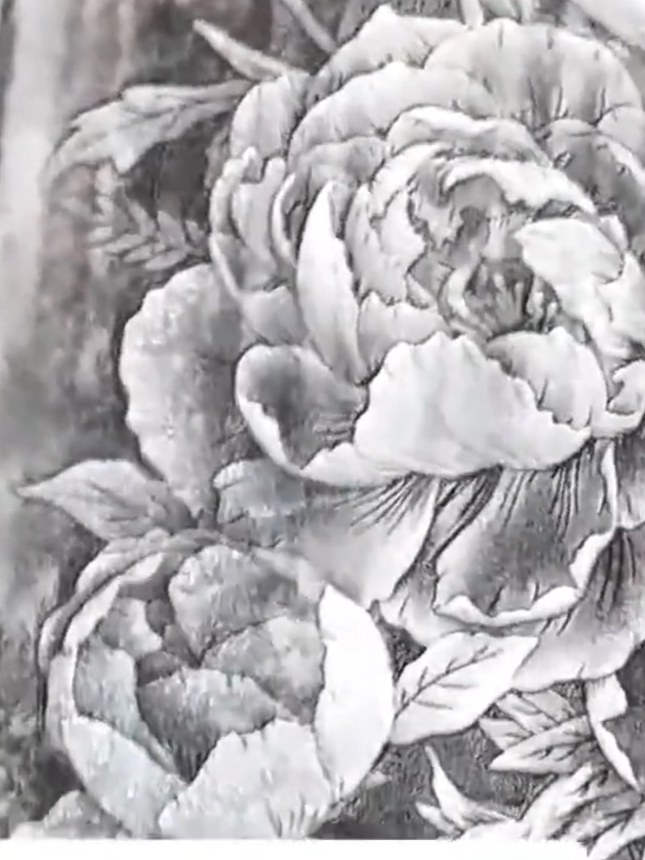
Step back and assess your embossed design. The white highlights should bring specific elements like the peonies and lily forward, while the black background creates depth in the woodland scene.
▶ watch this step (1:21:00)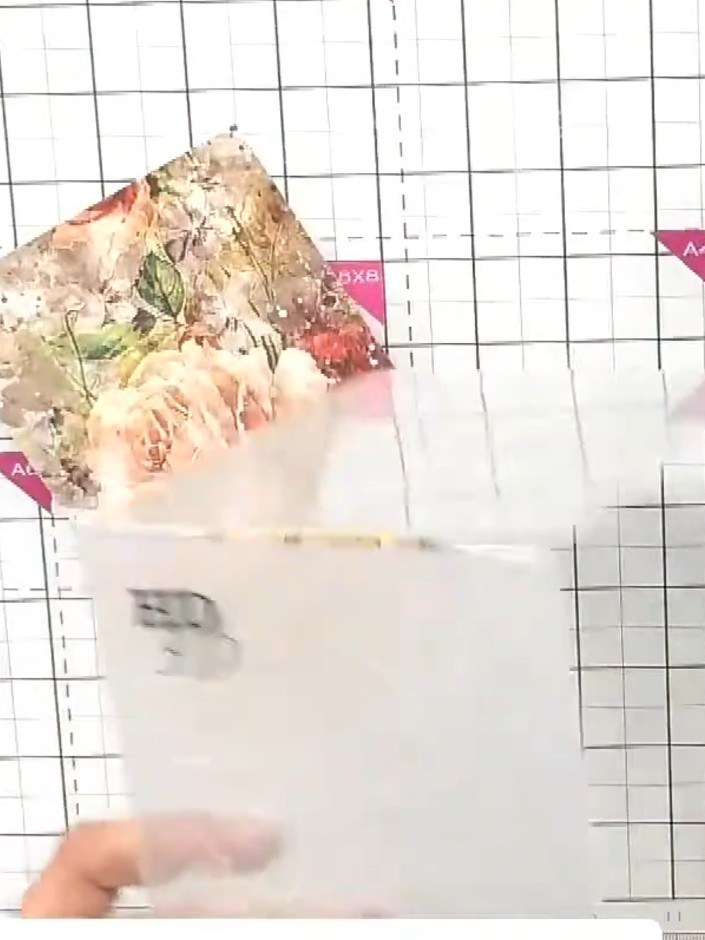
Mount your embossed and highlighted panel onto a white card base using adhesive. Position the panel centrally to create your finished card.
▶ watch this step (1:22:00)Written up from the show itself. See every guide from our shows · free how-to guides · watch live on My Telly