Give your friends €10 off their first order!
Refer a FRIEND








A project from our live show HOBBYMAKER TV - Join us for the latest show - Broadcast 6 p.m. (UK) 19th June 2026 · 19/06/2026 · watch it from 26:45
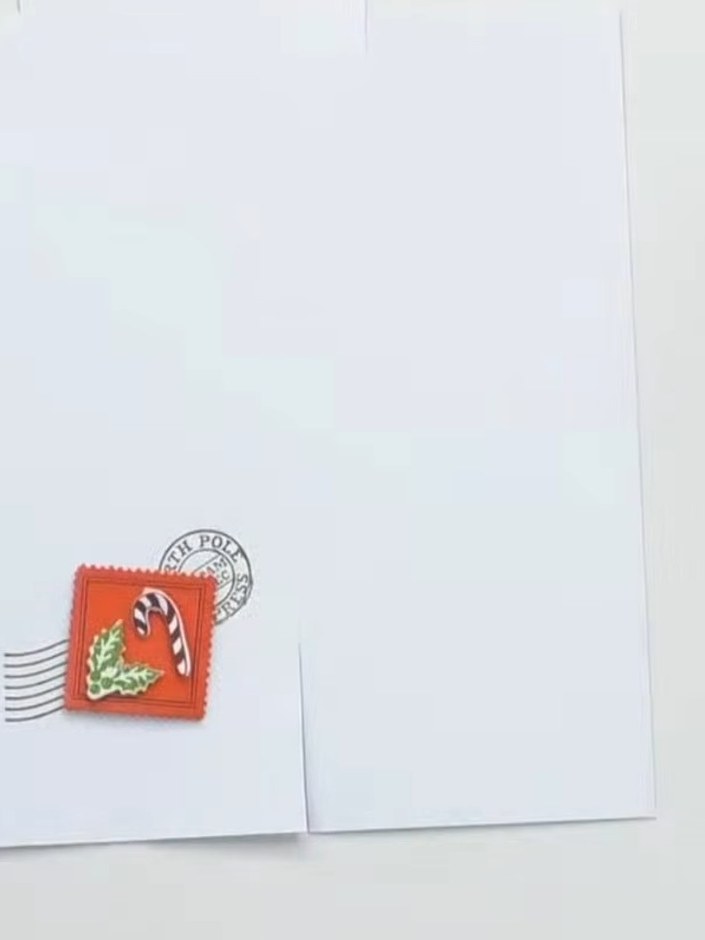
Create a festive Christmas card featuring a layered design with stamped and die-cut elements. This project combines a red square stamp with holly and candy cane motifs, postmark details, and dimensional layering using foam tape. The finished card showcases a classic holiday colour scheme with professional-looking depth and texture.
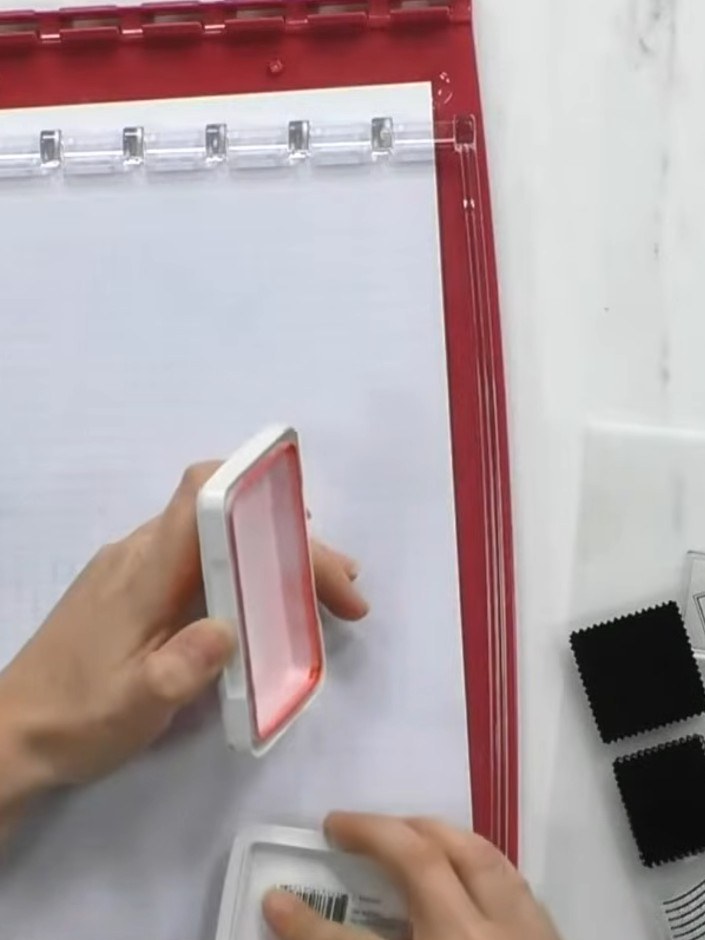
Place your white card stock into the Sizzix Making Tool. Position the stencil and stamp tool over the card, then apply red ink to stamp a large festive design onto the white card.
▶ watch this step (27:00)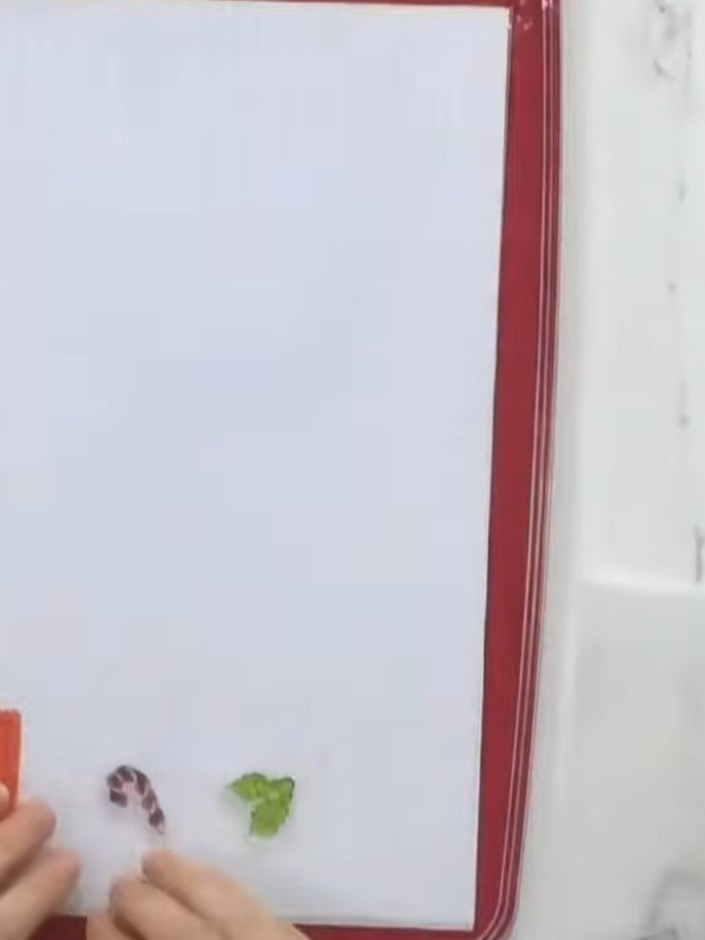
Stamp additional coordinating elements like holly leaves onto a separate sheet of white card using green ink. Use the Sizzix Making Tool to position and stamp the images clearly.
▶ watch this step (27:30)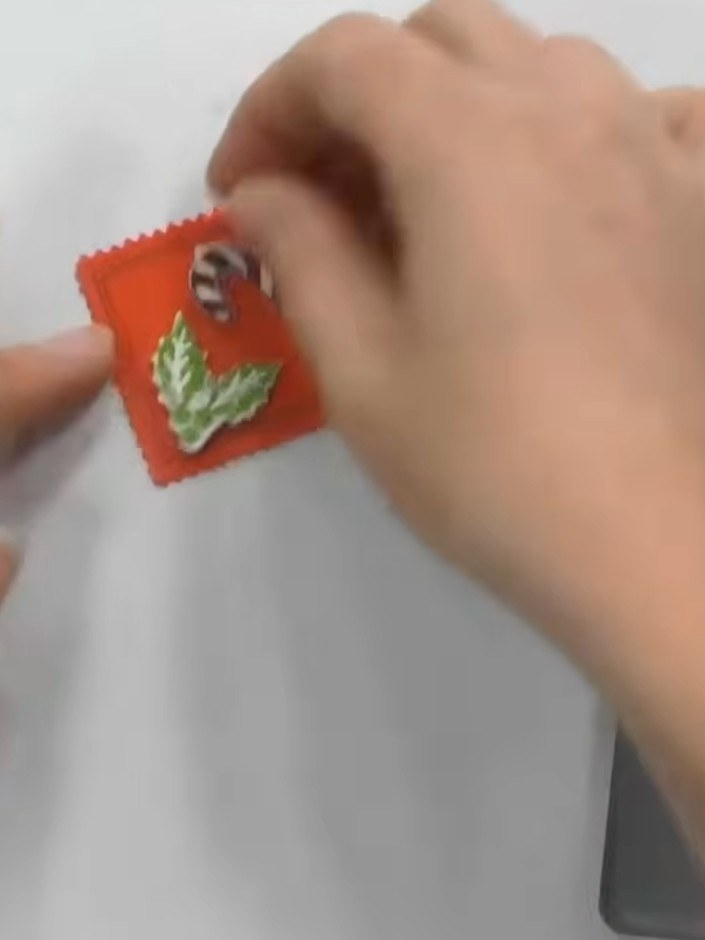
Layer the die-cut elements onto the orange background card using small pieces of foam tape to create dimension. Position the leaf and acorn elements on the card, adding foam tape to the back of each piece before adhering.
▶ watch this step (33:15)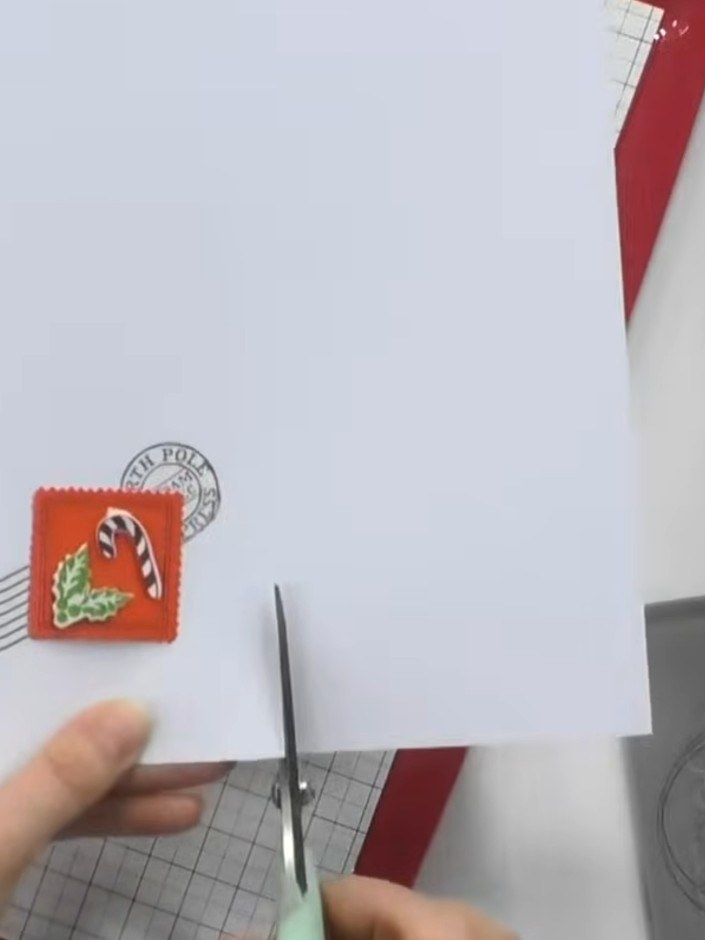
Trim the layered card down to size using the scoring board and trimmer. Cut away the excess white card to create a neat edge around your stamped elements.
▶ watch this step (34:00)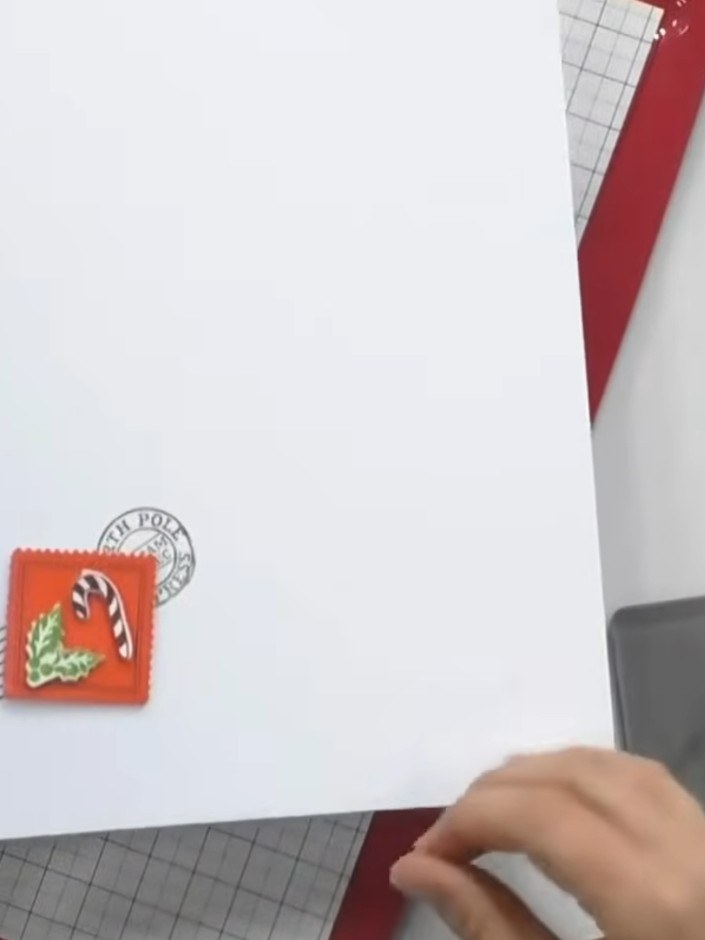
Add a sentiment stamp or sticker to complete your card. Position it on the white card front where desired and press firmly to secure.
▶ watch this step (34:30)Written up from the show itself. See every guide from our shows · free how-to guides · watch live on My Telly