Give your friends €10 off their first order!
Refer a FRIEND








A project from our live show THE ART OF CARDISTRY - Join me for my Creative Card Session with all my wonderful USA following - Broadcast 11th SEP 23 · 11/09/2023 · watch it from 36:45
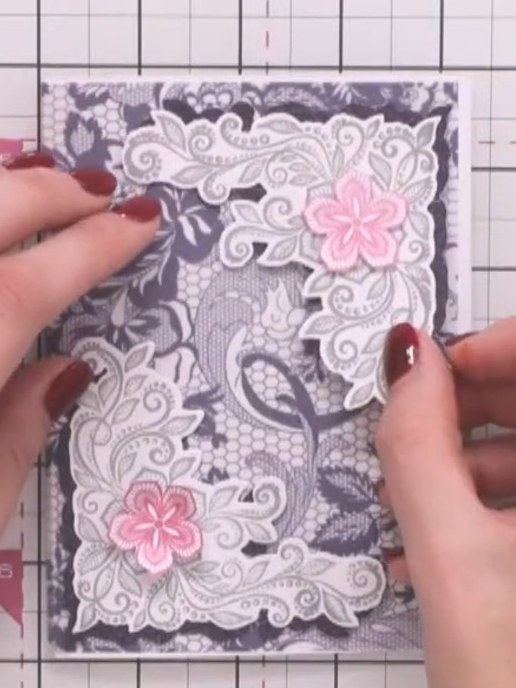
Create an elegant everyday card using the Midnight Blooms collection featuring grey, white and pink lace-effect designs. This A2 card features a decorative vellum wrap-around overlay with ornate corner embellishments and delicate pink flowers, creating a sophisticated layered effect visible on both the front and back of the card. The main techniques include layering patterned papers, positioning vellum overlays, and adding dimensional corner decorations.
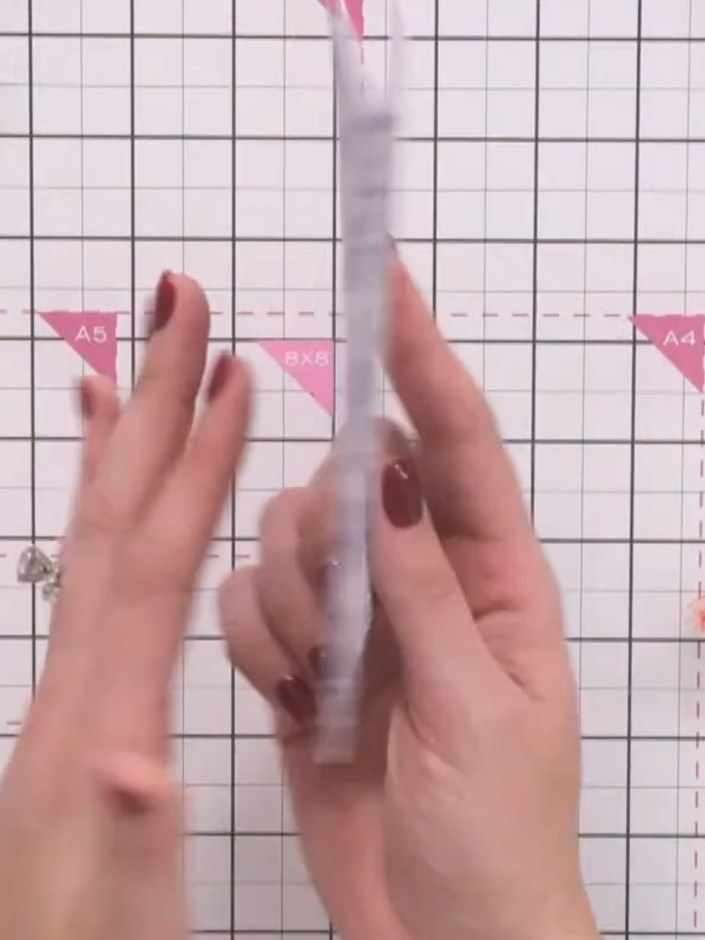
Create an A2 card base by folding a piece of cardstock in half. The card should open landscape style with the fold along the left edge.
▶ watch this step (36:45)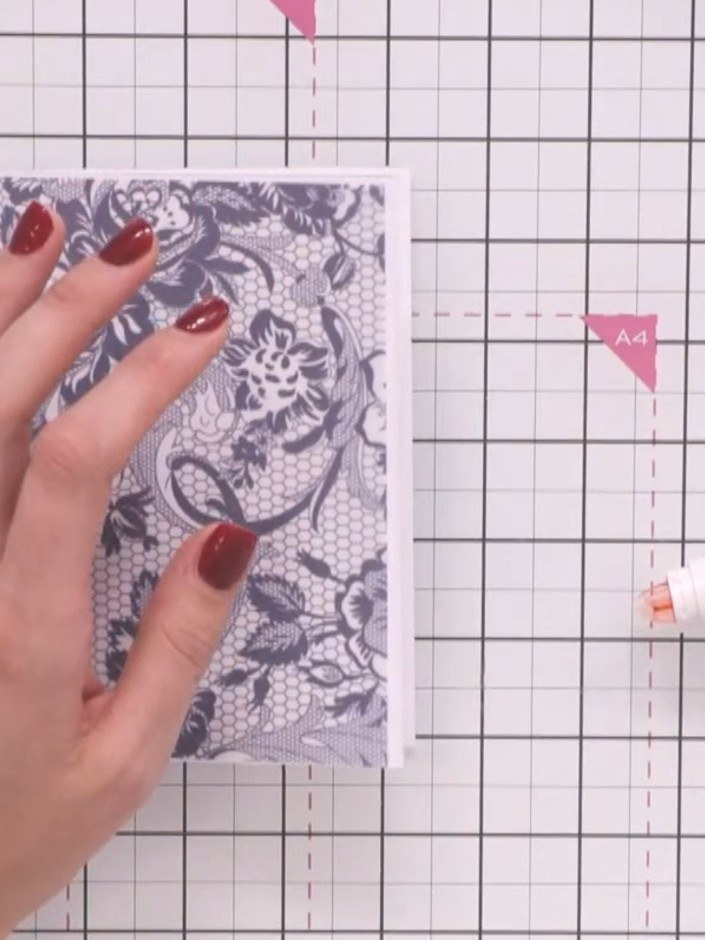
Wrap the decorative vellum piece around the front of the card base. Secure it at the back with tape to hold it in place.
▶ watch this step (37:00)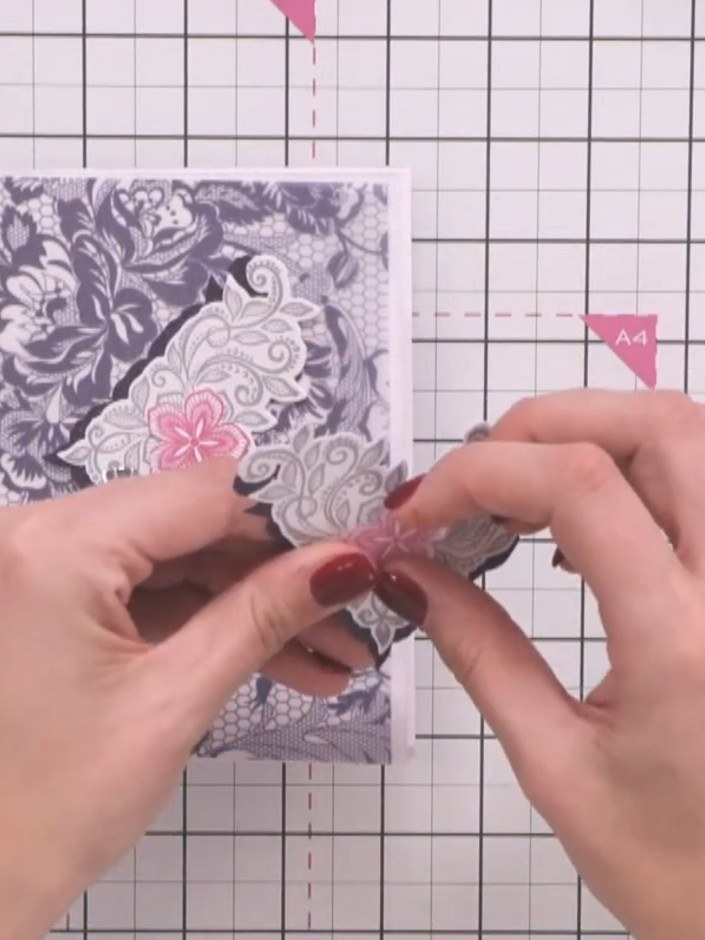
Stamp the corner design twice in grey ink onto white cardstock. The design features an ornate floral corner motif with a pink flower accent.
▶ watch this step (37:15)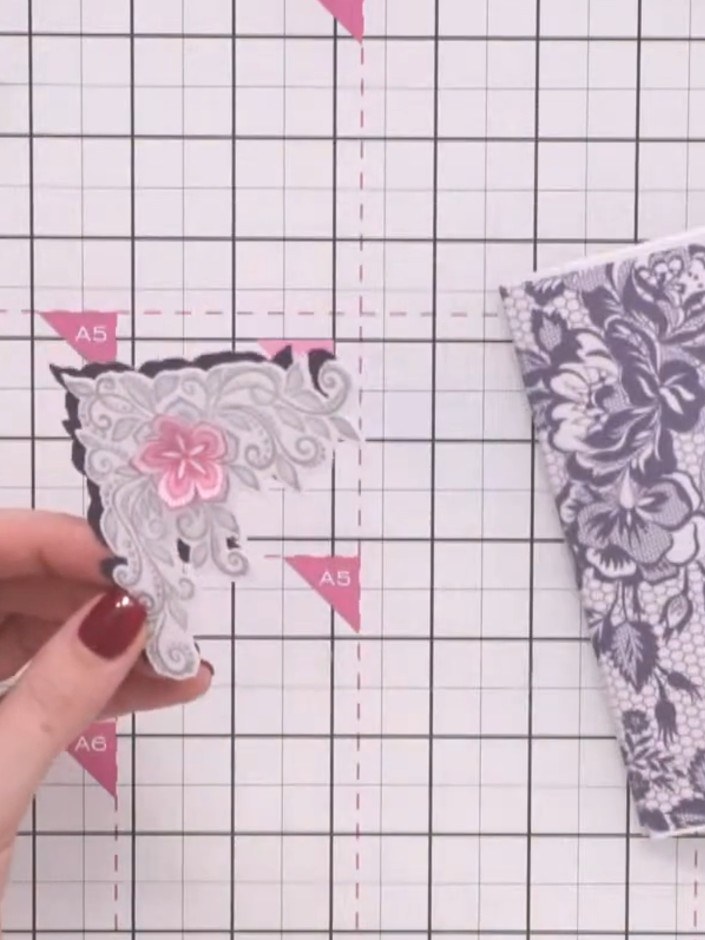
Cut out the corner design using the outline die to create a second layer. Position the decorative lace corners on the top two corners of your white card base, with the pink flowers facing inward.
▶ watch this step (37:30)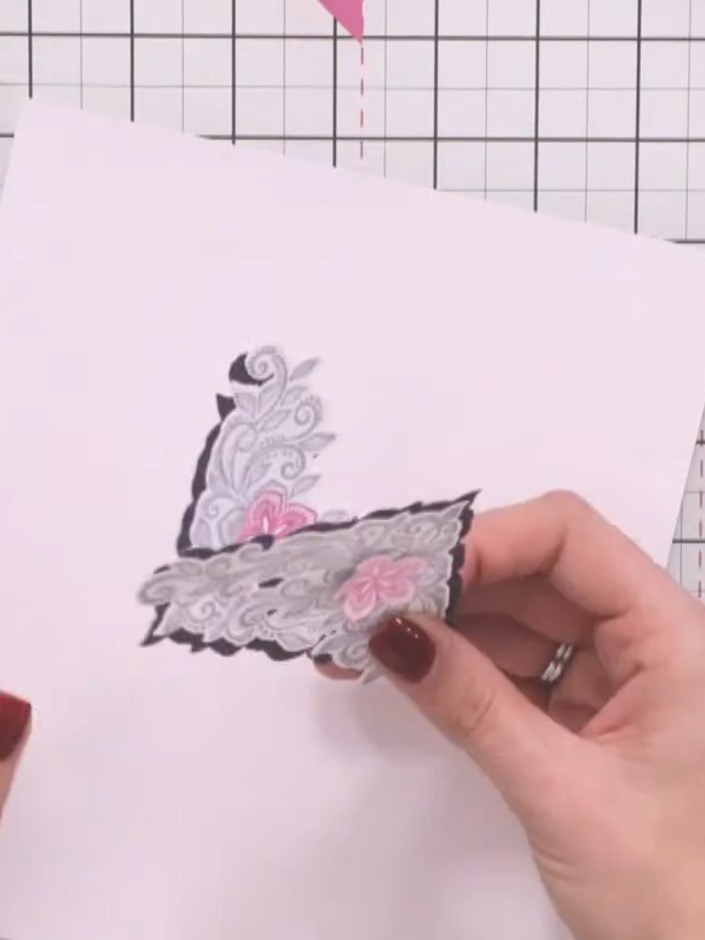
Stamp the decorative corner design again onto white cardstock. Fussy cut around just the pink flowers and grey scrollwork, leaving the black outline intact.
▶ watch this step (37:45)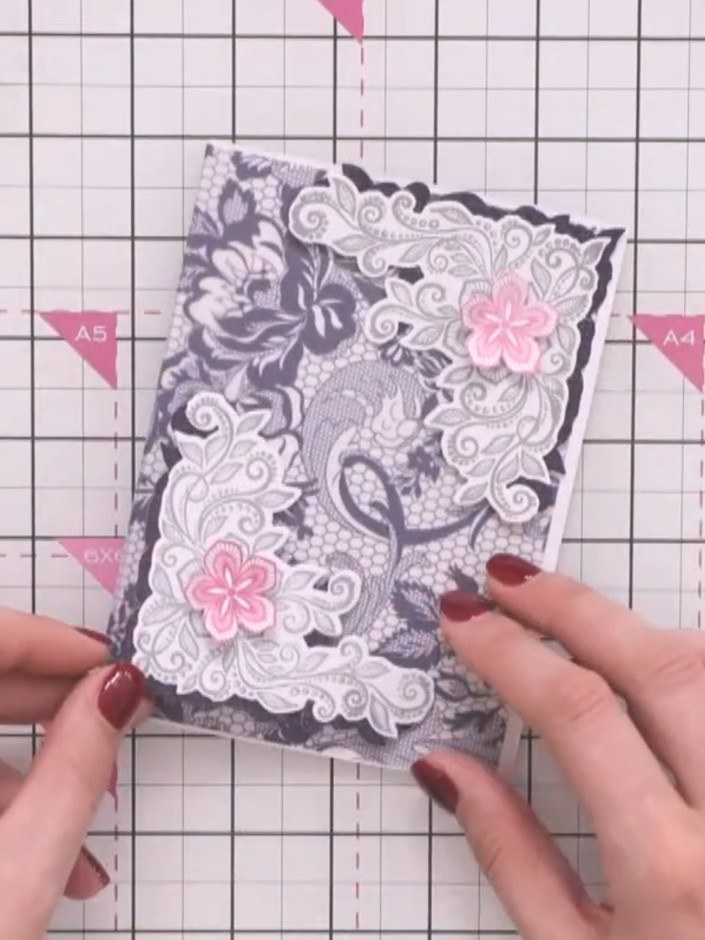
Add small pink flowers to the lace elements to coordinate with the Midnight Blooms collection. Adhere the decorated lace pieces to the front of your card to complete the design.
▶ watch this step (38:00)Written up from the show itself. See every guide from our shows · free how-to guides · watch live on My Telly
