Give your friends €10 off their first order!
Refer a FRIEND








A project from our live show THE ART OF CARDISTRY - Join me for my Creative Card Session with all my wonderful USA following - Broadcast 11th SEP 23 · 11/09/2023 · watch it from 40:15
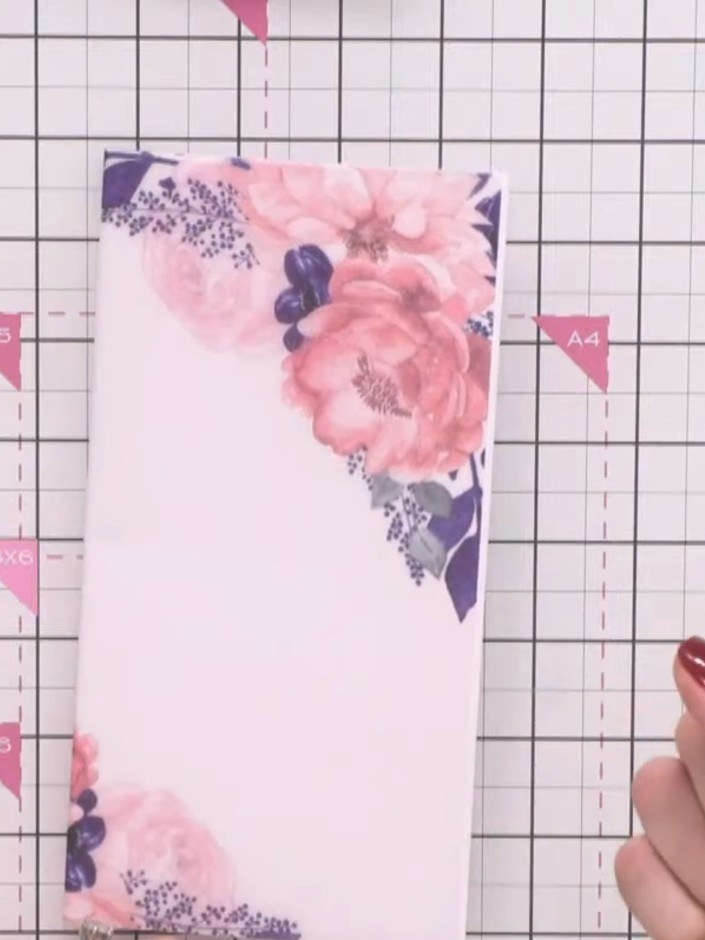
Make a sophisticated slimline card featuring the Midnight Blooms collection in navy and pink with delicate floral patterns. This design showcases layered patterned papers with an ornate lace-effect border die cut and a vellum overlay with sentiment. The vellum adds elegant texture and depth to the narrow card format whilst allowing the beautiful patterns beneath to show through.
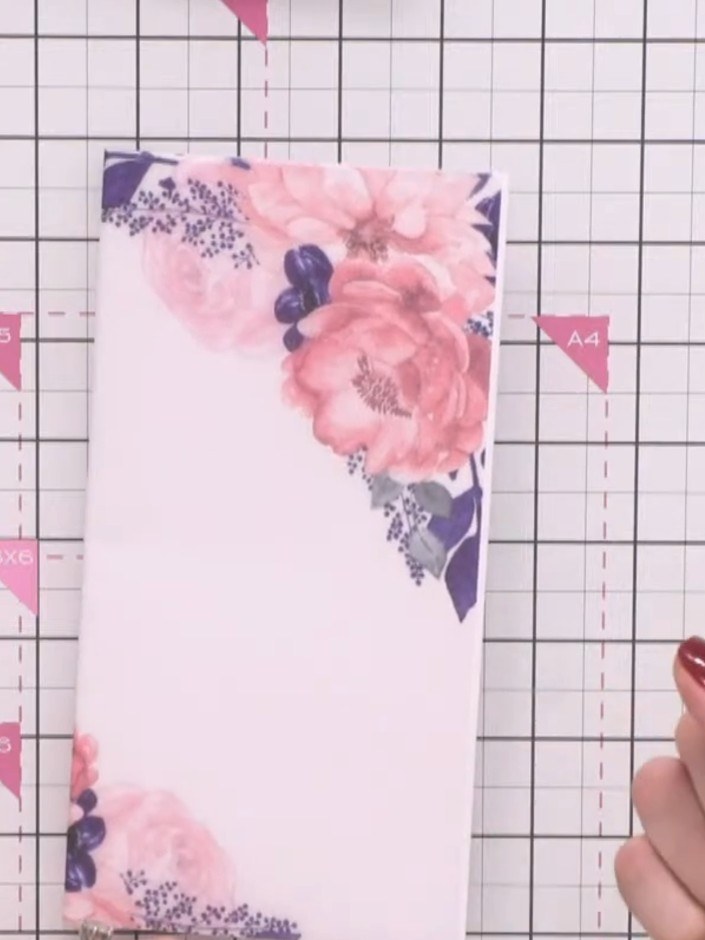
Cut a slimline card base from white cardstock. The card should be approximately 21 cm tall and slimline width.
▶ watch this step (40:15)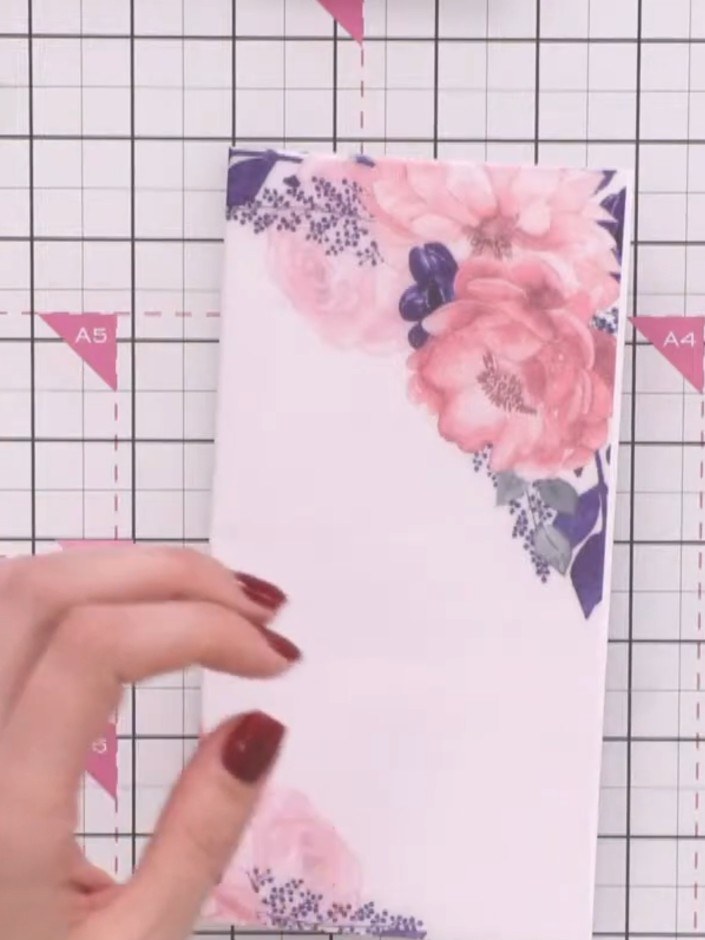
Cut the border die from textured card stock. The card stock should have tooth or texture to it for best results.
▶ watch this step (40:30)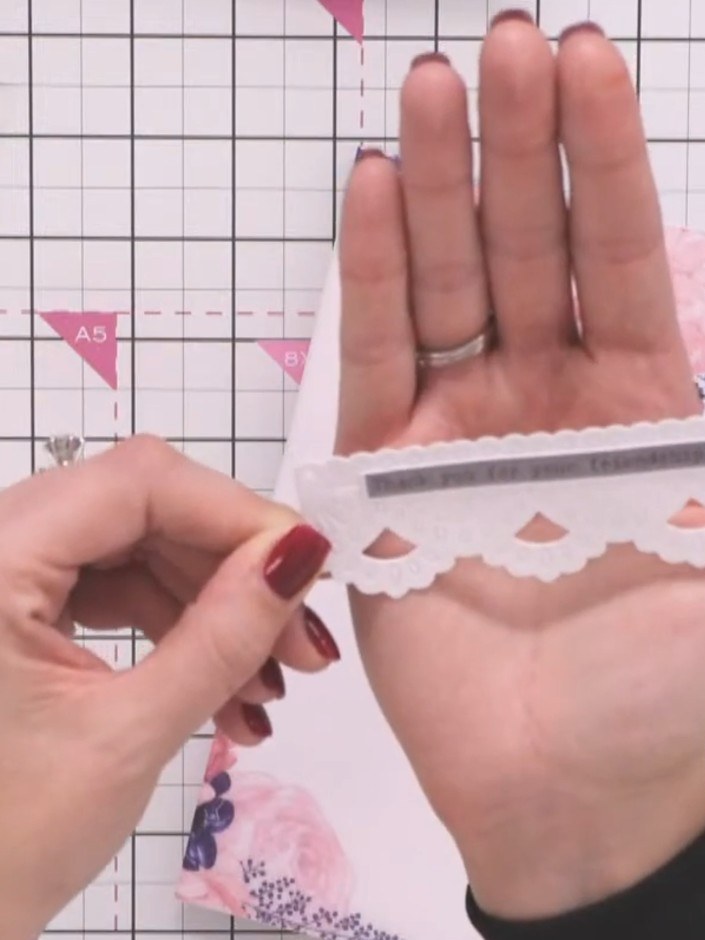
If die-cut pieces haven't cut completely through and remain partially attached, leave them in place as this creates an attractive decorative effect on your card.
▶ watch this step (40:45)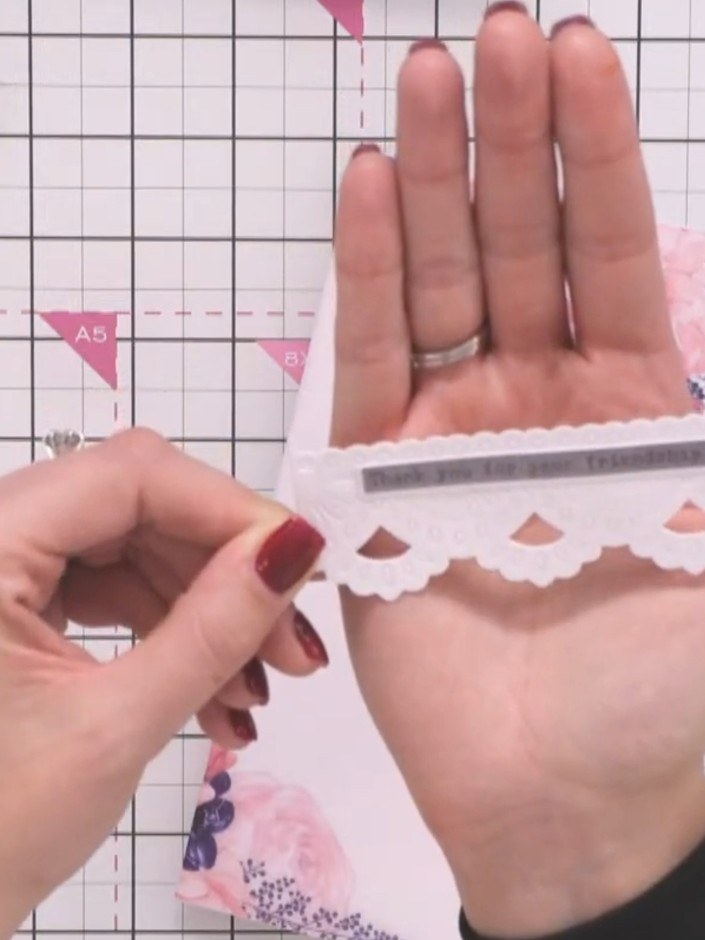
Stick the decorative vellum border down the side of your card front using tape runner or double-sided tape. Position it carefully to ensure it's straight and aligned with the edge of the card.
▶ watch this step (41:00)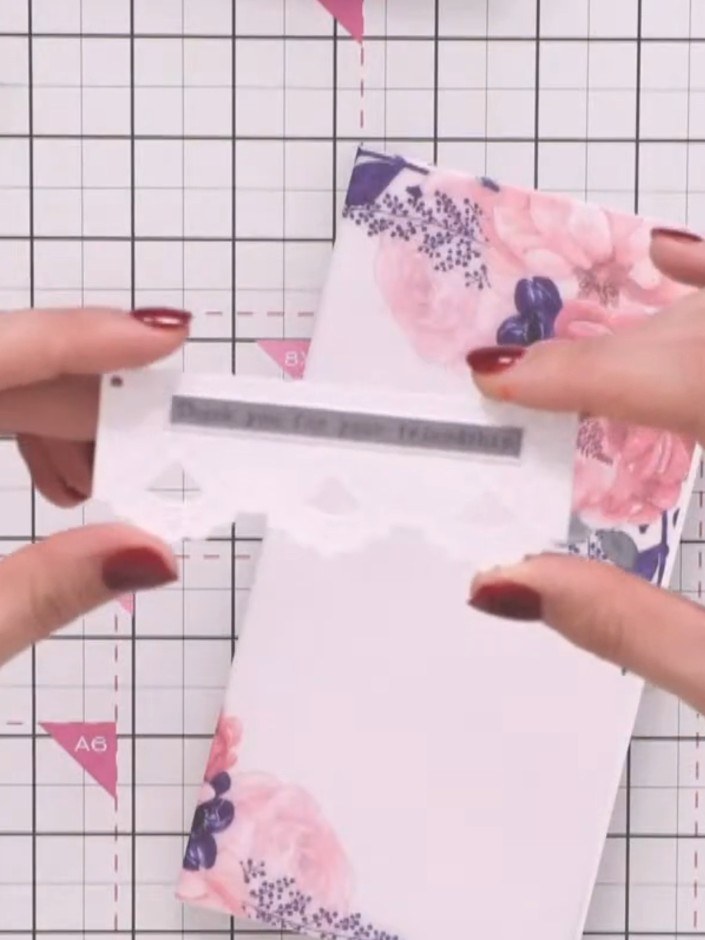
Stamp the sentiment 'Thank you for your friendship' onto a piece of vellum using the stamp from the Midnight Blooms set.
▶ watch this step (41:15)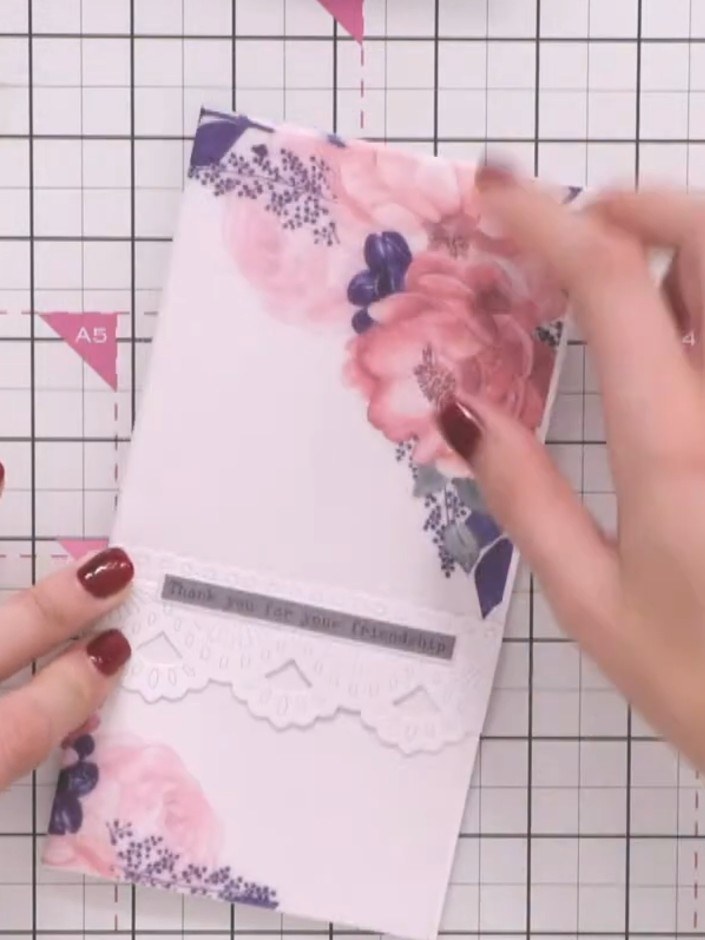
Position the vellum sentiment piece centrally from side to side on the card front, placing it over the floral design.
▶ watch this step (41:30)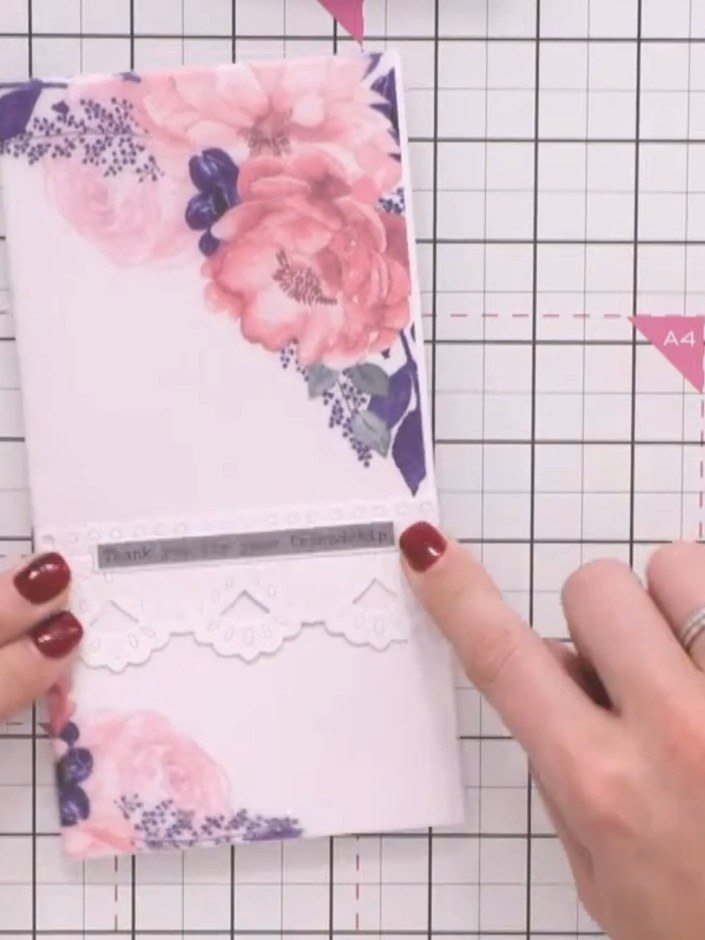
Secure the vellum sentiment panel to the card using tape to complete your Midnight Blooms slimline card.
▶ watch this step (41:45)Written up from the show itself. See every guide from our shows · free how-to guides · watch live on My Telly
