Give your friends €10 off their first order!
Refer a FRIEND








A project from our live show HOBBYMAKER TV - Join us for the latest show - Broadcast 3 p.m. (UK) 19th June 2026 · 19/06/2026 · watch it from 35:00
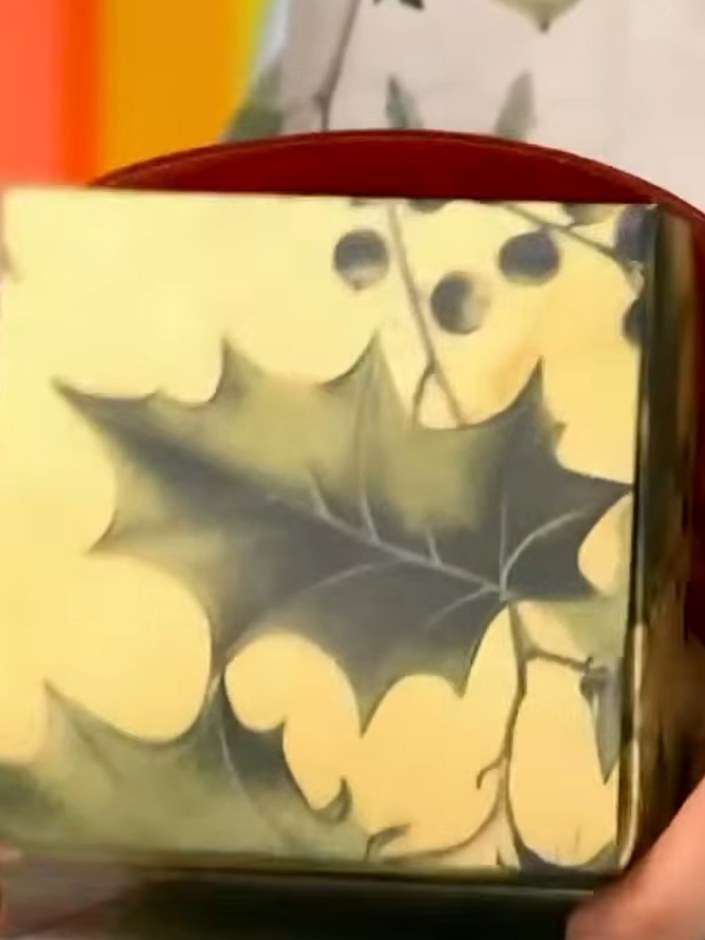
Create an elegant 4x4x4 inch gift box from a single sheet of 12x12 cardstock without using any glue. This clever design features decorative metallic gold paper with embossed leaf patterns, and uses an ingenious punch-and-hook connector system that allows the box to fold together and hold its shape securely. Perfect for presenting small gifts, this no-glue construction method uses a box making board and paper trimmer to achieve professional results.
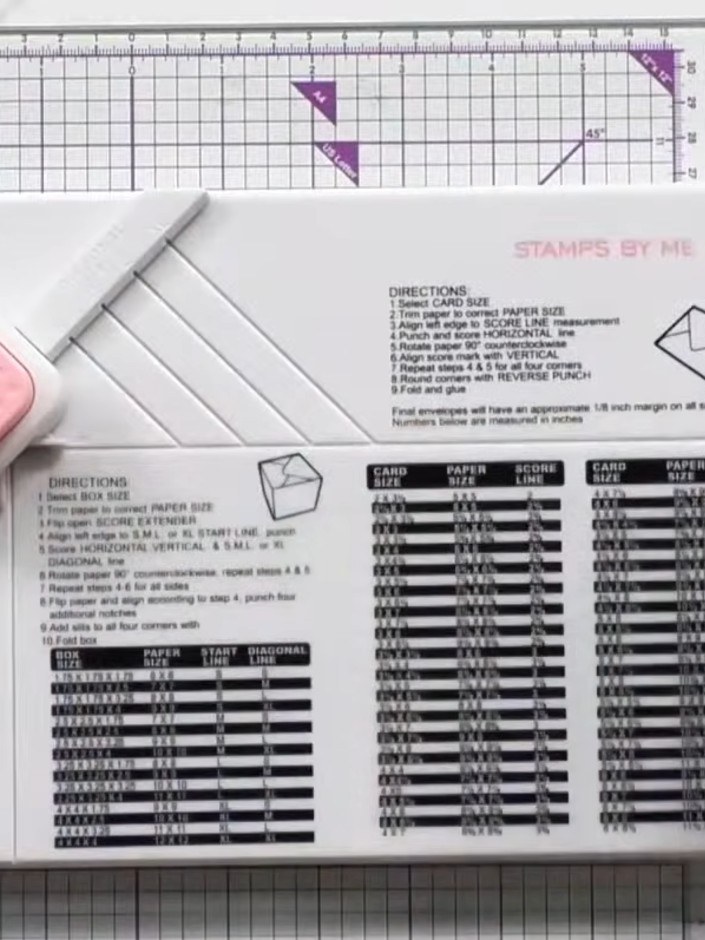
Place your 12x12 inch piece of cardstock into the box making board, aligning it with the start line and the diagonal line marked XL.
▶ watch this step (36:00)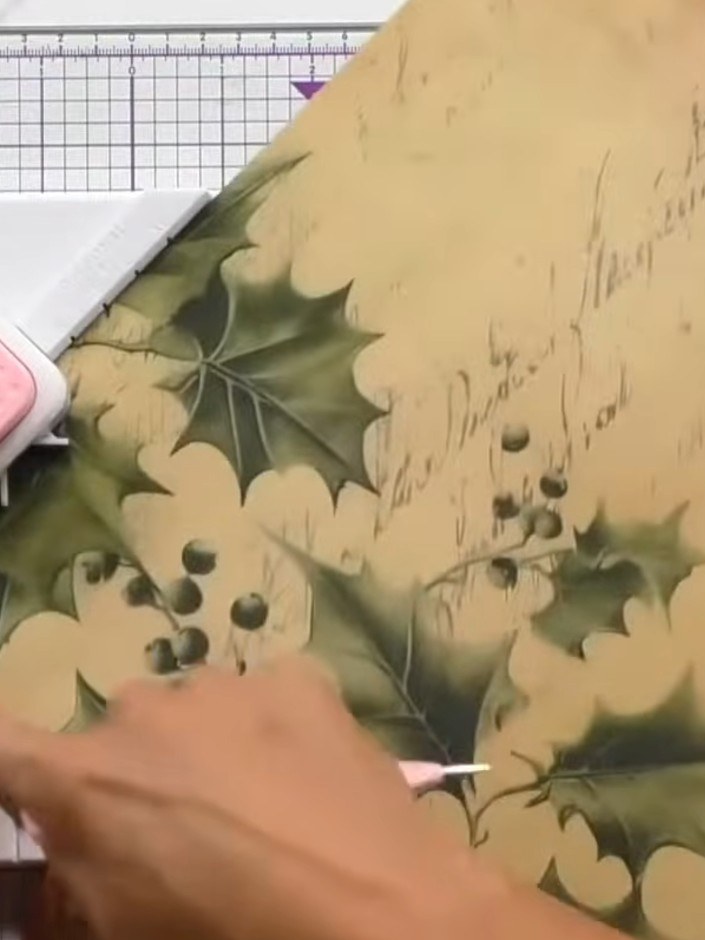
Score down and across the decorative paper using the box making board's scoring guides. Rotate the paper and repeat the XL pattern on all four sides to create a grid of score lines.
▶ watch this step (36:30)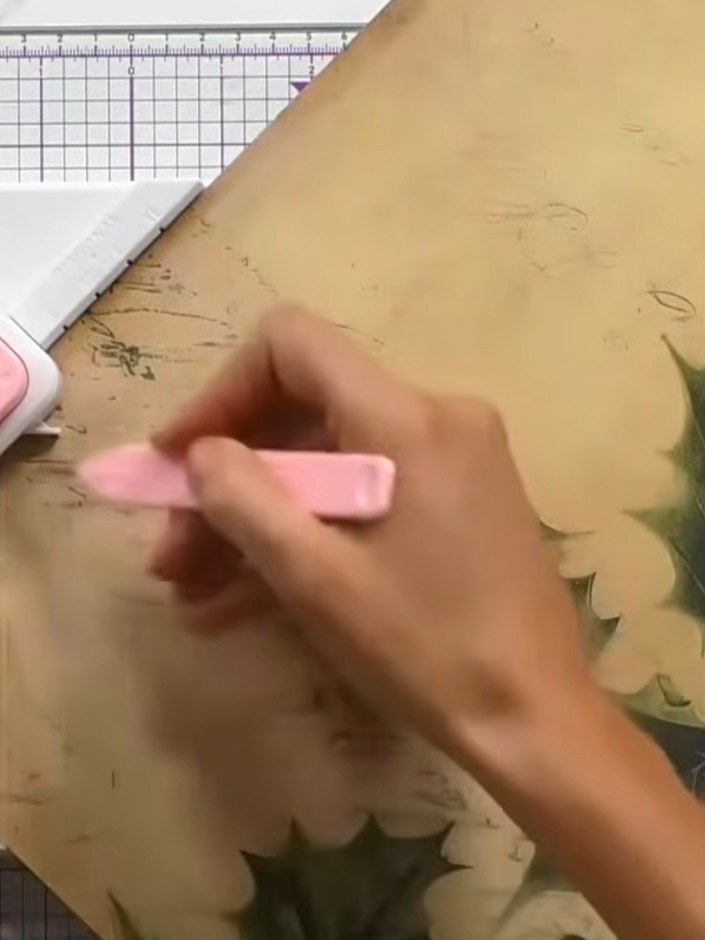
Use the pink punch tool attached to the board to score along all the marked lines on the decorative paper. Work across the entire sheet, punching each score line to create fold marks.
▶ watch this step (37:00)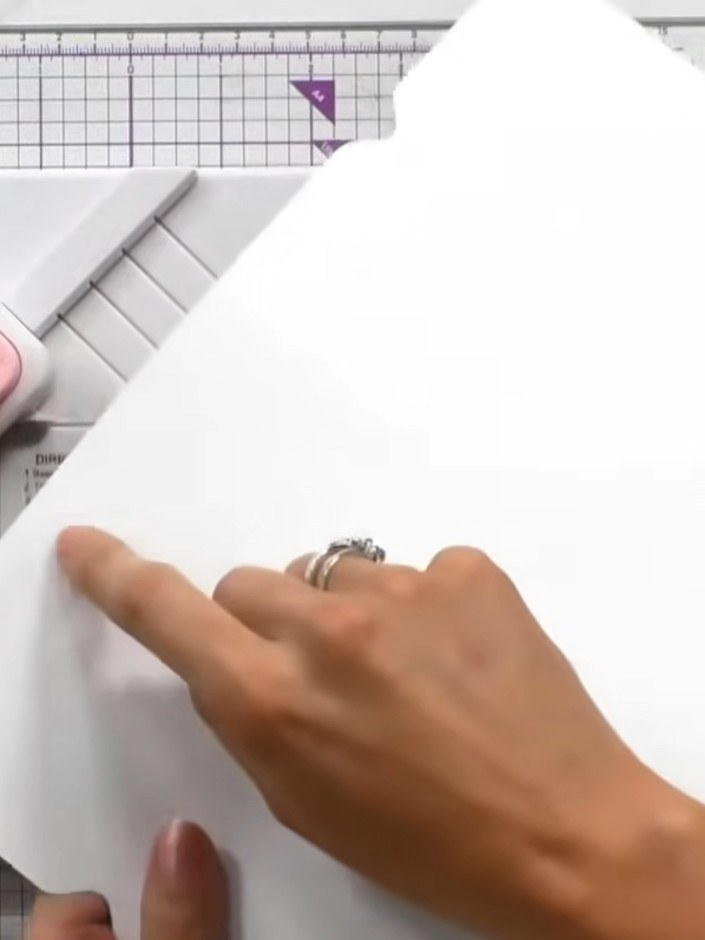
Turn the white card over so the punch lines are visible. Carefully remove the small triangular pieces that have been marked by the punch tool.
▶ watch this step (37:45)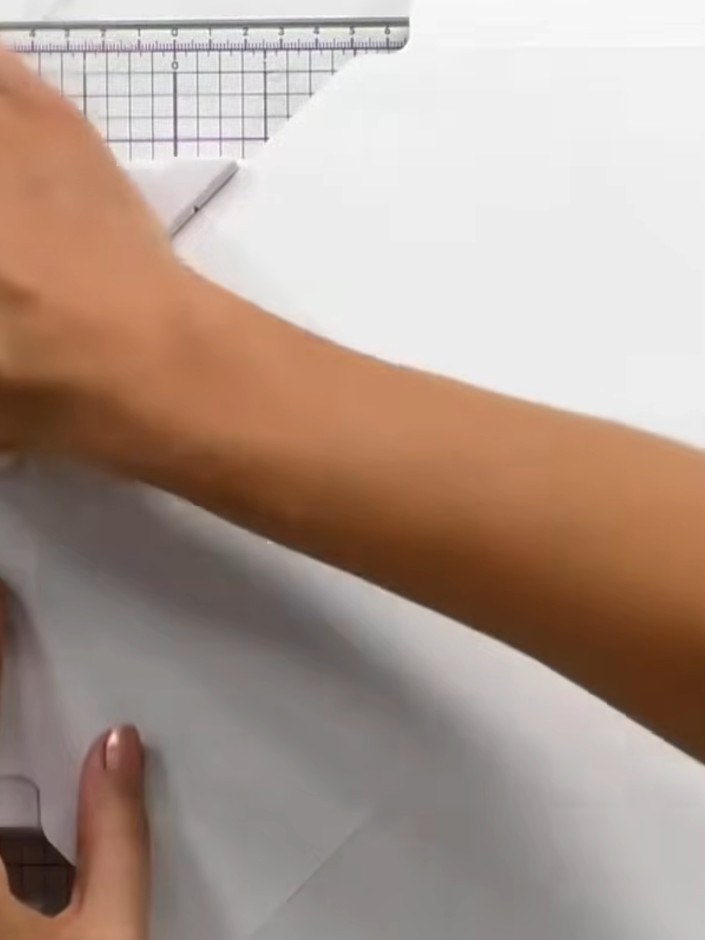
Fold up all four sides of the white box making board to create the box walls, allowing them to naturally come together at the corners.
▶ watch this step (38:15)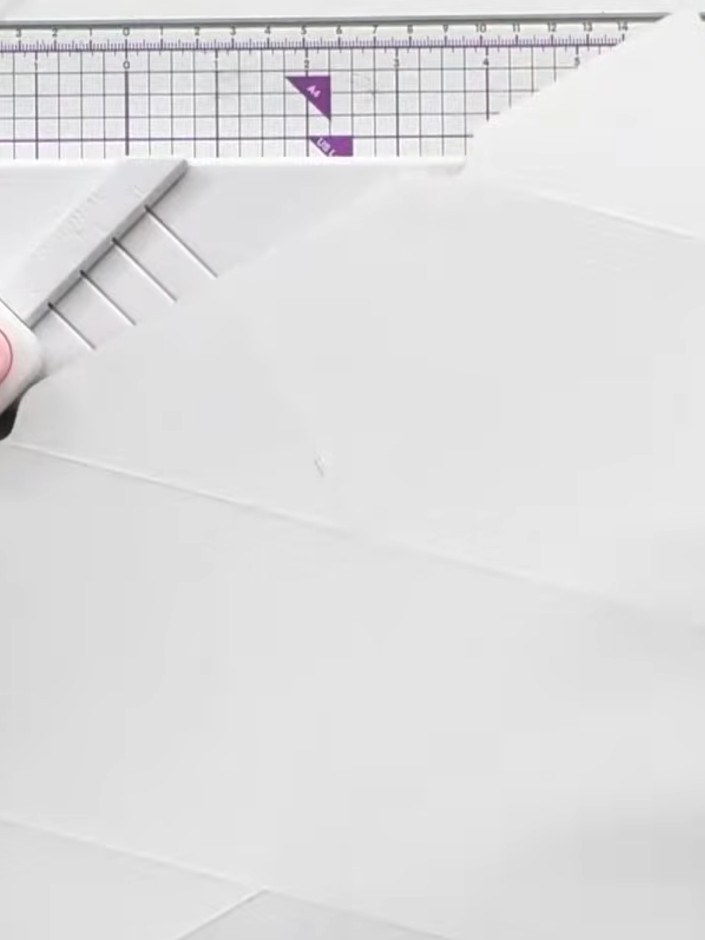
Use the corner punch tool to round off the corners of the envelope flaps for a neat, finished appearance.
▶ watch this step (38:30)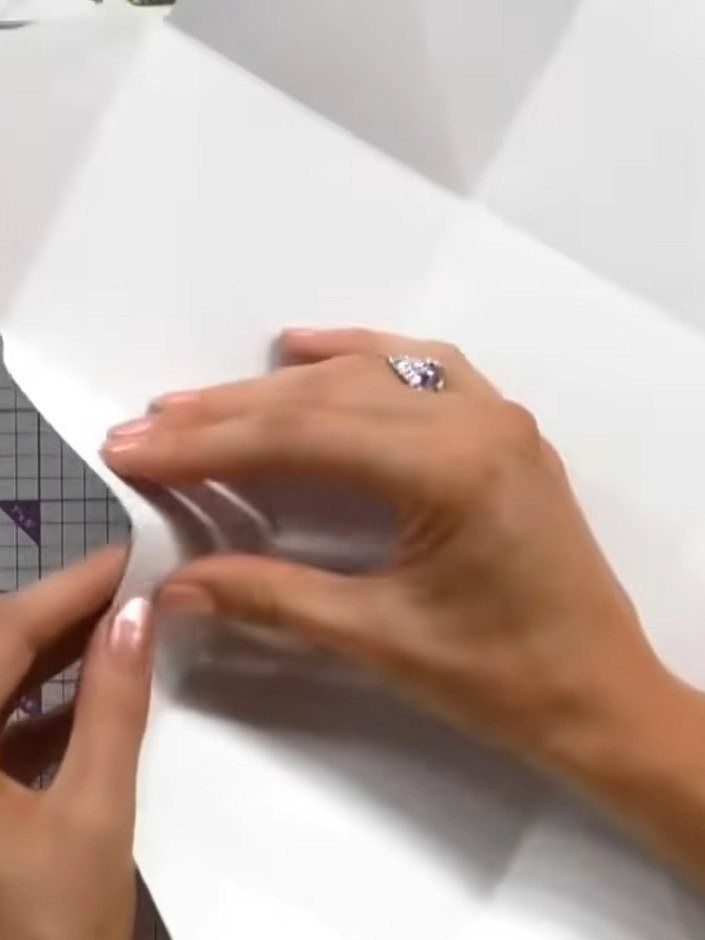
Use the connector punch to create hook-and-eye fasteners on the overlapping flaps. Push the punch through the corner where the flaps overlap to create interlocking tabs that will hold the box together without glue.
▶ watch this step (39:00)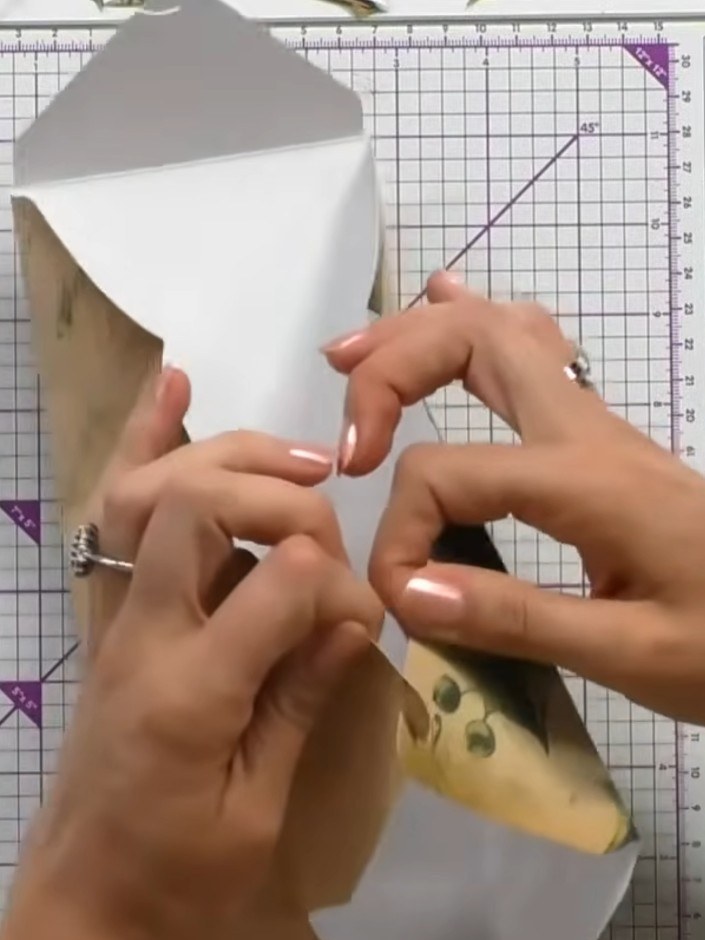
Pinch the box together along the scored lines. Secure the hook-and-eye connectors by pressing them firmly into place, then pull the side up to form the box shape.
▶ watch this step (39:30)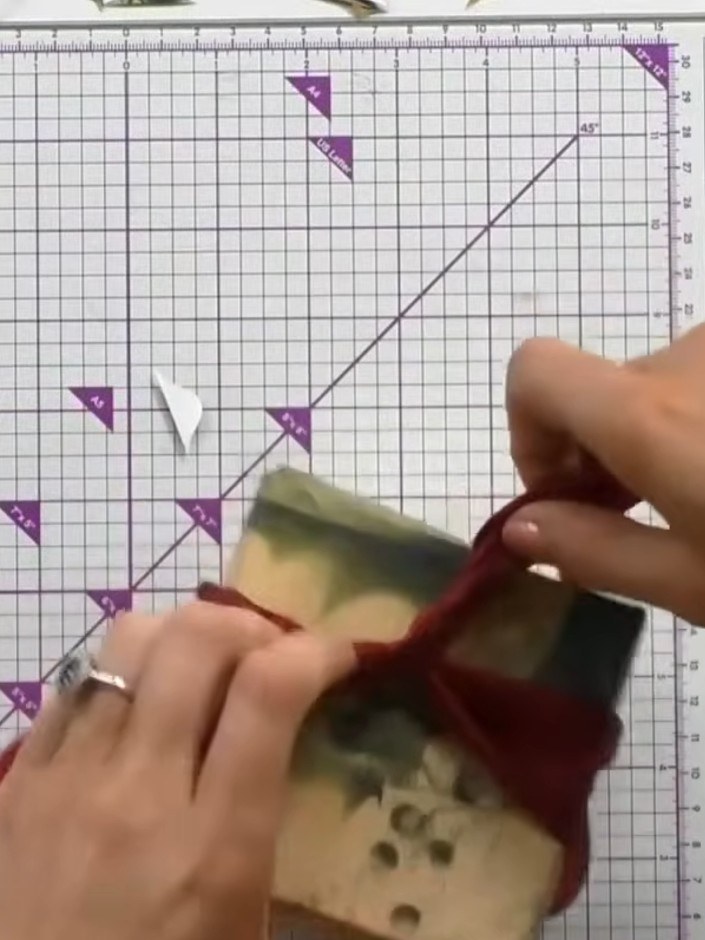
Wrap a ribbon around the completed box to finish and secure all the connectors. Ensure all the tabs are properly engaged and the box structure is stable.
▶ watch this step (40:00)Written up from the show itself. See every guide from our shows · free how-to guides · watch live on My Telly