QUICK LINKS

Welcome to the How to Craft Network
 
SBM SHOP
GIVE YOUR FRIENDS €10 OFF REFER A FRIEND › DISCOVER MY-TELLY.COM › WE JUST GOT SMARTER GET THE APP › AWARD WINNING CHANNEL ON YOUR TV › JOIN THE CLUB FOR SAVINGS ›
 

Envelope Album with Coordinating Paper Pads

A project from our live show THE THURSDAY DROP - Latest Products from Toni - Broadcast 17th September 2026 · 17/09/2026 · watch it from 36:45

Create a multi-page envelope album using coordinating paper pads and simple gluing techniques. This album features pockets, fold-out pages, and decorative layers that showcase how the four-pad collection works together seamlessly in one cohesive project.

You will need

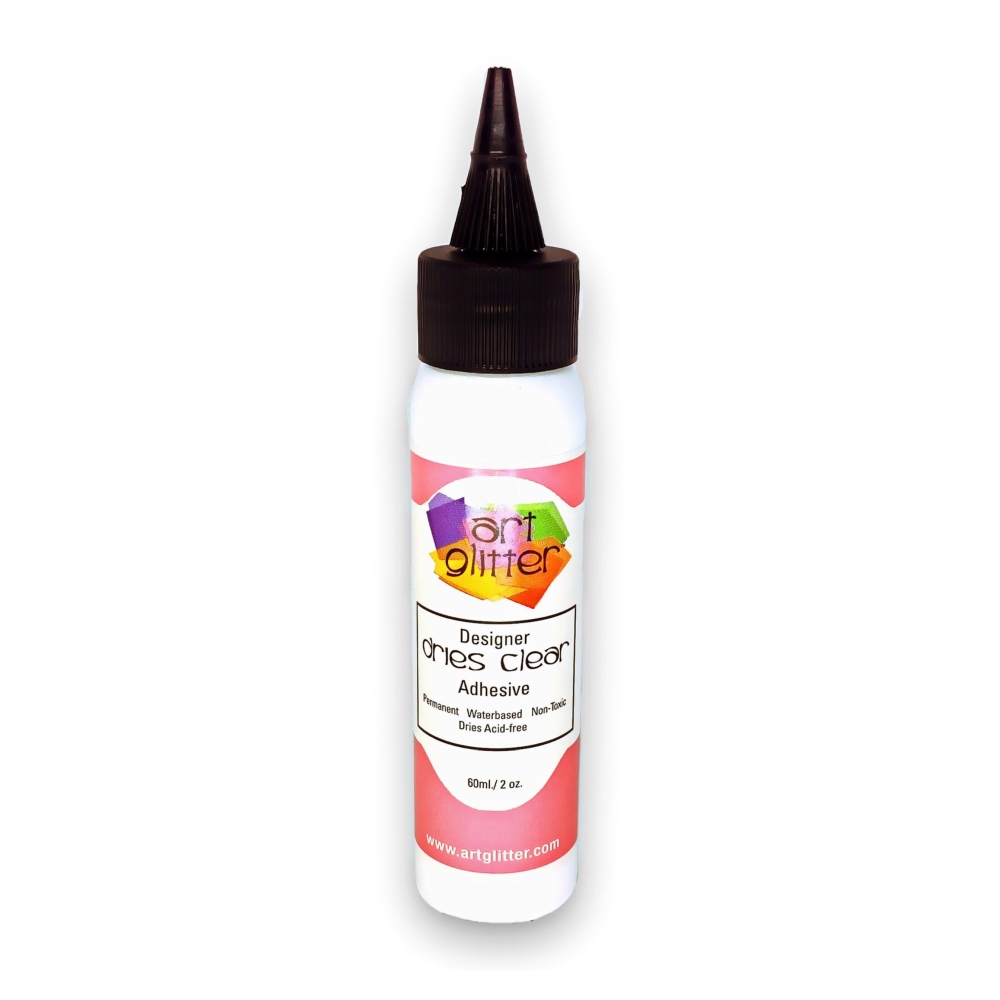
Herritage Textures Paper Collection - 240225DHerritage Textures Paper Collection - 240225DSEE IT Classic Textures Paper Collection - 240225AClassic Textures Paper Collection - 240225ASEE IT Circle Craft Punch - 1 Inch - 170926ZCircle Craft Punch - 1 Inch - 170926ZSEE IT Dry Clear Glue 2Oz.Dry Clear Glue 2Oz.SEE IT
DOWNLOAD THIS GUIDE (PDF)

Step by step

  1. Gather several envelopes and apply glue to the flap of the first envelope, then insert it inside another envelope's flap to create the album spine. ▶ watch 42:00
  2. Stack additional envelopes by gluing flaps together to build multiple pages, checking alignment as you go. ▶ watch 43:00
  3. Cut coordinating paper from the pad to size (approximately 7 by 7 inches) and glue onto the front cover of your album. ▶ watch 44:15
  4. Cut thin strips from contrasting paper and glue them vertically down the sides of pages to create pocket panels. ▶ watch 50:45
  5. Use the 1-inch punch to create circular openings in the side panels, marking placement with a pencil first for alignment. ▶ watch 52:30
  6. Cut additional paper pieces to line the inside of envelope flaps, leaving a small white border visible for a finished look. ▶ watch 56:30
  7. Create small bookmark tags by cutting thin strips of paper, folding them in half, and punching decorative shapes using the tab punches. ▶ watch 1:03:00
  8. Make a closure wrap by cutting a strip of paper, scoring it in the middle, and folding it to create a leather-effect tip. ▶ watch 1:07:30
  9. Glue the closure wrap around the back of the album, positioning it so the decorative tip can tuck under the front flap without sticking it completely flat. ▶ watch 1:13:00
  10. Cover the back of the album with coordinating paper to hide the closure mechanism and complete the finished look. ▶ watch 1:14:00

Tips from the show

Written up from the show itself. See every guide from our shows · free how-to guides · watch live on My Telly







