Give your friends €10 off their first order!
Refer a FRIEND








A project from our live show THE THURSDAY DROP - Latest Products from Toni - Broadcast 21st May 2026 · 21/05/2026 · watch it from 40:15
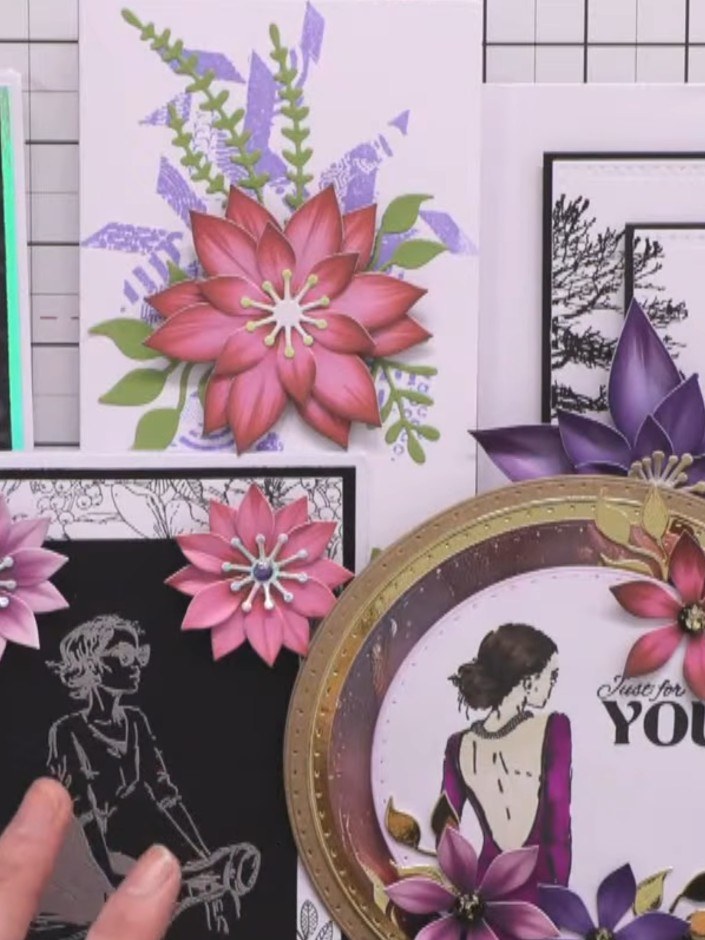
Create an elegant landscape card featuring a dimensional purple clematis flower as the focal point over a stamped black and white scenic image of a couple by a lake with trees. This project combines stamping techniques with layered dimensional flowers to create a sophisticated card with striking contrast and depth. The monochrome background paired with the vibrant purple bloom creates a beautiful, minimalist design.
 Stamps By Me - Floral Dimensions - Clematis - 150526ASEE IT
 Reflection Stamp - Ray of Sunshine - 211223BSEE IT
 Stamps By Me Waste Free Die Set- Classic Rectangle - 040225CSEE IT
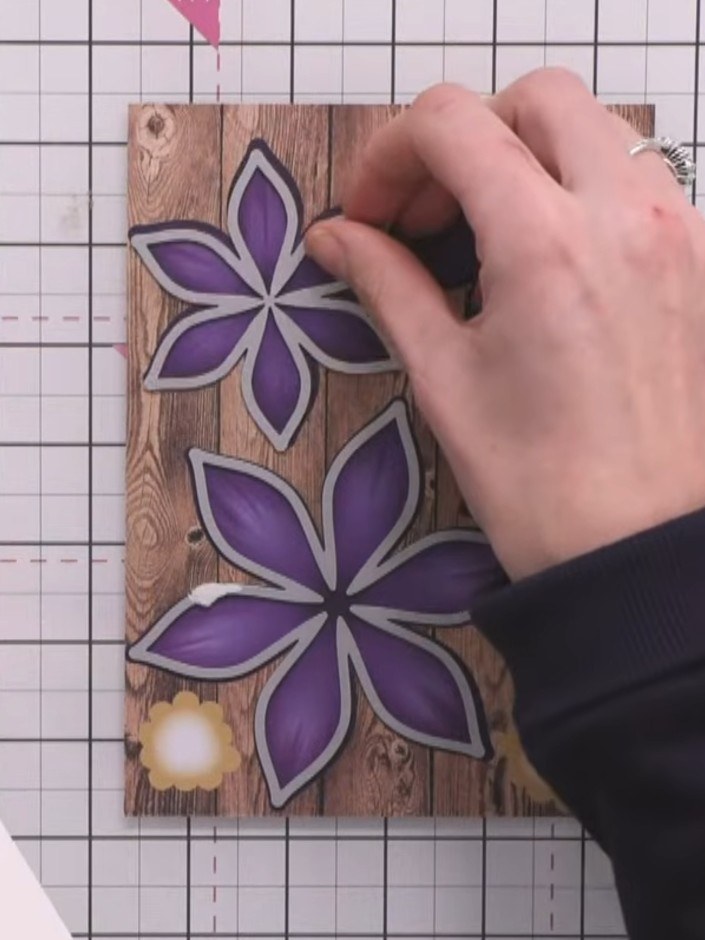
Die-cut three sizes of clematis petals from purple cardstock using the largest, medium, and smallest dies from the Clematis die set. You will need multiple flowers in varying sizes.
▶ watch this step (41:30)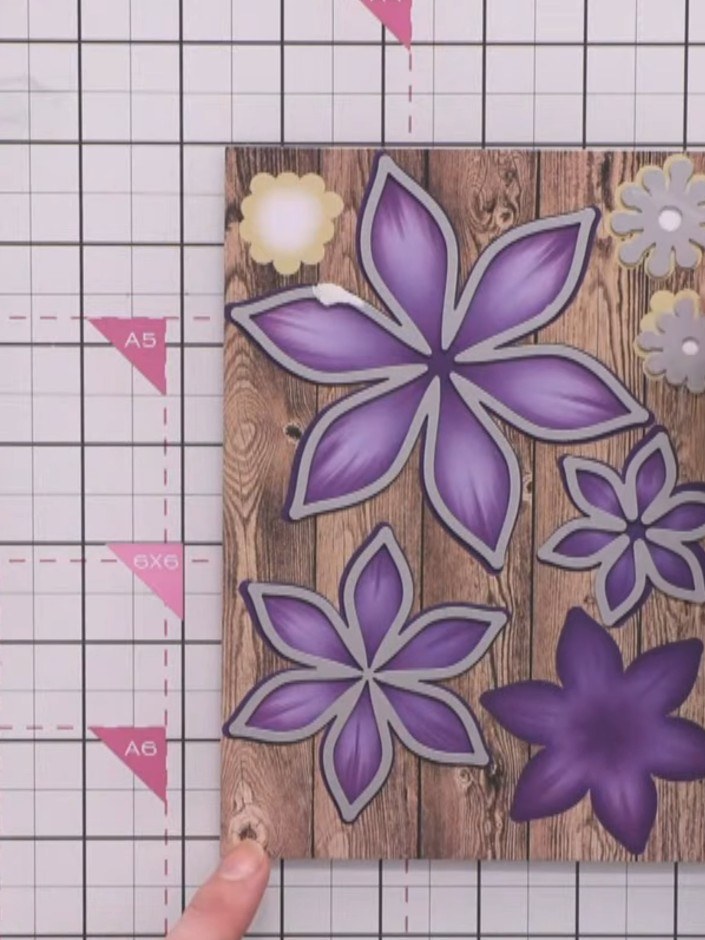
Layer the die-cut purple petals inside each other, starting with the largest flower first, to build up the dimensional clematis flower shape. Position the smaller flowers and accent pieces on the wood-effect background.
▶ watch this step (43:00)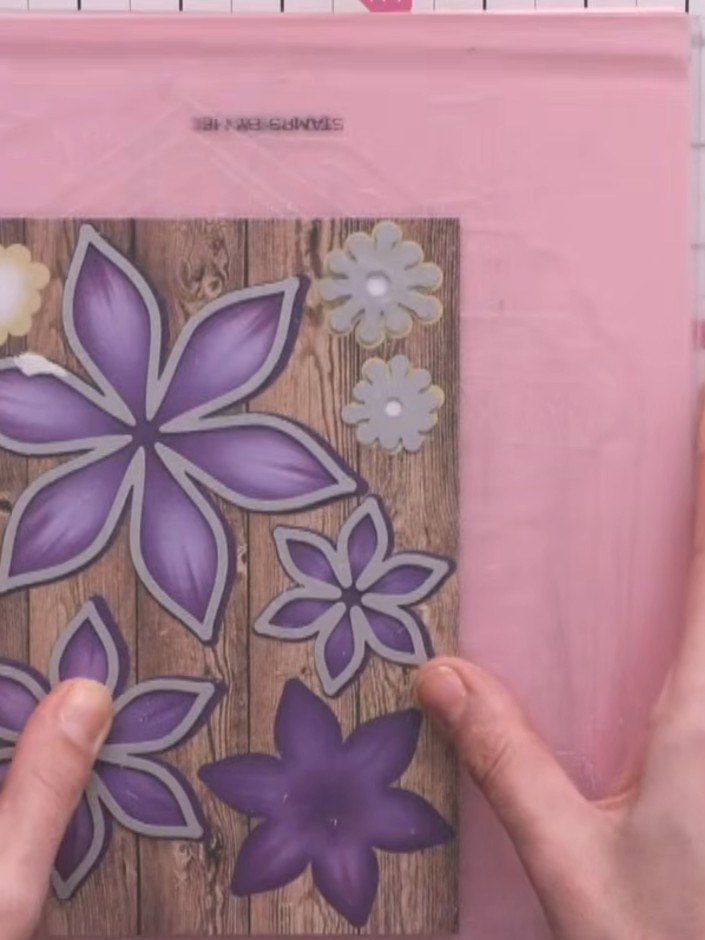
Pinch and manipulate the purple clematis petals with your fingers to give them dimension and lift them proud from the card surface.
▶ watch this step (43:45)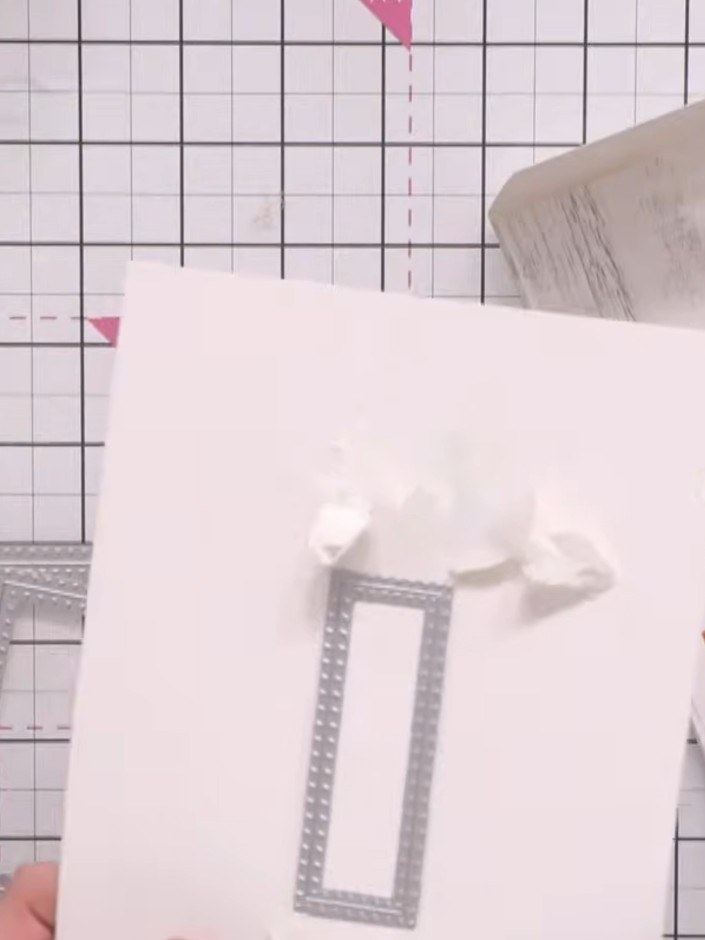
Stamp the Reflection Collection 'Every New Day' stamp with black ink onto the white card, positioning the boat image in the lower section of the rectangle.
▶ watch this step (53:00)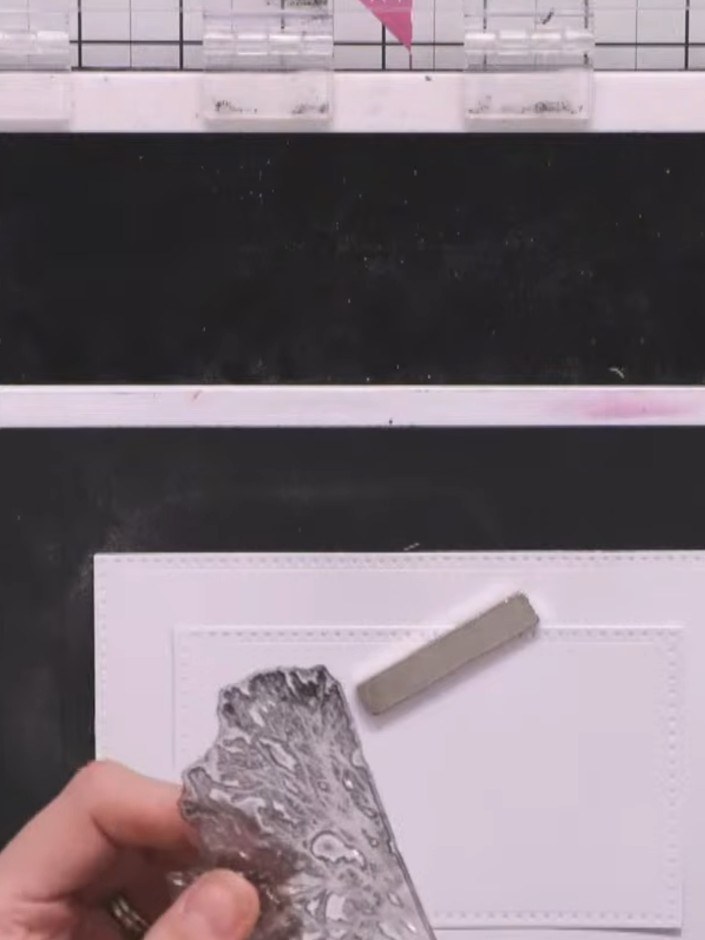
Stamp the foliage and tree elements from the reflection stamp set onto the white card panel to build up the landscape scene. Use the tree and botanical images to create depth and interest in your background.
▶ watch this step (1:02:30)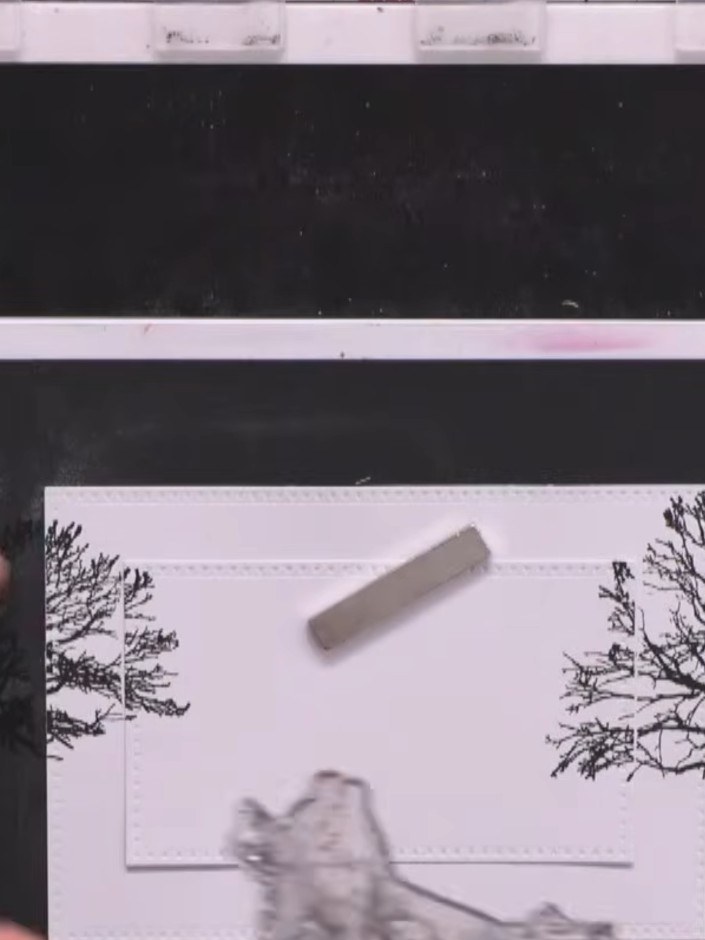
Mount the stamped landscape piece onto black card stock to create a border. Position the white stamped panel centrally on the black card to frame the design.
▶ watch this step (1:06:00)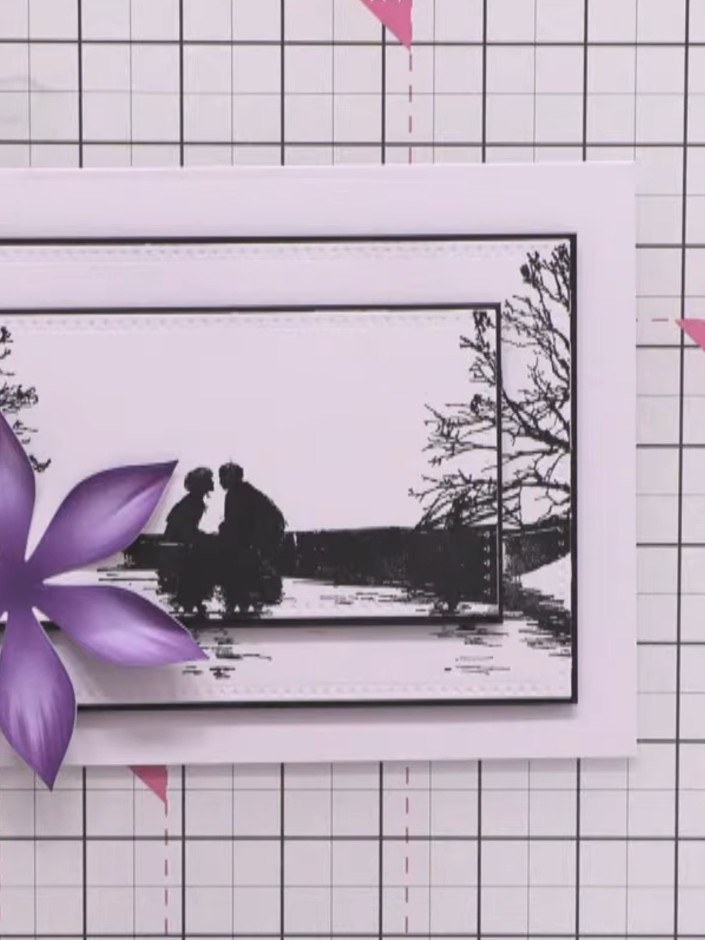
Adhere the dimensional purple clematis flower to the bottom left of the stamped scene using foam pads to raise it proud of the card surface.
▶ watch this step (1:16:30)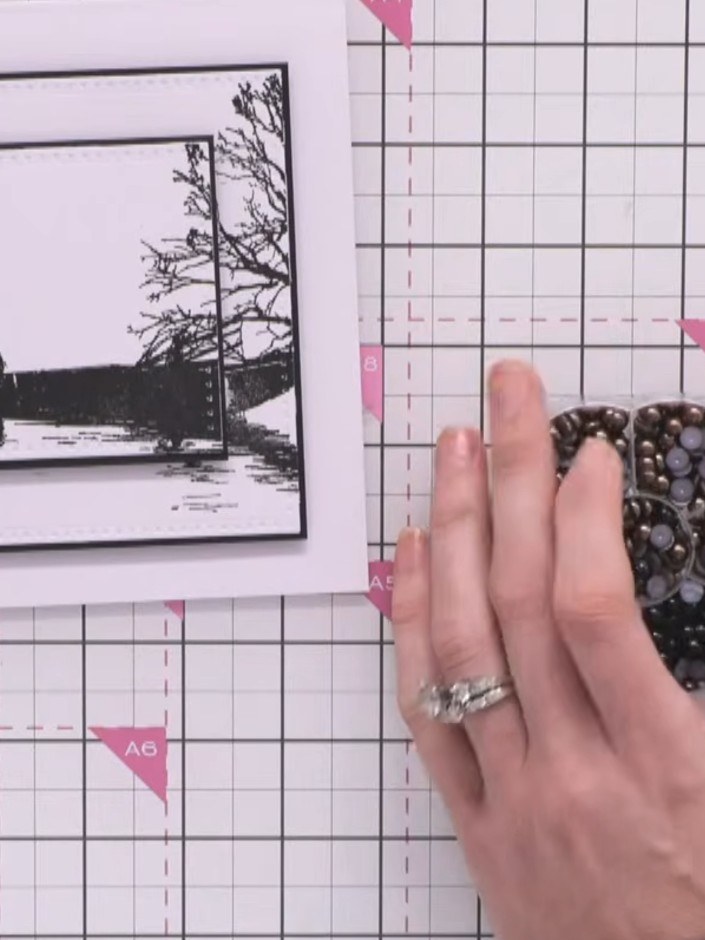
Add small black pearls to the centre of the purple clematis flower using a small amount of tape or glue to secure them in place.
▶ watch this step (1:18:30)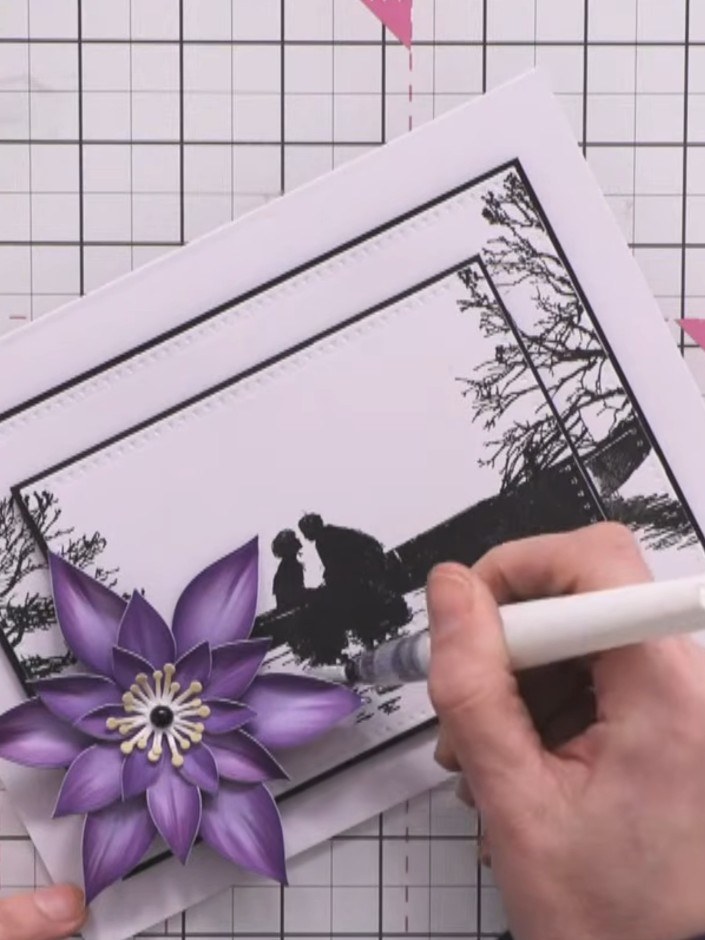
Apply a sparkle pen to the white areas of the card, including the sentiment strip and background, to add shimmer and highlight the reflection elements of the design.
▶ watch this step (1:20:00)Written up from the show itself. See every guide from our shows · free how-to guides · watch live on My Telly