Offrez à vos amis 10 € de réduction sur leur première commande !
Parrainez un AMI








Un projet de notre émission en direct CREATE AND CRAFT - TOUTE NOUVELLE COLLECTION - Retrouvez Toni pour sa dernière émission de lancement 2 - Diffusé le 29 nov. 22 · 29/11/2022 · à voir dès 17:45
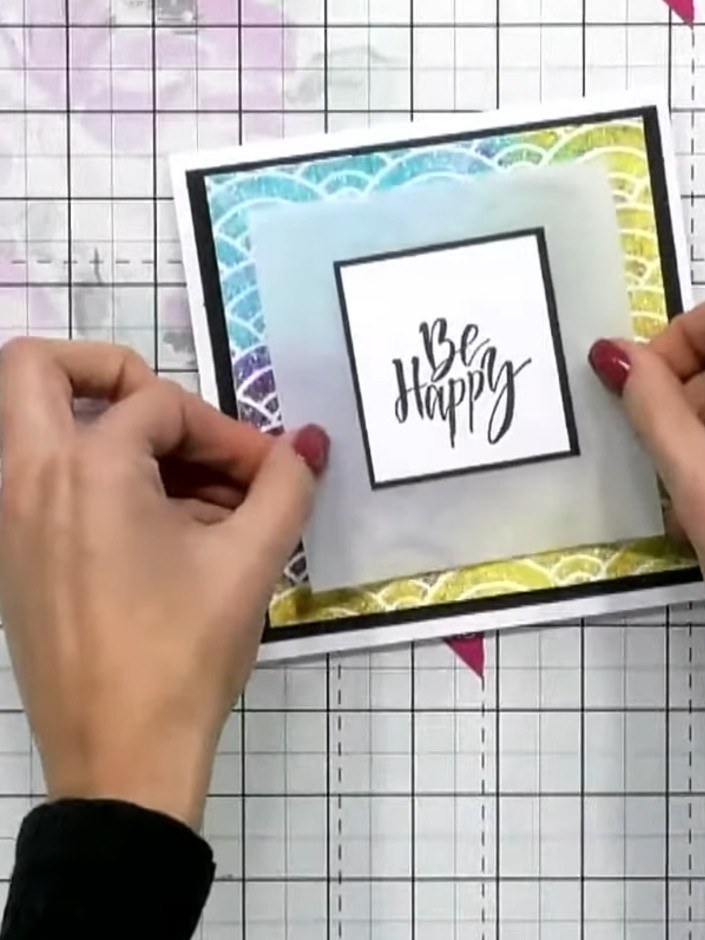
Create a stunning layered card featuring vibrant stencilled backgrounds with glitter paste in rainbow colours, mounted on black cardstock and softened with a vellum overlay. The design showcases a scalloped wave pattern with an uplifting sentiment in the centre, combining sparkle and elegance. This project demonstrates stencilling techniques with glitter paste and layering to achieve a striking dimensional effect.
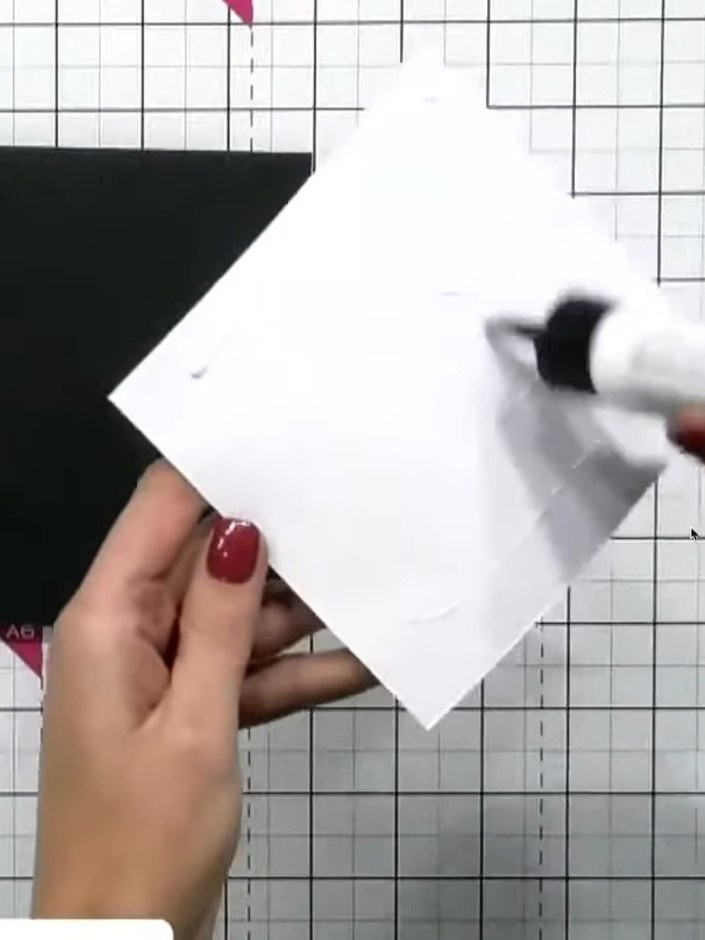
Cut a piece of vellum and place it over the centre of your stencilled and glittered design to soften the brightness of the colours.
▶ voir cette étape (17:45)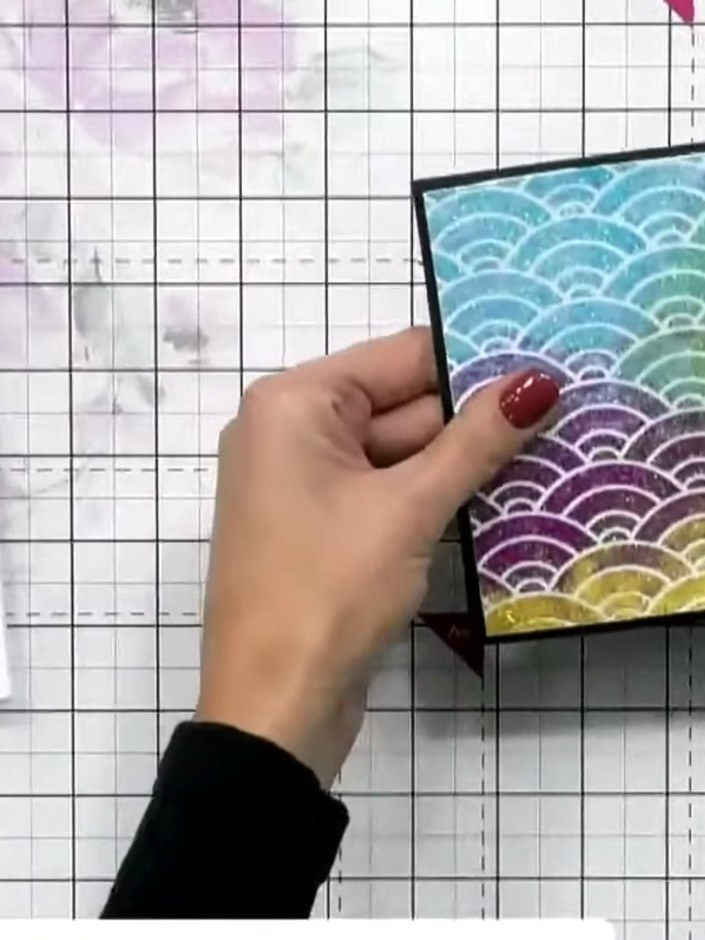
Tape the vellum piece with the rainbow scallop pattern to a piece of black cardstock to create your base layer.
▶ voir cette étape (18:15)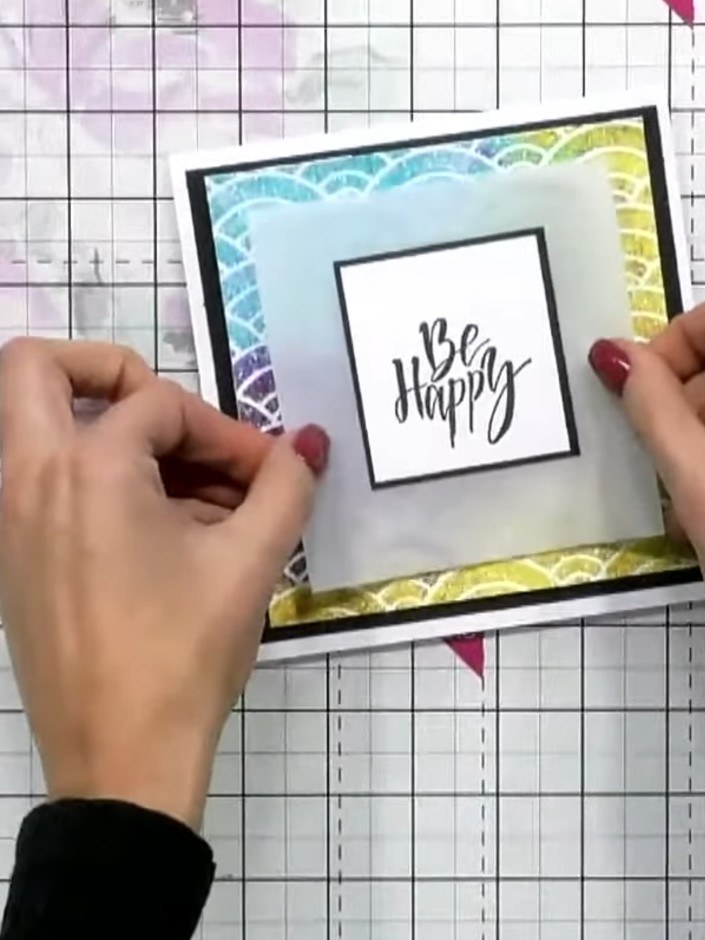
Apply foam pads to the back of the stencilled rainbow panel. Position the panel on top of the vellum layer to create dimension.
▶ voir cette étape (20:30)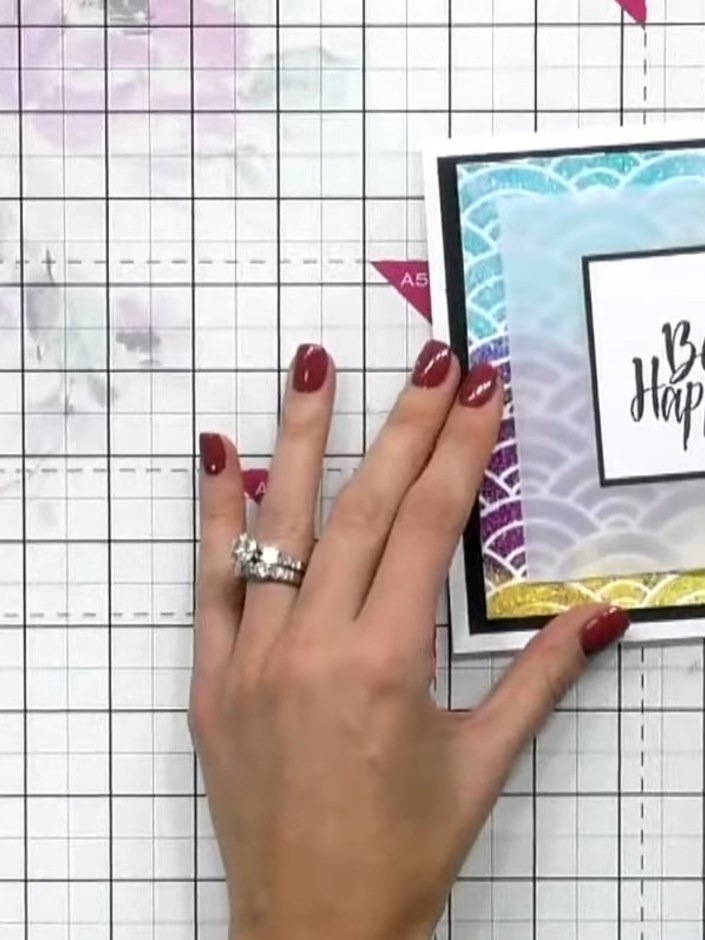
Adhere the raised sentiment panel to the centre of the card front using foam pads or adhesive. Position it carefully to ensure it sits centrally over the stencilled background.
▶ voir cette étape (20:45)Rédigé à partir de l'émission elle-même. Découvrez tous les guides de nos émissions · tutoriels gratuits · regarder en direct sur My Telly