Offrez à vos amis 10 € de réduction sur leur première commande !
Parrainez un AMI








Un projet de notre émission en direct CREATE AND CRAFT - TOUTE NOUVELLE COLLECTION - Retrouvez Toni pour sa dernière émission de lancement 2 - Diffusé le 29 nov. 22 · 29/11/2022 · à voir dès 17:30
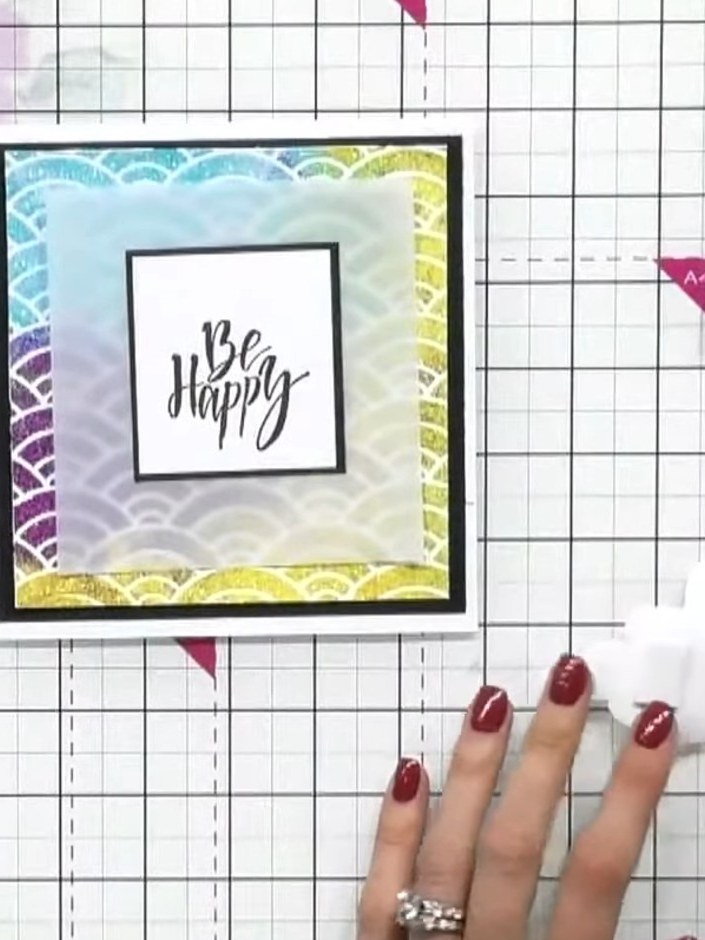
Create a stunning sparkly card featuring a rainbow of glitter paste pushed through decorative stencils to create a multi-tonal shimmer effect. The vibrant colours - from turquoise and green through purple and yellow - are layered onto black cardstock and softened with a vellum overlay, with a 'Be Happy' sentiment as the centrepiece. This project uses stencilling and layering techniques to achieve a sophisticated dimensional look with maximum sparkle.
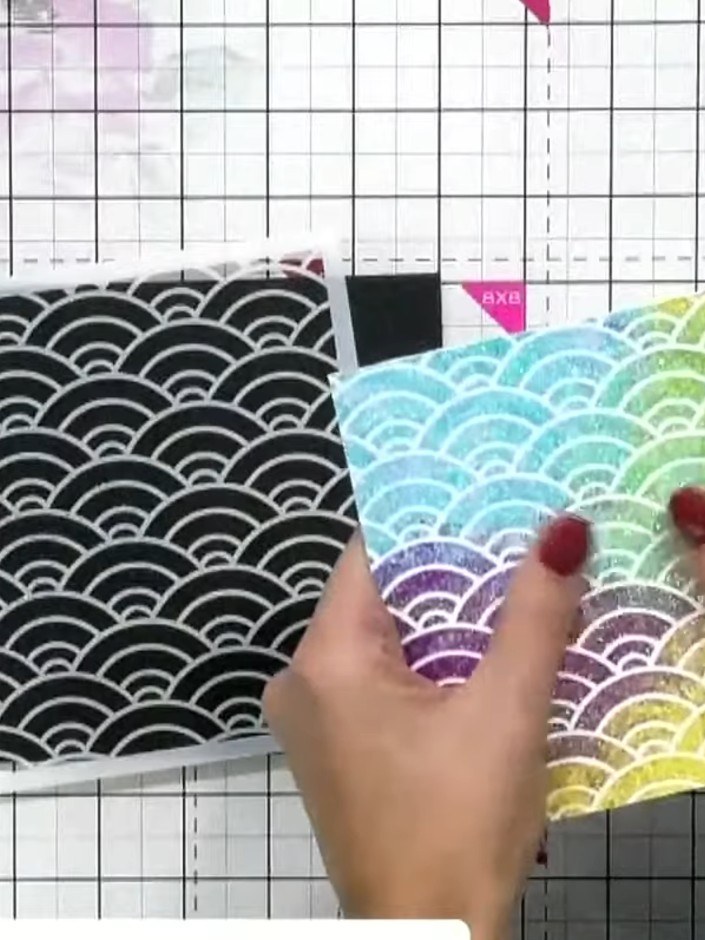
Position your stencil on white cardstock. Using your fingers, push the glitter paste through the stencil, blending the gold, teal and purple colours together as you work across the design.
▶ voir cette étape (17:30)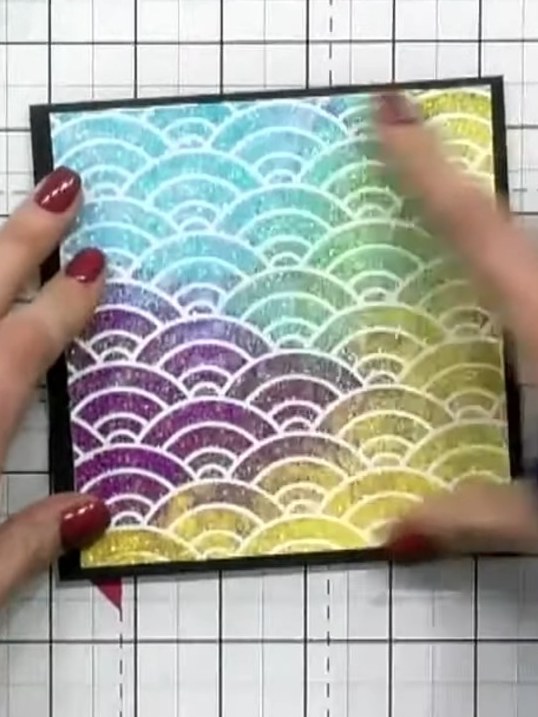
Allow the glitter paste to dry completely before proceeding to the next step.
▶ voir cette étape (17:45)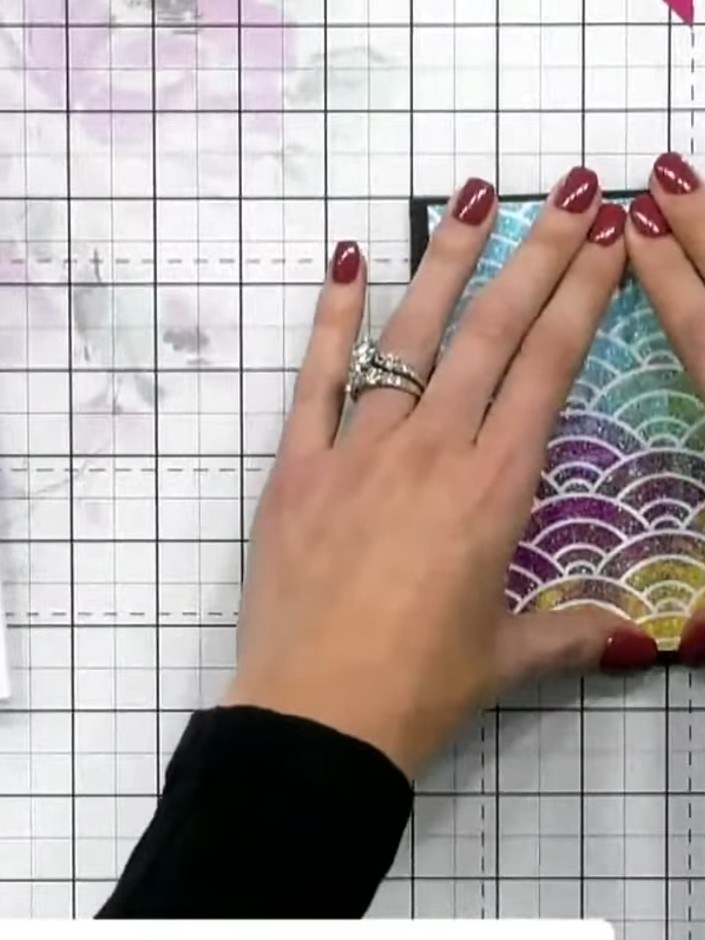
Cut a piece of vellum and place it over the centre of the stencilled design on your card.
▶ voir cette étape (18:00)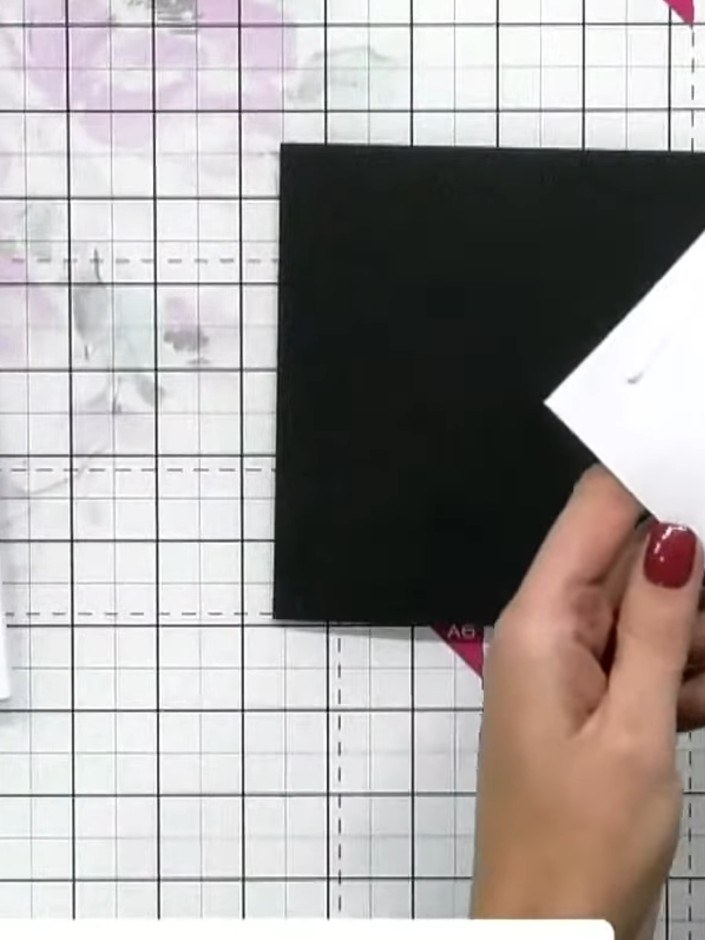
Stamp a sentiment onto the white vellum using black ink. Position the stamp carefully on the vellum and press firmly to ensure a clear impression.
▶ voir cette étape (18:15)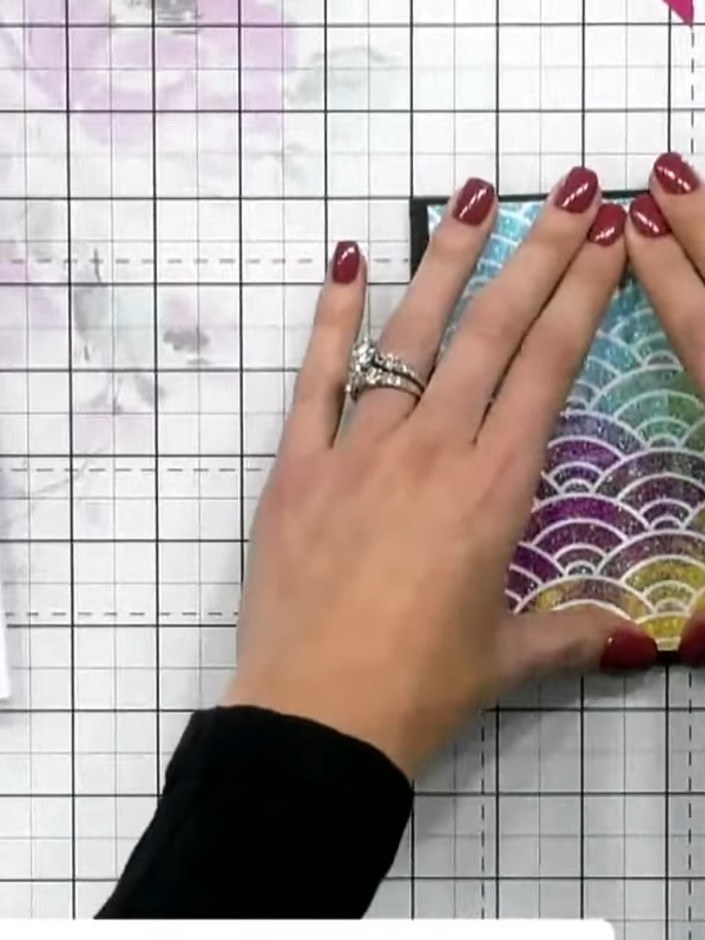
Mount the vellum piece with the stencilled design onto a piece of black cardstock to create your base layer. Ensure the vellum is centred and adhered securely.
▶ voir cette étape (18:30)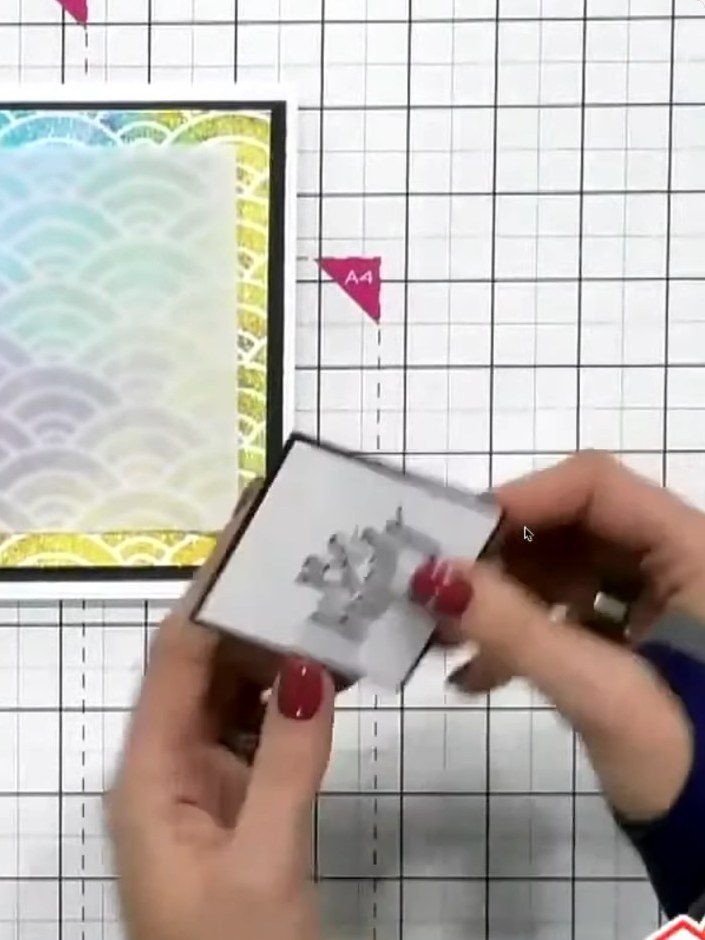
Apply foam pads to the back of the black card frame that will sit over the glittered stencilled panel.
▶ voir cette étape (20:00)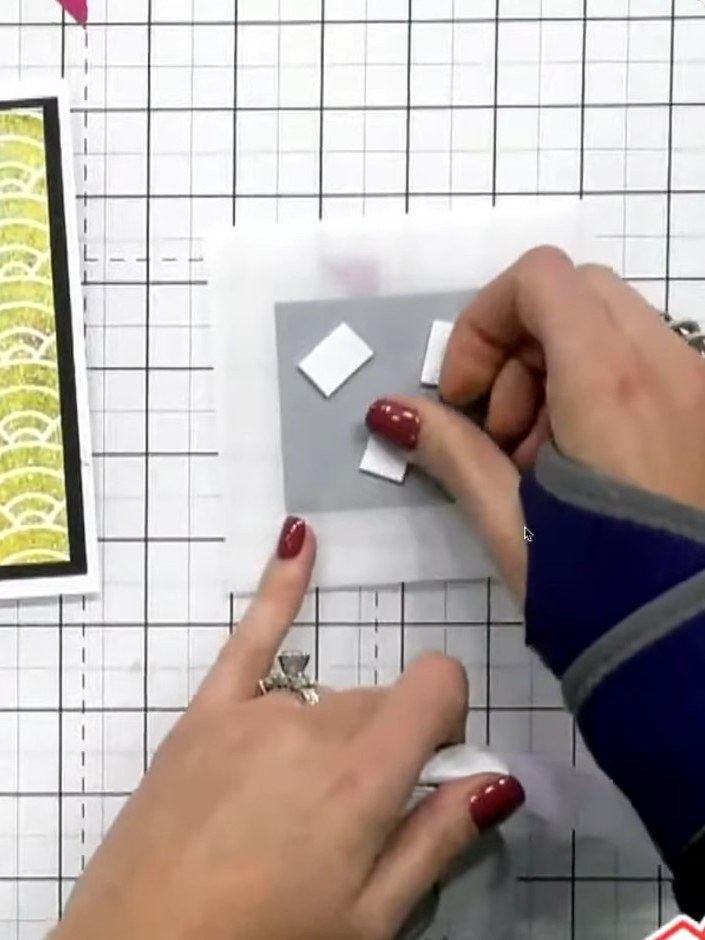
Adhere the raised glittered element to the centre of the vellum card front using foam pads. Position it carefully so the vellum softens and diffuses the sparkle effect beneath.
▶ voir cette étape (20:15)Rédigé à partir de l'émission elle-même. Découvrez tous les guides de nos émissions · tutoriels gratuits · regarder en direct sur My Telly