Offrez à vos amis 10 € de réduction sur leur première commande !
Parrainez un AMI








Un projet de notre émission en direct CREATE AND CRAFT - TOUTE NOUVELLE COLLECTION - Retrouvez Toni pour sa dernière émission de lancement 2 - Diffusé le 29 nov. 22 · 29/11/2022 · à voir dès 28:30
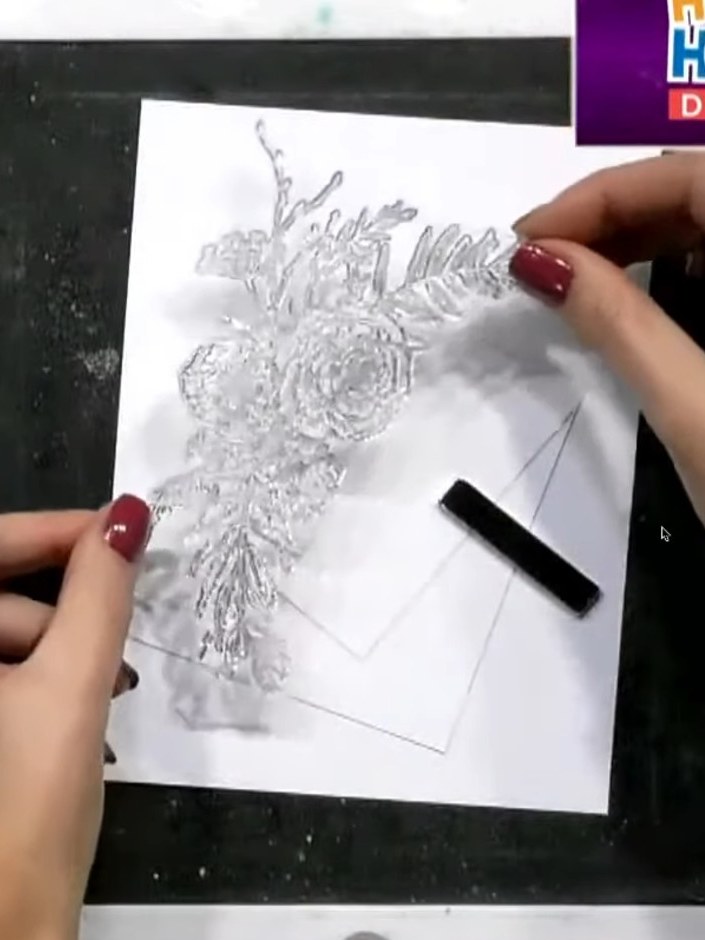
Create an elegant layered card featuring a delicate thistle design from the Hope collection. This sophisticated project uses three layers of white cardstock mounted on textured lilac card, with the botanical stamp positioned at a dynamic angle across the layers. The design achieves beautiful depth through careful alignment and dimensional foam pad layering.
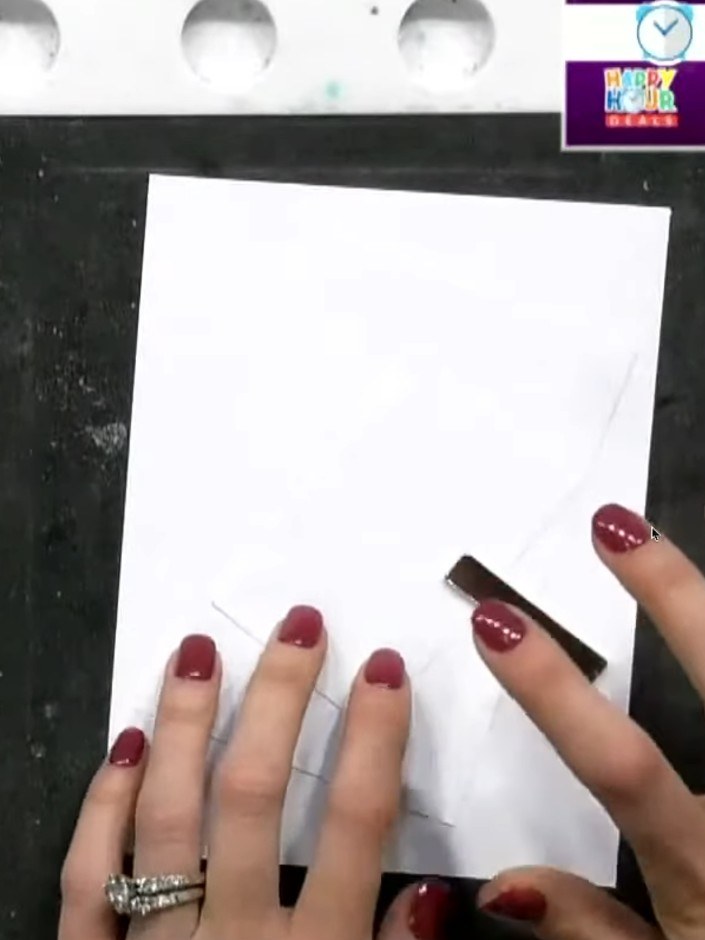
Position three pieces of white cardstock on your black mat at a slight angle. Tape them down to secure them in place, using a magnet to hold them whilst you work.
▶ voir cette étape (28:30)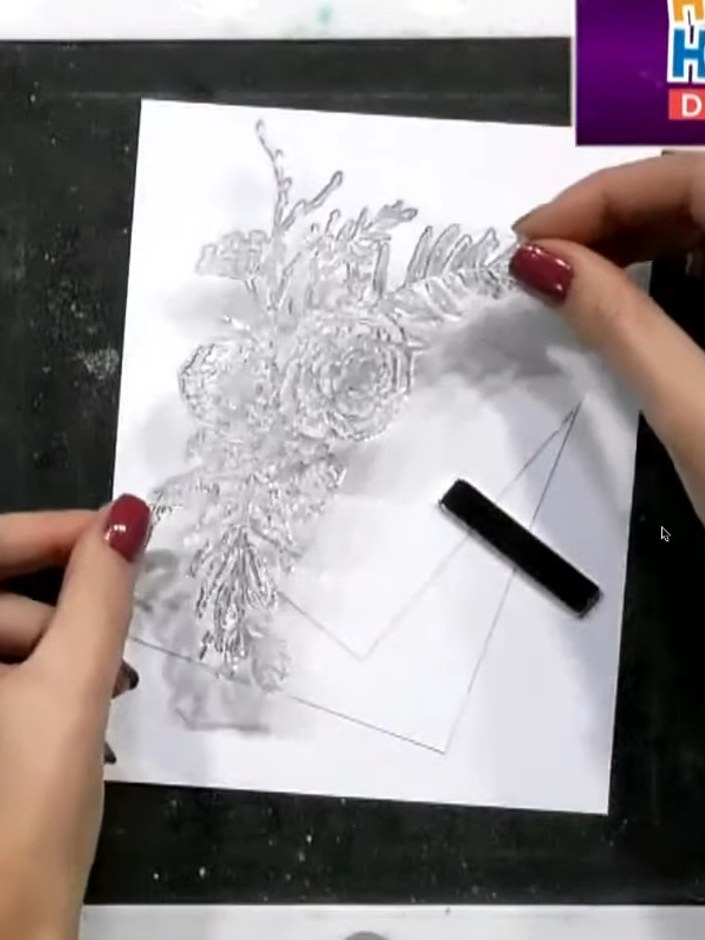
Stamp the thistle design onto all three layers of card using black ink. Position the stamped image along the curved edge of each layer.
▶ voir cette étape (29:00)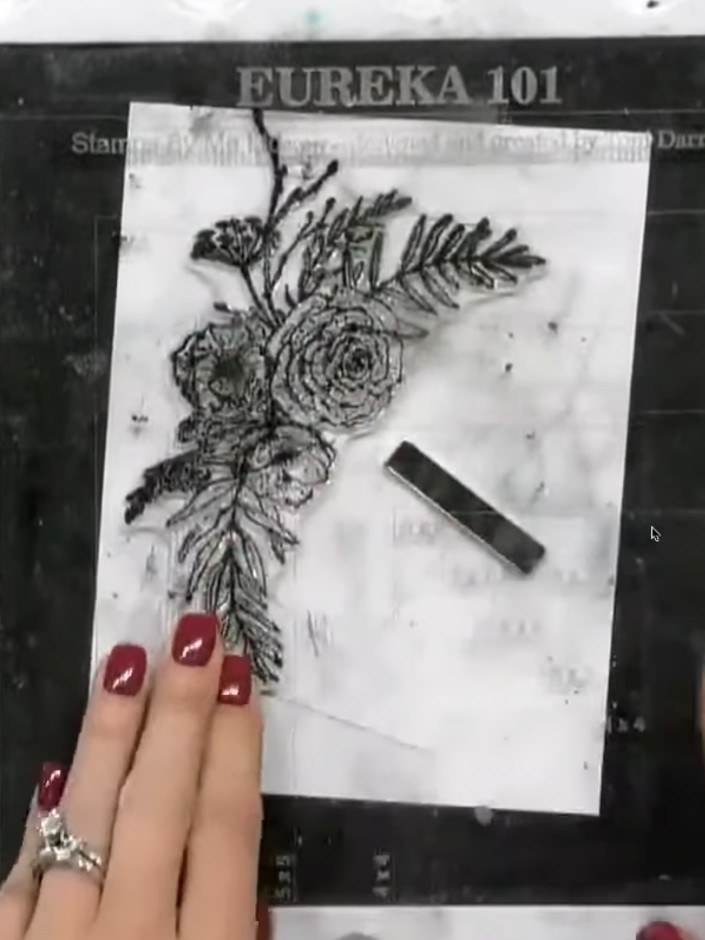
Stamp a sentiment onto the second white layer, angling it to follow the curve of the thistle design. Press down firmly and lift straight up to ensure a clear impression.
▶ voir cette étape (29:30)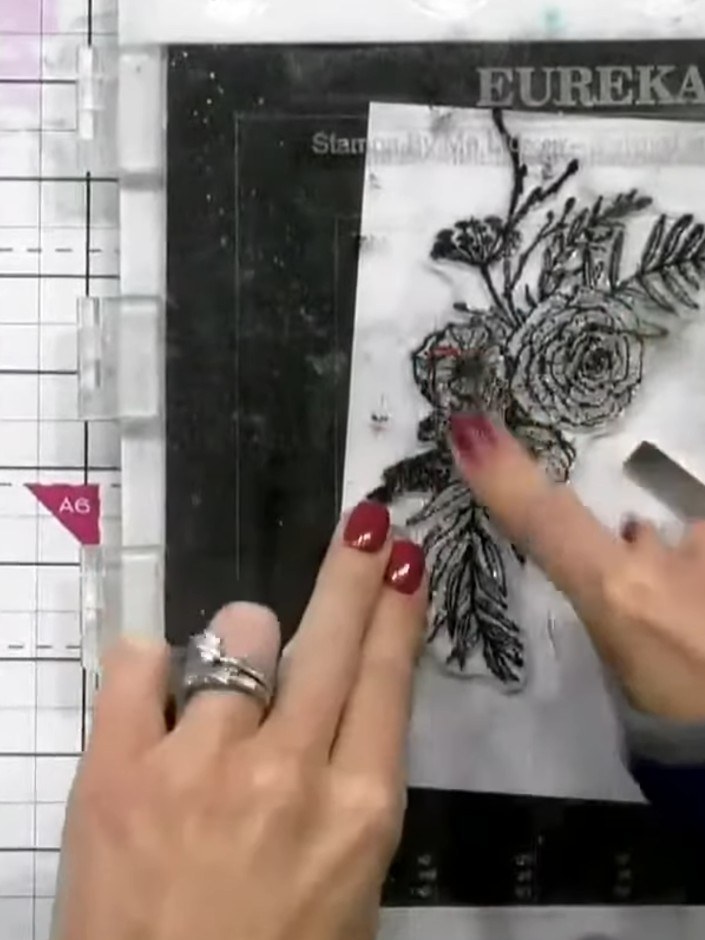
Mount the stamped floral image onto a piece of textured grey cardstock to create a backing layer for your design.
▶ voir cette étape (30:00)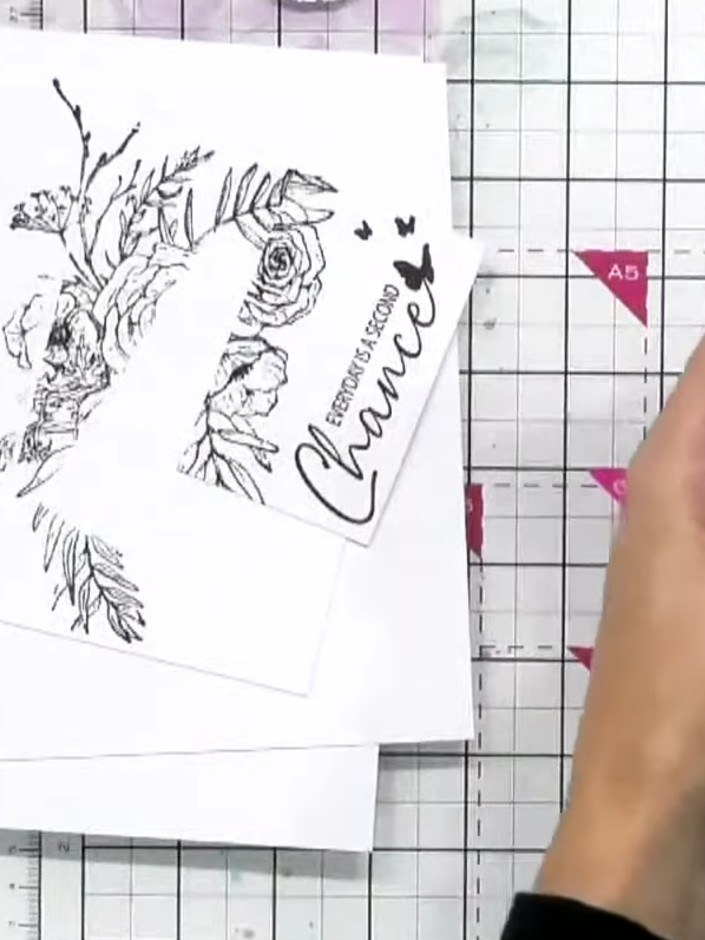
Layer the stamped floral piece on top of the purple card base using foam pads to create dimension.
▶ voir cette étape (31:00)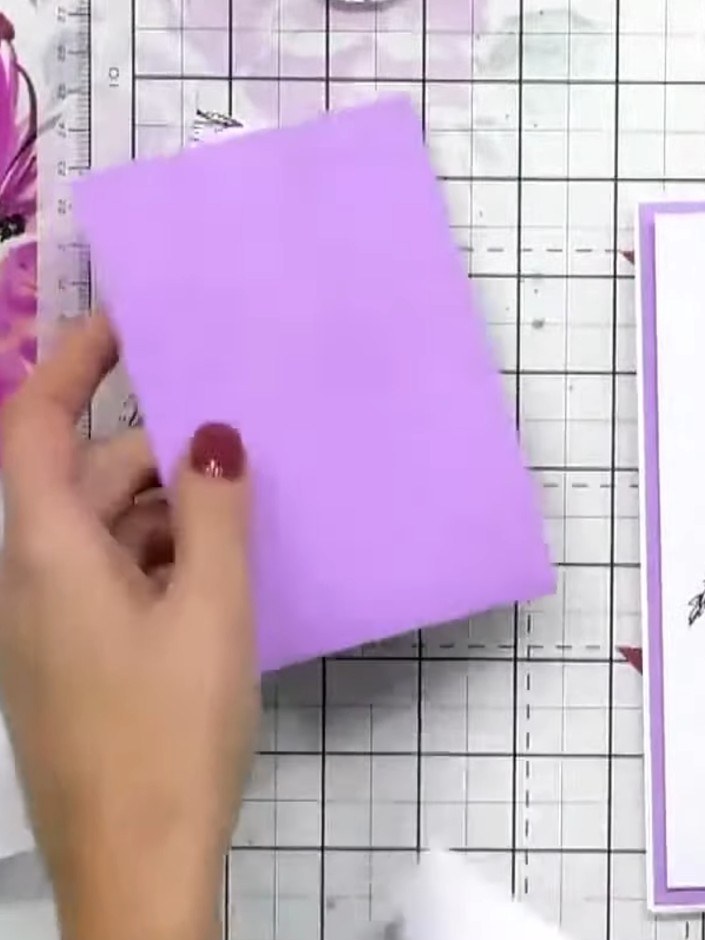
Layer the third stamped piece on top of the second layer using foam pads to add dimension.
▶ voir cette étape (31:30)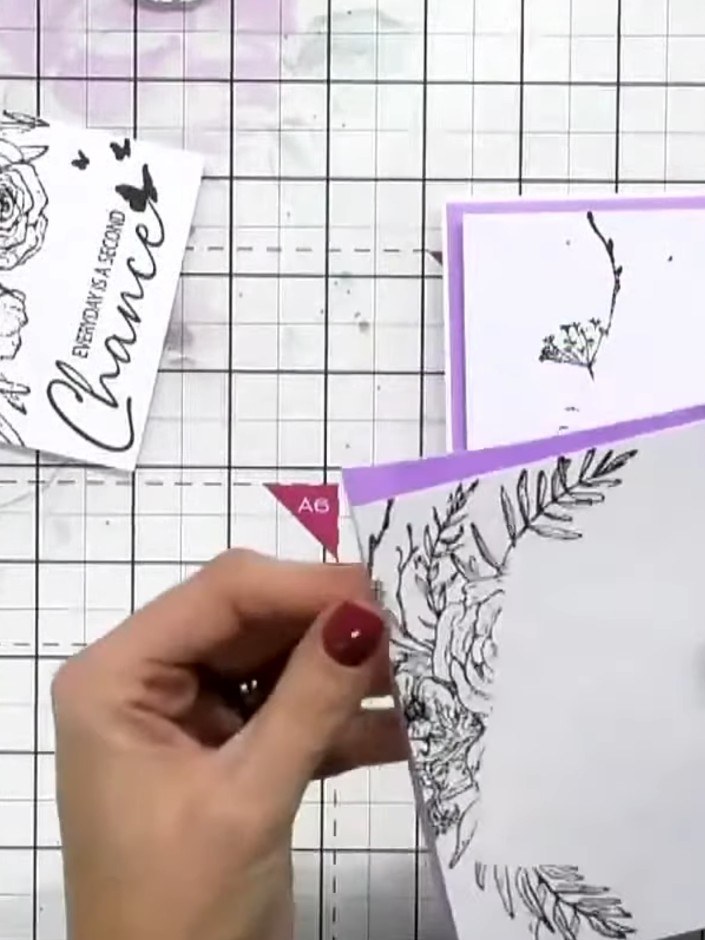
Fussy cut the thistle motif from a fourth stamped layer. Attach the cut-out thistle to the top of your card using foam pads to add dimension.
▶ voir cette étape (32:00)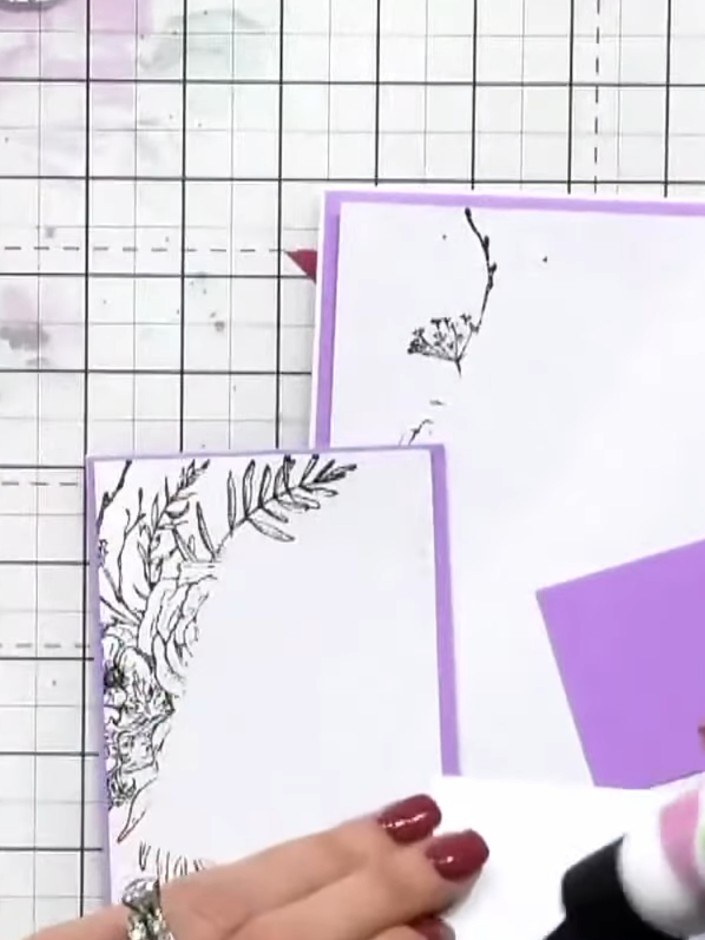
Add sparkle to your fussy-cut floral element using a glitter pen or similar product. Apply the glitter to highlight details on the flowers and foliage as desired.
▶ voir cette étape (32:30)Rédigé à partir de l'émission elle-même. Découvrez tous les guides de nos émissions · tutoriels gratuits · regarder en direct sur My Telly