Offrez à vos amis 10 € de réduction sur leur première commande !
Parrainez un AMI








Un projet de notre émission en direct CREATE AND CRAFT - TOUTE NOUVELLE COLLECTION - Retrouvez Toni pour sa dernière émission de lancement 2 - Diffusé le 29 nov. 22 · 29/11/2022 · à voir dès 51:15
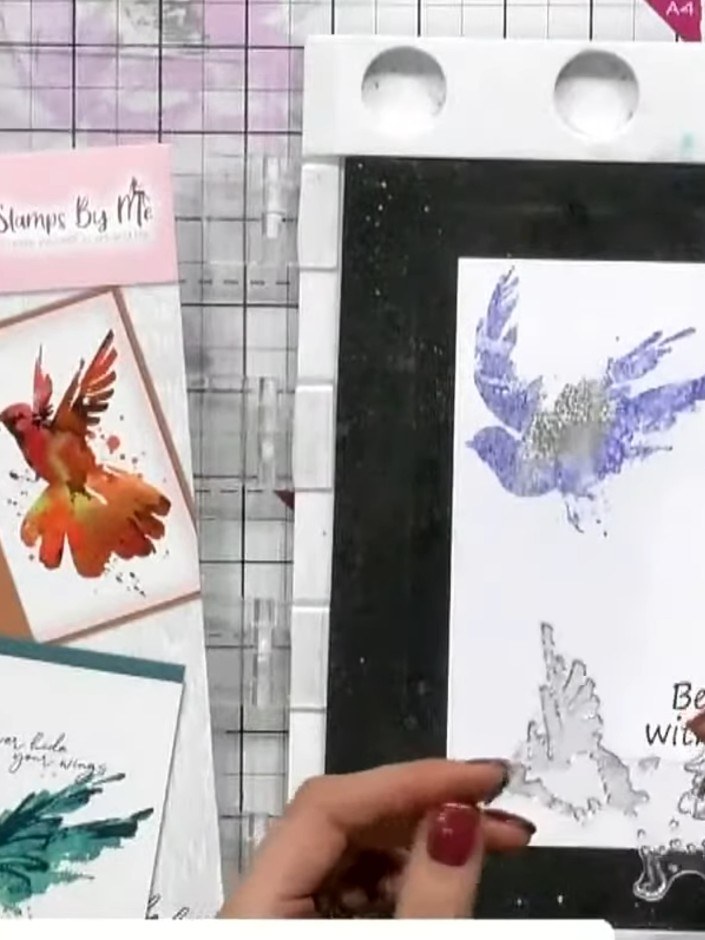
Create a stunning masculine card featuring watercolour-style birds in beautiful purple and black tones. This project uses the two-part lamination stamp technique, where you'll colour the solid bird stamp with inks and water spray, then layer it with the detailed outline stamp to achieve a realistic, artistic effect. The finished card is mounted on a black frame with an inspirational sentiment about gratitude.
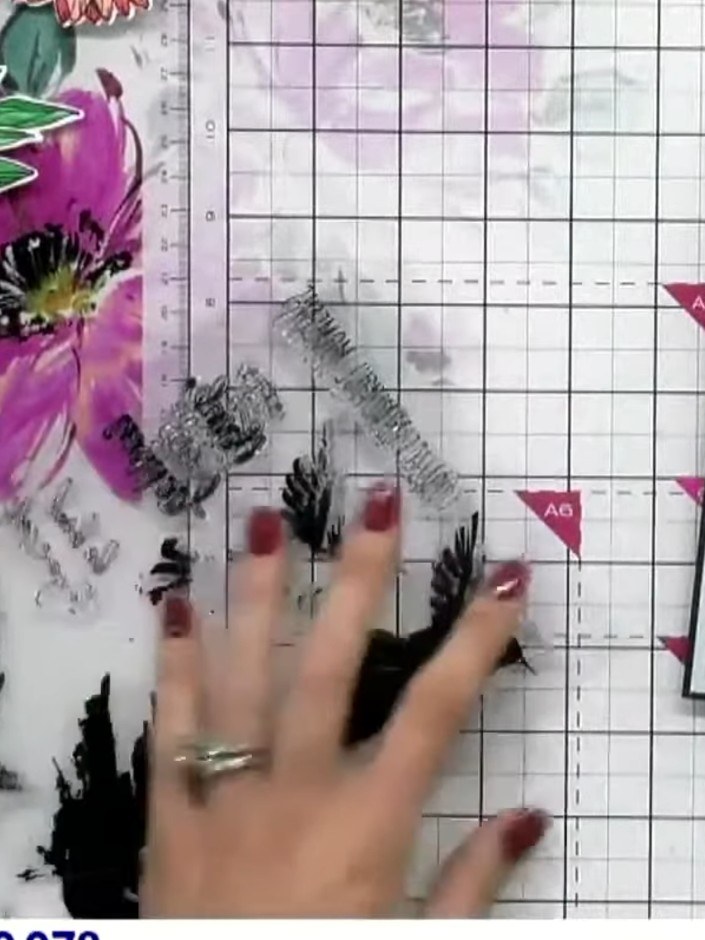
Stamp the solid portion of the bird design onto white cardstock using the first stamp from the lamination set. Use black ink to create a clear, crisp image.
▶ voir cette étape (51:30)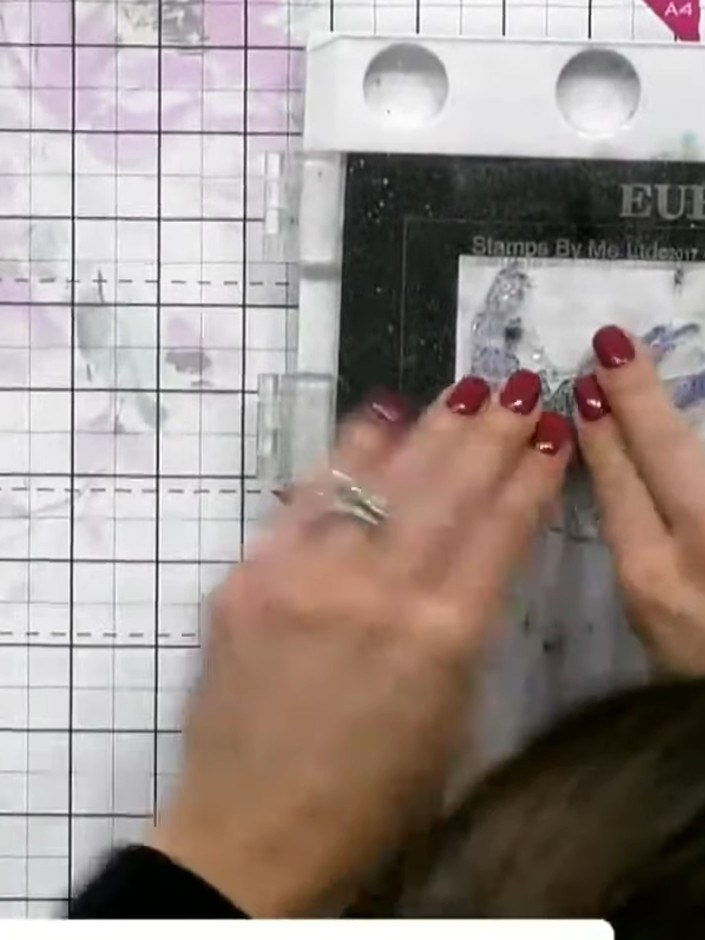
Stamp the detailed outline portion of the bird design on top of the coloured solid portion, aligning it carefully to match the shape beneath.
▶ voir cette étape (53:00)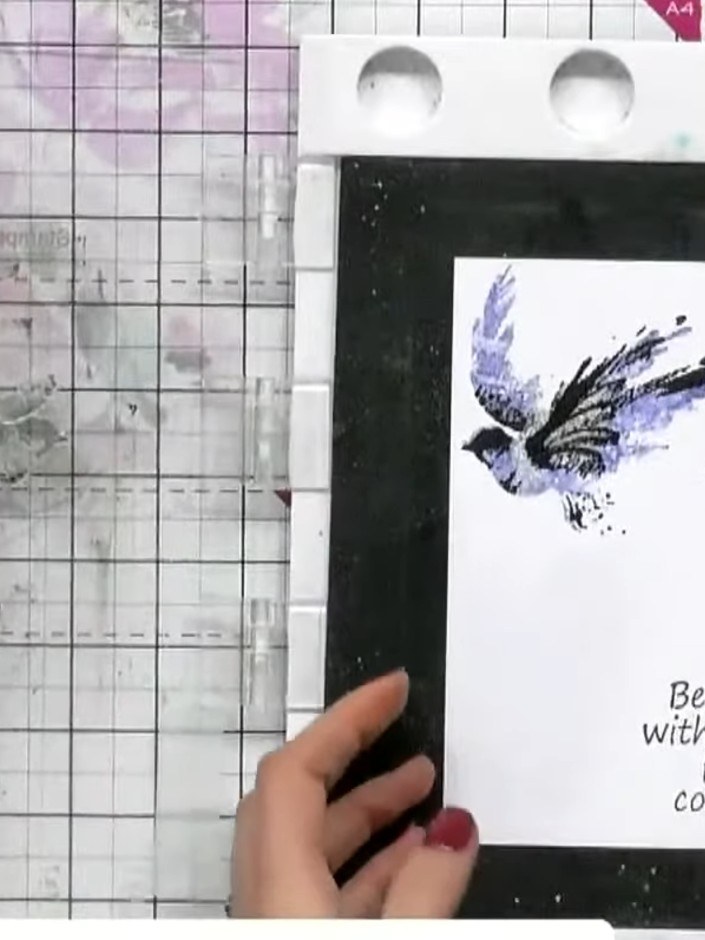
Stamp the second bird image onto the card using black ink, positioning it to the right of the first bird. Add purple watercolour spray over the stamped image to create the same watercolour effect as the first bird.
▶ voir cette étape (53:30)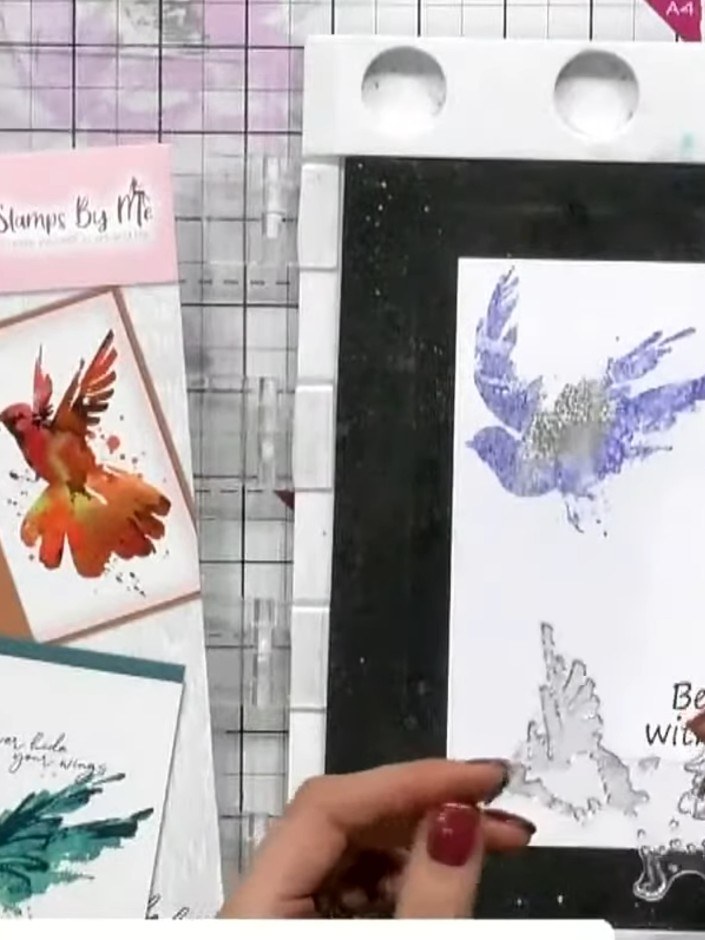
Mount the completed bird design onto a black card base. Position the laminated bird panel centrally on the card front and secure in place.
▶ voir cette étape (54:00)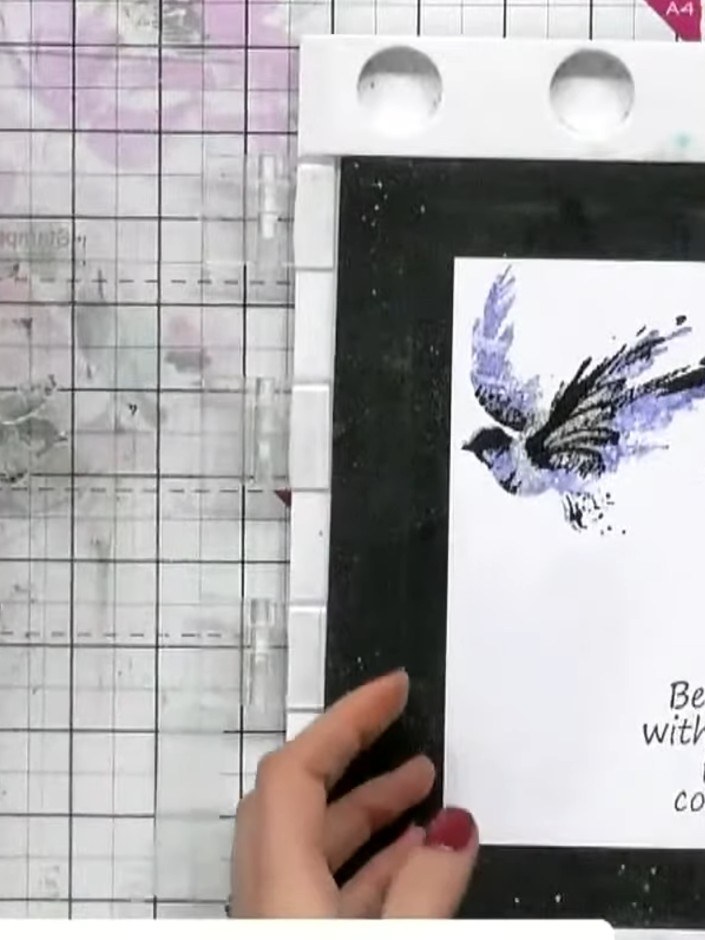
Position your stamped and die-cut panel onto a black card blank, ensuring it is centred. The finished card features birds with a watercolour effect and the sentiment 'Be generous with gratitude, for it is contagious.'
▶ voir cette étape (54:30)Rédigé à partir de l'émission elle-même. Découvrez tous les guides de nos émissions · tutoriels gratuits · regarder en direct sur My Telly