LIENS RAPIDES

info@howtocraftnetwork.com
Encore plus malin : achetez et regardez avec l'application SBMTÉLÉCHARGEZ L'APPLIRegardez-nous en direct sur votre smart TVVOIR COMMENTDécouvrez notre chaîne IPTV dédiée : rendez-vous sur my-telly.comREGARDERCumulez des points de fidélité à chaque commandeEN SAVOIR PLUS
Bienvenue sur How to Craft Network
 
SBM SHOP
SUIVEZ-NOUS
OFFREZ 10 € DE RÉDUCTION À VOS AMIS PARRAINEZ UN AMI › DÉCOUVRIR MY-TELLY.COM › ENCORE PLUS MALIN TÉLÉCHARGEZ L'APPLI › CHAÎNE PRIMÉE SUR VOTRE TV › REJOIGNEZ LE CLUB POUR ÉCONOMISER ›
 

Watercolour Painted Stamp Portrait with Blended Colours

Un projet de notre émission en direct CREATE AND CRAFT - Retrouvez Carley Duff pour le lancement de la toute nouvelle collection IMALA 22, émission 1 - Diffusion du 4 oct. 22 · 04/10/2022 · à voir dès 52:00
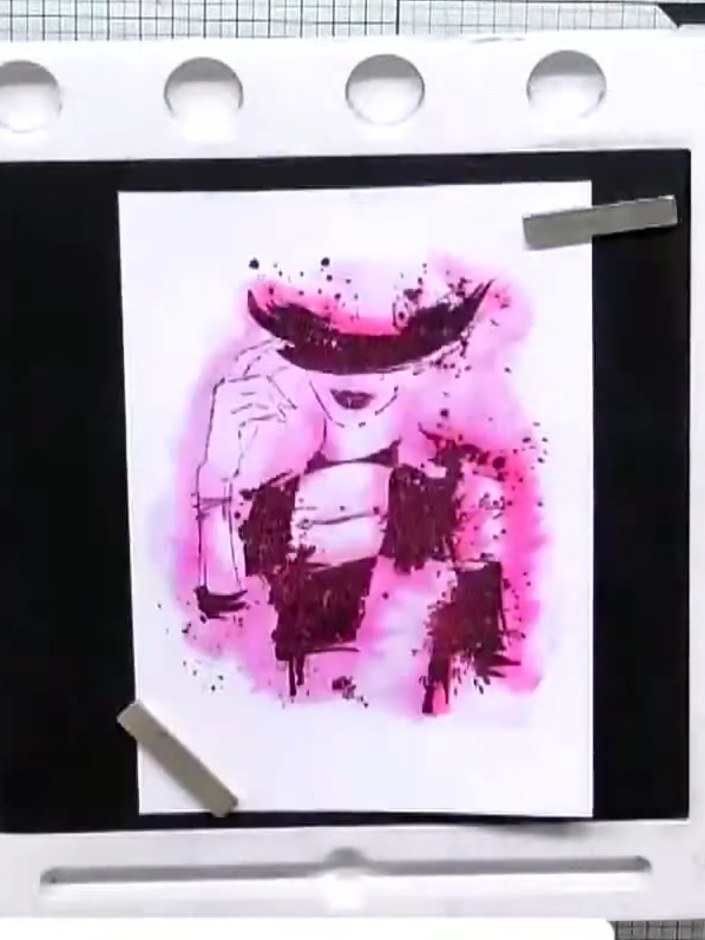
Watercolour Painted Stamp Portrait with Blended Colours - the finished project
Le projet terminé

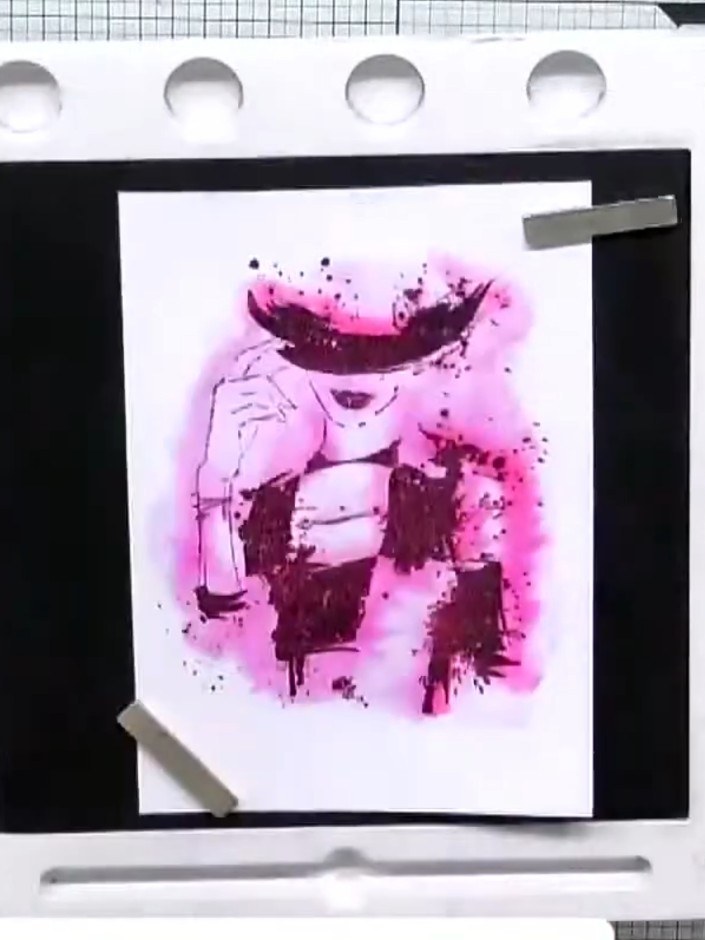
Create a stunning portrait card using watercolour techniques with alcohol-based marker pens to achieve beautifully blended skin tones and vibrant hair colours. This project demonstrates how to add dimension and highlights using white gel pen details, bringing your stamped portrait to life. The finished piece features a detailed face with soft colour transitions and professional-looking depth.
TÉLÉCHARGER CE GUIDE (PDF)

Pas à pas

  1. Step 1: Stamp the selfie portrait image onto white watercolour cardstock using black ink, ensuring good contact with n

    Stamp the selfie portrait image onto white watercolour cardstock using black ink, ensuring good contact with no air bubbles.

    ▶ voir cette étape (52:00)
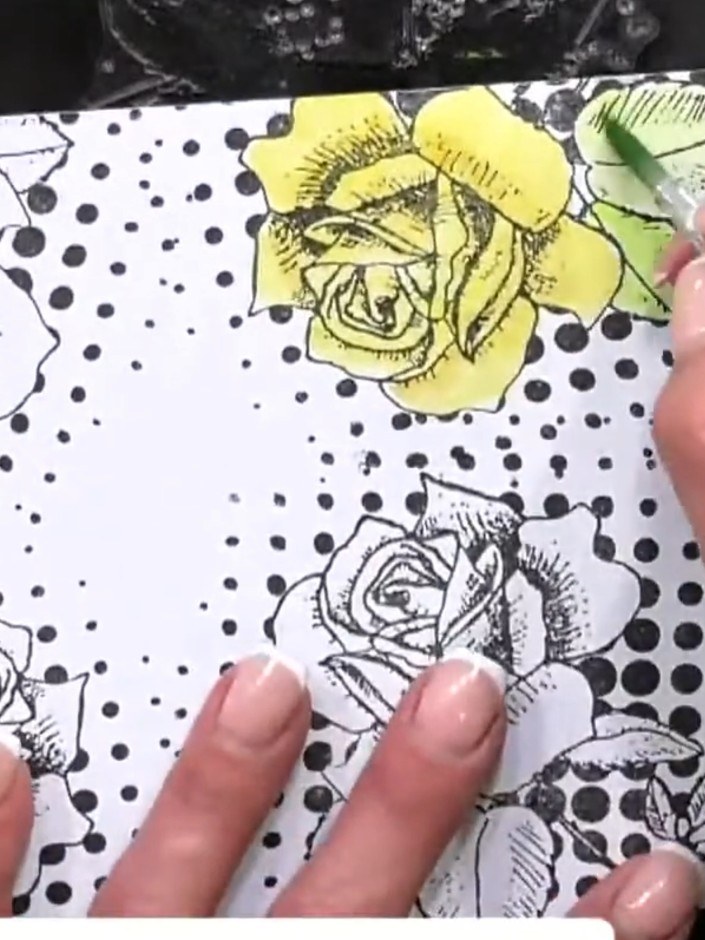
  2. Begin colouring the face using a soft peach marker pen, focusing on the darker areas indicated by the black stamp lines. Work gently to build up colour in the shadowed parts of the face. ▶ watch 53:00
  3. Step 3: Using a lighter shade on your palette, blend outwards from the darker areas of the yellow rose to create natur

    Using a lighter shade on your palette, blend outwards from the darker areas of the yellow rose to create natural colour gradation. Work gently to soften the transitions between the deeper and lighter tones.

    ▶ voir cette étape (53:15)
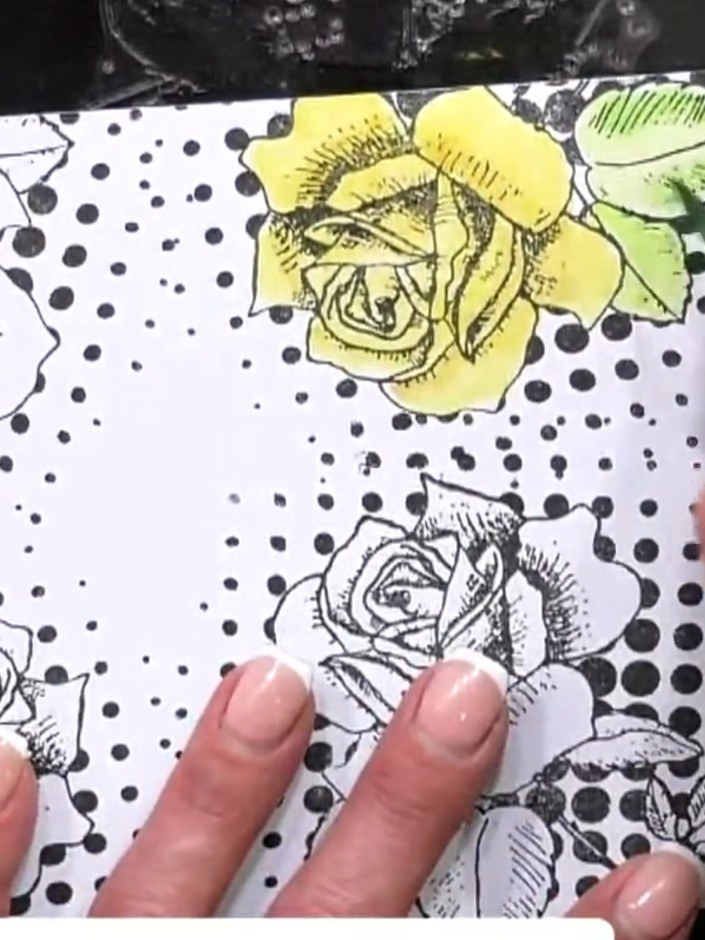
  4. Colour the hair using orange and ginger tones. Layer darker shades first, then blend lighter tones over the top for depth and dimension. ▶ watch 54:00
  5. Step 5: Use the chiselled end of the marker pen to follow individual hair strands and add definition to the stamped im

    Use the chiselled end of the marker pen to follow individual hair strands and add definition to the stamped image. Work carefully along the lines to enhance the detail and create depth in the hair.

    ▶ voir cette étape (54:45)
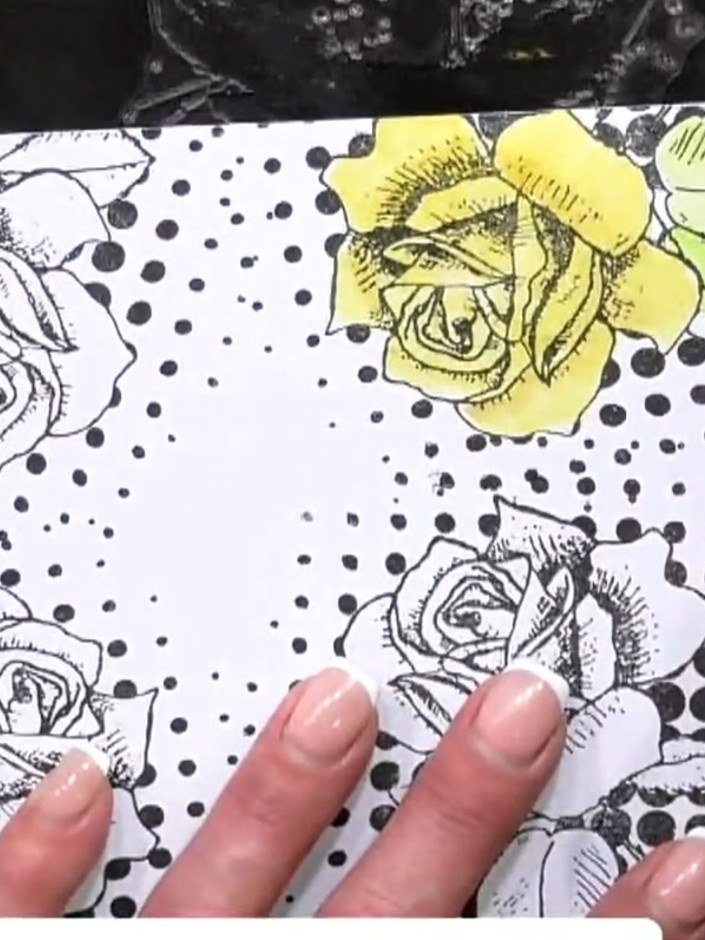
  6. Step 6: Use a black ballpoint pen to add fine detail and definition around the eyes. Start with the darker areas and b

    Use a black ballpoint pen to add fine detail and definition around the eyes. Start with the darker areas and build up the detail gradually to create depth and dimension.

    ▶ voir cette étape (55:00)
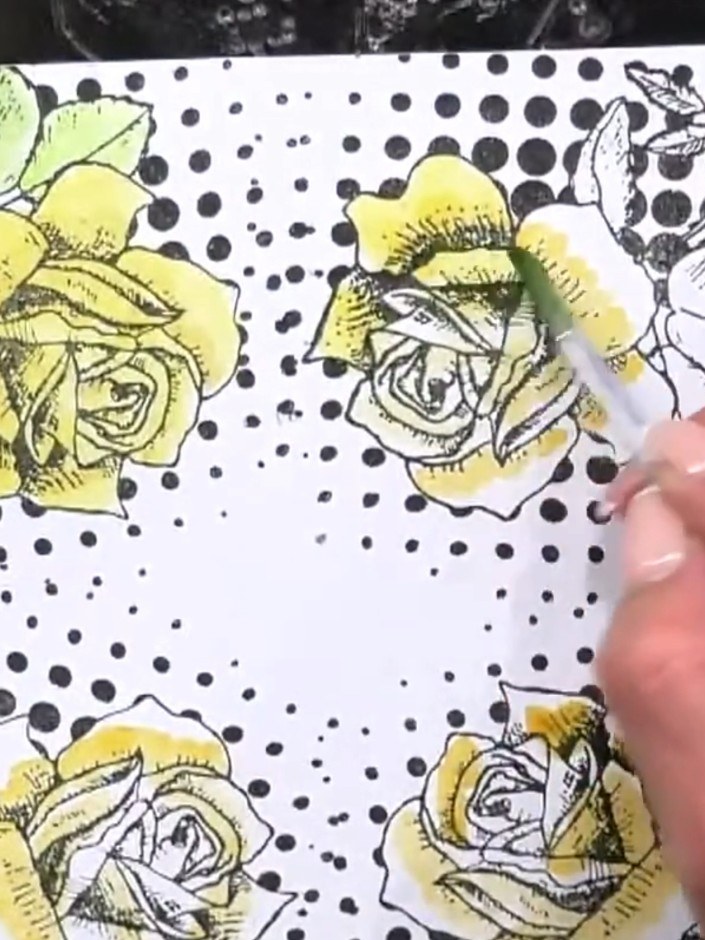
  7. Step 7: Use a white gel pen to add highlights to the eyes and face, creating light and dimension on the portrait.

    Use a white gel pen to add highlights to the eyes and face, creating light and dimension on the portrait.

    ▶ voir cette étape (55:30)
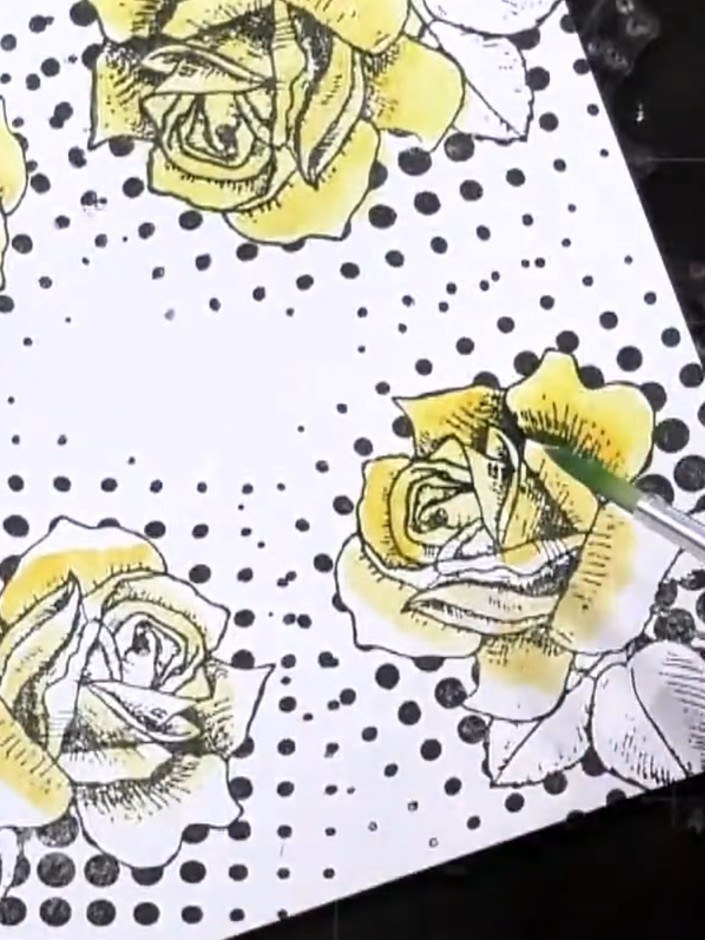
  8. Step 8: Mount your completed watercolour portrait onto black cardstock to create a backing frame for your artwork.

    Mount your completed watercolour portrait onto black cardstock to create a backing frame for your artwork.

    ▶ voir cette étape (56:00)
  9. Create a triangular stand by folding a 6 by 4 inch piece of black cardstock into thirds. Secure the folded stand with a tape runner to hold the shape. ▶ watch 56:30

Astuces de l'émission

À voir aussi dans cette émission

Rédigé à partir de l'émission elle-même. Découvrez tous les guides de nos émissions · tutoriels gratuits · regarder en direct sur My Telly







