Offrez à vos amis 10 € de réduction sur leur première commande !
Parrainez un AMI








Un projet de notre émission en direct CREATE AND CRAFT - Retrouvez Carley Duff pour le lancement de la toute nouvelle collection IMALA 22, émission 1 - Diffusion du 4 oct. 22 · 04/10/2022 · à voir dès 57:30
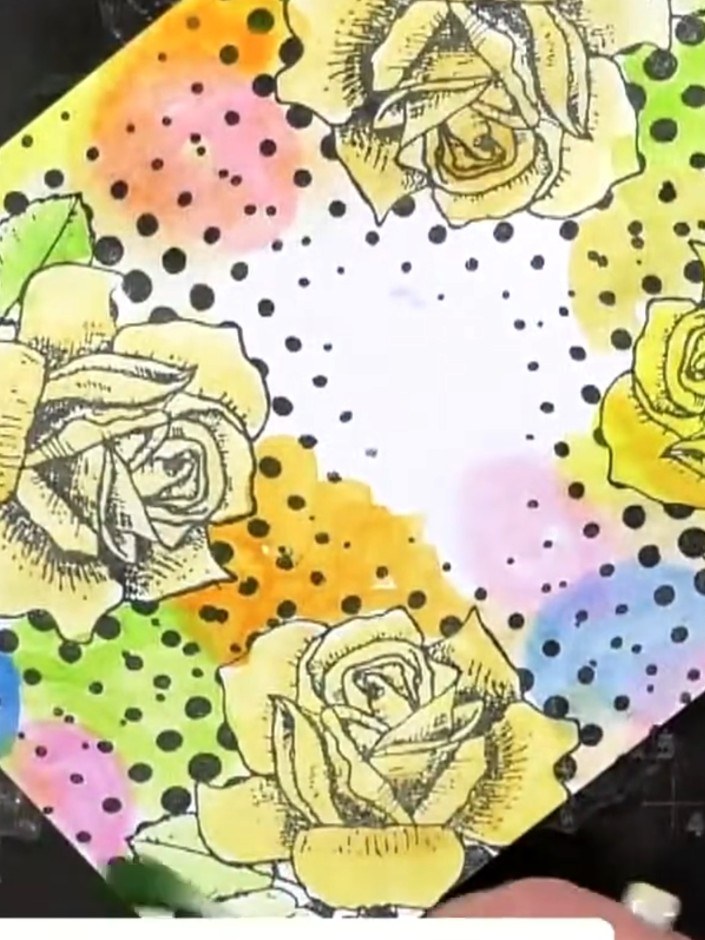
Create a vibrant, modern card background using the wet-on-wet watercolour technique with rainbow colours blending organically across the surface. Random stamped dots in coordinating colours are added to the wet watercolour, creating an artistic, contemporary effect. This loose, expressive technique combines fluid watercolour painting with stamping to produce a unique, eye-catching design featuring roses and polka dots.
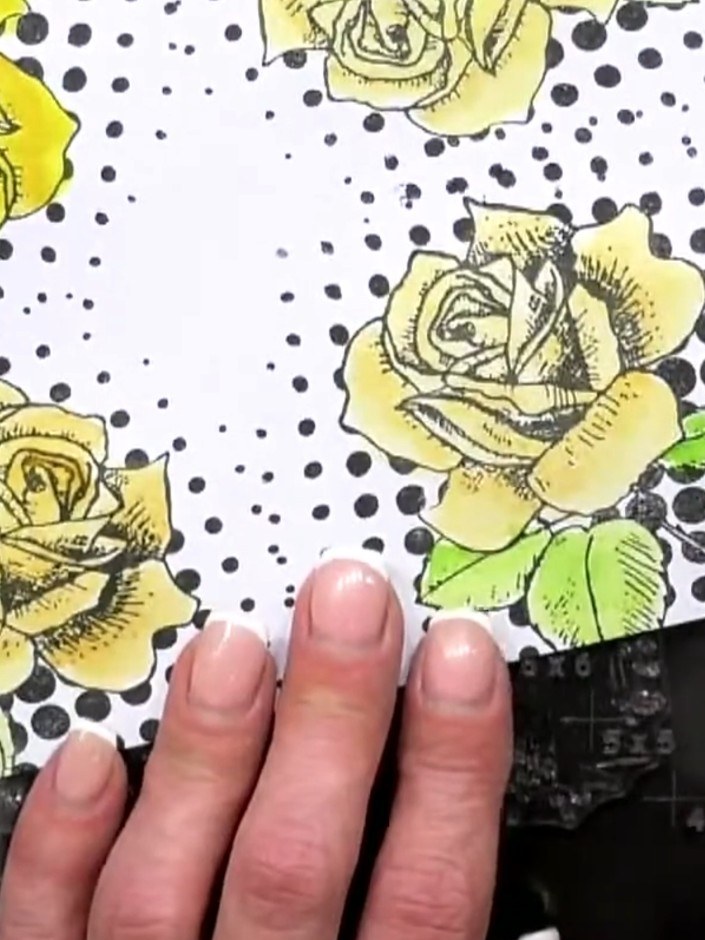
Stamp yellow roses and green leaves onto white cardstock using the IMALA stamp set and black ink. Add a polka dot background pattern using a dotted stamp.
▶ voir cette étape (57:30)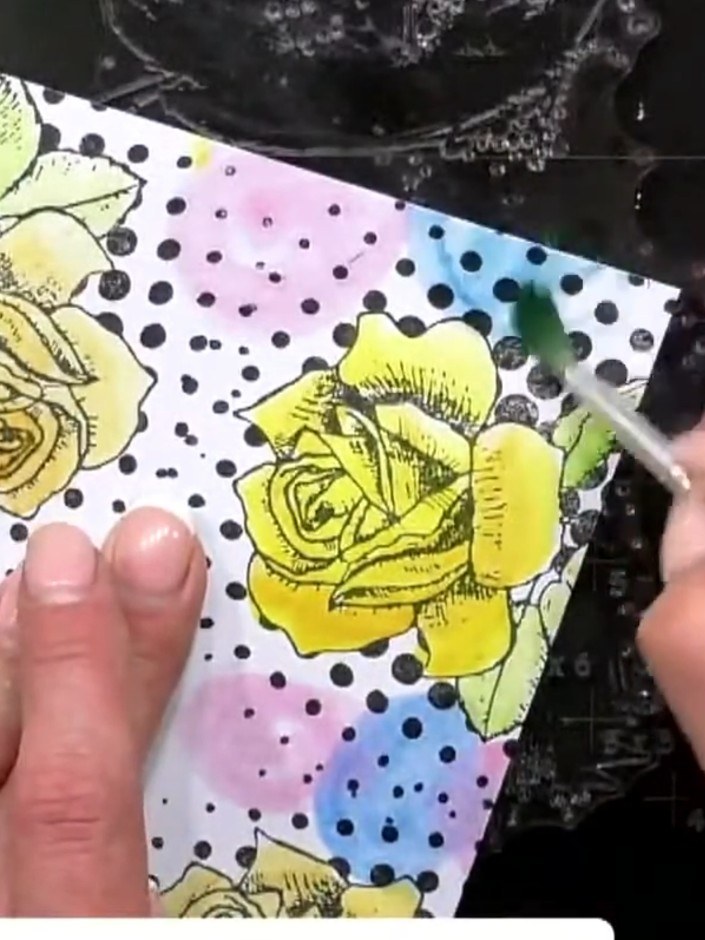
Wet the background area around the stamped roses with clean water using a water brush, avoiding the stamped images themselves.
▶ voir cette étape (58:00)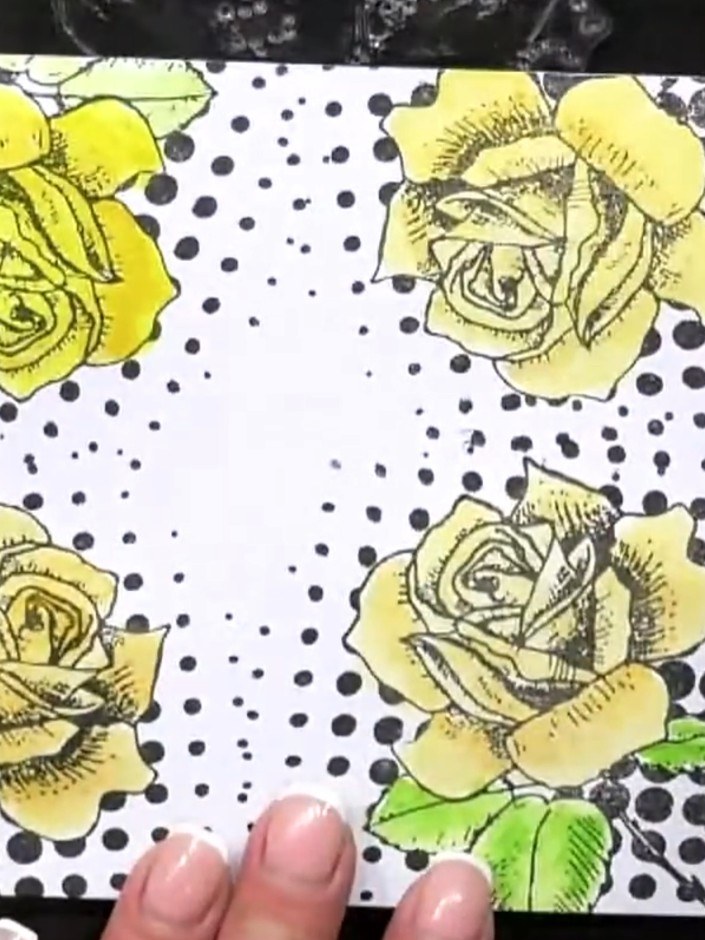
Drop watercolour paint onto the wet surface in various colours including yellow, pink, blue and green, allowing them to blend naturally on the polka dot background.
▶ voir cette étape (58:15)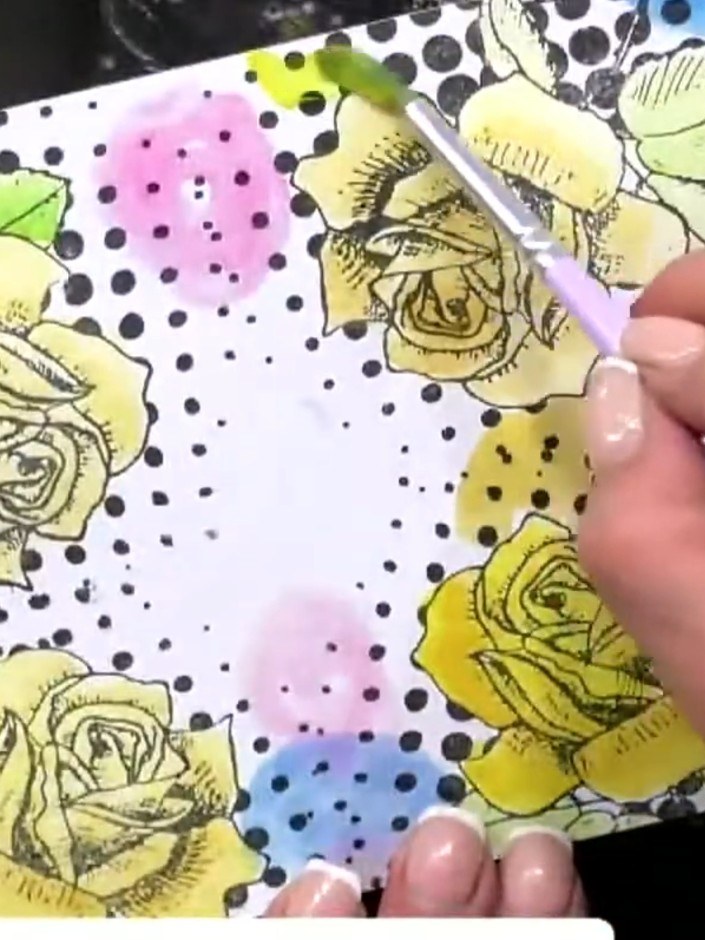
Add more water to the surface using a water brush to encourage the colours to diffuse and create soft edges between the rainbow hues.
▶ voir cette étape (59:00)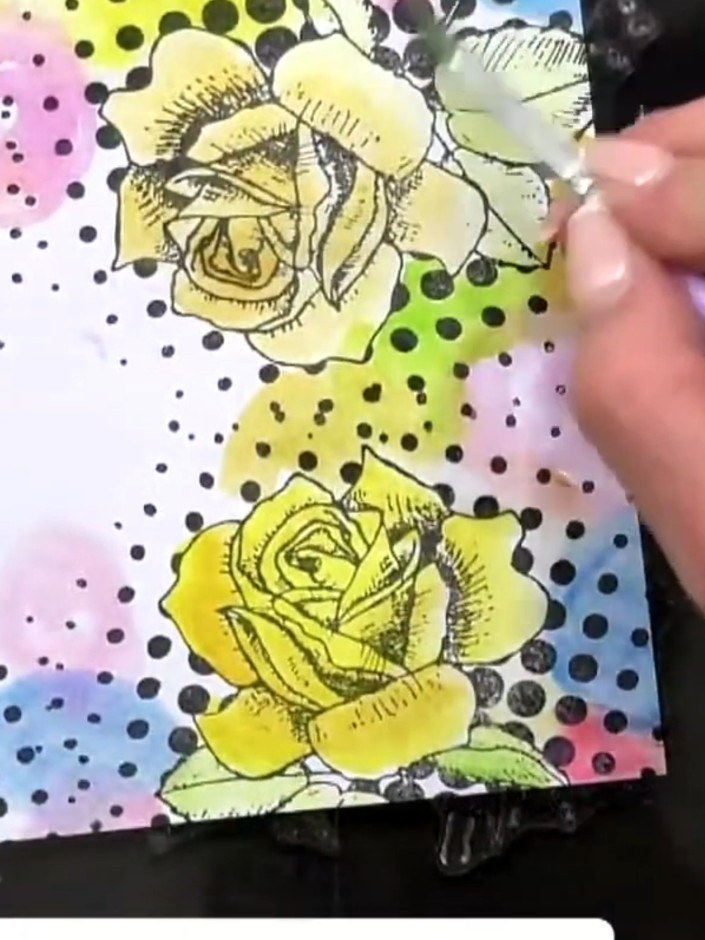
Using a contrasting colour ink (such as black), stamp random circles or dots over the wet watercolour background. Work across the entire surface, varying the placement and size of the dots for visual interest.
▶ voir cette étape (59:30)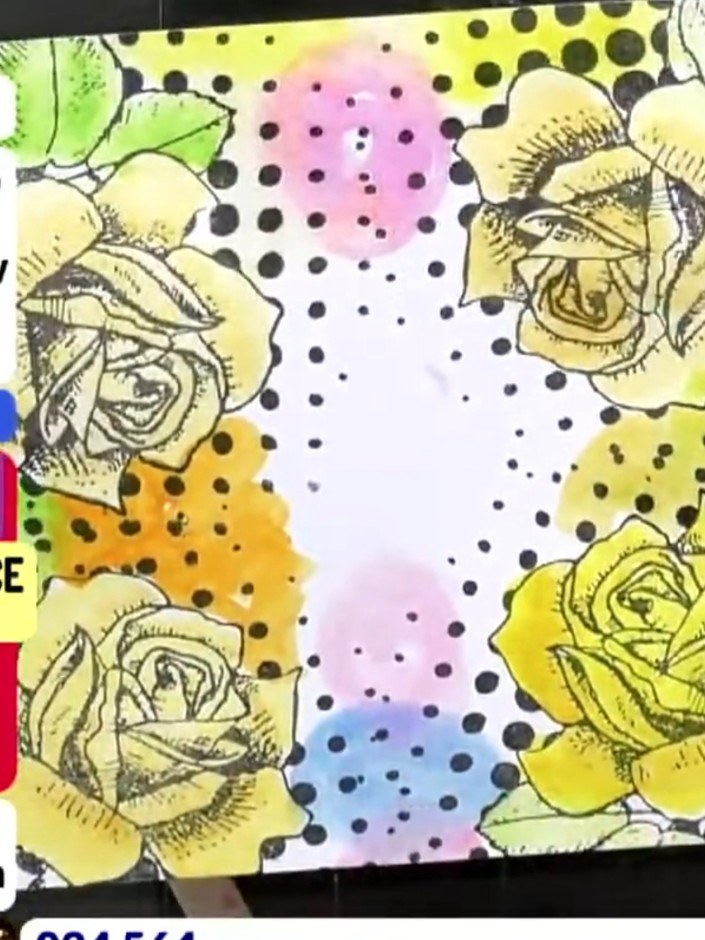
Step back and assess the balance of colour across the entire background. Check that the watercolour washes are evenly distributed and the stamped dots create visual interest throughout the design.
▶ voir cette étape (1:00:00)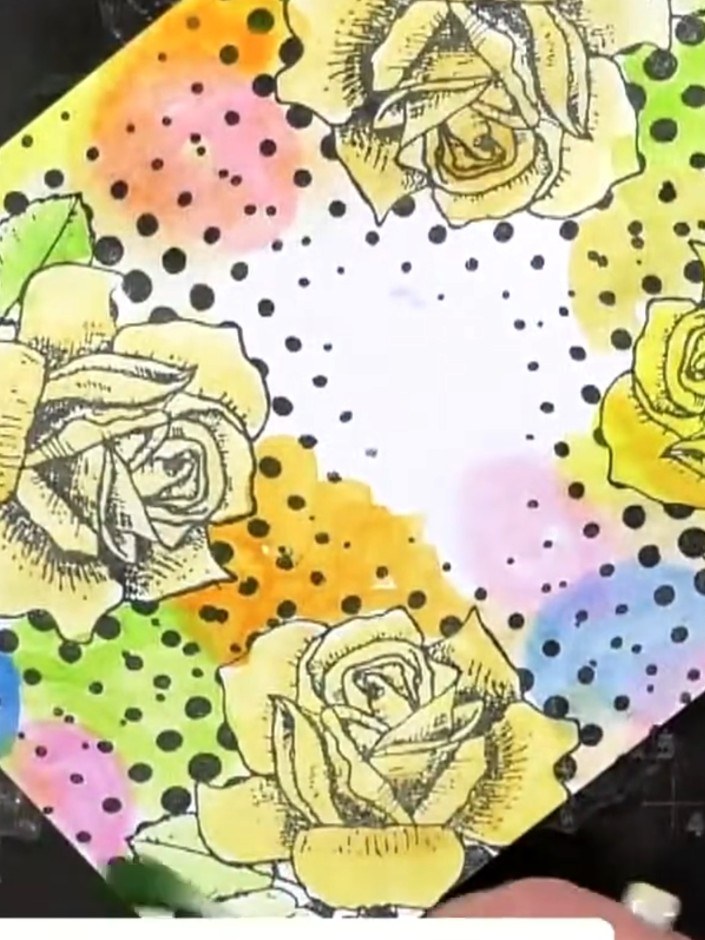
Add additional touches of colour to areas that need more depth or balance. Work the watercolour into the existing wet areas, allowing the colours to blend naturally. Focus on enhancing the rainbow effect around the stamped roses and polka dot background.
▶ voir cette étape (1:00:30)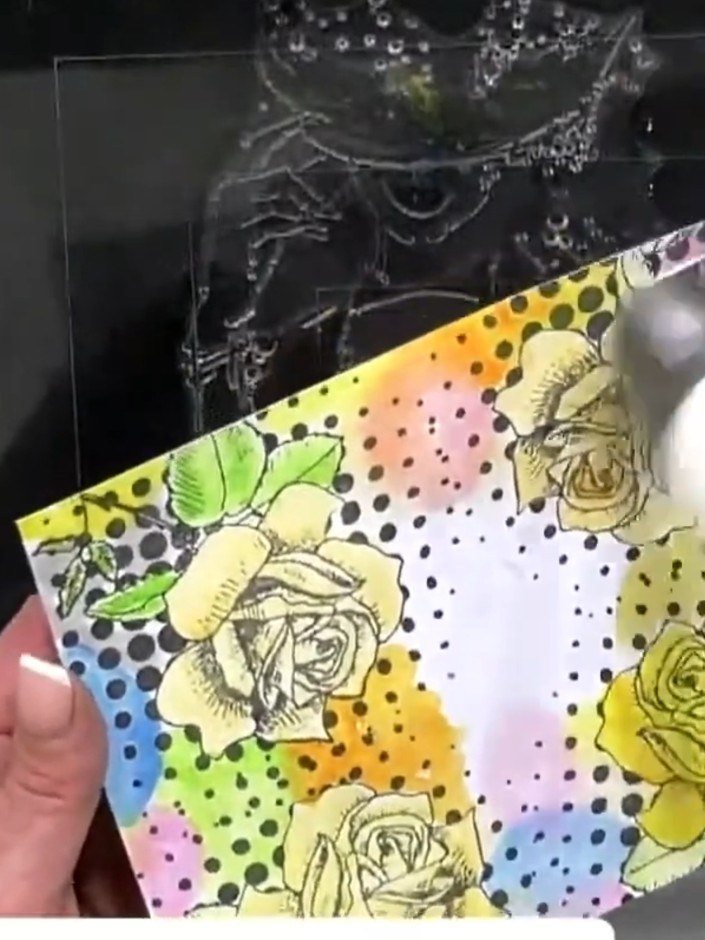
Soften the edges of the watercolour background by adding clean water with a damp brush. Blend gently to create smooth transitions between the colours.
▶ voir cette étape (1:01:00)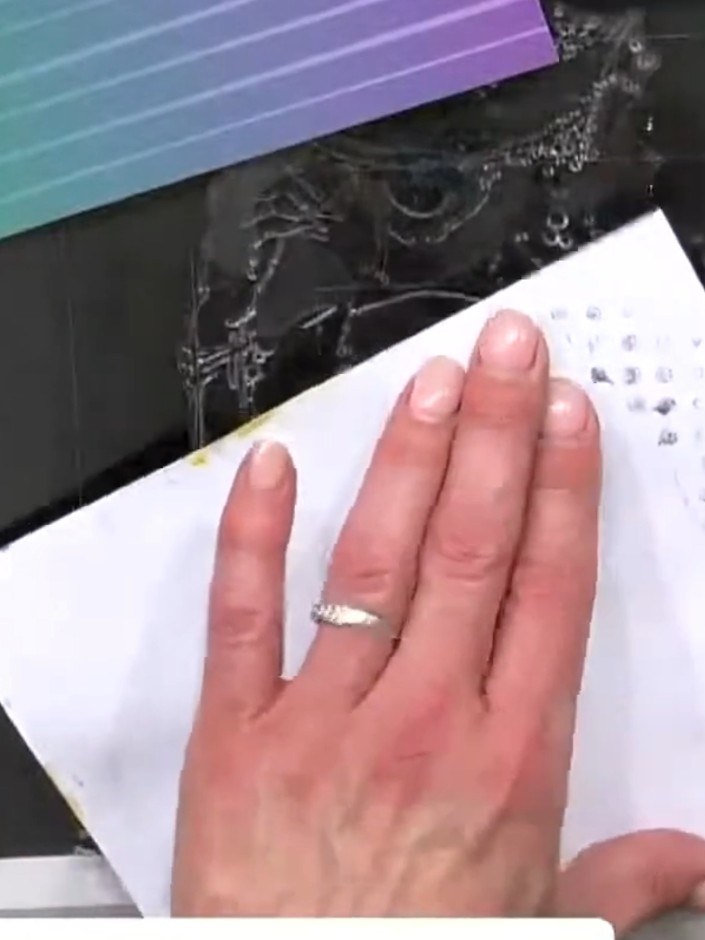
Use a heat tool to dry the watercoloured background completely, moving it over the entire surface until the paper is dry to the touch.
▶ voir cette étape (1:01:30)Rédigé à partir de l'émission elle-même. Découvrez tous les guides de nos émissions · tutoriels gratuits · regarder en direct sur My Telly