Offrez à vos amis 10 € de réduction sur leur première commande !
Parrainez un AMI








Un projet de notre émission en direct CREATE AND CRAFT - Retrouvez Carley Duff pour le lancement de la toute nouvelle collection IMALA 22, émission 1 - Diffusion du 4 oct. 22 · 04/10/2022 · à voir dès 1:05:00
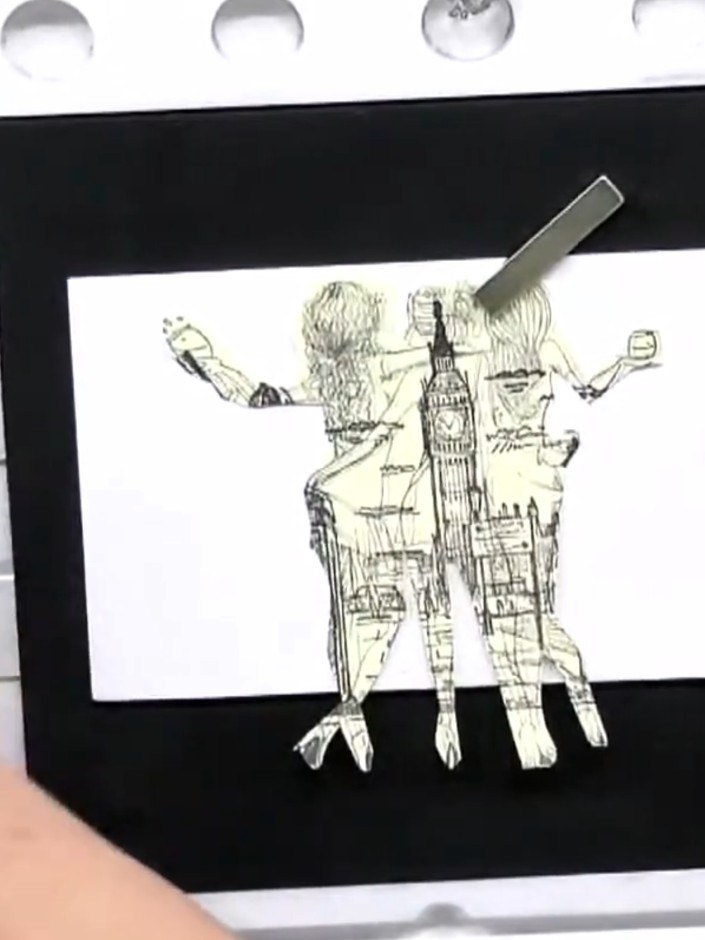
Create a stunning layered scene featuring three fashionable figures on a London street, complete with a red telephone box and iconic cityscape. Using stamp masking techniques, you'll build depth and dimension by layering multiple stamped images over one another. The finished piece showcases elegant line art with subtle watercolour touches on a crisp white background, all mounted on a bold black card frame.
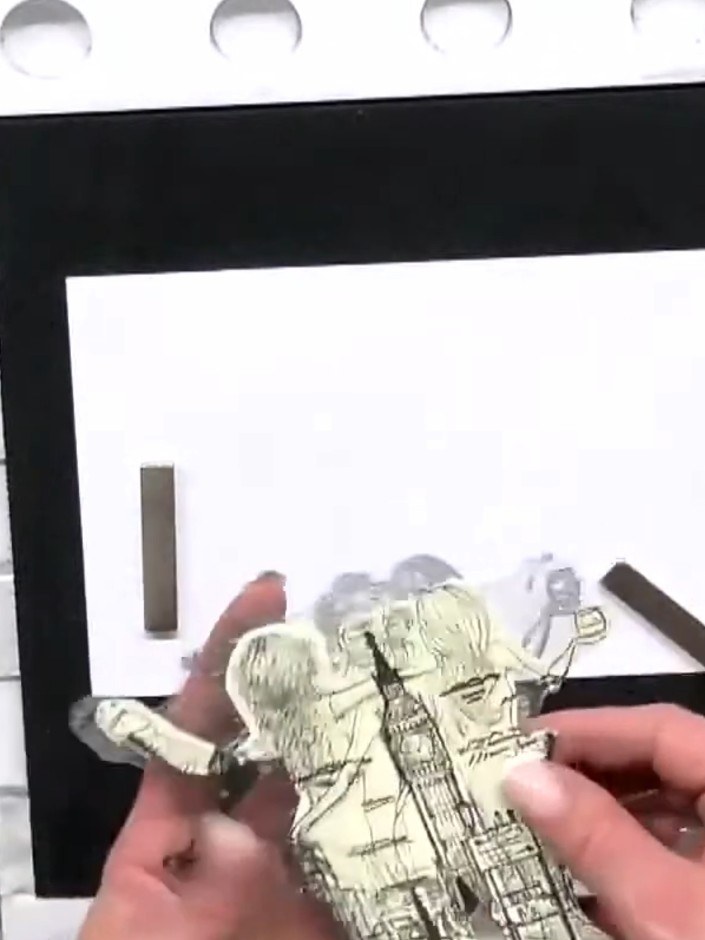
Stamp your first image onto rough paper using black ink. Position the stamp on the paper and press firmly to create a clear impression. Remove the stamp carefully to reveal the stamped image.
▶ voir cette étape (1:05:00)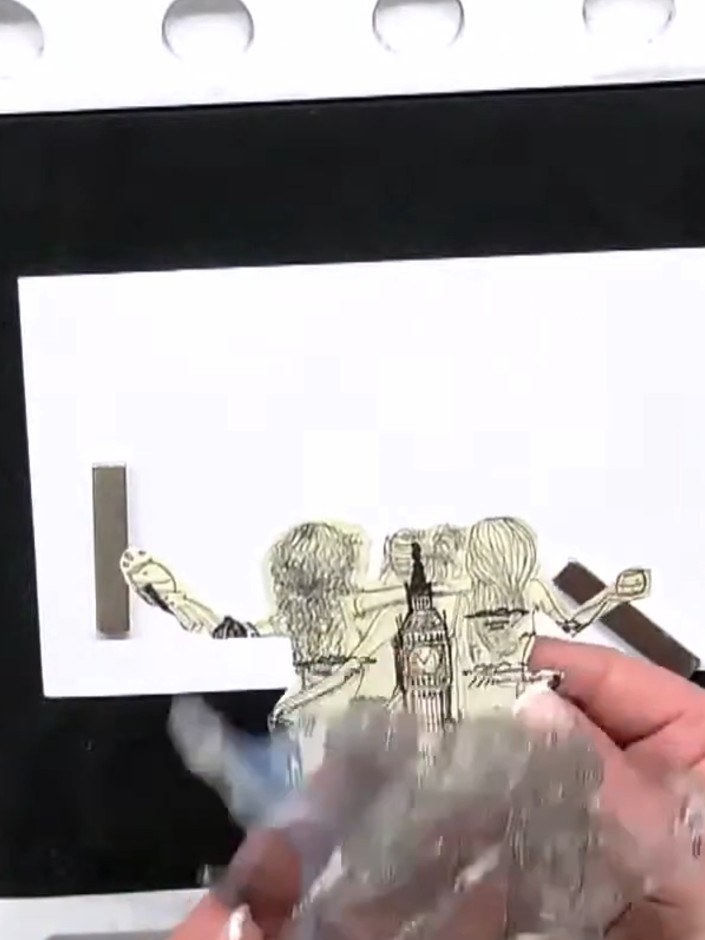
Cut very close to the edge of the stamped image to create a mask. Use scissors to carefully trim around the outline of the stamped figures.
▶ voir cette étape (1:05:15)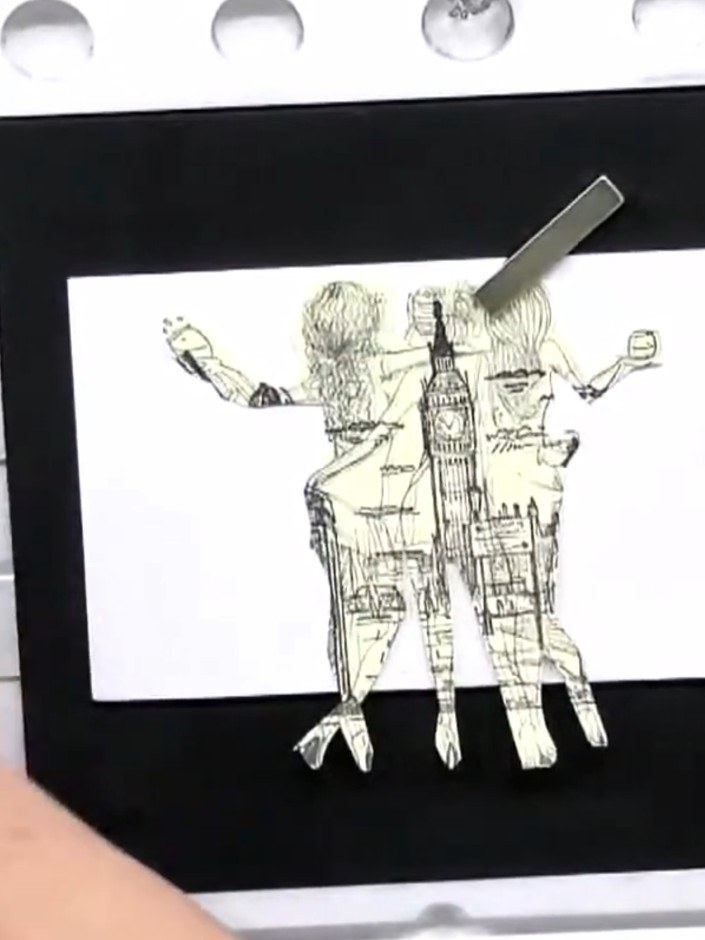
Position the stamped cow mask on your white cardstock using low-tack adhesive tape. Place it over the area where you want to build your layered scene.
▶ voir cette étape (1:05:30)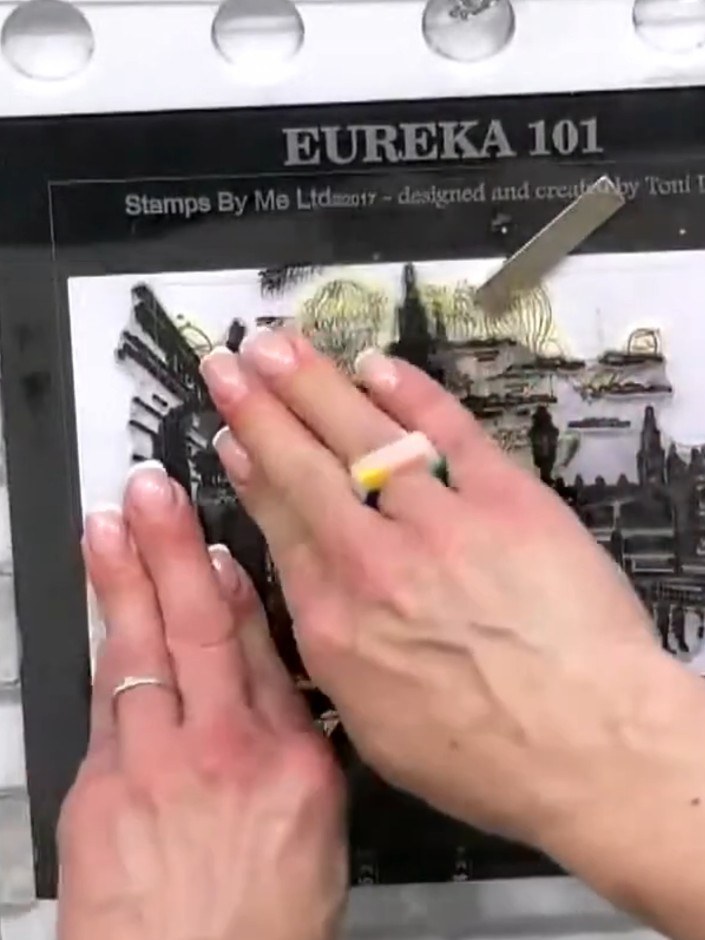
Stamp a second image directly over the masked area using all-purpose ink. Position the London or chandelier stamp over the masked section and press firmly to create a clear impression.
▶ voir cette étape (1:06:00)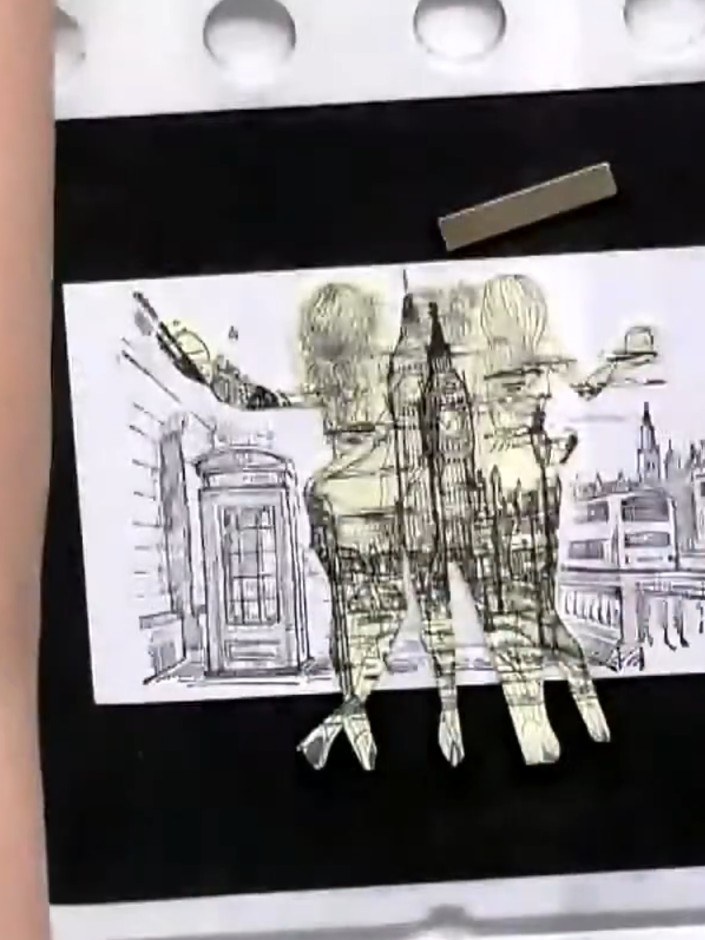
Carefully peel away the masking sheet from the stamped image to reveal the layered London scene composition with the trees and landmarks now visible in their proper positions.
▶ voir cette étape (1:06:30)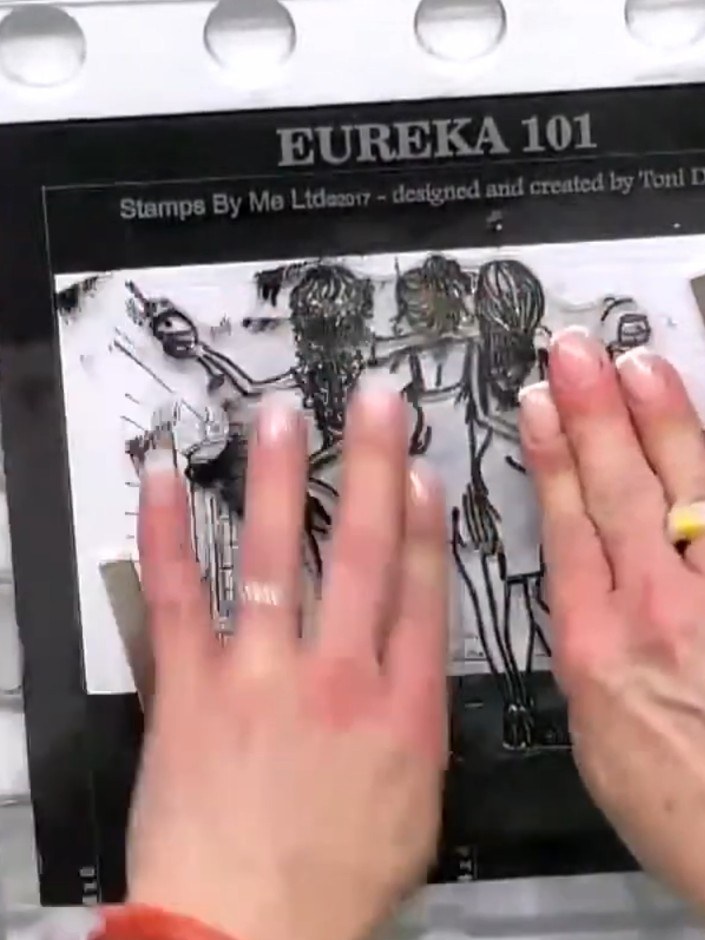
Position additional stamps from the set onto your scene and stamp them to build up the composition. Continue masking and layering stamps to create depth and interest in your London cityscape.
▶ voir cette étape (1:07:00)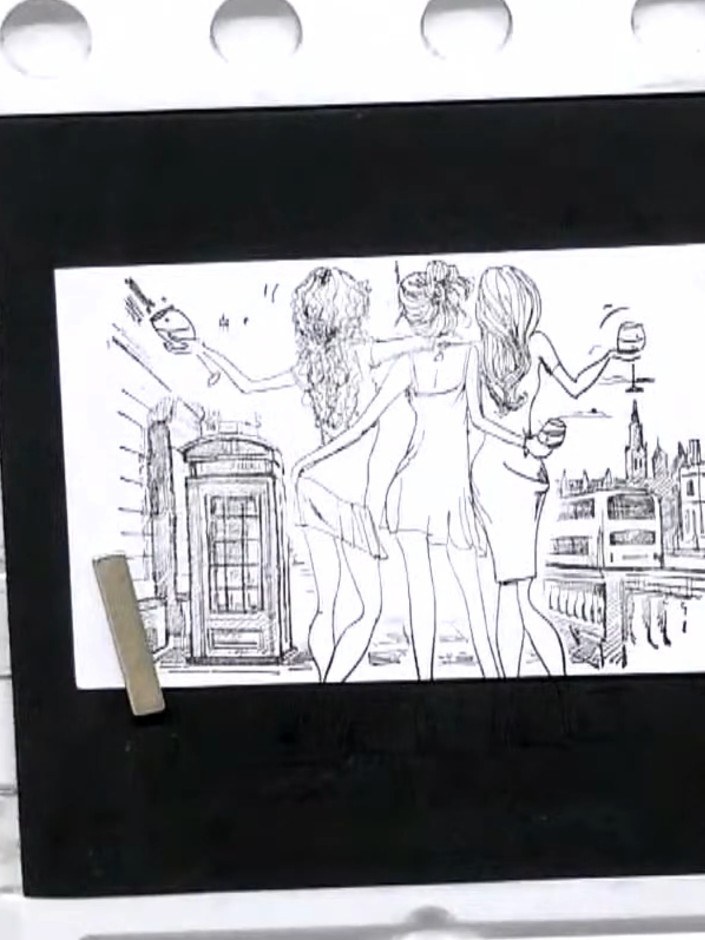
Colour the finished layered design using your preferred colouring technique. Add shading and highlights to bring depth to the scene with the three figures, telephone box, and London background.
▶ voir cette étape (1:07:30)Rédigé à partir de l'émission elle-même. Découvrez tous les guides de nos émissions · tutoriels gratuits · regarder en direct sur My Telly