tap a picture to see it big · tap DONE as you go - this device remembers
Step 1 of 11
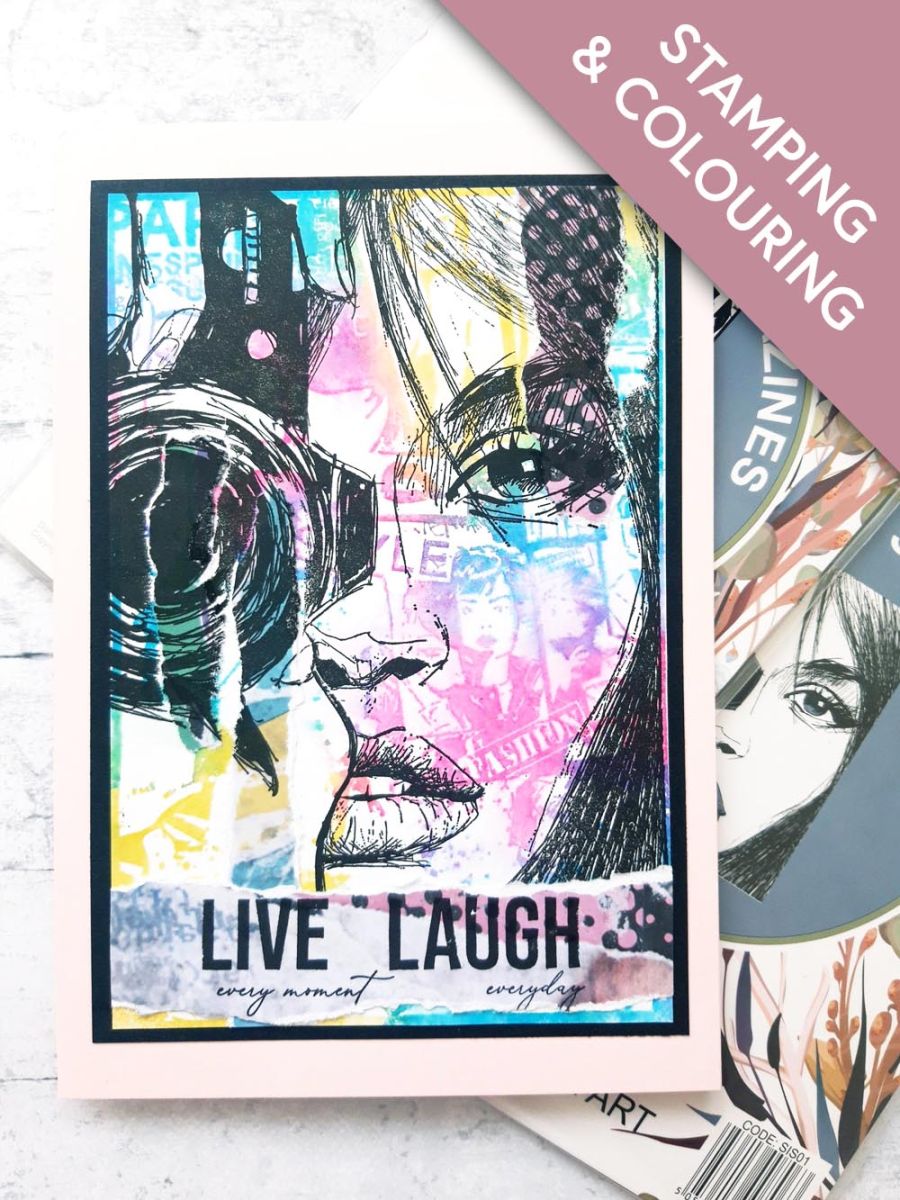
Ink up the Magazines stamp randomly, with the Izink Dye ink pads. Spritz the stamp with water and stamp on to the white card (7 x 5").
You can reink and stamp again, to intensify the vibrancy of the colours. You can also spritz your stamped image, allowing it to "bleed", before drying it with a heat gun.
Step 2 of 11
Trim off the excess white card around your stamped image.
Step 3 of 11
Tear out this decorative sheet, from the Imala Collage Collection paper pad.
Step 4 of 11
Randomly tear strips from the paper, as seen here.
Set this decorative sheet to one side, as you will need it in a later step.
Step 5 of 11
Adhere them coming up, from the bottom left and down, from the top right, of your stamped background.
Step 6 of 11
Ink up the stamp from Imala Snapshot, with the Onyx Black Versafine and stamp on to your background. You can reink and stamp again, if you want to get a clearly defined image, but I preferred the distressed look.
Step 7 of 11
Tear another strip from the decorative sheet, set aside earlier.
NB: It must be the same width as your stamped background, and deep enough to stamp the sentiment on to.
Step 8 of 11
Ink up the sentiment, as shown here, with the Versafine and stamp in the centre of the torn strip.
Step 9 of 11
Adhere it just up from the bottom, of your stamped background.
Step 10 of 11
Adhere on to the black card.
Step 11 of 11
Ahere on to the front of your pink, top folding card blank.
You made it!
Share your make with the Stamps By Me community - and keep this guide for next time.
Hello! I'm Toni's AI craft helper - I know the projects from Toni's shows, our guides and everything in the shop. Ask me anything, like "which dies go with this stamp set?" or "what do I need to start ink blending?"
An AI helper (not Toni herself), answering from Toni's shows and our shop - please check the product page before you buy.